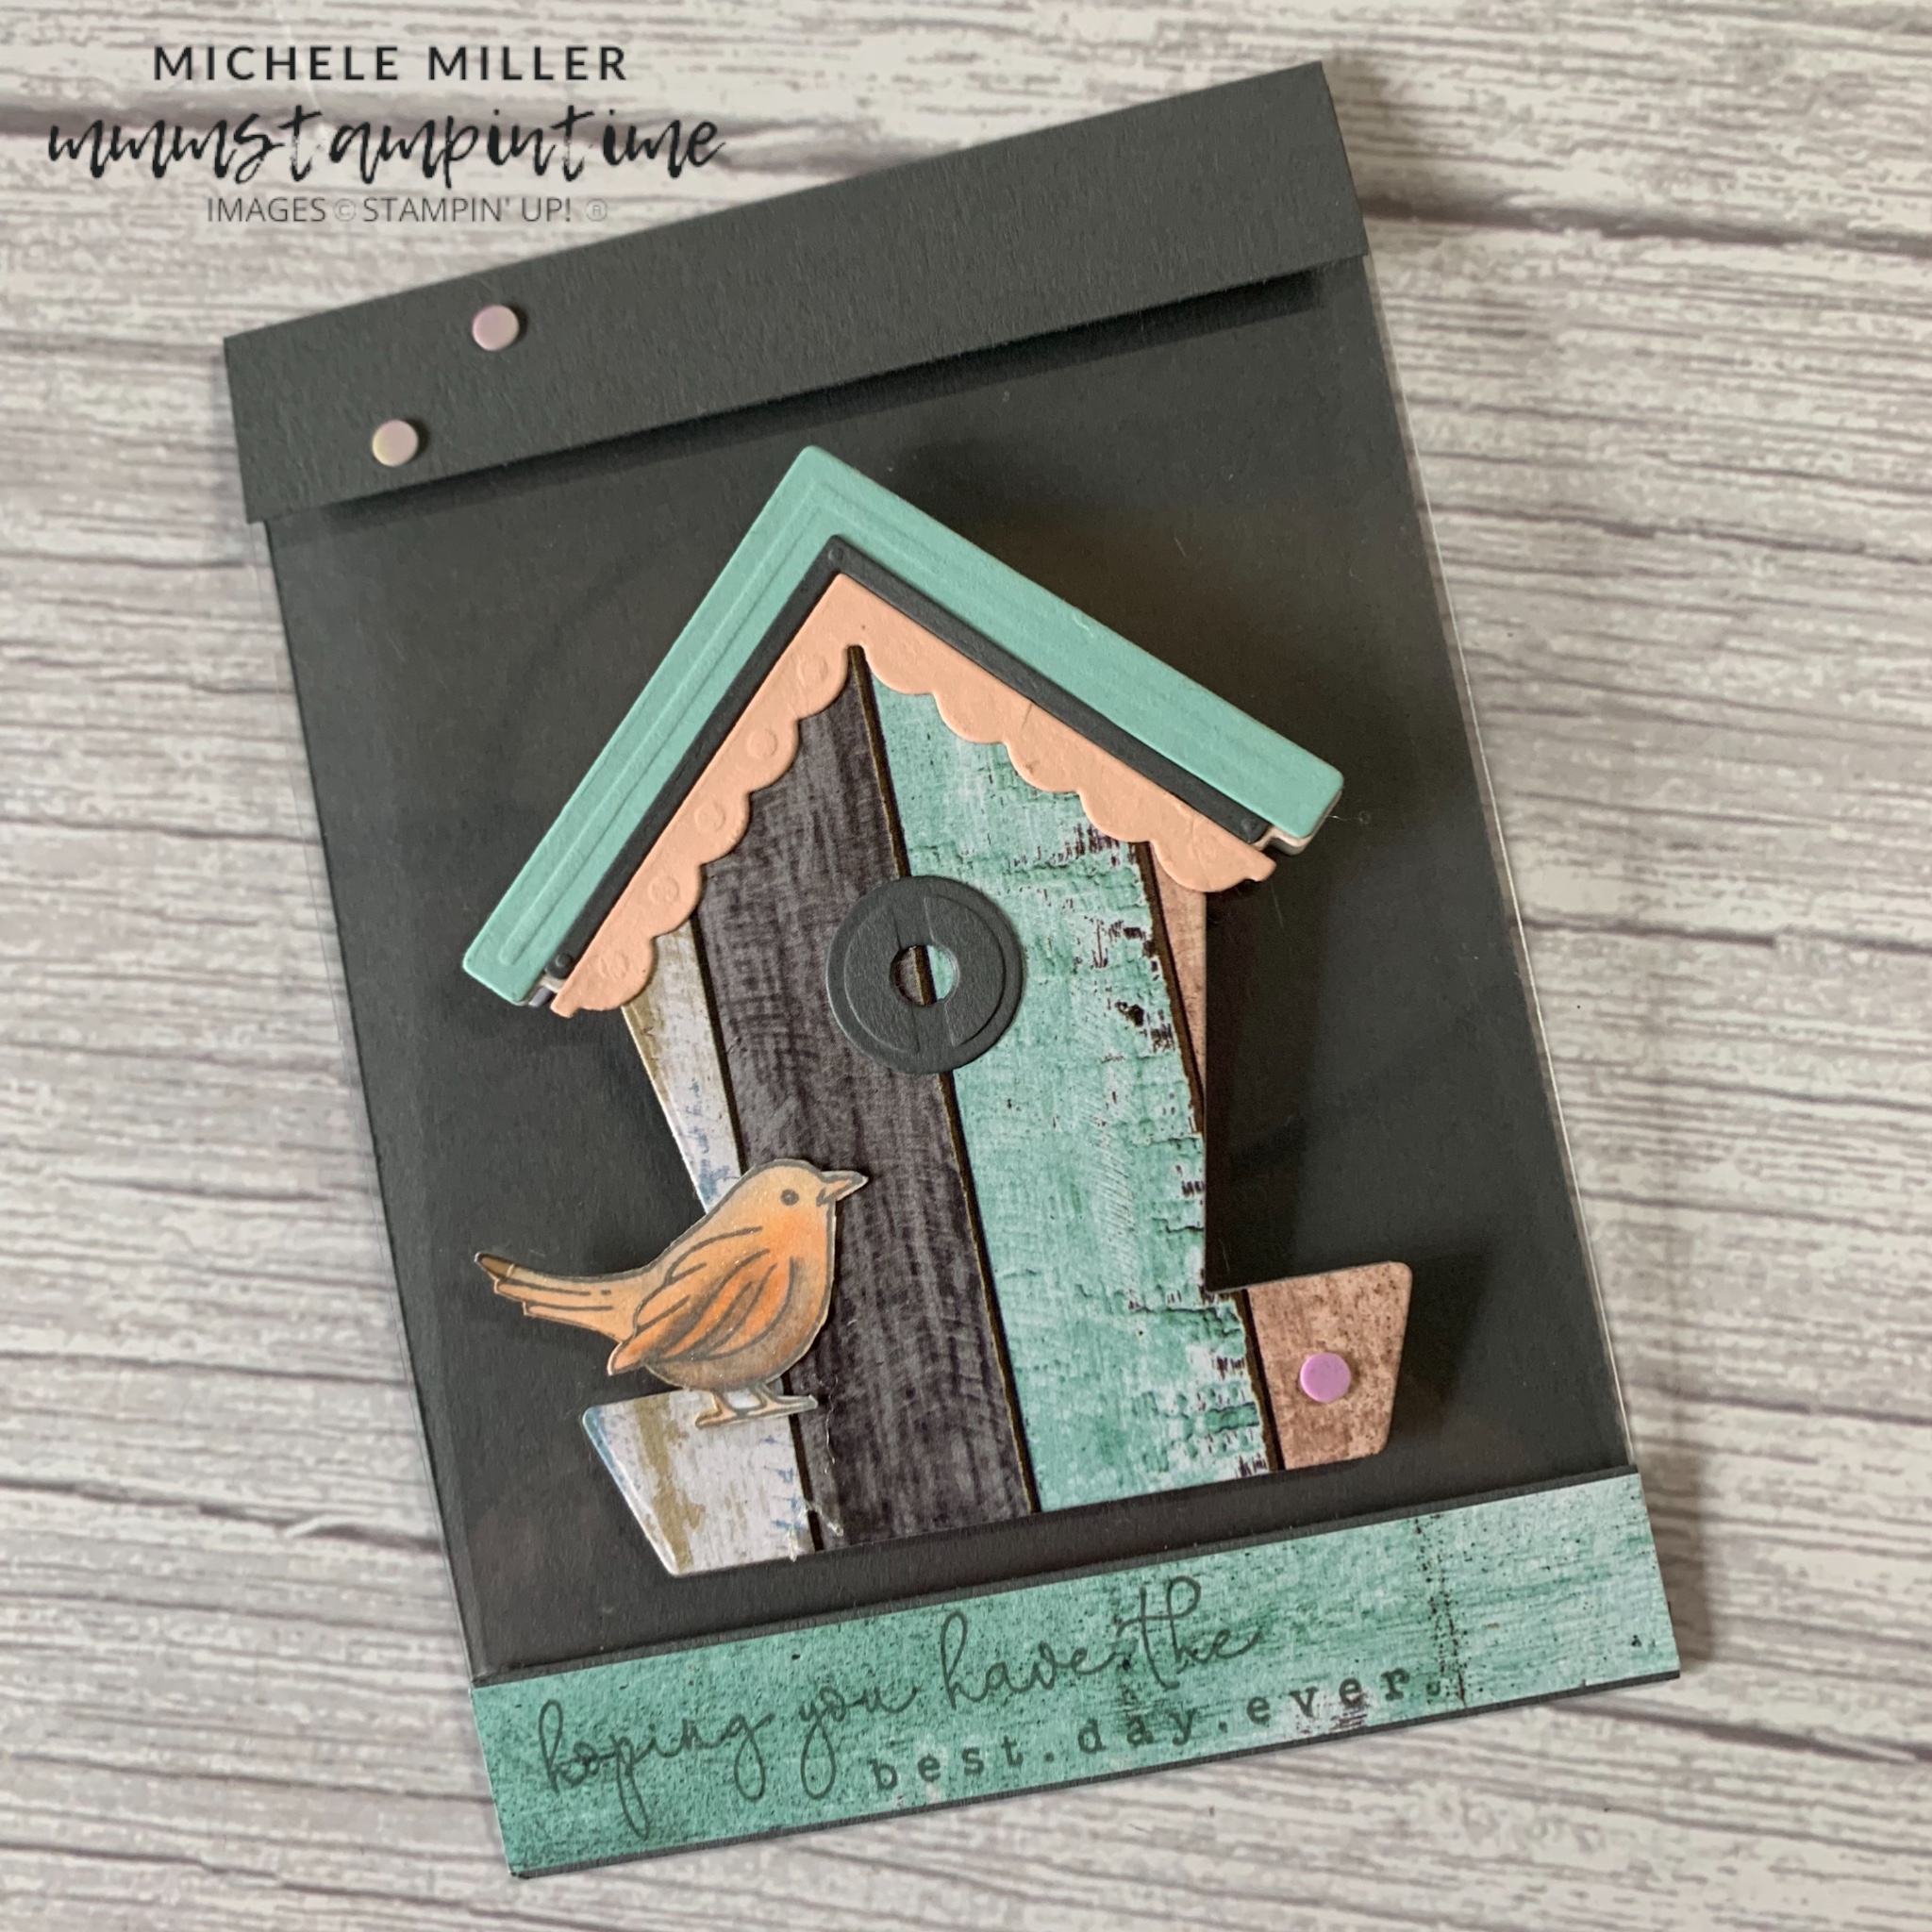
There are three cards today and they each use the same Curtain Fold Technique. I was inspired by a project Kayla Renee, an Australian Stampin’ Up! Demonstrator.
I adapted her card to create these three examples.
Curtain Fold cards are a great way to showcase both sides of a piece of Designer Series Paper.
The first card uses one of the Country Woods DSP designs. After cutting, scoring and folding the curtain section, I added it to the card front – Early Espresso base, Basic Beige layer, Early Espresso layer and a Basic Beige embossed layer. I used the Basics 3D Crosshatch Embossing Folder. I folded to far right corner of the curtain back to highlight the other side of the paper a little more.

The sentiment was stamped and then cut using the Labeled with Love die/punch. Some of the same DSP was used inside the card and the envelope flap before some Brushed Brass Butterflies were added.


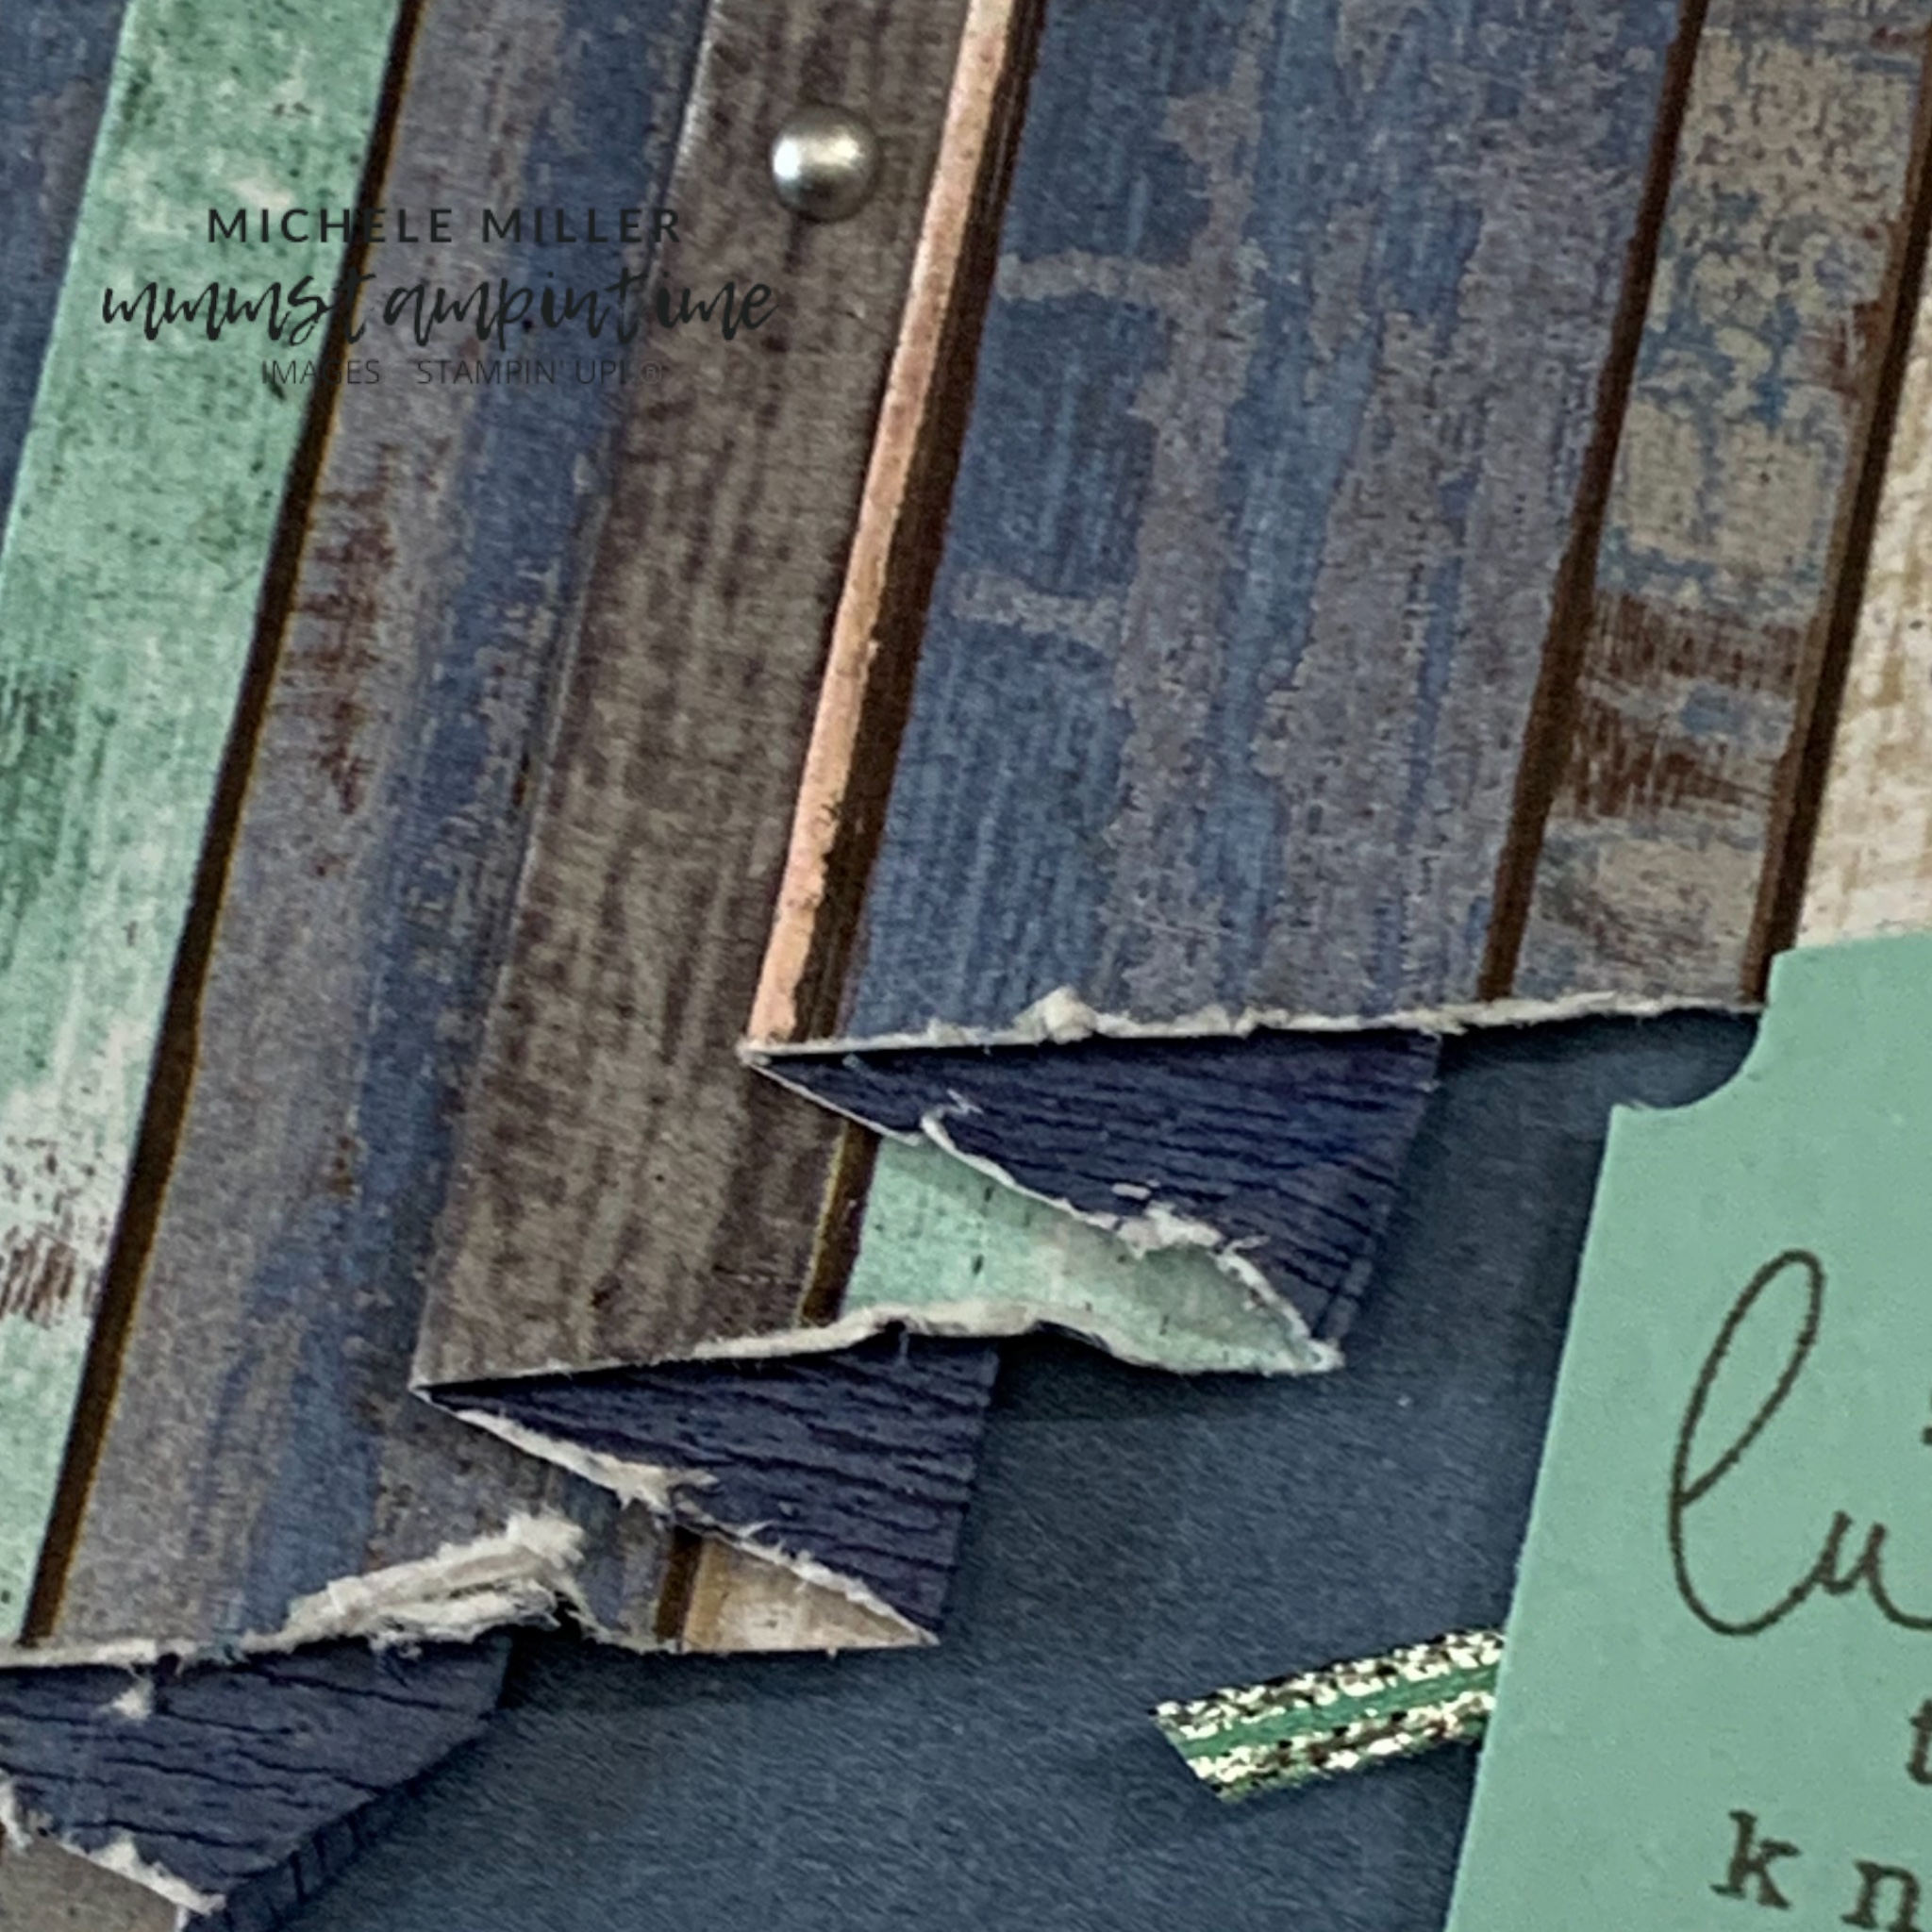
The second card features a different piece of Country Woods DSP and a Pool Party cardbase. The Misty Moonlight panel had Craft Stampin’ Ink brushed across it.

For the curtain I added a frayed vintage effect to the edge.
TIP: keep a pair of blunt paper snips on hand to use for this vintage technique.
The sentiment was created in the same way as the first card.
I coloured a length of Silver Trim, from the Combo Pack, using the dark Pool Party Stampin’ Blend. After cutting the trim into three even, angled lengths I secured them to the back of sentiment.

For this card I also used the same DSP for the card insert and envelope flap.
The finishing touch was to add some Smoky Slate Pearls to the frot of the card.

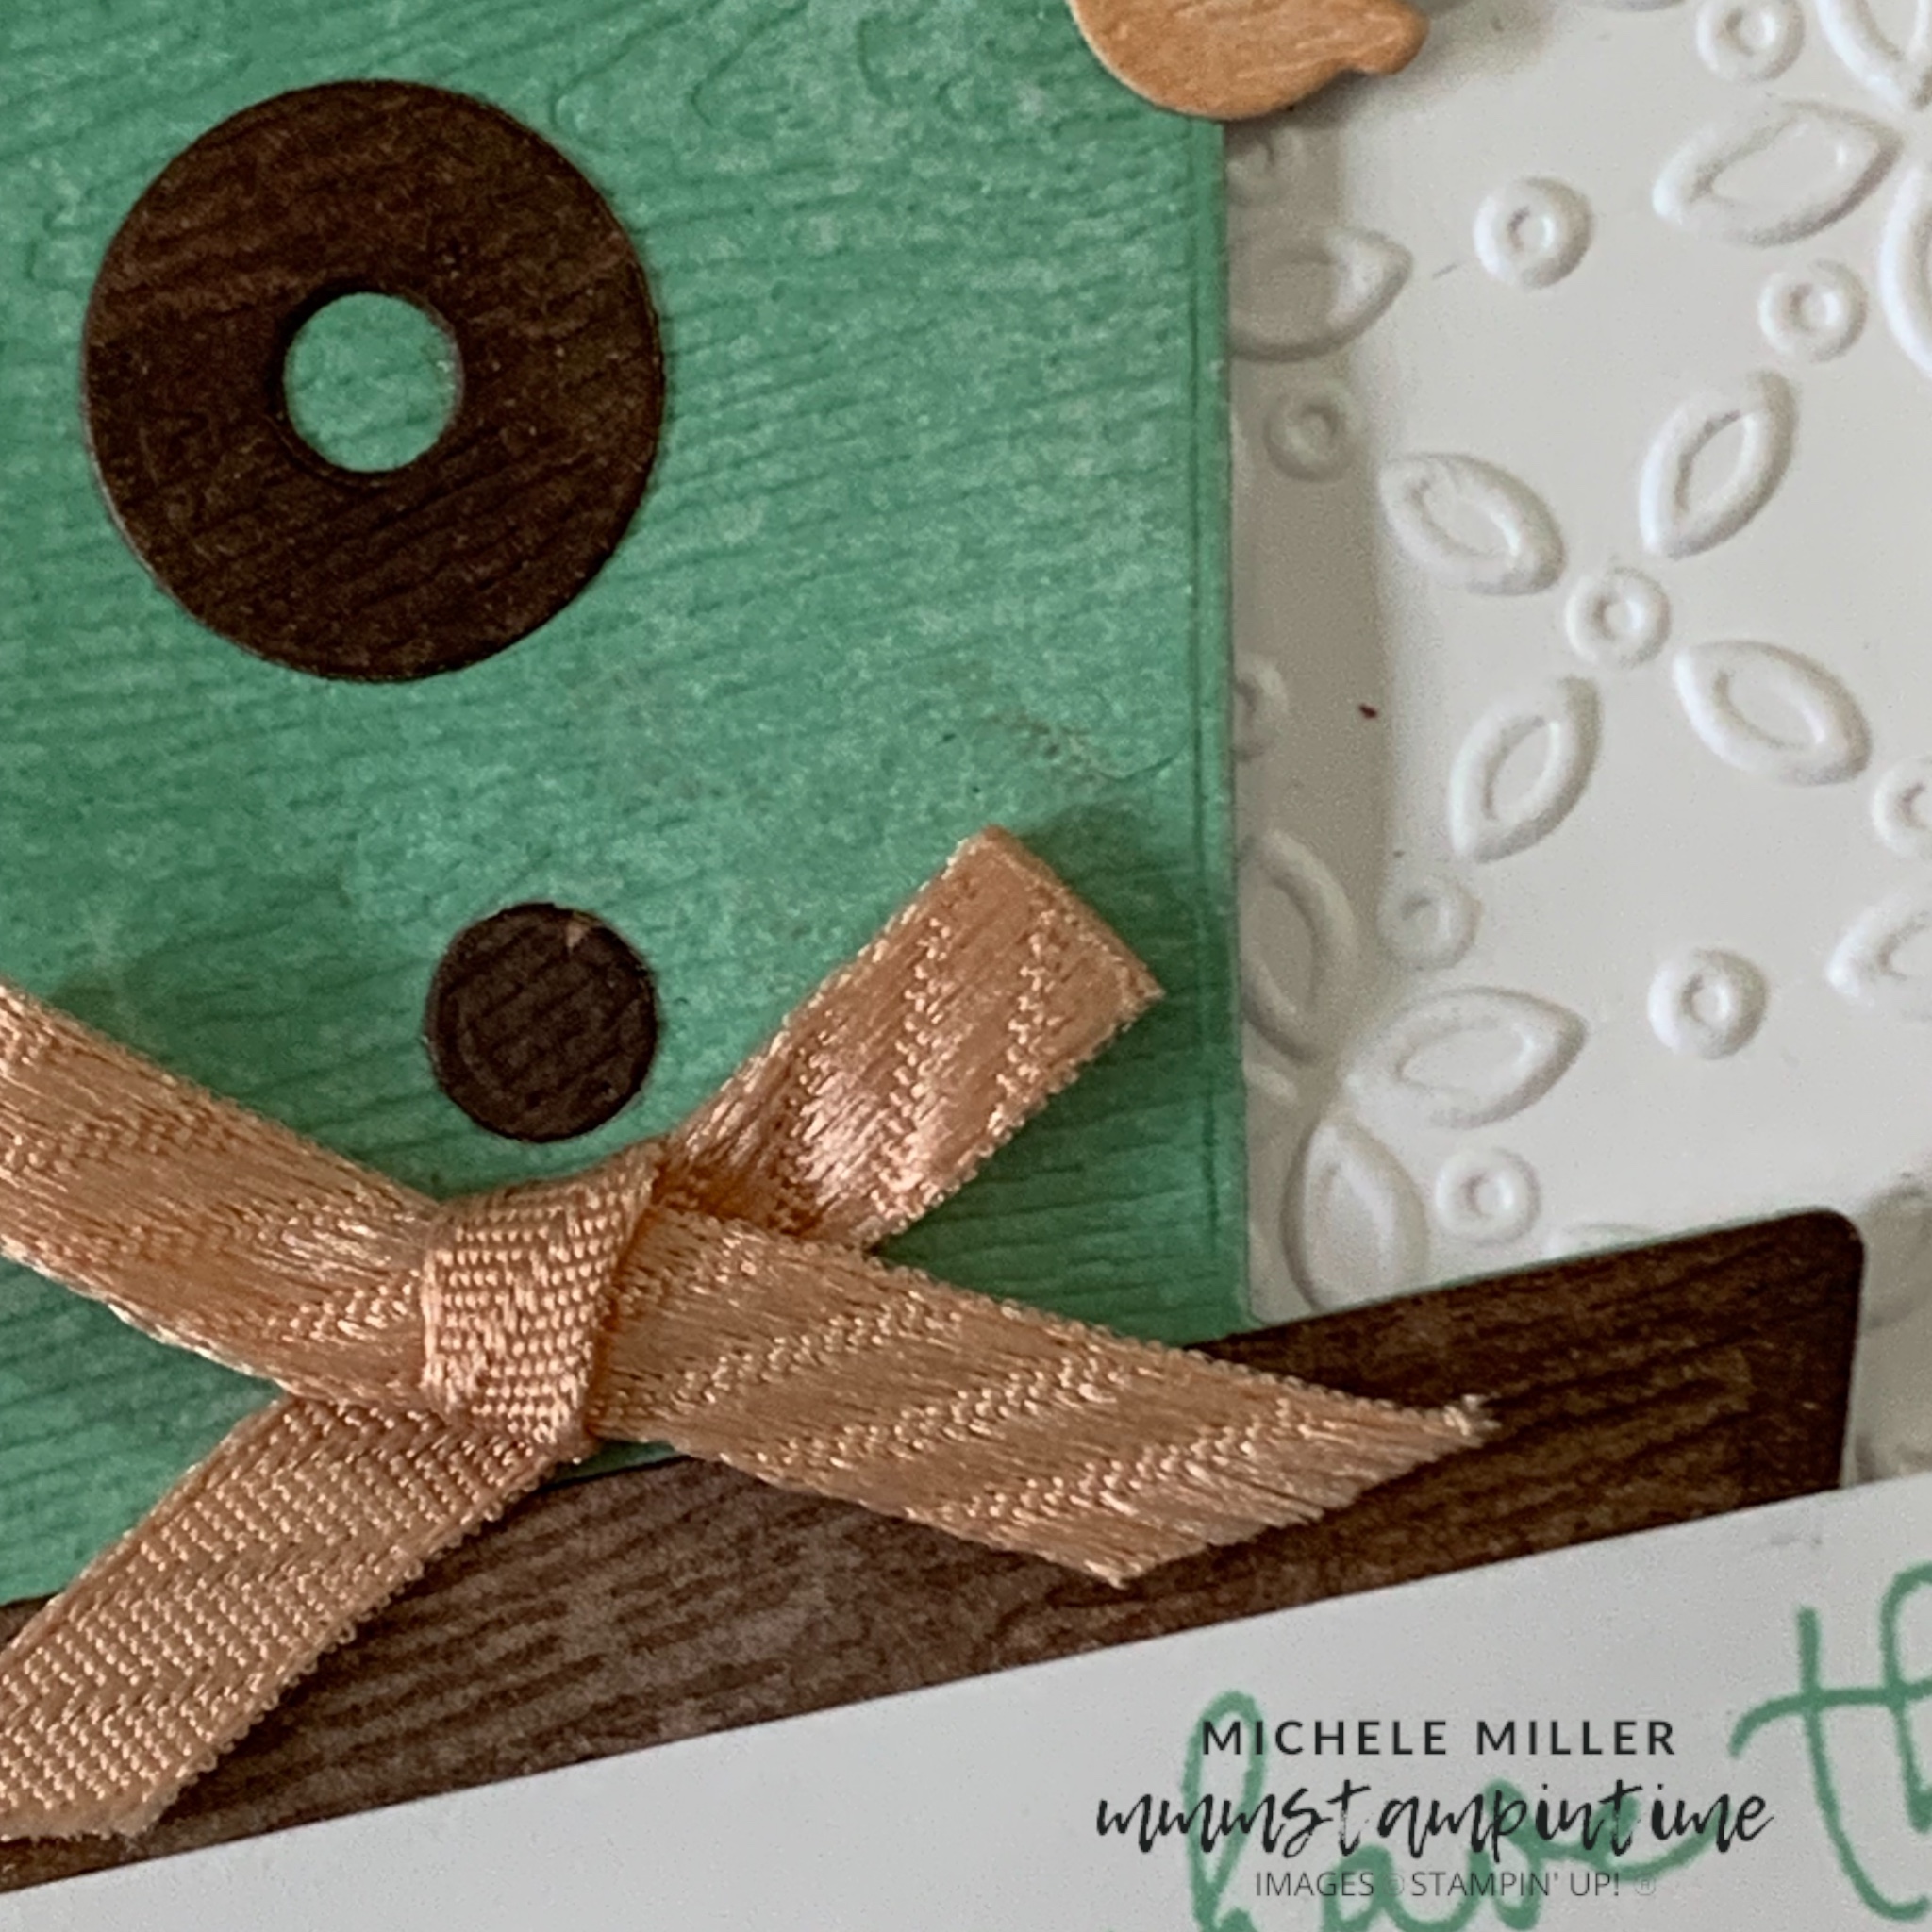
The third card features some of the Country Lace DSP. The curtain was then added to a card base made up of a Petal Pink base, Misty Moonlight layer and an Eyelet 3D embossed Petal Pink layer.

Strips of DSP finished the card insert and envelope flap before adding some Blooming Pearls bling.


I am sharing the pattern I used to create the curtain fold. It is an adaptation of Kayla Renee’s and it is in inches. I hope that find it useful.

If you find thefinished folded piece is longer than you need it is very simple to trim it down.
For the next three days I have a collection of five cards, four of them being Fun Fold Cards, as well as a Gift Box to hold them all.
Until then, happy stamping.

If you live in Australia, you can order any of the products I used to make this card by going to my online store. Just click on any of the images below.

 | |||
 |  |  | |
 |  |  | |
 |  |  |  |
 |  |  |  |
 |  |  |  |
 |  |
")
 Designer Series Paper")
 Designer Series Paper")
 Trim Combo Pack")


")
")


 Specialty Paper")
 Diagonal Trim Combo Pack")


