Posted on Leave a comment

GINGERBREAD SNOWFLAKES

After spending most of Sunday stamping and card making I was left with six projects and a very messy desk! I have shared three of these projects with you already this week. Today’s project is number 4 and it has more features than yesterday’s simple card.

When I decide to make several projects using one suite, in one stamping session, I gather up one or two sheets of the coordinating card stock and the coordinating Classic Stampin’ Pads.

I chose to use an Old Olive base for this card.

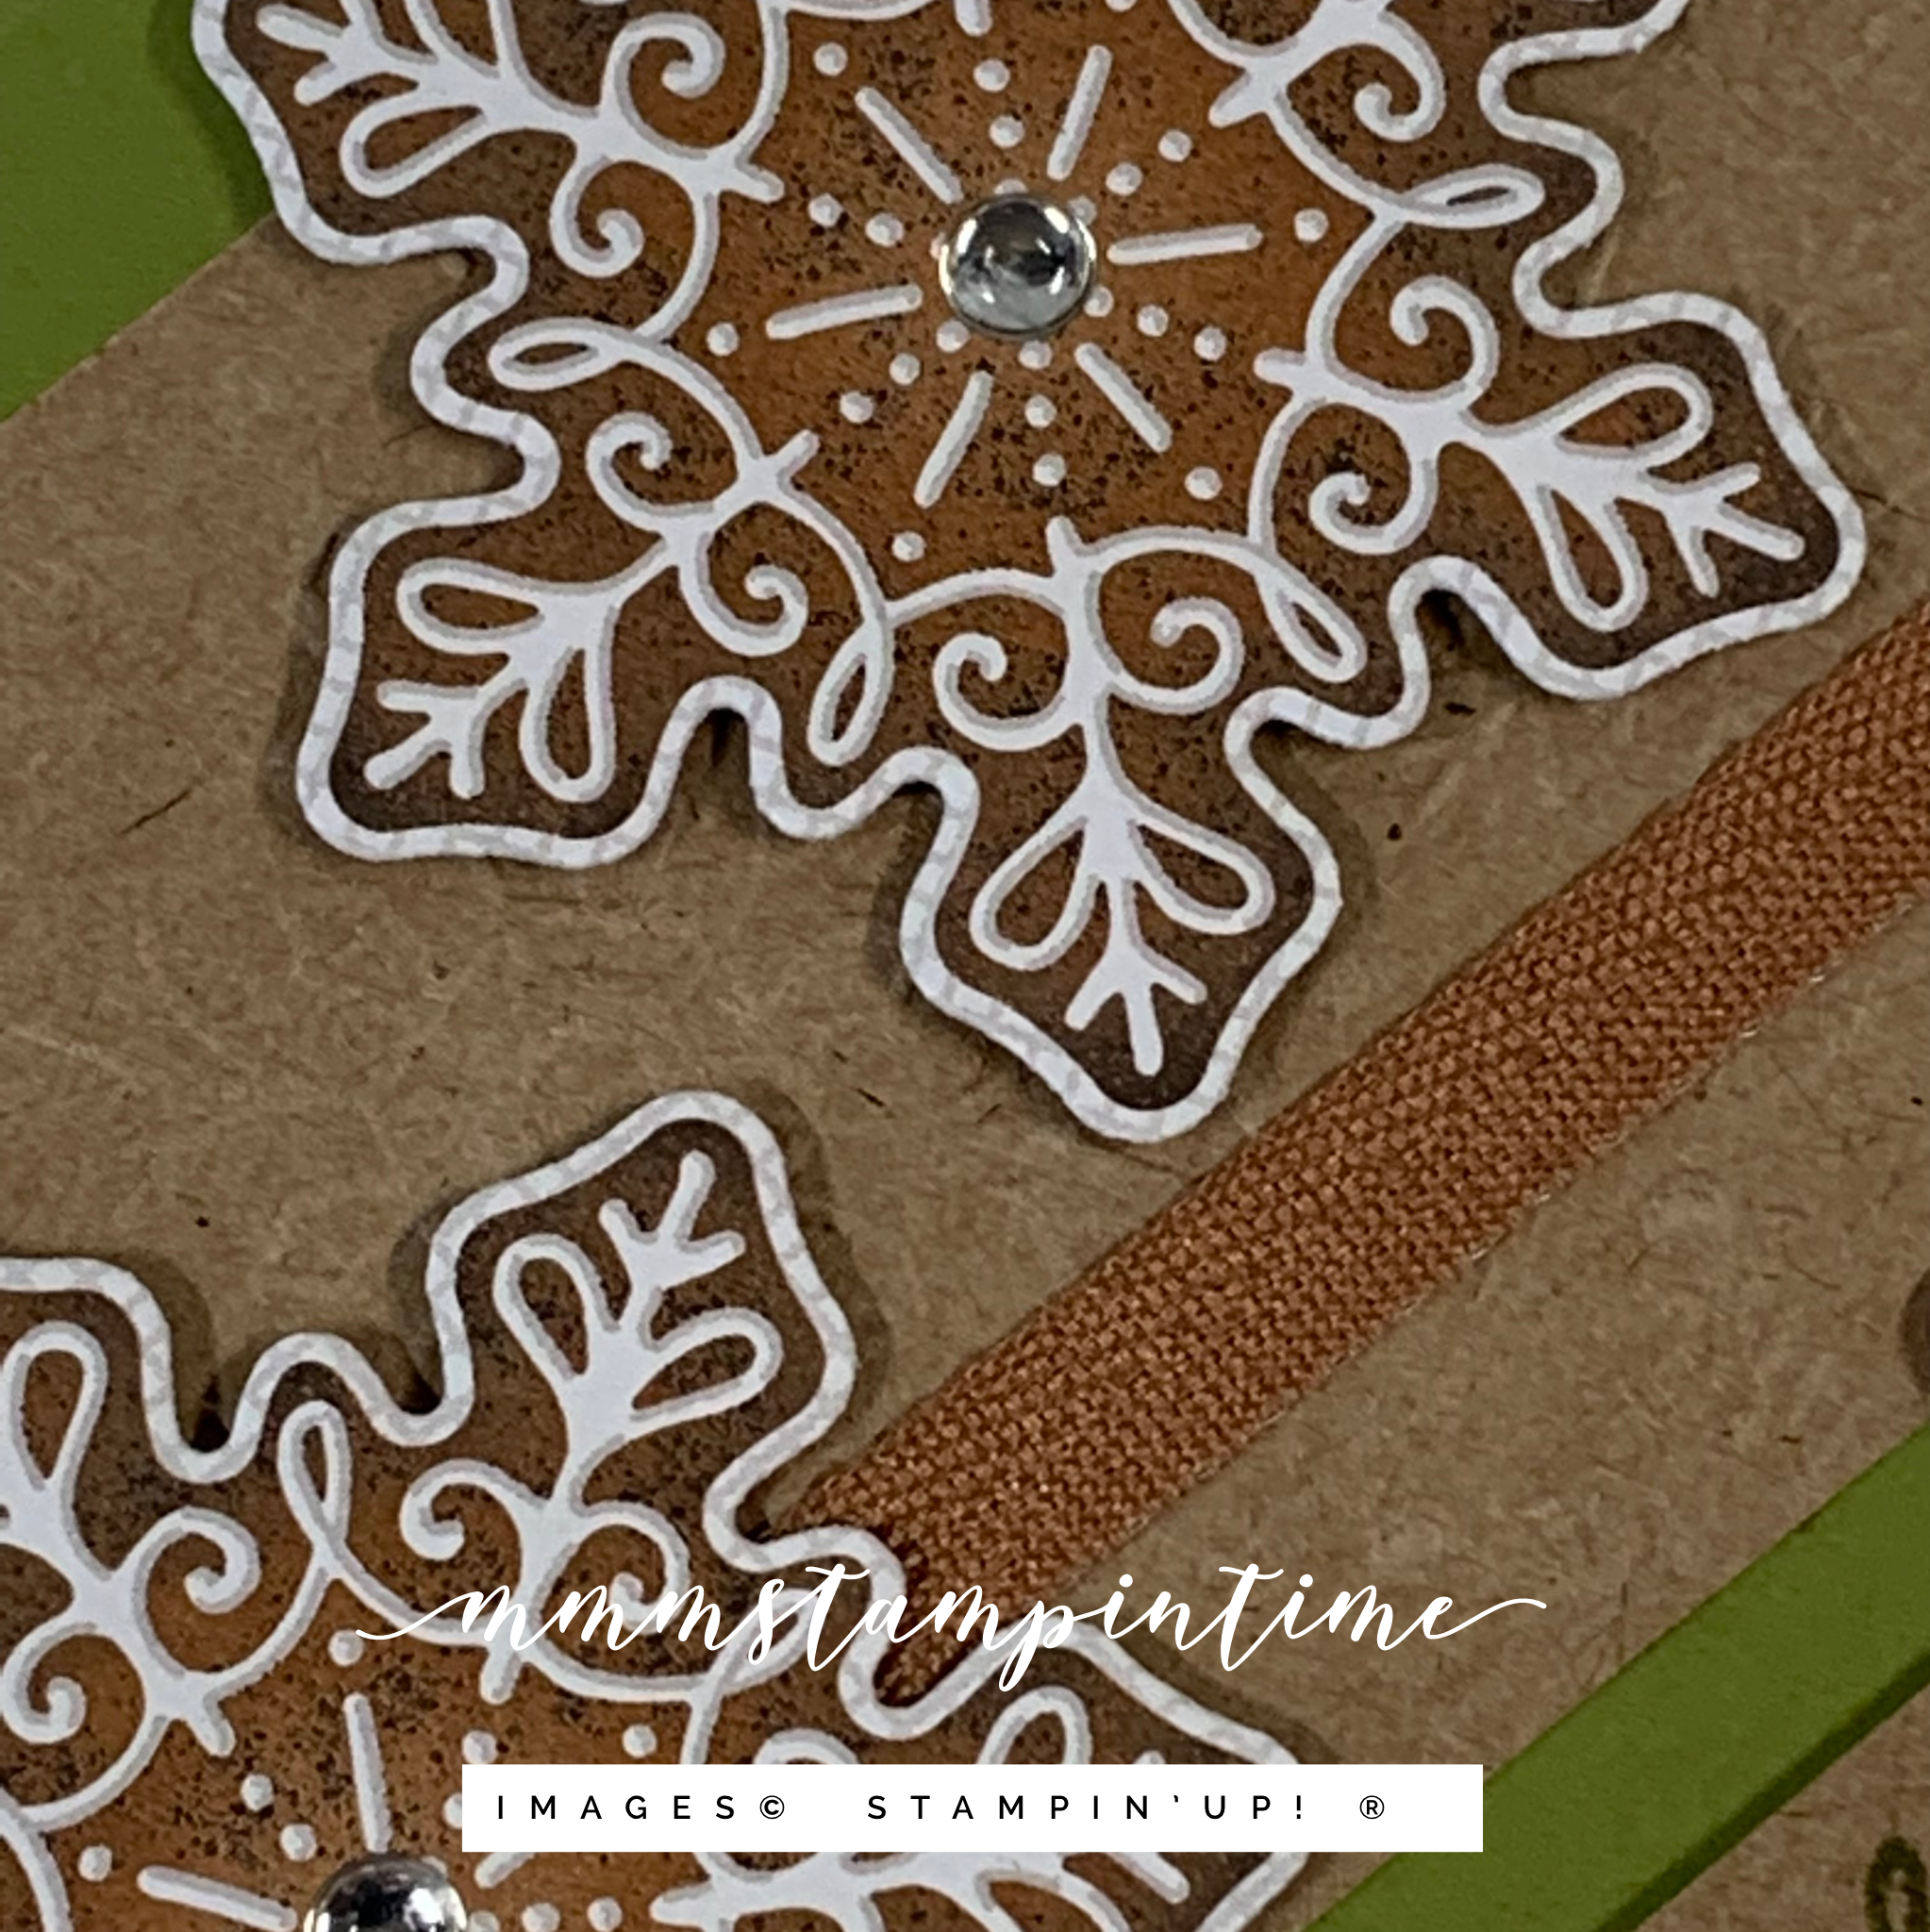
Rather than use Cinnamon Cider for the embossed panel, I chose the Kraft 6″x 6″ Paper from the Gingerbread & Peppermint Suite. This panel was cut to 5-3/4″x 2-1/2″ and was run through my Mini Stampin’ Cut & Emboss Machine using the snowflake folder from the Wintry 3D Embossing Folders Bundle.

I tied a loose knot in a length of Cinnamon Cider Ribbon and wrapped it around the embossed panel.

Then I took a sheet of the DSP with the gingerbread snowflakes and cut around several of the snowflakes so that I could cut them out using the coordinating die from the Gingerbread Dies.

The snowflakes had Stampin’ Dimensionals attached to give the card some height. As you can see, the snowflakes were scattered across the card front with some being cut to align with the edges of thecard.

The ‘happy holidays’ greeting is from the Frosted Gingerbread Stamp Set and it was stamped using Old Olive. I trimmed down the greeting and popped it up with a couple of dimensionals.

I stamped the matching snowflake image onto the card insert and envelope using Cinnamon Cider ink.

Then my last step was to add some Silver Epoxy Essentials to the front of the card.

These are most of the products I used for the six projects – so not all of them were used for this card.

Hmmm – I like this card! What do you think?

Until next time, happy stamping.

If you live in Australia, you can order any of the products I used to make this card by going to my online store. Just click on any of the images below.

Product List
Paper Snips
[103579]
$17.00
Posted on Leave a comment

TIME TO TRY A NEW TECHNIQUE

Hello to each of you who are popping by today. Welcome!

Well, I had planned to share these projects with you yesterday but somehow I managed to get behind schedule.

this is the first time I have made cards using the ‘curtain fold’ or ‘drapery fold’ technique. It is a great way to showcase the double-sided designs of our Designer Series Papers. For these projects I used the Painted Christmas 12″x 12″ DSP.

The DSP starts as a 12″x 5-1/2″ piece that is cut in half diagonally – Not corner to corner but 1/2″ in from the corner. The paper was then scored at 1″, 3″, 4″, 6″, 7″, 9″, 10″ and 11″. To see how this was done, I made another one of these cards during my Facebook Live – here is a link – https://www.facebook.com/mmmstampintime/videos/2599057596906237.

I stamped a coordinating leaf design on the card front using Evening Evergreen. The folded DSP was then attached to the card front and I added a strip of Evening Evergreen card at the top of the curtain fold.

The greeting, from the Merriest Moments Stamp Set, was stamped in Real Red. The same leaves were stamped on the card insert and envelope. Then I added some Red Rhinestone Basic Jewels to the card front.

I made three other cards using the products you can see and the other items I have mentioned.

So, what do you think of these four curtain fold Christmas cards?

Until next time, happy stamping.

If you live in Australia, you can order any of the products I used to make this card by going to my online store. Just click on any of the images below.

Product List
Paper Snips
[103579]
$17.00
Posted on Leave a comment

TIME FOR ANOTHER CHRISTMAS CARD

Hello! Thanks for popping by to see today’s Christmas project.

I’m posting this one a little late today – thanks for your patience.

I used the Christmas Season Bundle and the Merriest Moments Stamp Set for this card.

The first step was to use the Brick & Mortar 3D Embossing Folder to add texture to the Basic White and Soft Suede panels. I used my Blending Brushes to lightly add Crumb Cake and Soft Suede to the white panel and then a Real Red bow and ribbon length was wrapped around it.

After the embossed panels were adhered to the card base, I stamped and die cut the pine cone and leaf elements. I arranged them, as you can see, creating a tight bouquet.

The Christmas greeting is from theMerristed Moments Stamp Set. It was cut using one of the dies from the Seasonal Labels Dies. This die set has 9 leaf, berry and pine cone dies; as well as 6 great frame dies – perfect for so many sentiments.

The holly berries were painted with some Clear Wink of Stella to add a little shimmer to them. I stamped the smaller pine cone on the card insert and envelope.

I’m very pleased with the Christmas cards that I have made so far this year! When do you get started with your Christmas preparations?

Until next time, happy stamping.

If you live in Australia, you can order any of the products I used to make this card by going to my online store. Just click on any of the images below.

Product List
Paper Snips
[103579]
$17.00