Posted on Leave a comment

HOW TO USE THE SNOWMAN HUGS STAMP SET TO MAKE A VERY CUTE CHRISTMAS CARD

There are always loads of gorgeous, new Stampin’ Up!® stamp sets and products each year for Christmas.

Most of the Christmas products are beautifully designed for a northern hemisphere Christmas but I am always drawn to those that suit a warm and summery Christmas experience.

So today, my project features the very tropical Snowman Hugs.

I chose the snowman wearing the hibiscus shirt and panama hat for this card … and, it was so much fun to colour!

I used my Stampin’ Blends to colour the snowman. The colours I used were Balmy Blue, Bubble Bath, Calypso Coral, Crumb Cake, Daffodil Delight, Lemon Lime Twiat, Pecan Pie and Pumpkin Pie.

After stamping and colouring the snowman I used the largest circle, from the Stylish Shapes Dies, to cut around it.

I used a Balmy Blue cardbase and added two smaller panels – a panel of Basic White that I flicked Balmy Blue ink across using the Blends pen and a panel of Beautiful Bokeh 6″x 6″ Designer Series Paper (this DSP is available from January).

Positioning the smaller panels at different angles creates a wonderful impact to the front of the card.

Before securing the snowman circle to the card front I took two lengths of Iridescent Striped Trim and coloured each using Balmy Blue and Lemon Lime Twist Stampin’ Blends.

I looped these ribbon lengths and secured them to the back of the circle before popping them on the card front, using Stampin’ Dimensionals.

The greeting, from the same stamp set, was stamped onto a scrap of Lemon Lime Twist card and cut using one of the banner dies from the Stylish Shapes Dies. I added a dimensional to the left-hand side of the banner and some adhesive to the right before adding it to the card front.

I added a strip of the DSP to the card insert and a panel to the back of the envelope.

Finally, I coloured some of the white sequins from the Adhesive-Backed Sequins Trio with my dark Balmy Blue Stampin’ Blends Pen and added them to the card.

For the rest of the week I will be sharing projects I have made using some stand-alone stamp sets (they do not come in a bundle or suite) from the upcoming January – April 2025 Mini Catalogue.

Until then, happy stamping.

If you live in Australia, you can order any of the products I used to make this card by going to my online store. As you read through this post, you will see the products I used for this project. The new items are available from January 7th.

Product List
Paper Snips
[103579]
$21.00
Posted on Leave a comment

EVERY CHRISTMAS NEEDS A SURFING SANTA!

As the title of today’s post suggests, my projects for the rest of the week will be showcasing the Surfing Santa Stamp Set.

As much as I love the idea of a white Christmas, I don’t think that it has ever snowed on Christmas Day where I live. So I am always excited when Stampin’ Up! introduces Christmas images that are perfect for the Southern Hemisphere.

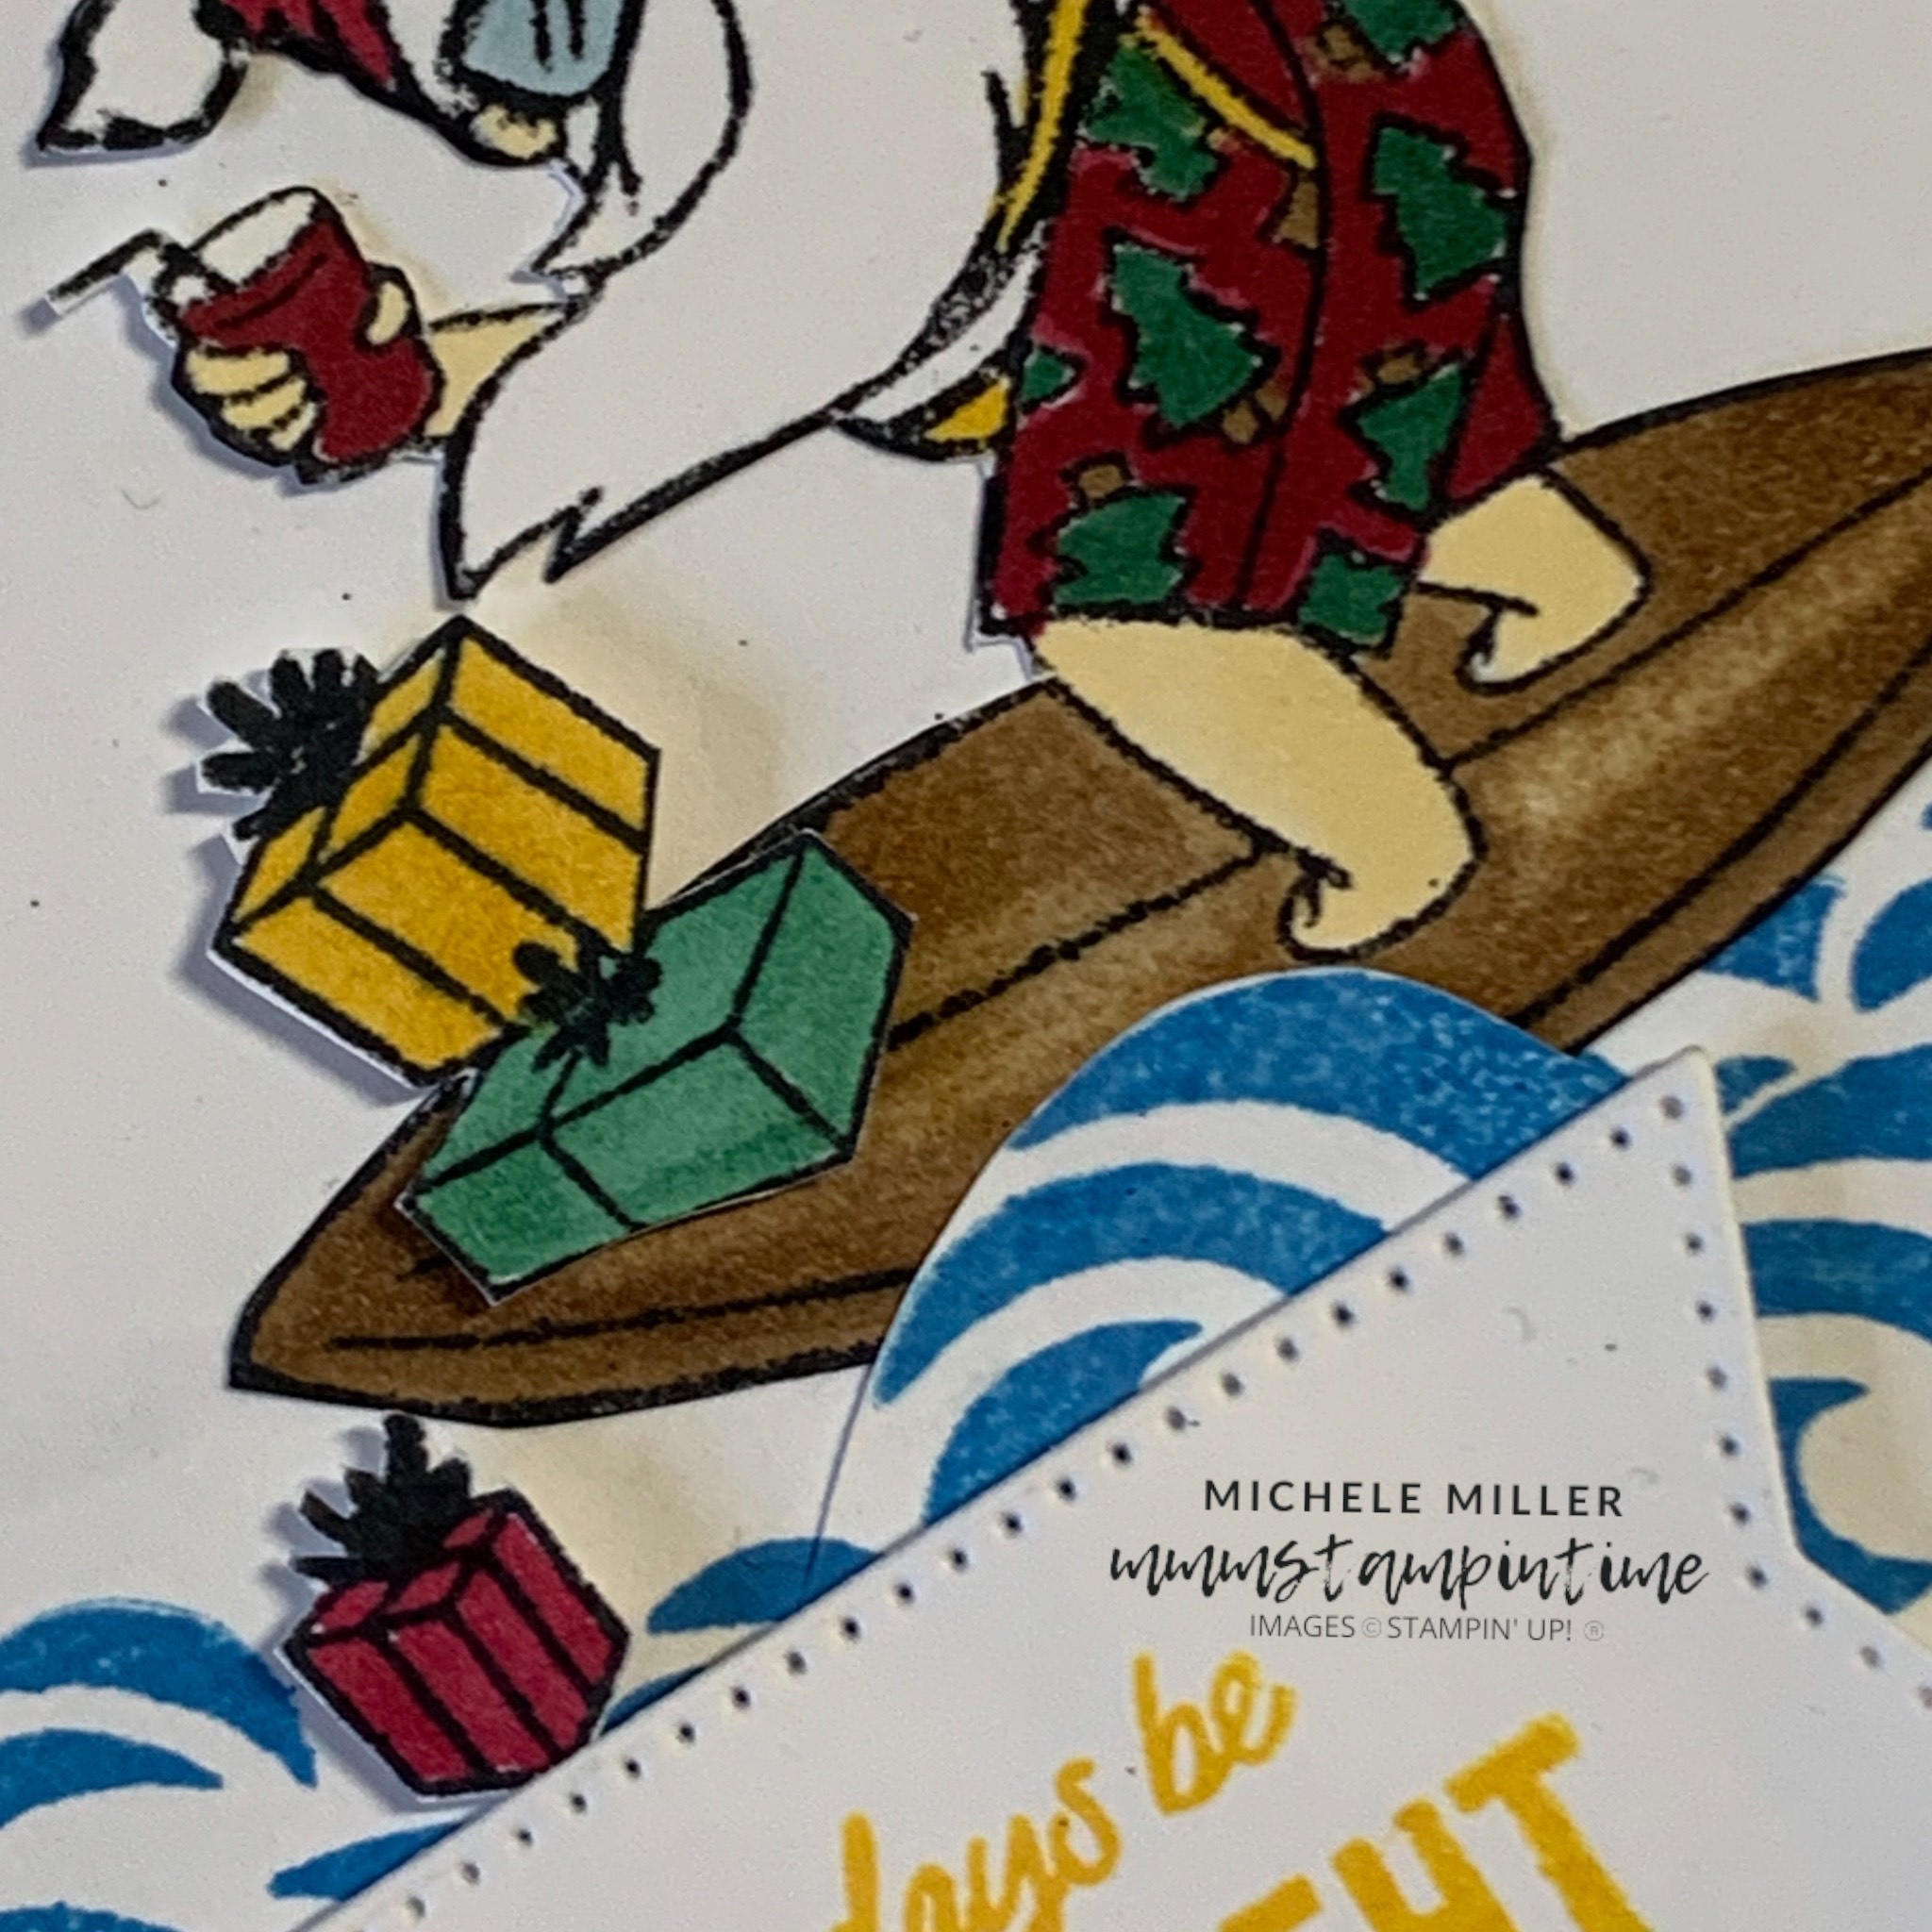
For my first first card, I started by stamping the waves using Azure Afternoon ink and a masking technique align them and create a rolling set.

The next step was to stamp, colour and fussy cut this super cool Santa, hanging 10 on his board. This is day one of his surfing safari and he doesn’t have his summer tan yet.

I used the cutting blade attachment on my Take Your Pick tool, to cut into one of waves so that the board could slip in under it.

Then I stamped, coloured and fussy cut the gift boxes that Santa was trying to deliver on his board.

When I found this surfing Santa styled gingerbread in a local shop I knew that I needed to buy it for this photo!

I stamped the wave on the card insert and the back of the envelope to have everything coordinate.

The sun was stamped, using Daffodil Delight, on a piece of Basic White card and then cut using one of the circles from the Stylish Shapes Dies.

The greeting was also stamped in Daffodil Delight on white card and then cut using the largest banner die from the same die set.

Lots of Stampin’ Dimensionals were used to pop the sun, banner and gift boxes up from the card front.

Tomorrow I have a 3D project to share with you.

Until then, happy stamping.

If you live in Australia, you can order any of the products I used to make this card by going to my online store. Just click on any of the images below.

Product List
Paper Snips
[103579]
$21.00
Posted on Leave a comment

FUN FOLD FRIDAY

Most of this week has been spent relocating my retired products to other craftrooms. I am so grateful to all the creative people who chose these items for their crafting adventures. I am beginning to make space ready for new goodies when the next Annual Catalogue is released.

This week I have also created several projects using Joyful Images and Joyful Sayings from the Mix & Match Ephemera products from the September – December 2024 Mini Catalogue. I also used the A Little Bit Festive 12″x 12″ Specialty Designer Series Paper.

The fun fold card I made is a Double Corner Fold card.

I started with a Night of Navy cardbase and used the scoring blade on my paper trimmer to make the creases I needed for this design.

The first scorelines were made diagonally through the centre of the card and finished 1 1/4″ from the bottom edge of the cardbase.

The second set of scorelines were 1/2″ closer to the sides of the card.

After folding and burnishing the scorelines I was able to create the folded corners.

The next thing was to cut the Designer Series Paper to cover the front, back and inside the card.

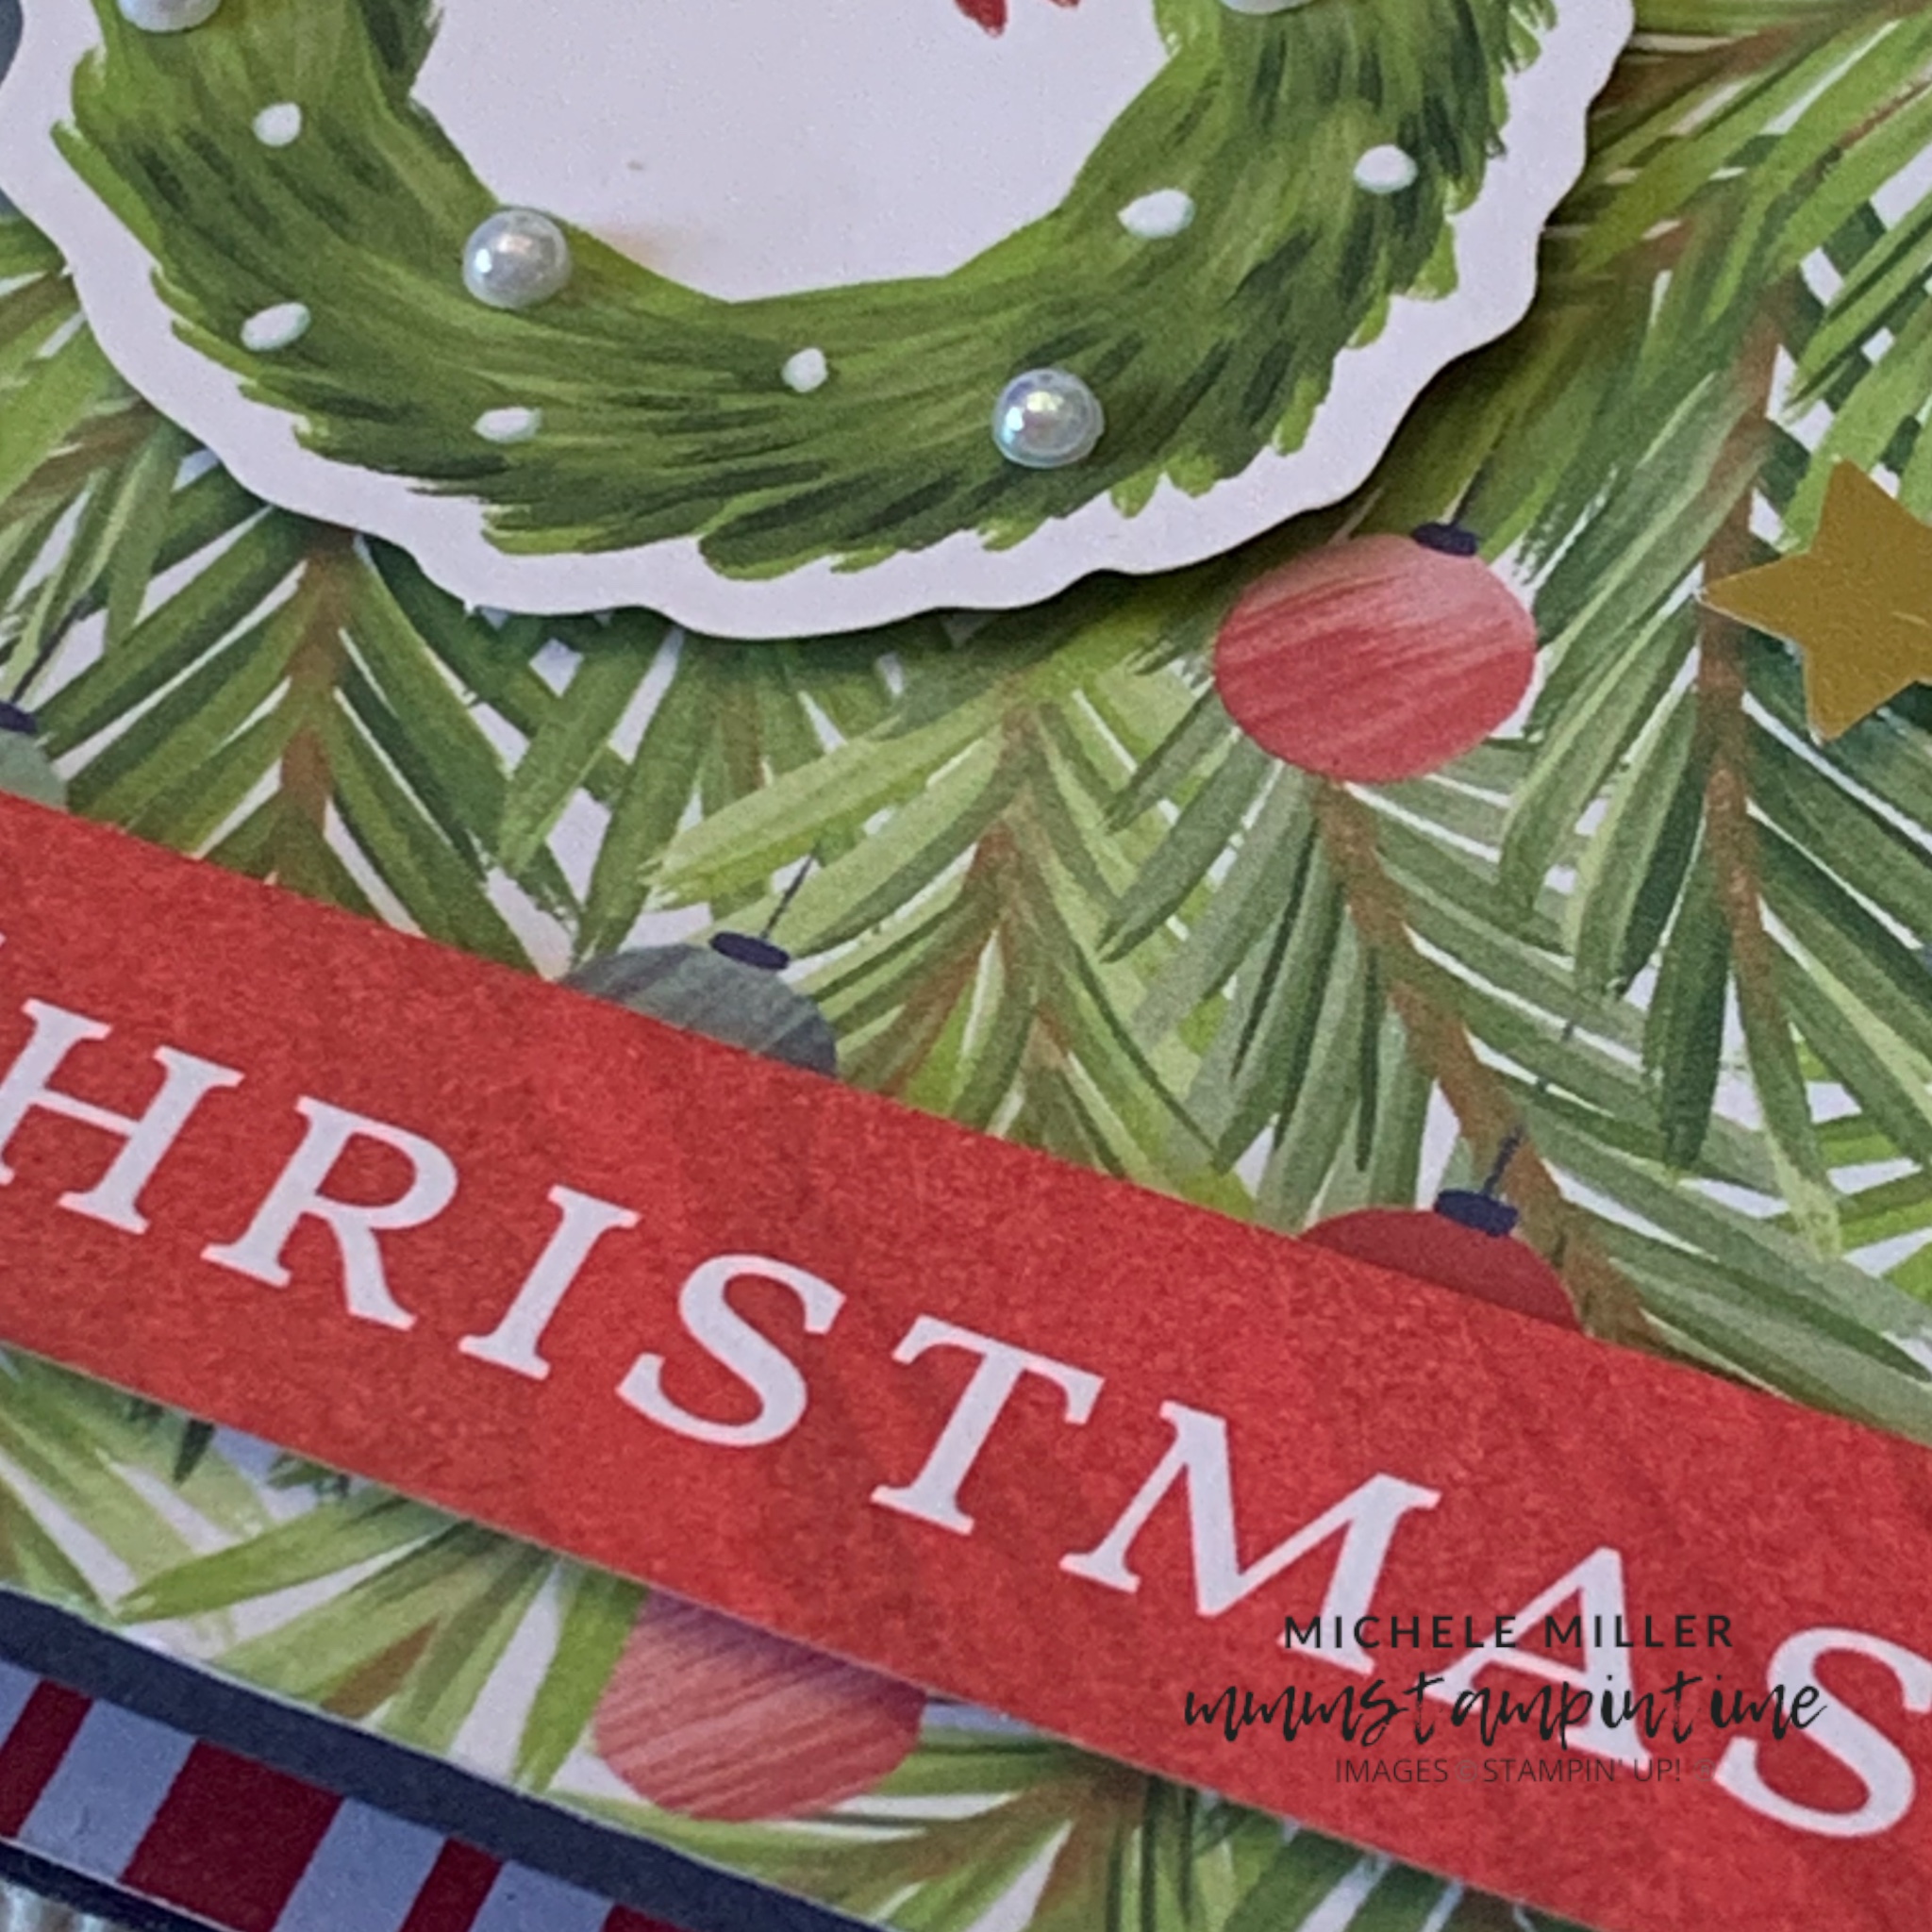
I added some elements from the two Ephemera Packs to decorate the card.

Finally, I added a number of small Iridescent Pearl Basic Jewels.

I will have more projects to share with you over the weekend.

Until then, happy stamping.

If you live in Australia, you can order any of the products I used to make this card by going to my online store. Just click on any of the images below.

Product List
Paper Snips
[103579]
$21.00
Bone Folder
[102300]
$14.00