I was doing some grocery shopping yesterday and found some unusual candy canes – there were orange and pink canes in the packet. Perfect for making another 3D project!

The boxes remind me of the shape of letter boxes I’ve seen in the United States. I was able to make them using a piece of cardstock measuring 8″x 5-1/2″. I scored along both sides of the long edge at 1-1/4″. After burnishing the score lines, I added Stampin’ Seal+ and overlapped the 1-1/4″ wide lengths to form the base.
I stamped the Candy Canes image in Melon Mambo and Pumpkin Pie to match the colour of the canes. After trimming the stamped cardstock to 5-1/2″x 4-5/8″, I used Multipurpose Glue to attach it to the gift box.

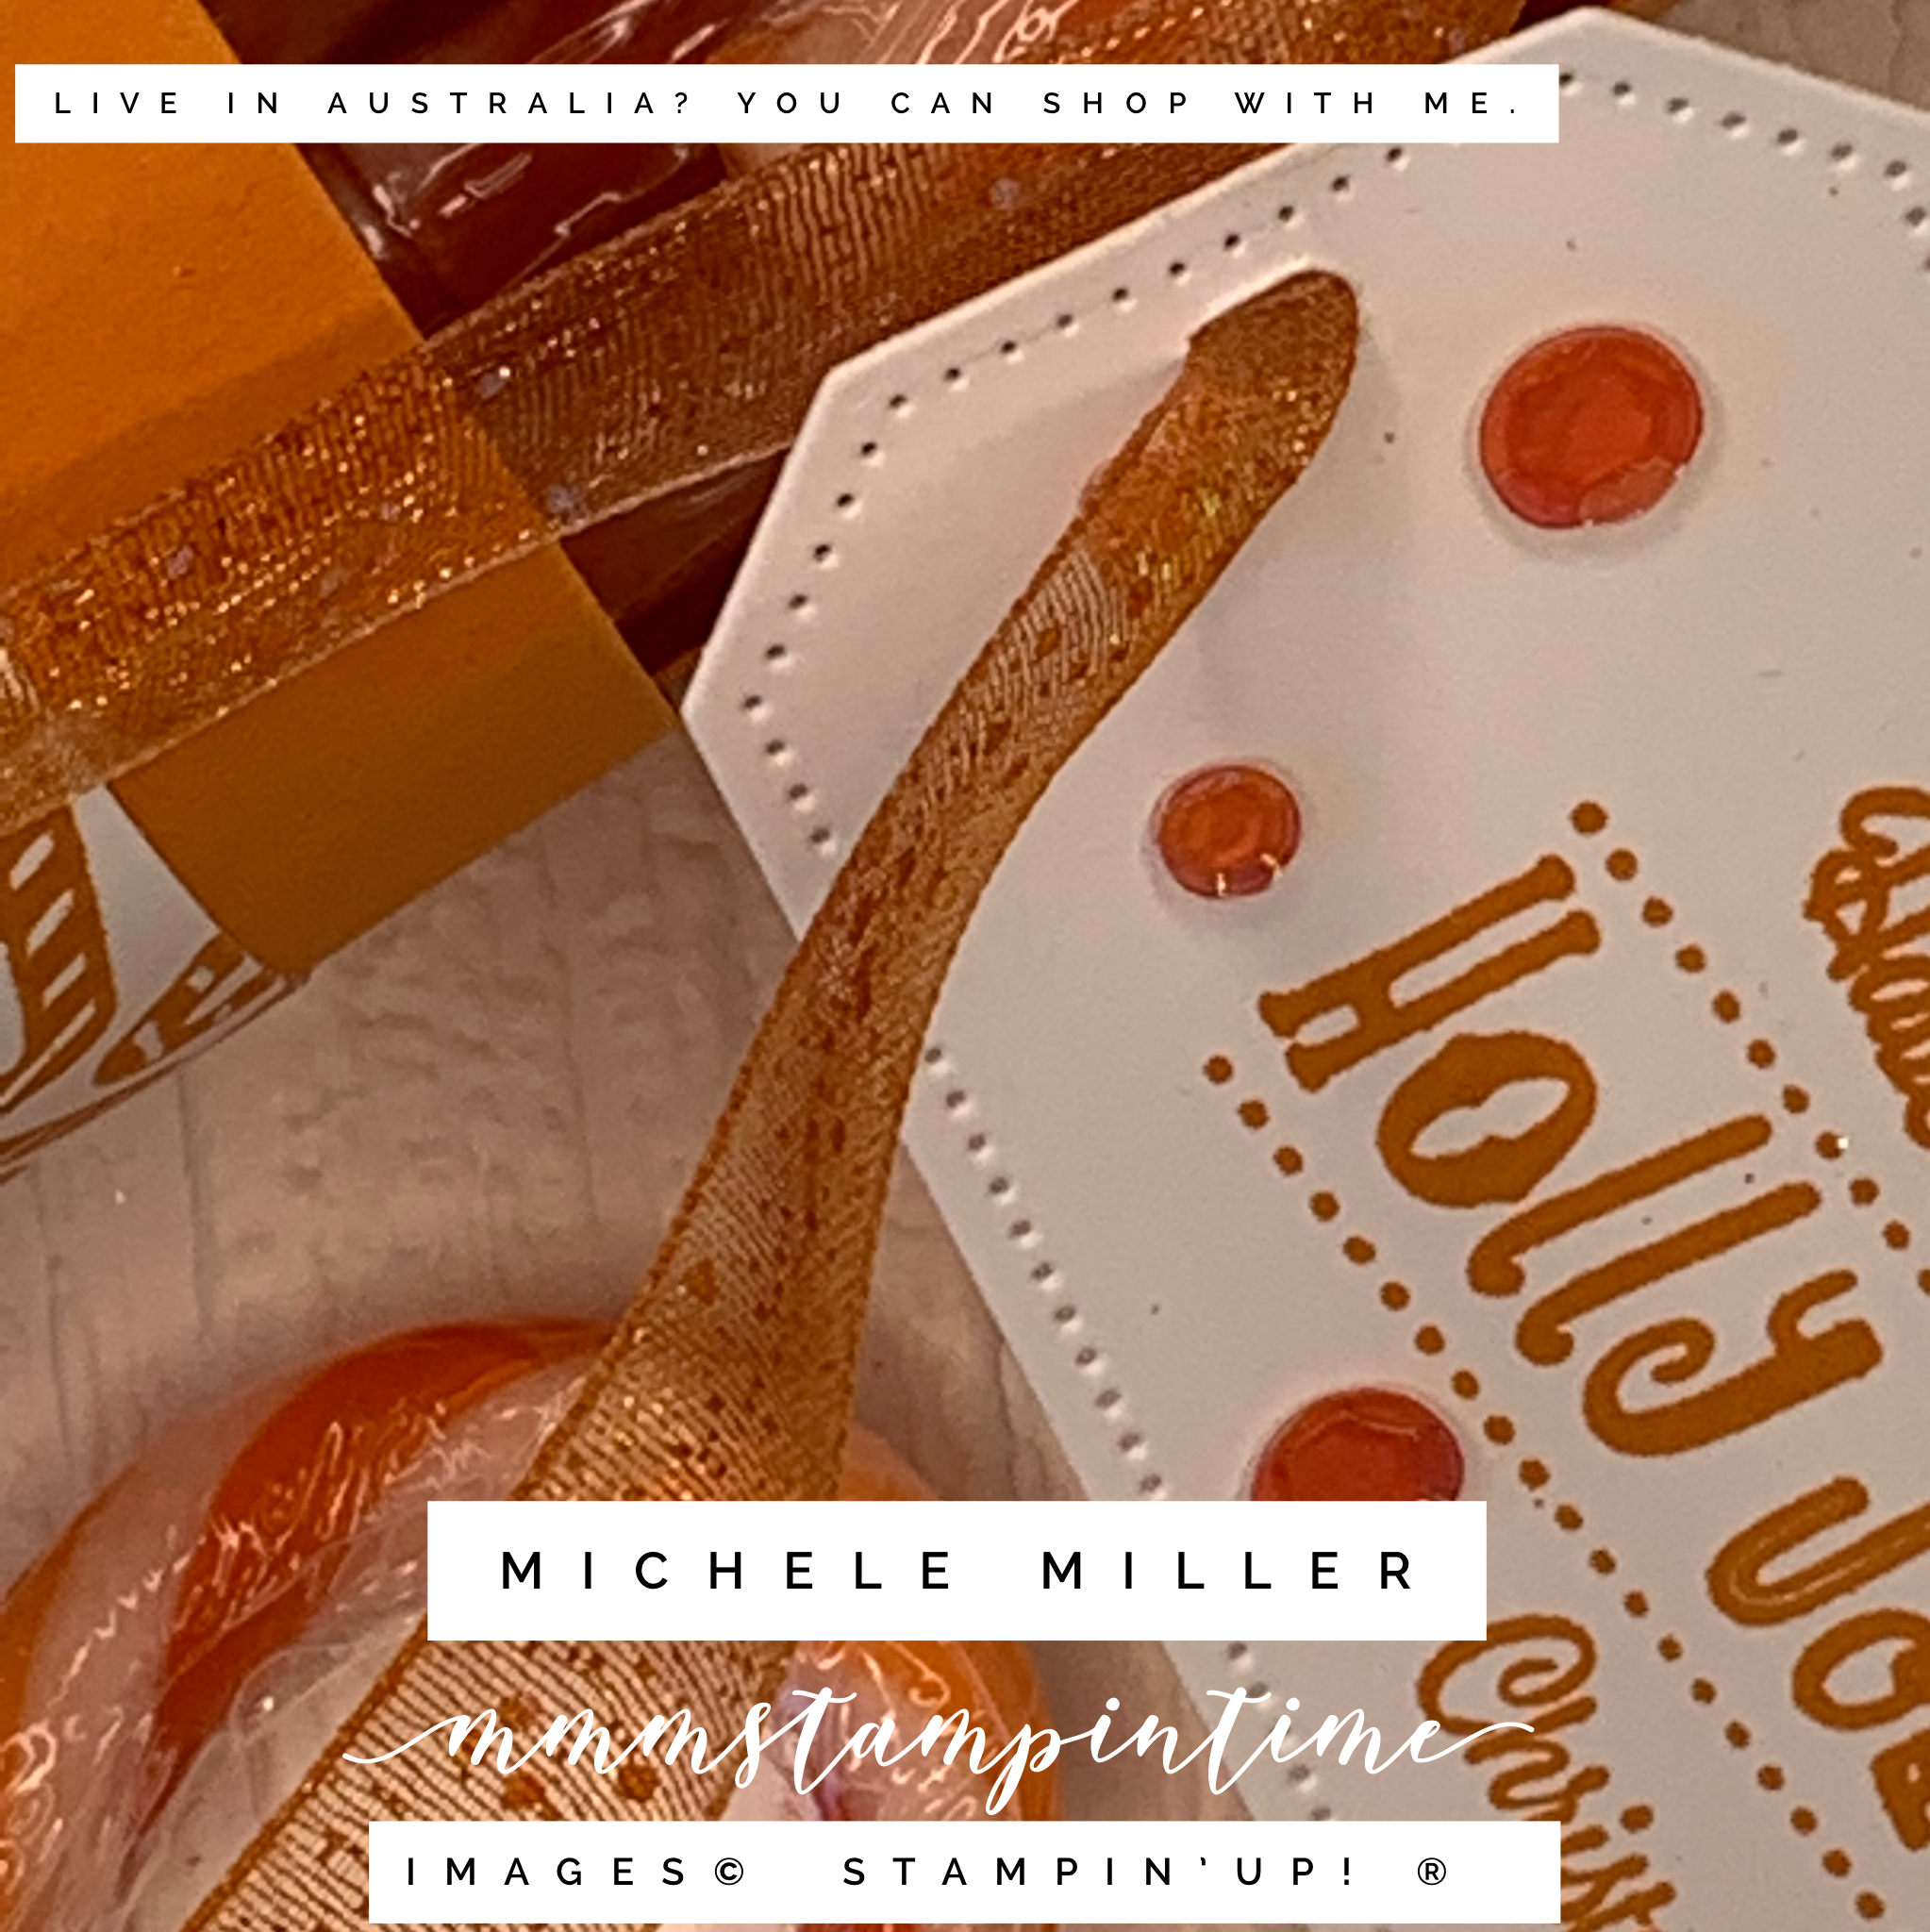
I coloured a length of White Glittered Organdy Ribbon using the coordinating Stampin’ Blends. After punching Rectangular Postage Stamp pieces of cardstock, I attached the ribbon to it before securing the ribbon to the base of the box.
I made an insert to hold the coloured candy canes and the ribbon ensured that, when tied in a bow, it would not slide out.

The Christmas greeting is from the Holly Jolly Wishes Stamp Set and the two tags were stamped in the coordinating colour. The tags were cut using the Tailor Made Tags Dies.
The tags were added to the ribbon before the bows were tied.
The final touch was to add some Artistry Blooms Sequins.

I’m still refining the way to use my new ring light when taking photos. Please be patient with me as I work on improving my lighting.
What do you think about my candy cane holders?
Until next time, happy stamping.

If you live in Australia, you can order any of the products I used to make this card by going to my online store. Just click on any of the images below.
Product List


