Posted on Leave a comment

FINALLY, IT’S FRIDAY & TIME FOR A FUN FOLD CARD

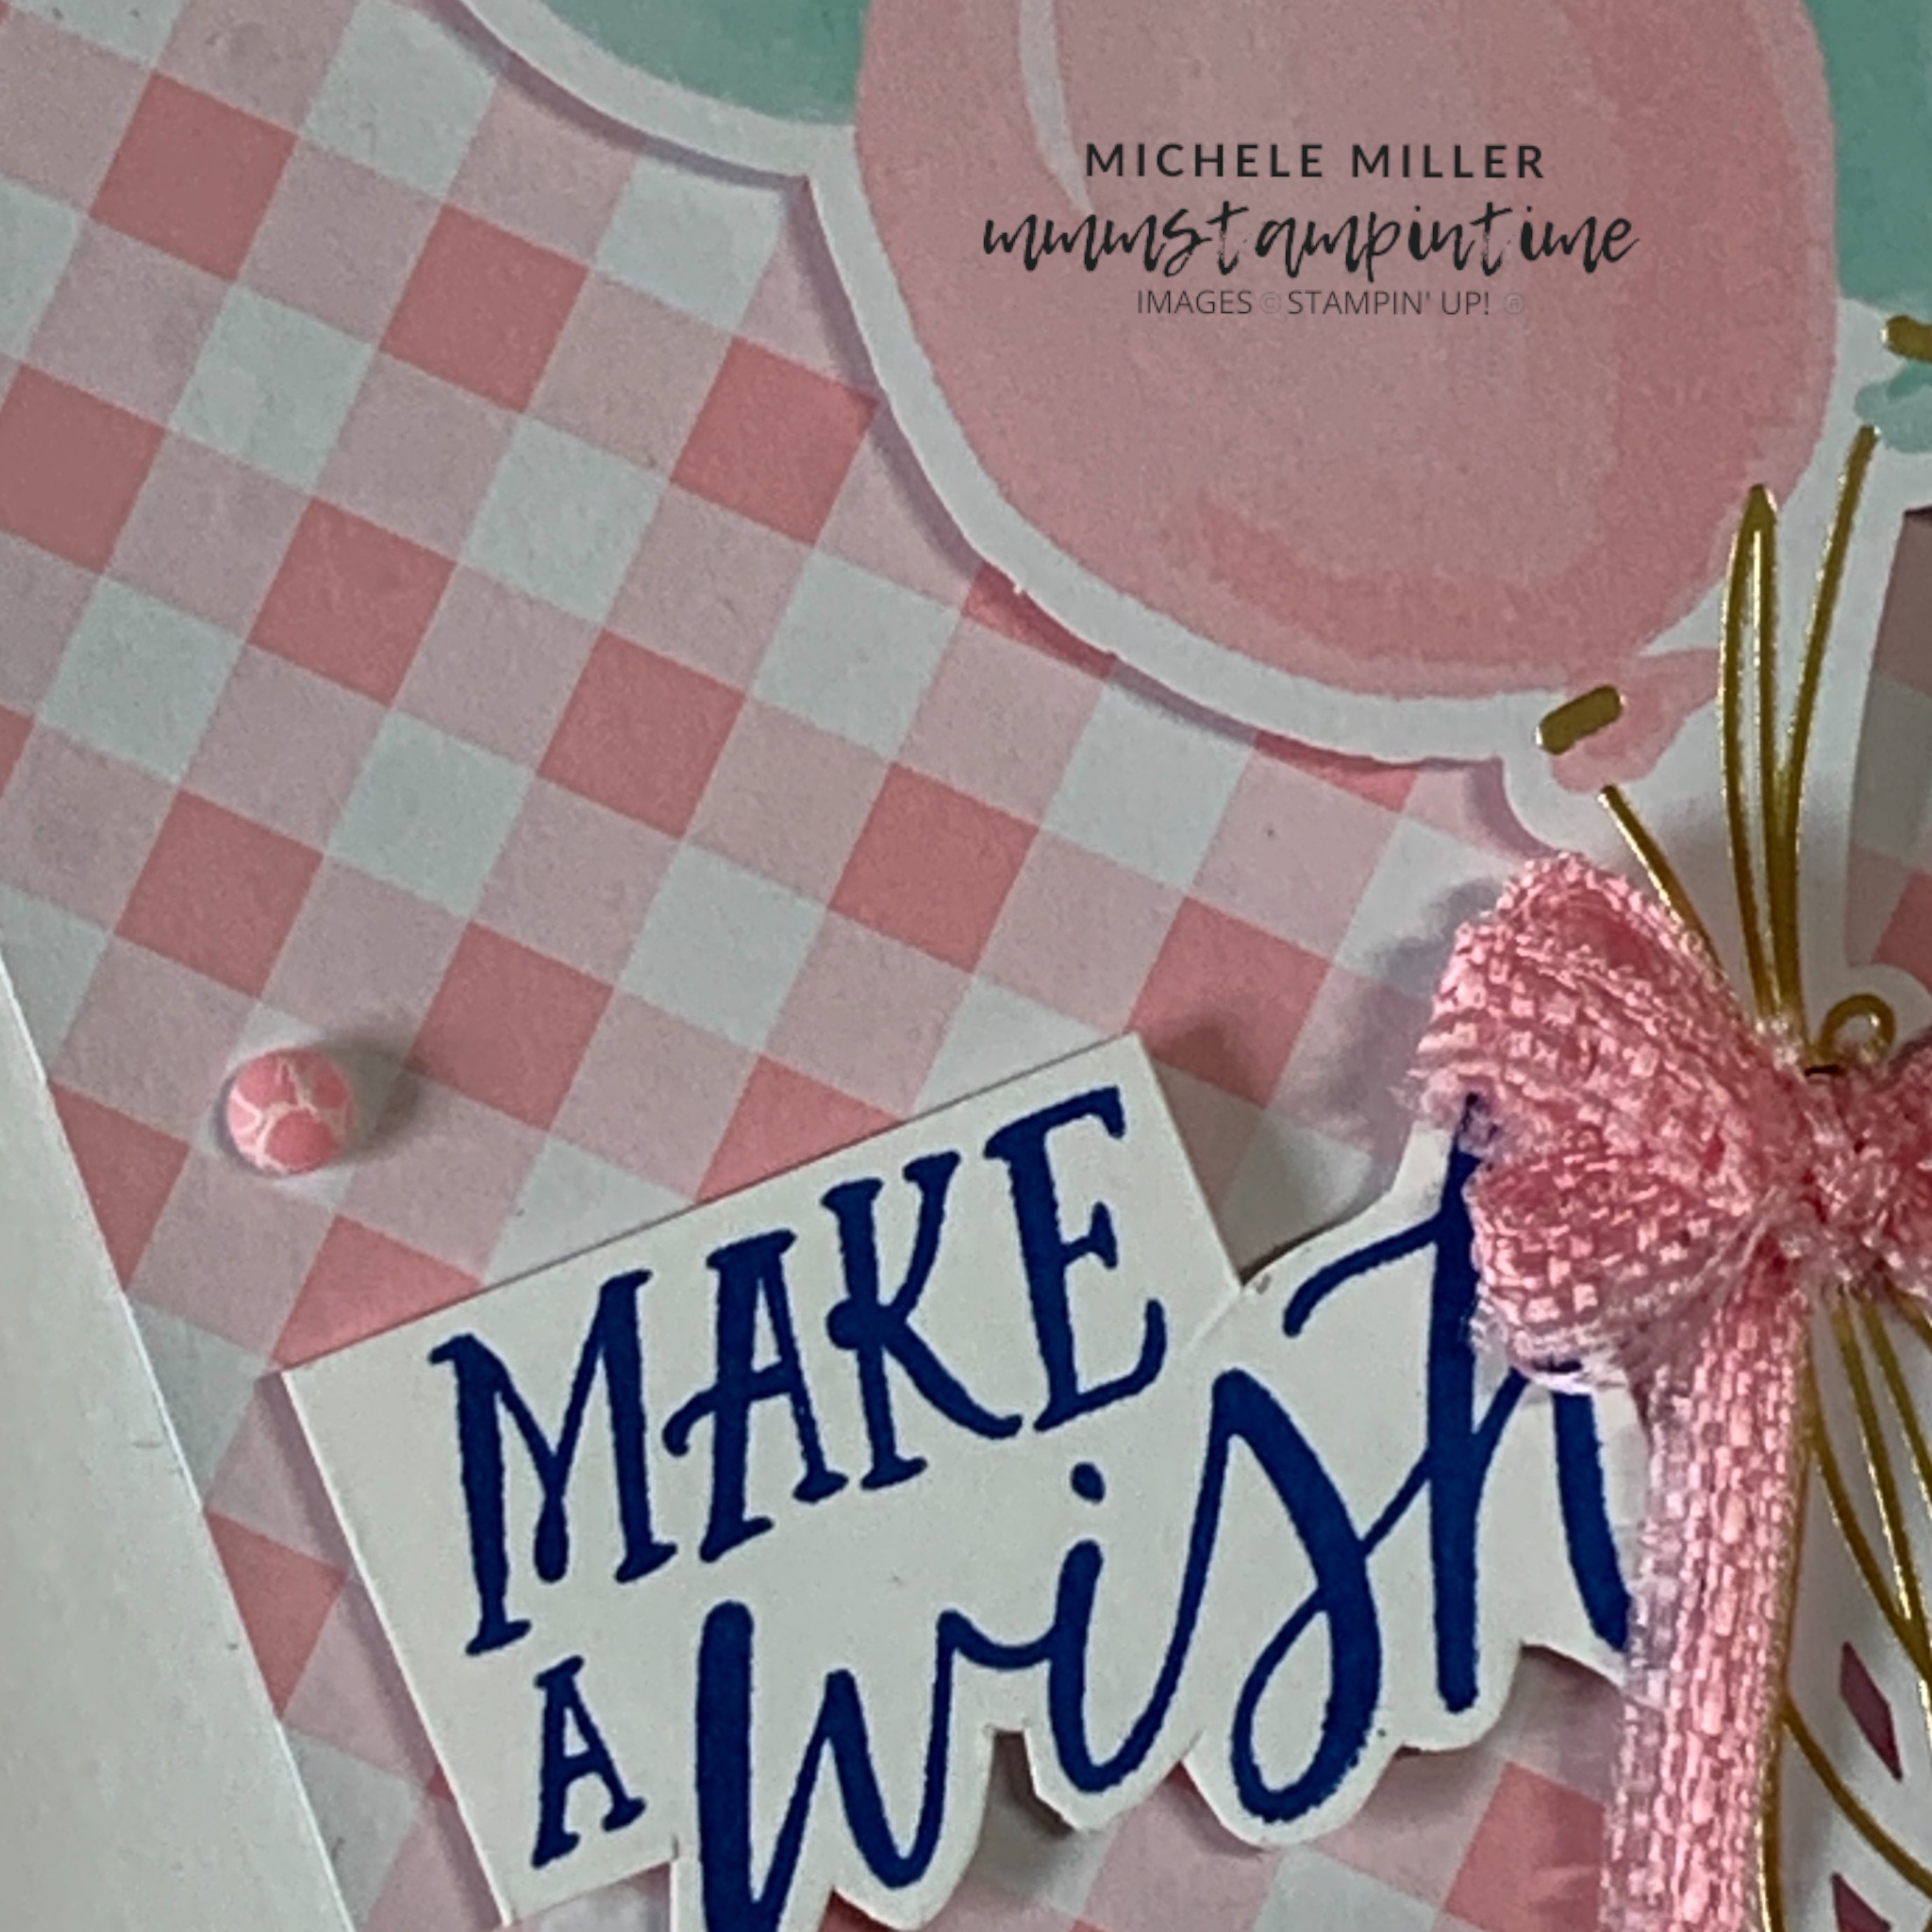
I created today’s fun fold card for my daughter’s 30th birthday.

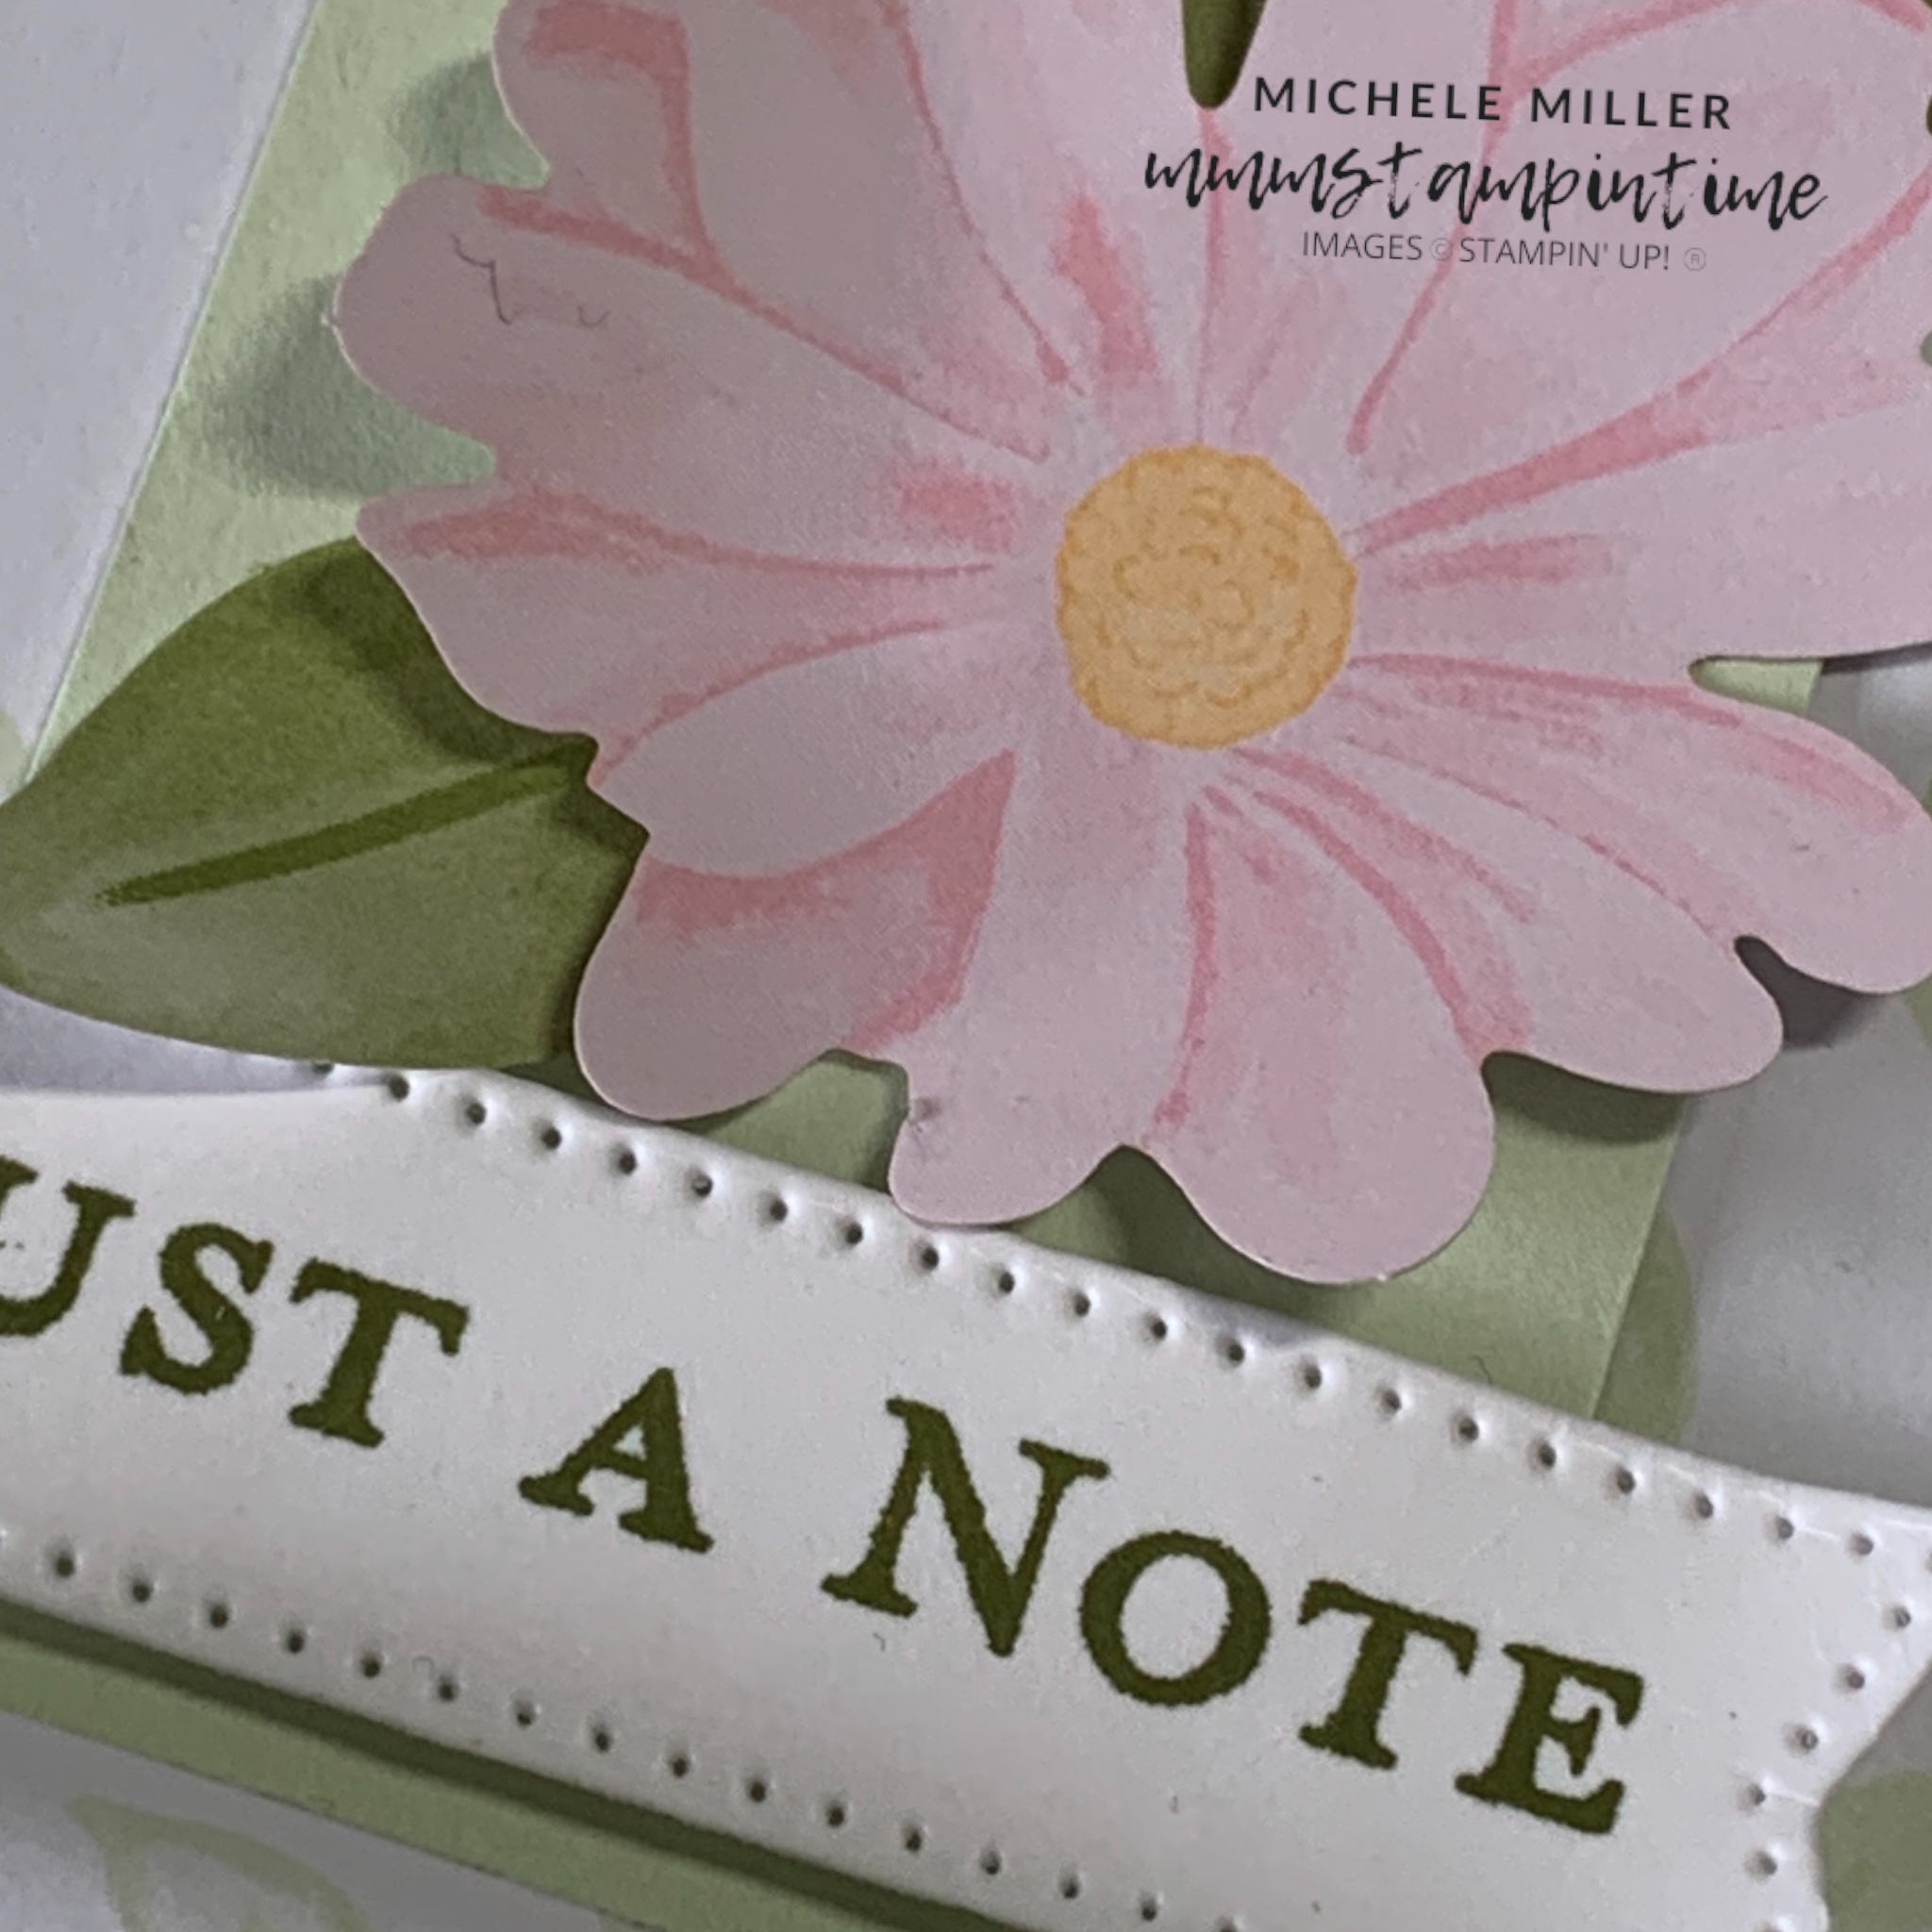
Using the Everday Arches Dies I created a trifold card and decorated it, using the Wildflower Birthday Suite Collection.

This was a card that I so delighted to make.

After carefully folding, burnishing and cutting the three connected arch panels I set about cutting and adding some of the gorgeous Designer Series Paper designs to the card.

For the front panel, I added the DSP arch before using the Alphabet A La Mode Dies to cut the letters for Kate’s name – I used Adhesive Sheet and Gold card. I used this to cut the tassels and string.

Opening out the card you can begin to see the paper and decorative elements I have used.

The die cut elements, from the DSP pack, are perfect to incorporate in projects using this suite collection.

The last panel was Basic White … however, I had already writtn my message to her and decided not to share it.

Next week, we have Valentine’s Day looming – so I will be creating some love and heart inspired creations.

Until then, happy stamping.

If you live in Australia, you can order any of the products I used to make this card by going to my online store. Just click on any of the images below.

Product List
Paper Snips
[103579]
$21.00
Posted on Leave a comment

THURSDAY IS THE DAY FOR 3D PROJECTS

Recently, I was shopping and found an open box containing 3 post-it note bundles featuring leaf designs that were similar to the leaf designs on one of the Wildflower Birthday papers.

I knew that I could easily turn this into a lovely gift for someone.

After measuring the box, I sketched out my plan to create a wrap around covering for the box to encase its contents – base, sides and lid with a magnetic closure.

The covering was made using 12″x 12″ Soft Sea Foam card and the leaf design paper from the Wildflower Birthday DSP collection.

I work carefully to cut the paper so that the design flows continuously around the box.

Two belly bands were created to hold the front flap in place.

One of the belly bands was decorated with some of the die cut designs from the DSP pack – a flower and some leaves.

The greeting, from the Shadowed Shapes Stamp Set, was stamped and cut using one of the banner dies from the Stylish Shapes Dies.

The pen was disassembled and had some of the DSP wrapped around the pen insert. I used another piece of the DSP to create the pen holder for the top of the box.

Here you can see why I thought the DSP design was perfect for this project – neutral and pale green colours on the post-it notes.

I think this makes a great little gift for someone – it takes a fairly basic item and turns it into something more interesting and appealing to have on your desk.

Tomorrow I have a fun fold card to share with you.

Until then, happy stamping.

If you live in Australia, you can order any of the products I used to make this card by going to my online store. Just click on any of the images below.

Product List
Paper Snips
[103579]
$21.00
Posted on Leave a comment

WONDERFUL NEWS – MORE PRODUCTS HAVE BEEN ADDED TO SALE-A-BRATION FOR FEBRUARY

From embellishments and ribbon to stamp sets and dies, Stampin’ Up! has added more products to the collection of Sale-a-bration goodies you can earn.

Click on the image below to see the new FREE products.

For every $100 and $200 you spend, you’ll earn an exclusive Sale-A-Bration item for free! Depending on the amount you spend, you’ll be able to mix and match the Sale-A-Bration items you earn! Shop now until 28 February.

Today’s card is another for my birthday collection.

I started with a Pretty in Pink card base and added a Basic White panel.

The pink gingham paper was cut so that it could be added to the white panel at an angle.

I chose the balloon bundle from the die cut images in the Wildflower Birthday DSP and placed it on the card using Stampin’ Dimensionals.

The greeting was stamped then trimmed and fussy cut. Then I used more dimensionals to pop it up on the card front as well.

A length of Pretty in Pink Bordered Ribbon was cut in half and tied into a multiple bow. I used a Mini Glue Dot to hold it in place.

I used the same gingham paper to decorate the card insert and the back of the envelope.

Then I added some pink dots from the Adhesive-backed Dappled Dots.

Tomorrow I have a 3D project to share with you.

Until then, happy stamping.

If you live in Australia, you can order any of the products I used to make this card by going to my online store. Just click on any of the images below.

Product List
Paper Snips
[103579]
$21.00