Posted on Leave a comment

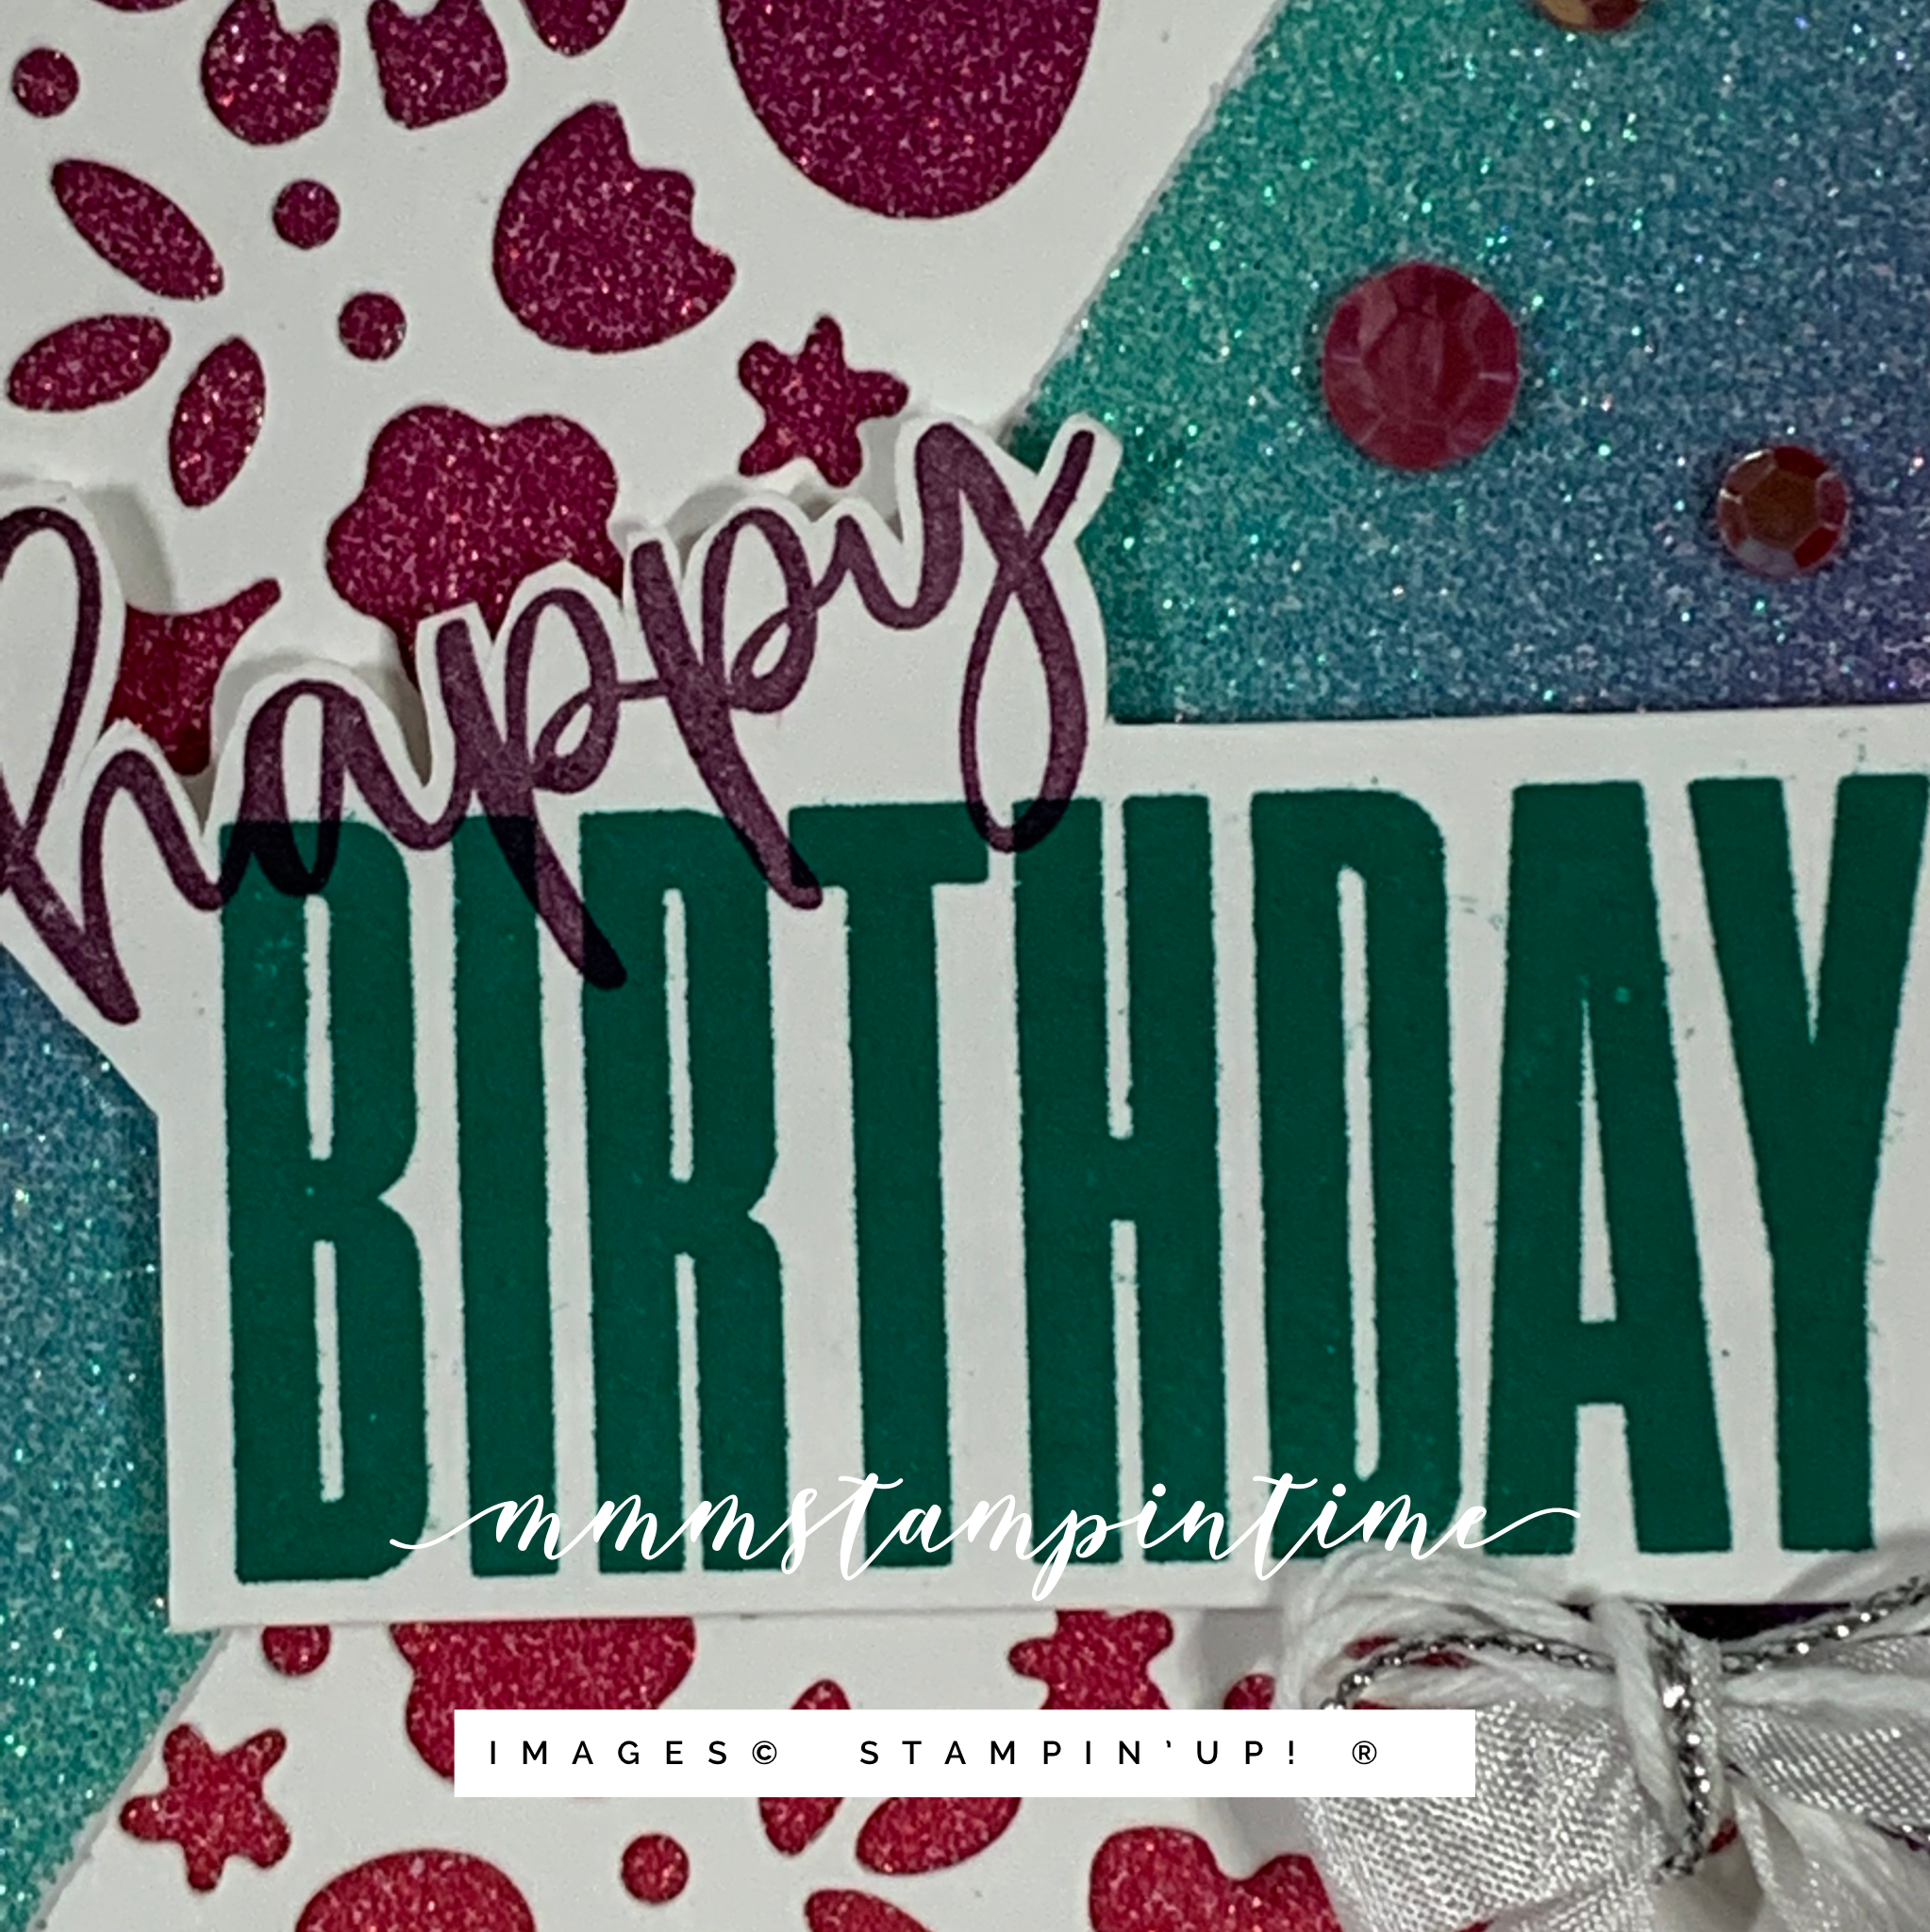
COLOURFUL FLOWER MARKET

Earlier this week I posted a card I made for the Global Design Project Challenge – #GDP312. I was also working on a second card idea that I finished last night.

For my second card I used the Flower Market Die to cut out the gorgeous floral design. Then I placed pieces of Rainbow Glimmer Paper under the cut layer.

Then I cut more of the Rainbow Glimmer Paper from the Bermuda Bay and Blackberry Bliss side of the sheet.

The birthday greeting was stamped using my Stamparatus to ensure a strong and clear image. Then I trimmed and fussy cut the greeting. It was popped up on the card front using Stampin’ Dimensionals.

For the card insert and envelope, I cut a stencil using the Flower Market Die and then I used my Blending Brush to colour them.

The triple bow was made using lengths of Whisper White Crinkled Seam Binding Ribbon, white Baker’s Twine and silver Simply Elegant Trim.

The final touch was to add some Artistry Blooms Sequins to the card front.

I am so delighted by the way this card turned out. What do you think? Shimmery and bling enough?

Until next time, happy stamping.

If you live in Australia, you can order any of the products I used to make this card by going to my online store. Just click on any of the images below.

Product List
Paper Snips
[103579]
$17.00
Posted on Leave a comment

HAPPY DANCE

Hello and welcome. Thanks for popping by to see my latest project.

Today is all about having fun down on the farm.

I thought it would be fun to combine images from the Way to Goat and Counting Sheep Stamp Sets.

I started by lining up the goat and sheep images on my Stamparatus. This made it so easy to have the images align perfectly.

The stamped piece of Basic White cardstock was trimmed back to just three images. Then I used Stampin’ Blends to colour the very happy looking farmyard friends. I also brushed some Clear Wink of Stella over each of the dancers.

A length of Mossy Meadow cardstock was torn to create the grass the animals are frolicking across.

After adding some Stampin’ Seal + across the back of the stamped panel, I added lengths of Blushing Bride Frayed Grosgrain Ribbon.

I used one of the Seasonal Labels Dies to cut a piece of Blushing Bride card and then ran it through the Mini Stampin’ Cut & Emboss Machine with the Tasteful Textile 3D Embossing Folder. It was trimmed down and then popped up on the back of the stamped panel using Stampin’ Dimensionals.

The stamped, ribbon panel was then positioned on the front of the card base using Stampin’ Dimensionals.

After some Adhesive Sheet was added to the back of a piece of Mossy Meadow cardstock, I cut the letters for the word ‘dance’ using the Playful Alphabet Dies. The word was then placed under the grassy area.

‘Happy’, from the Biggest Wish Stamp Set, was stamped and fussy cut before having narrow strips of Stampin’ Dimensionals popped behind it.

I trimmed down the leftover piece of embossed cardstock and added it to the envelope. Then I stamped ‘happy’ three times on the card insert.

And, last but not least, I added some Elegant Faceted Gems to the front of the card.

So, what do you think of my dancing animals?

Until next time, happy stamping.

If you live in Australia, you can order any of the products I used to make this card by going to my online store. Just click on any of the images below.

Product List
Paper Snips
[103579]
$17.00
Posted on Leave a comment

GLOBAL DESIGN PROJECT #GDP308

Hello and thanks for popping by to check out today’s post.

For a while now I have been taking part in a variety of blog hops and challenges to keep me on my card making toes.

This is my project for this week’s Global Design Project challenge. This week the challenge involves CASEing one of the GDP team member’s card.

GDP reminds those of us who take part that when we CASE a project we can take what we like from the design and make it our own. It might be the stamp set – the colors, the layout, the theme, the images – whatever we like that has inspired us to make a card of our own.

For my card CASE, I went with the layout.

I decided to use the Celebrate with Flowers Stamp Set for this project. It is the first time that I have used it.

Having chosen the main stamp set, I went on to choose the colours for the card – Evening Evergreen, Pale Papaya, Smoky Slate and Soft Succulent.

I stamped the three images several times across the piece of Basic White cardstock. Then I coloured each of them using the coordinatiing Stampin’ Blends.

The stamped panel was then adhered to a base layer of Evening Evergreen cardstock.

The scalloped die from the Penned Flowers Dies was used to create the base layer for the greeting. I stamped ‘friend’ from the Biggest Wish Stamp Set onto a piece of Basic White card and then cut a slightly wider piece of Soft Succulent card.

The Pale Papaya layer was adhered diectly on to the card base before the next two layers were each popped up using Stampin’ Dimensionals.

‘Hello’ was stamped and fussy cut before adding it to the greeting banner.

I embellished this card by stamping, colouring and fussy cutting the smaller flower and popping them up using Mini Stampin’ Dimensionals.

The final step was the stamp and colour the dragonfly/butterfly image on the inside of the card and the envelope.

It still surprises me that I can occasionally find a stamp set on my shelf that I haven’t used. Are you the same?

I’m on a mission to make sure that I have no unused stamp sets before the next catalogue goes live!

Until next time, happy stamping.

If you live in Australia, you can order any of the products I used to make this card by going to my online store. Just click on any of the images below.

Product List
Paper Snips
[103579]
$17.00