Sadly the first project I made with this suite was a condolence card for the family and loved ones following the death of someone I knew.

The card base was made with one of the new 2025-2027 In Colours, Secret Sea.
A panel of Cloud Cover card was embossed with the Distressed Tile 3D Embossing Folder.

To make sure there would be enough space for people to write their messages I created a three panel fold out insert. The front of the card and the insert panels all had the floral DSP adhered to them.
The message panels and the back of the envelope had strips of DSP added to them.

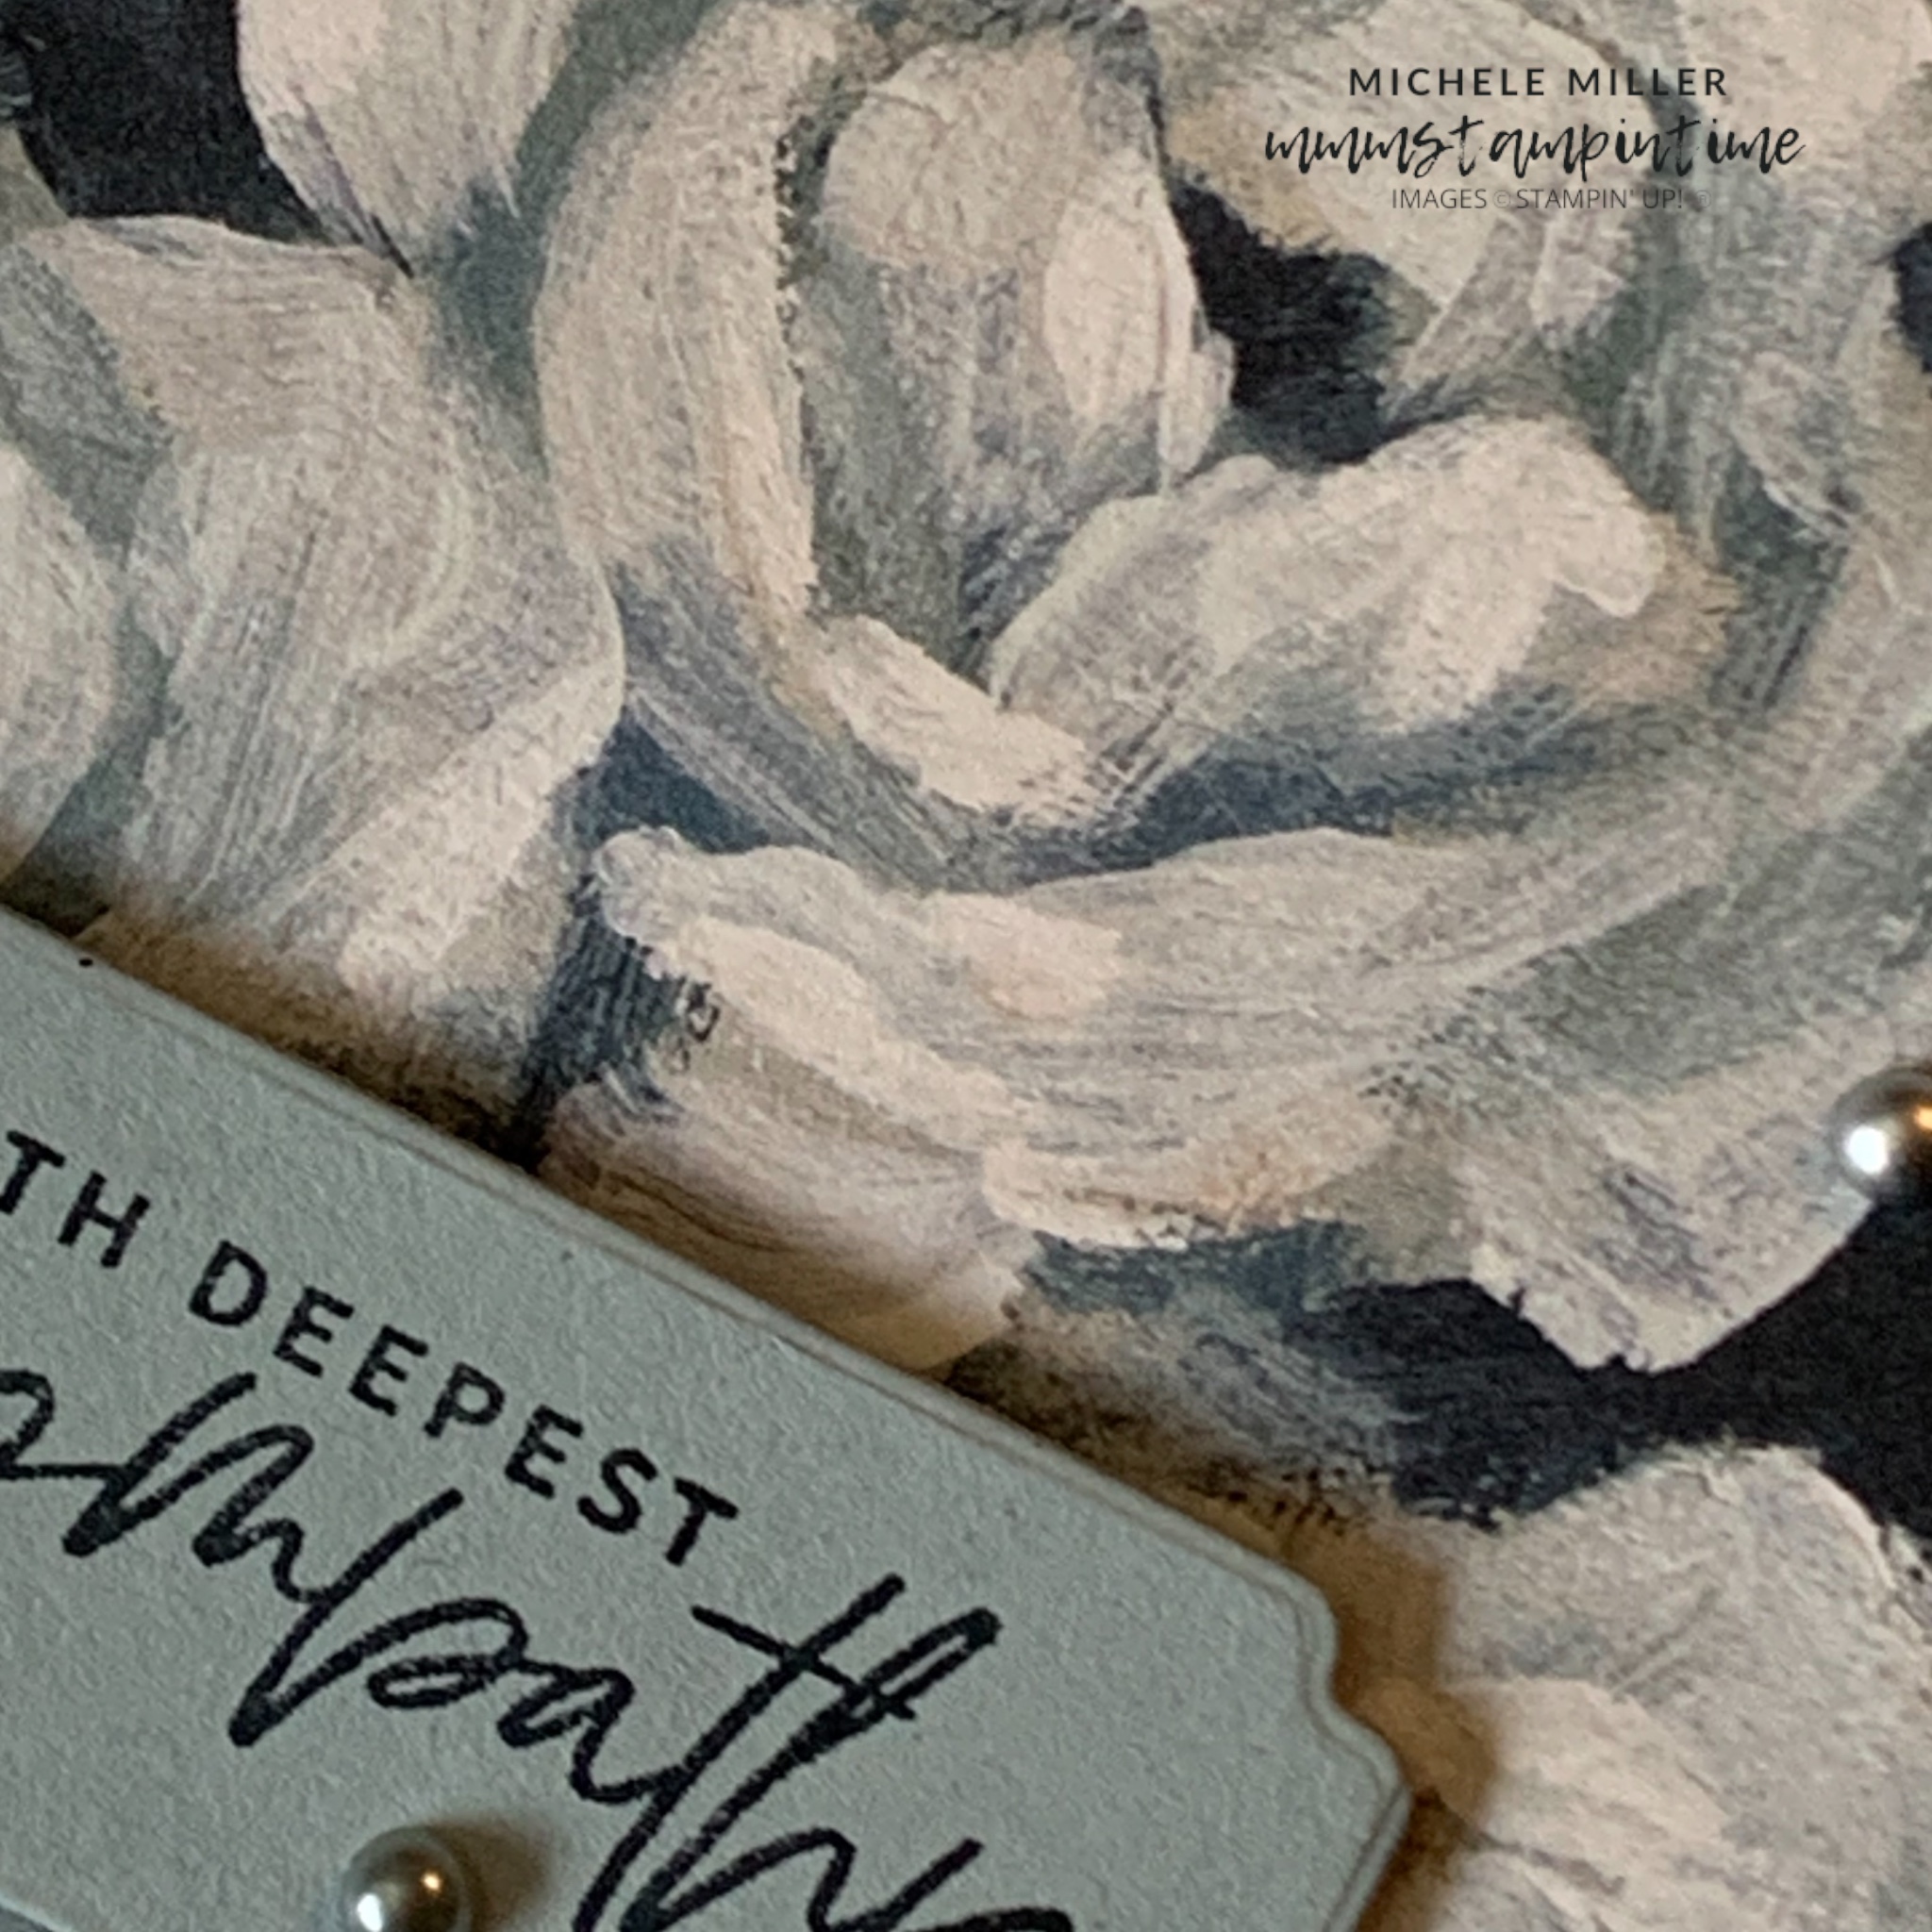
The sentiment, from the Something Fancy Stamp Set, was stamped and then cut using one of the Unbounded Love Dies.

It has been wonderful creating with the Beautiful Gallery Suite Collection this week.
Next week I will feature another new Suite Collection that will available from May 5th.
Until then, happy stamping and scrapbooking.