After yesterday’s simple (yet, bland) cards, it is time for some that are more interesting. I have stepped up the basic layout of yesterday’s cards and added more elements to these samples.
For this card I have added a piece of the All Together 6″x 6″ Designer Series PAper to the card base.
I stamped and die cut two sets of hands. The “pinky promise” is very cute.
After stamping the sentiment, I used one of the dies from the Waves Dies. Then I took a length of Real Red Faux Linen Ribbon and threaded it through the cut out ends. A piece of white twine, from the Baker’s Twine Essentials Pack, was used to tie and hold the red ribbon. The sentiment panel was popped up using Stampin’ Dimensionals.
Finally, I used the Dark Real Red Blends Pen to add some colour to the fingernails.
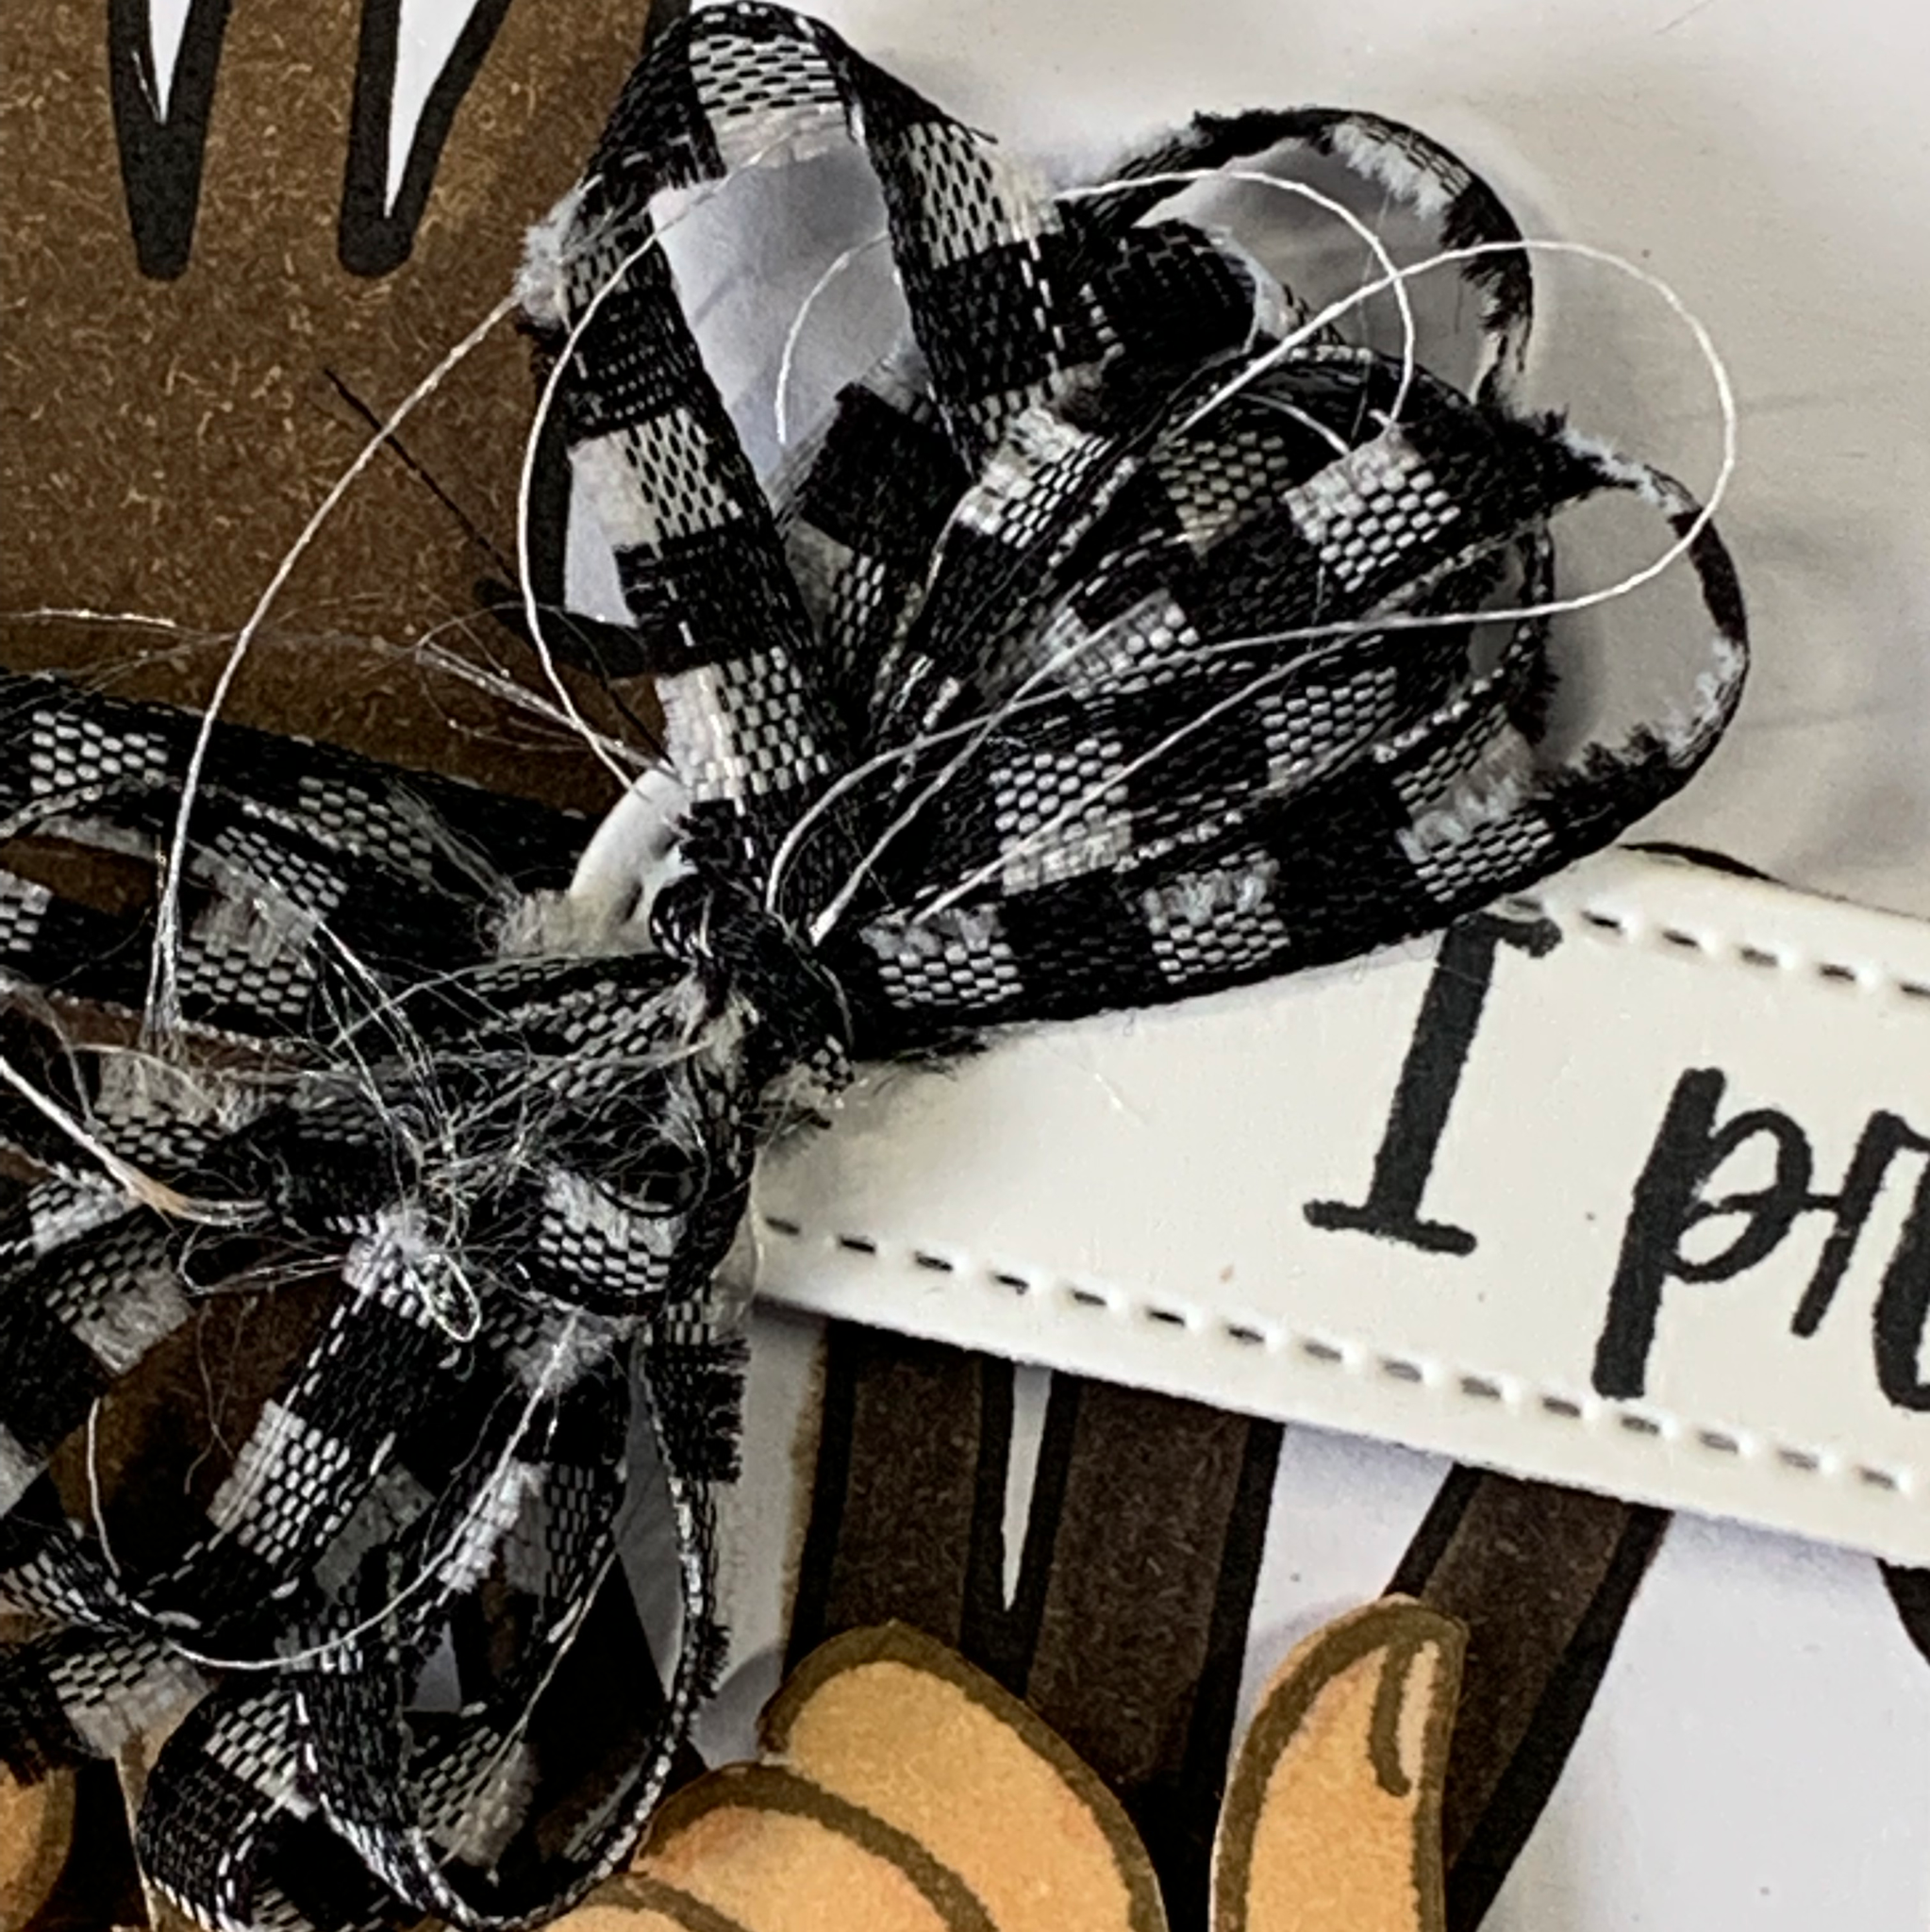
For this card, I chose a different DSP design and ribbon.
I stamped and coloured the “pinky promise” hands using two of the new Natural Tones Stampin’ Blends Collection.
A length of Black & White Gingham Ribbon was wrapped around the DSP panel with one end threaded through the sentiment panel and tied in a simple knot. After a few dimensionals were placed on the back and then popped up on the card front.
Melon Mambo and Real Red Blends were used to colour the nails. I also coloured three of the hearts on the DSP.
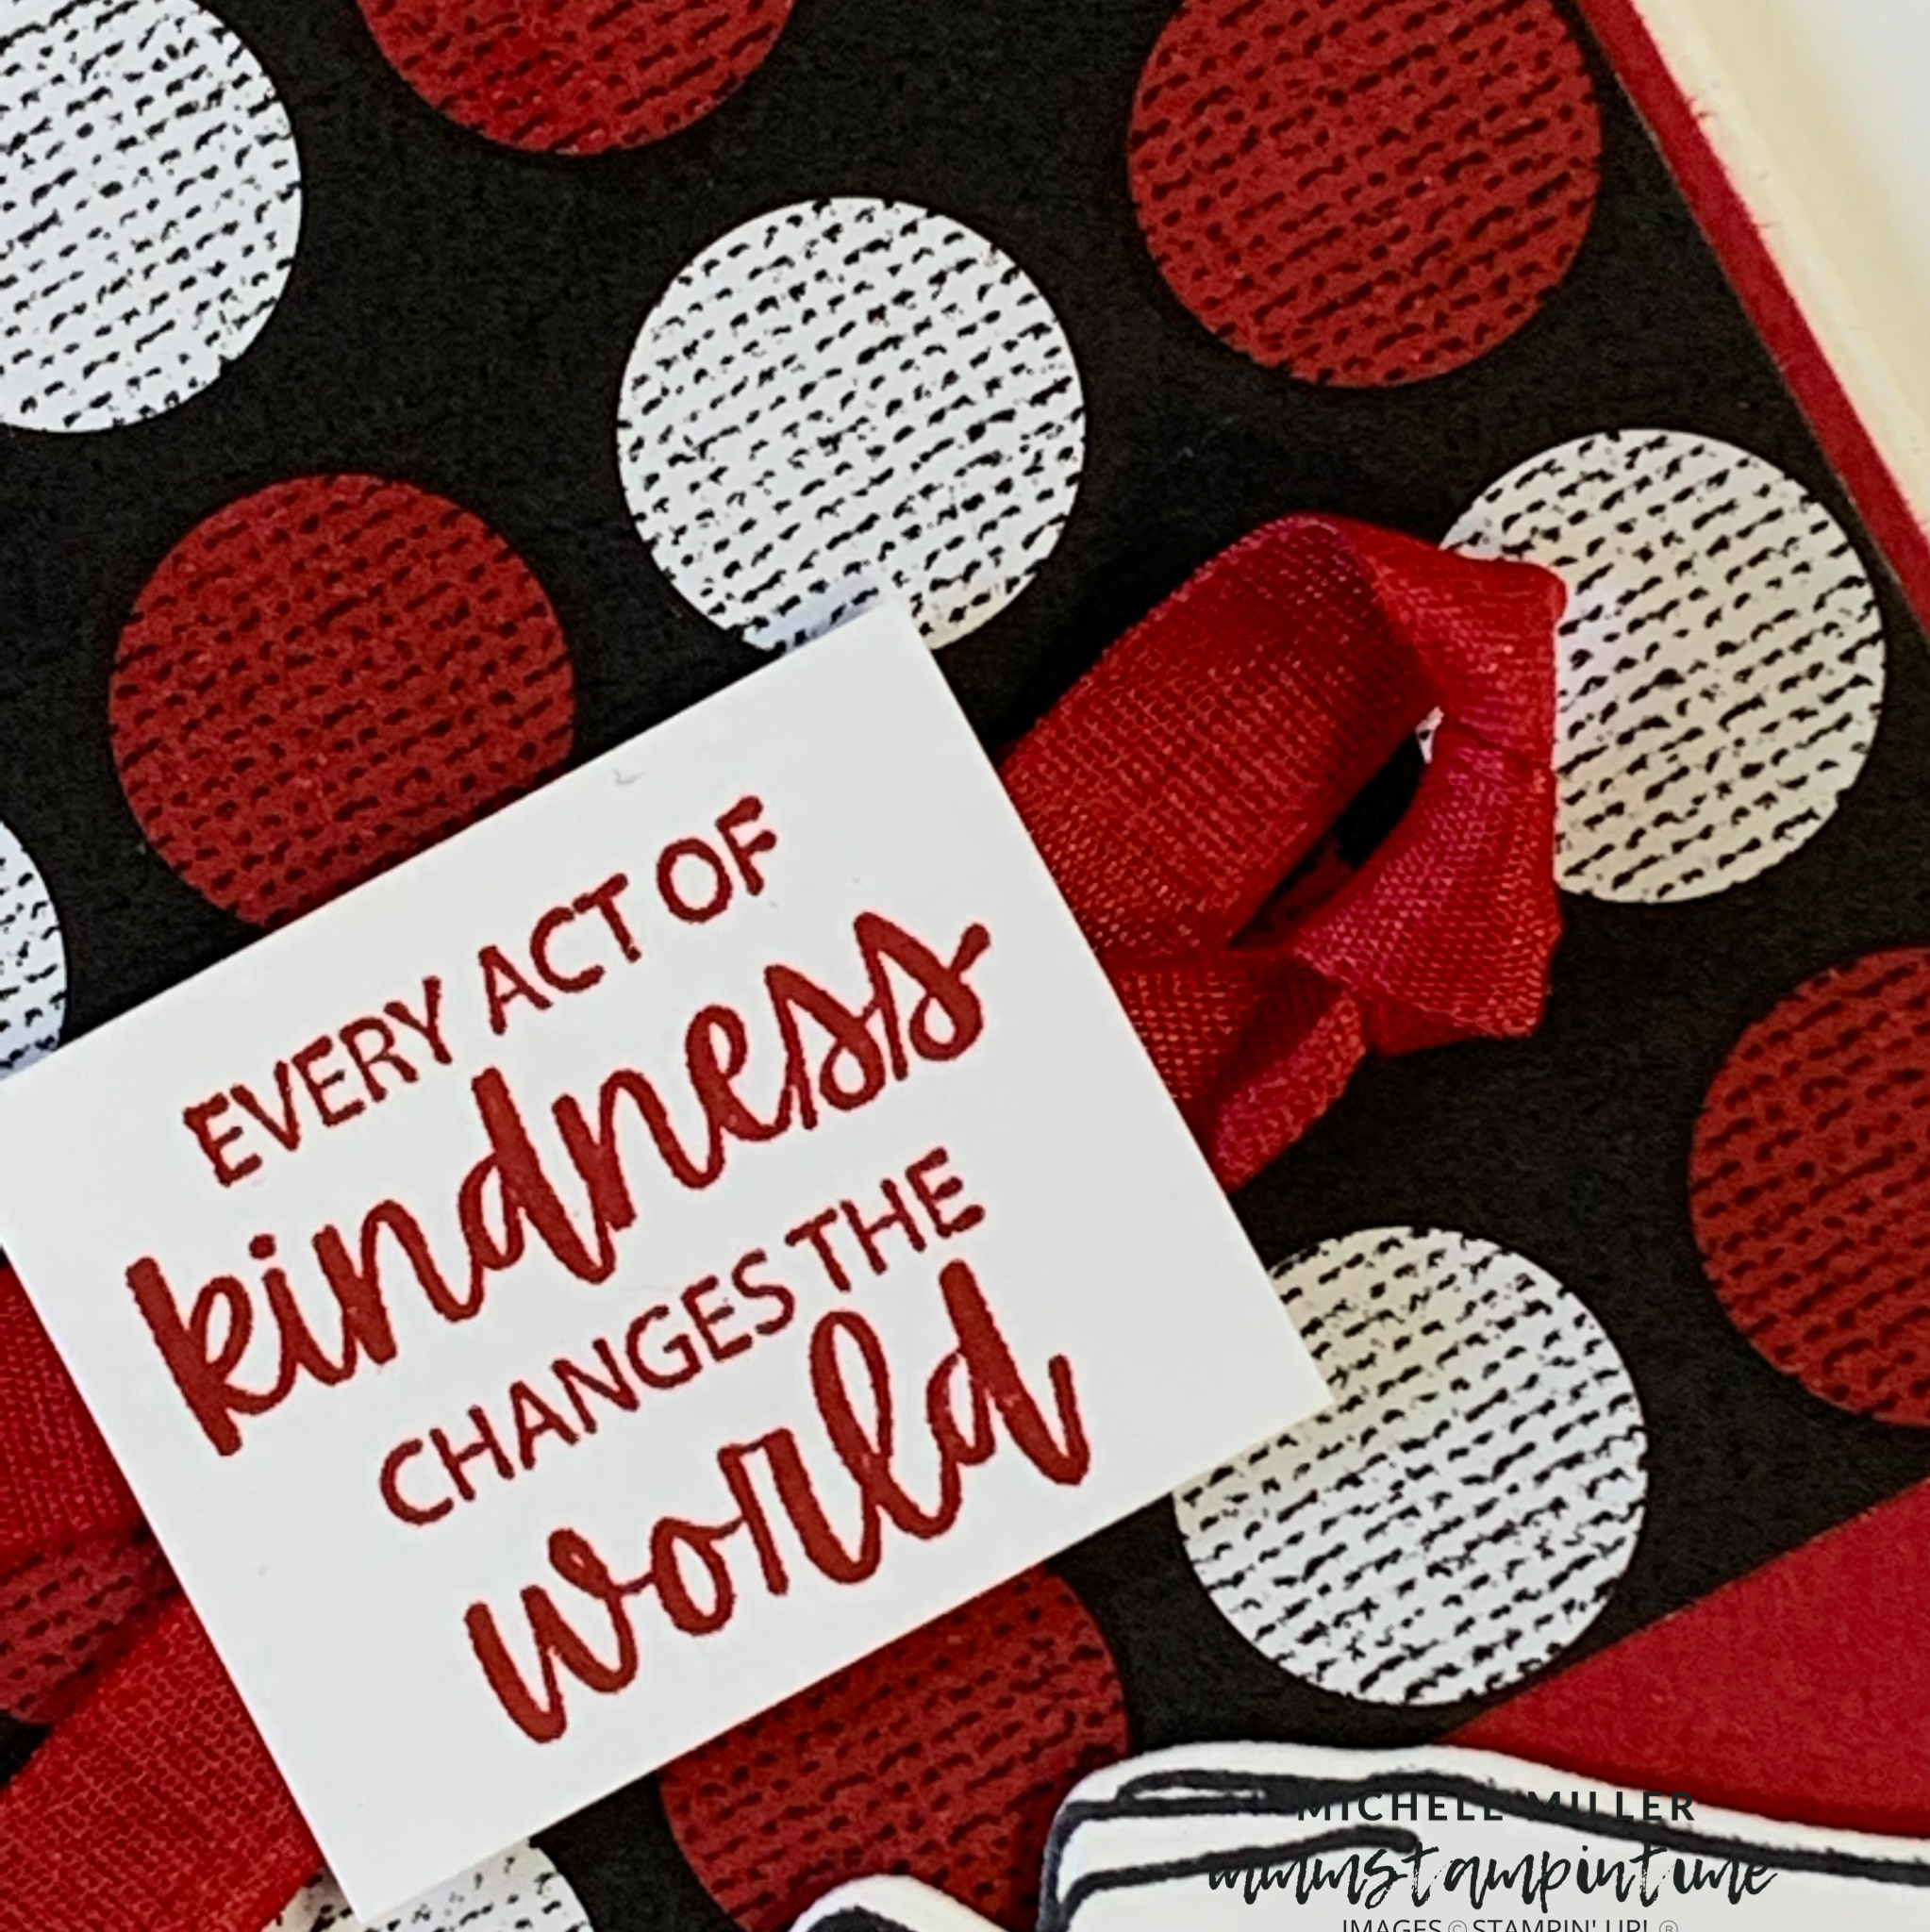
I trimmed this checked piece of DSP and placed it on the front of the card base. Then I cut several Real Red squares to position, using dimensionals, over some of the squares.
The sentiment was stamped using Real Red ink. A thin strip of Real Red cardstock was threaded through the panel ends and popped up on the card front.
The hands were stamped and cut before placing on the card.
Finally, I added some Matte Black Dots.
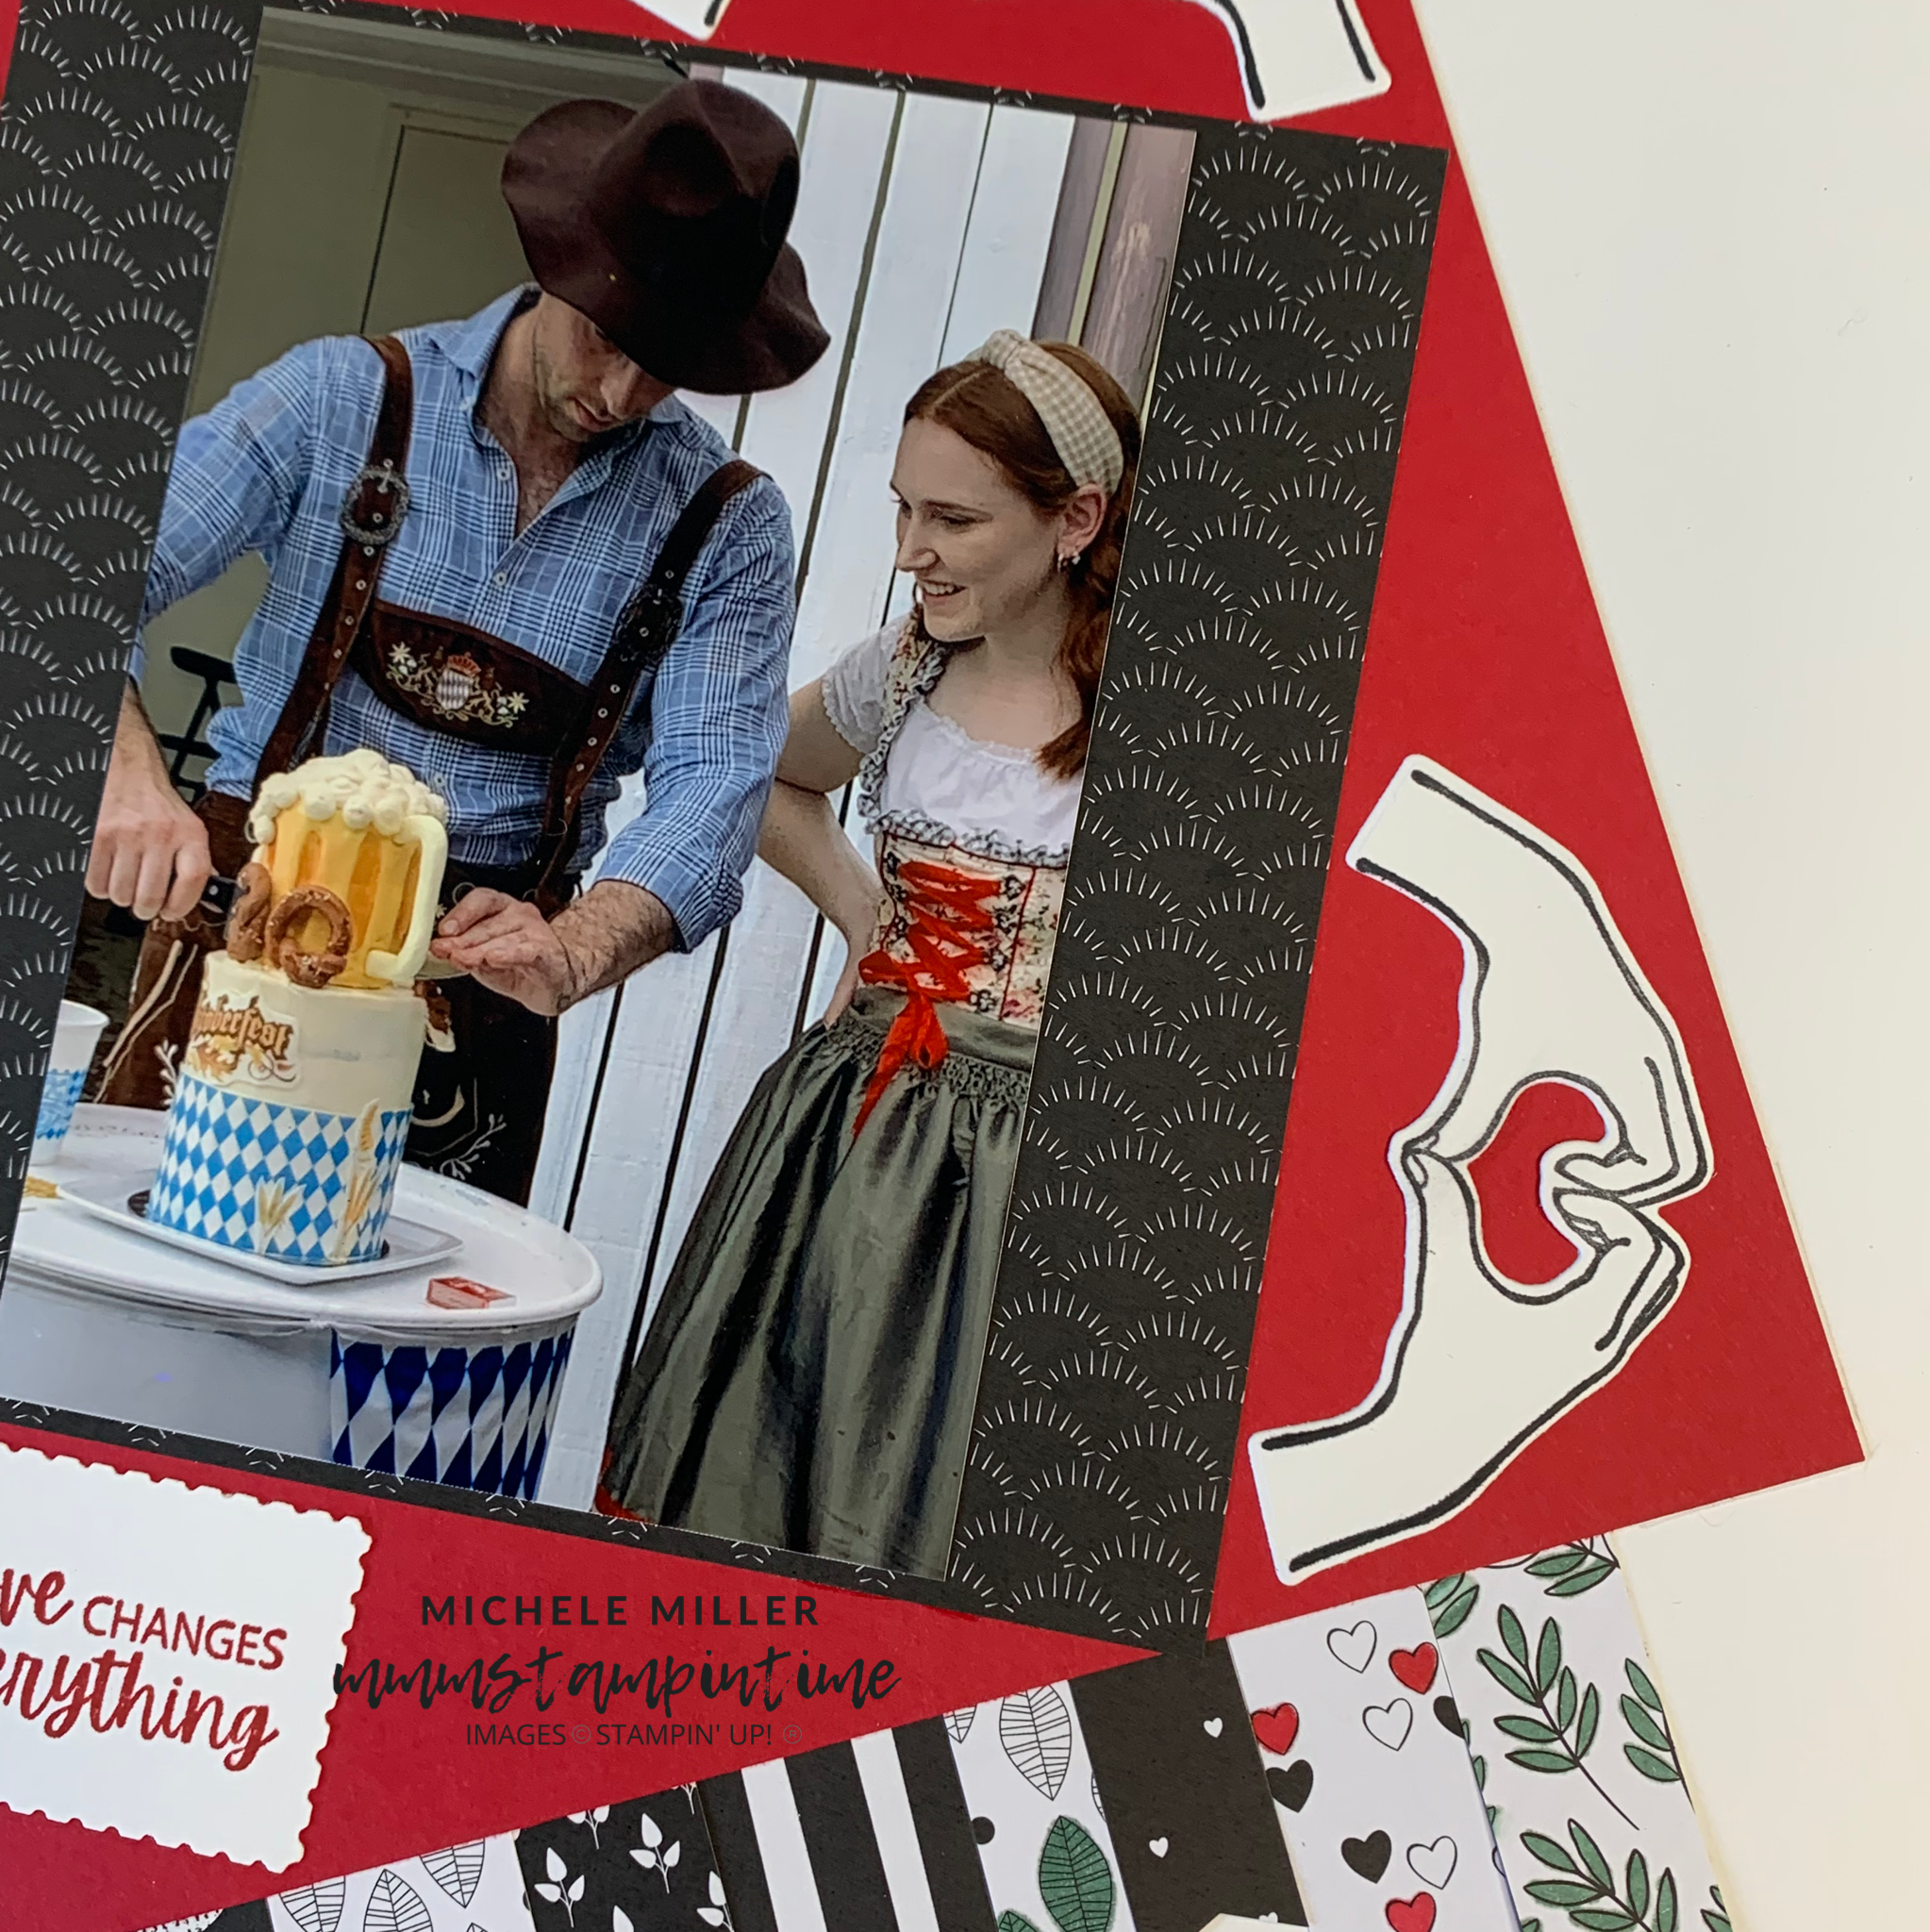
For the last card, I used two of the designs from the All Together DSP.
The raised hands paper was trimmed down and then coloured using the majority of the new Natural Tones Stampin’ Blends.
The “pinkie promise” hands were stamped, coloured and fussy cut. Then I added dimenionals behind the hands to pop them up over the raisend hands.
For the sentiment panel, I took a length of the Black & White Gingham Ribbon and cut it half lengthwise. From these two strips of ribbon I created a #tammybow and then threaded the ribbon through the ends of the panel. The ends of the ribbon were then secured under the DSP.
Just like the previous card, I added some Matte Black Dots.
These four cards are definitely more interesting. The different DSP designs and ribbons really make it easy to create variety when using the same image and same sentiment on all cards.
This is the first time I have used Natural Tones Stampin’ Blends Collection. They are going to be amazing to use with stamps requiring skin tones. I am looking forward to blending the different tones to create even more tones.
Tomorrow is Monday, so it’s time to plan my scrapbooking page.
Until then, happy stamping.
If you live in Australia, you can order any of the products I used to make this card by going to my online store. Just click on any of the images below.
Product List


")
")


")
")
 Designer Series Paper")
 Faux Linen Ribbon")
 Cardstock")


 Gingham Ribbon")


