Posted on Leave a comment

HOW TO USE AN IKEA SHADOW BOX & STAMPIN’ UP! CHRISTMAS PRODUCTS TO CREATE A SEASONAL DECOR ITEM

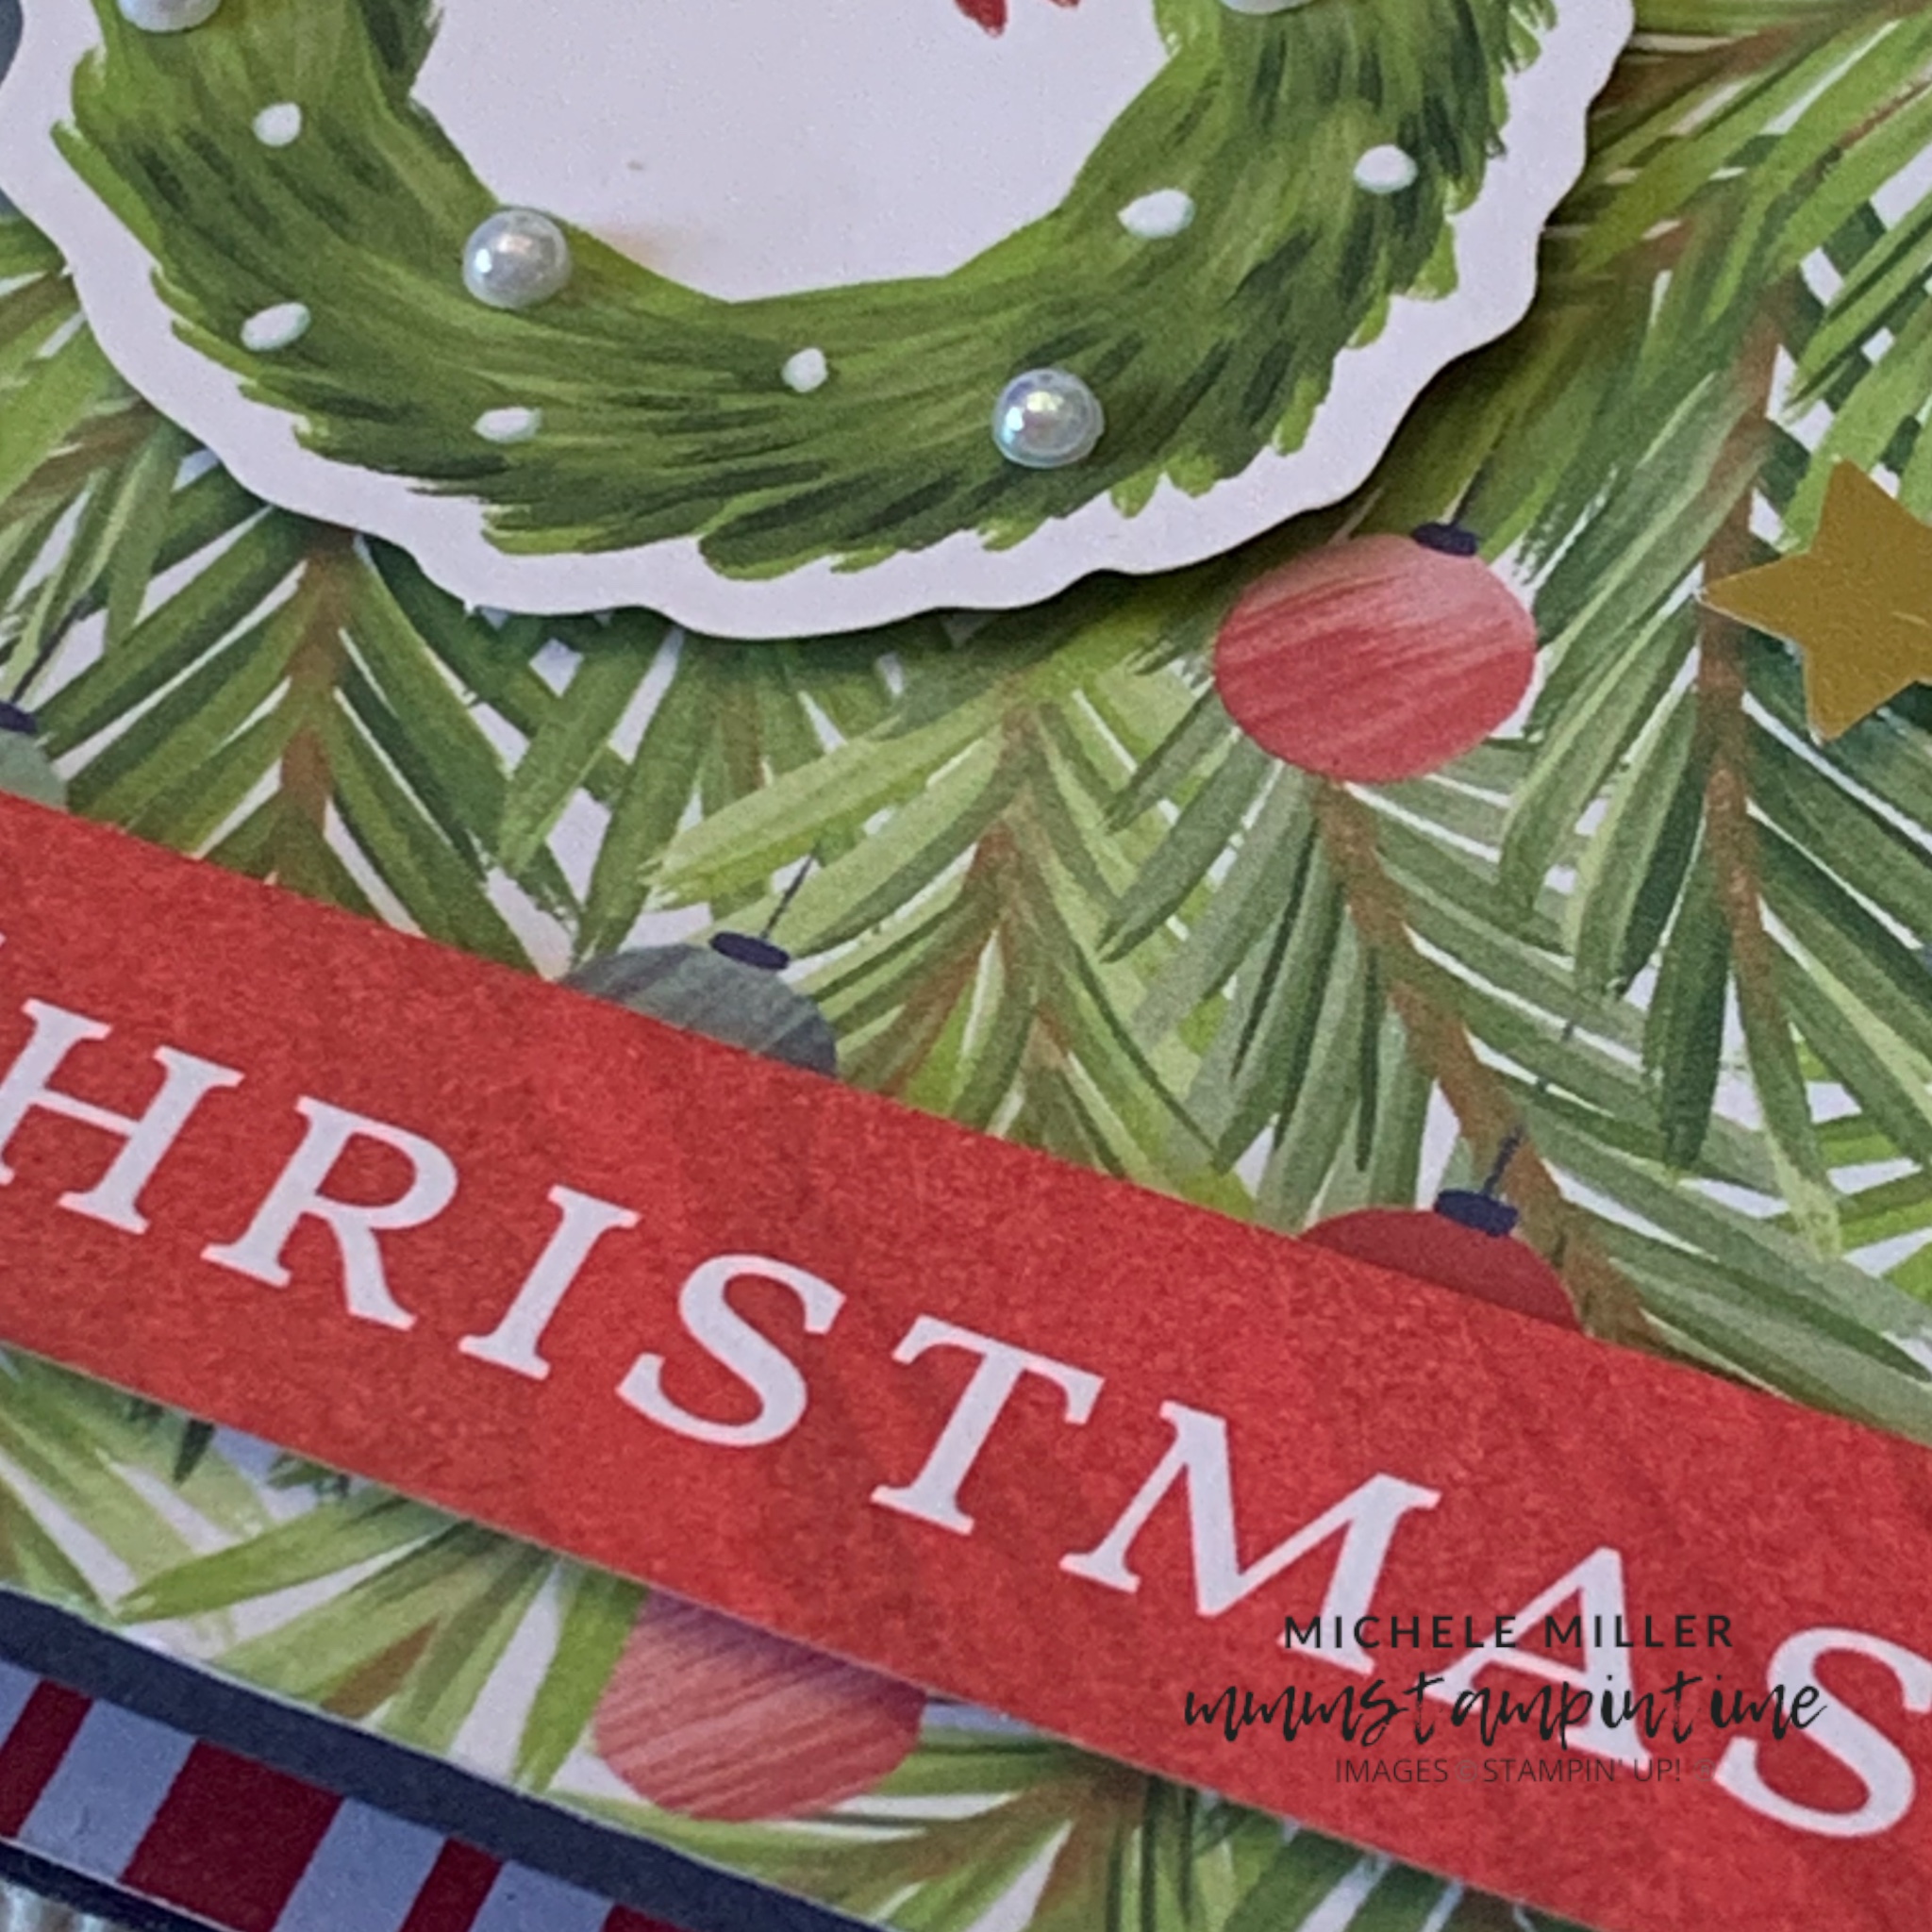
For this decor project I opted to use the A LITTLE BIT FESTIVE 12″x 12″ SPECIALTY DESIGNER SERIES PAPER pack.

It has 6 sheets of patterned paper – 1 each of 3 double-sided designs AND 1 each of 3 single-sided die-cut designs, including some gold foil elements.

I used the full sheet of pine leaves and Christmas baubles as the background for this project – bottom left of the image above.

Then I cut 9 Basic Thick White panels using the largest of the square dies from the Stylish Shapes Dies pack.

Ruler in hand, I then positioned and adhered these white squares on the DSP.

The next step was to decide where to place some of the die cut images from the DSP pack.

After a bit of rearranging and when I was happy, I then secured them with Multipurpose Glue and Stampin’ Dimensionals.

I also used some elements from the Joyful Saying Ephemera Pack to finish the design.

Tomorrow I have a 3D Christmas chocolate box to share with you.

Until then happy stamping.

If you live in Australia, you can order any of the products I used to make this card by going to my online store. Just click on any of the images below.

Product List
Posted on Leave a comment

SOME MORE CHRISTMAS CARDS THIS SATURDAY

The first card I have to share with you today is a super, simple one usingt he same Joyful Images and Joyful Sayings Ephemera Packs and DSP as yesterday.

For this card I used the Basic White Notecards & Envelopes.

All I needed was a piece of the DEsigner Series Paper and then the sleigh and greeting from the Ephemera Packs.

The second card is a step up from the first one.

I created a tucked away pop up corner fold that is revealed when you open the card.

To create the corner fold I scored the Real Red cardbase 3″ along the centre fold and the same distance along the lefthand side.

I added a panel of Real Red card to the card front. and a DSP panel.

From the Joyful Images Pack, I chose this /christmas tree and sleigh to add to the card.

THe greeting, from Joyful Sayings, was also added.

The three pearl jewels were coloured using the dark Real Red Blends pen.

I I chose some of the gift box images to decorate the corner fold.

The card insert was cut and I added a strip of DSP to finish it off.

For the last card, I used the Forever Plaid 3D Embossing Folder to give the card front some texture.

The embossed Real Red panel was adhered to a Garden Green cardbase beofre adding more elements from the Joyful Images and Joyful Sayings Packs.

The greeting was added to both the front of the card and the card insert.

I added some Clear Wink of Stella to the bow for a little glimmer.

Using the dark Real Red Blends pen, I coloured three of the Iridescent Pearlsto finish the card.

Making these cards was made so easy with the ephemera packs.

Tomorrow I have a 3D project to sahre with you.

Until then, happy stamping.

If you live in Australia, you can order any of the products I used to make this card by going to my online store. Just click on any of the images below.

Product List
Paper Snips
[103579]
$21.00
Bone Folder
[102300]
$14.00
Posted on Leave a comment

FUN FOLD FRIDAY

Most of this week has been spent relocating my retired products to other craftrooms. I am so grateful to all the creative people who chose these items for their crafting adventures. I am beginning to make space ready for new goodies when the next Annual Catalogue is released.

This week I have also created several projects using Joyful Images and Joyful Sayings from the Mix & Match Ephemera products from the September – December 2024 Mini Catalogue. I also used the A Little Bit Festive 12″x 12″ Specialty Designer Series Paper.

The fun fold card I made is a Double Corner Fold card.

I started with a Night of Navy cardbase and used the scoring blade on my paper trimmer to make the creases I needed for this design.

The first scorelines were made diagonally through the centre of the card and finished 1 1/4″ from the bottom edge of the cardbase.

The second set of scorelines were 1/2″ closer to the sides of the card.

After folding and burnishing the scorelines I was able to create the folded corners.

The next thing was to cut the Designer Series Paper to cover the front, back and inside the card.

I added some elements from the two Ephemera Packs to decorate the card.

Finally, I added a number of small Iridescent Pearl Basic Jewels.

I will have more projects to share with you over the weekend.

Until then, happy stamping.

If you live in Australia, you can order any of the products I used to make this card by going to my online store. Just click on any of the images below.

Product List
Paper Snips
[103579]
$21.00
Bone Folder
[102300]
$14.00