Posted on Leave a comment

THURSDAY IS SET ASIDE TO SHARE 3D PROJECTS WITH YOU

3D Thursday is one of my favourite days from my blogging schedule.

Many of you will be aware that for a great many years I was a Home Economics teacher. When teaching students sewing skills, there was a strong focus on patterns. The concept of designing an item of clothing and producing the 2D pattern that would then be sewn to fit a 3D form was my ‘bread and butter’.

I have taken this 2D-3D/3D-2D skill into other areas of life. When I see a floorplan, I am able to easily visualise it as a 3D space. When I see a gift box or gift bag, I can process what I need to do to make this from cardstock and Designer Series Paper.

My maths skills at school were not much to write home about but my spacial awareness and 2D/3D transformation skills have enhanced my paper crafting skills.

Here is this week’s 3D project.

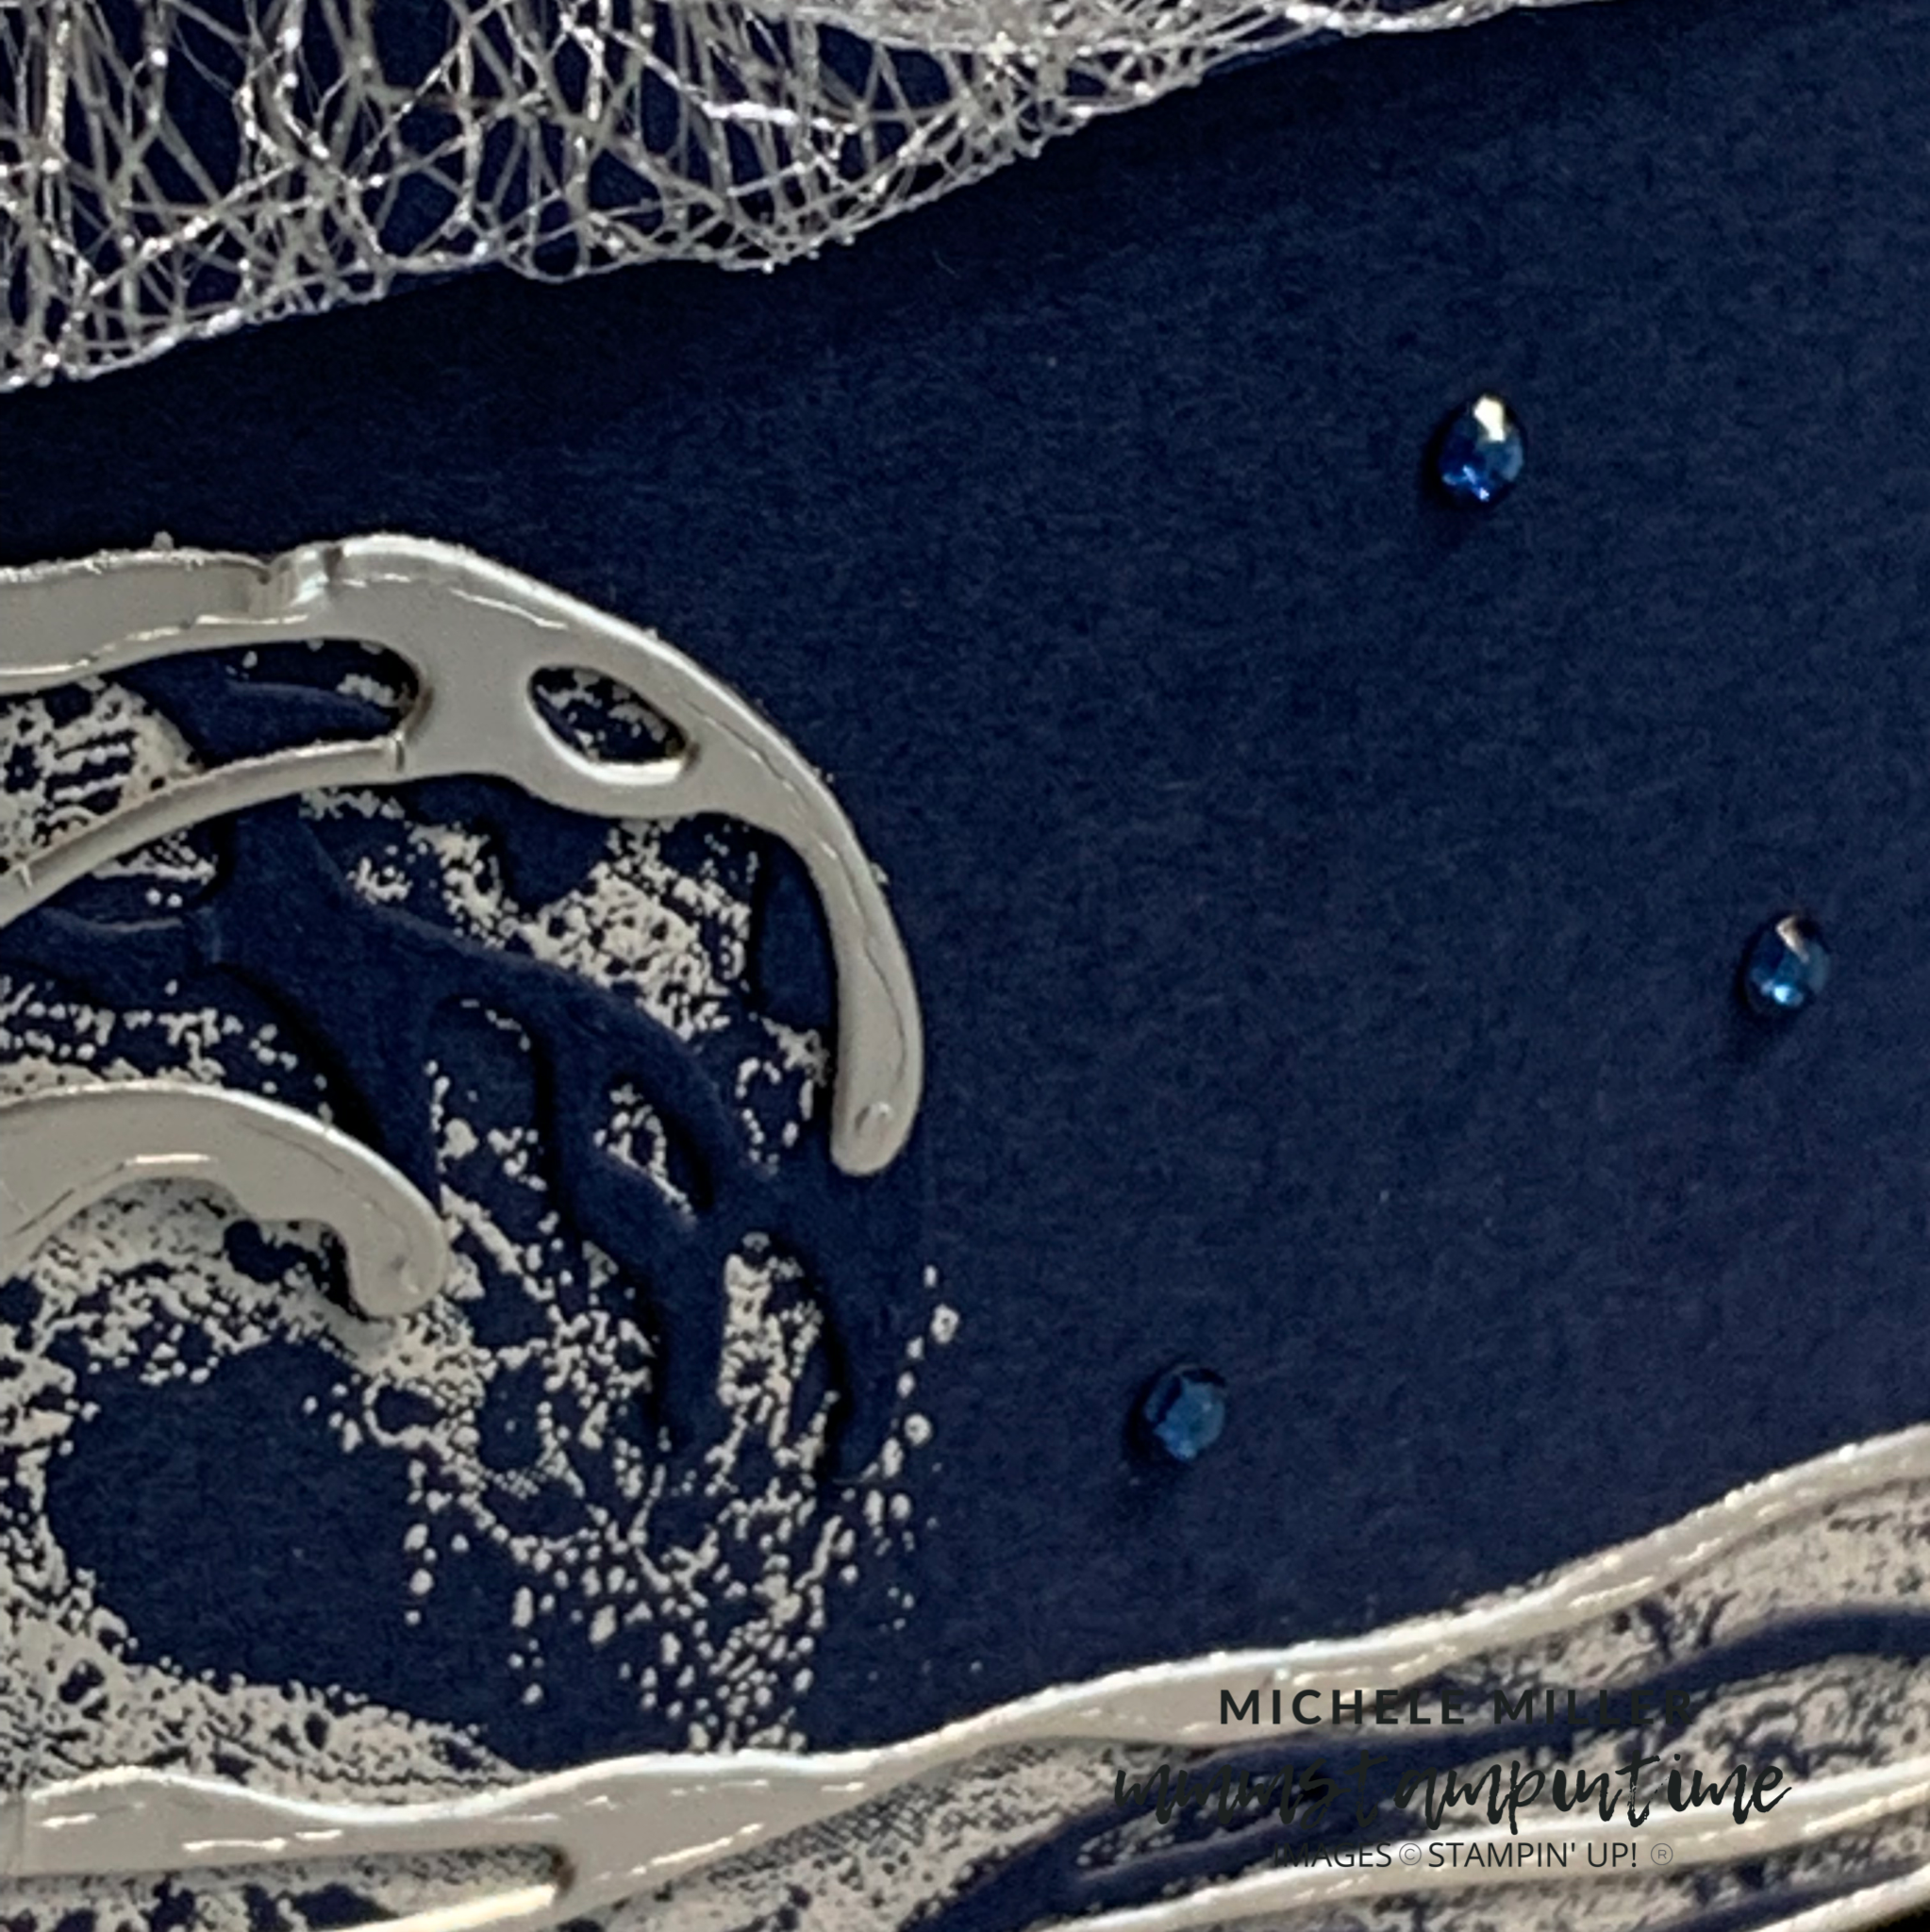
This gift box was created to highlight the large wave stamp, from the Waves of Inspiration Stamp Set. The wave image was stamped four times on large Night of Navy panels.

The waves were stamped using Versamark before having white embossing powder, from the Basics Stampin’ Emboss Powders, sprinkled and heat embossed. Alarge bow was then tied over the top of the box.

The overlaying waves were die cut from Night of Navy and Silver Foil pieces that has Adhesive Sheets adhered. This made it so much easier to secure the wave layers over the stamped white image.

The box measures 5-1/4″x 3-1/2″x 3-1/4″.

After the lid was fitted over the base, a long length of Metallic Mesh Ribbon was wrapped twice around the gift box.

A few Holiday Rhinestone Basic Jewels were added to the longer sides of the gift box.

There are so many wonderful goodies that could be popped into this gift box. What would you place inside?

Tomorrow is Fancy Fold Friday – until then happy stamping.

If you live in Australia, you can order any of the products I used to make this card by going to my online store. Just click on any of the images below.

Product List
Waves Dies
[158840]
$60.00
Whisper White Craft Stampin' Pad
Whisper White Craft Stampin’ Pad
[101731]
$14.00
Paper Snips
[103579]
$17.00
Posted on Leave a comment

HOW TO MAKE YOUR OWN STAMPED CARDSTOCK FOR A GIFT BAG

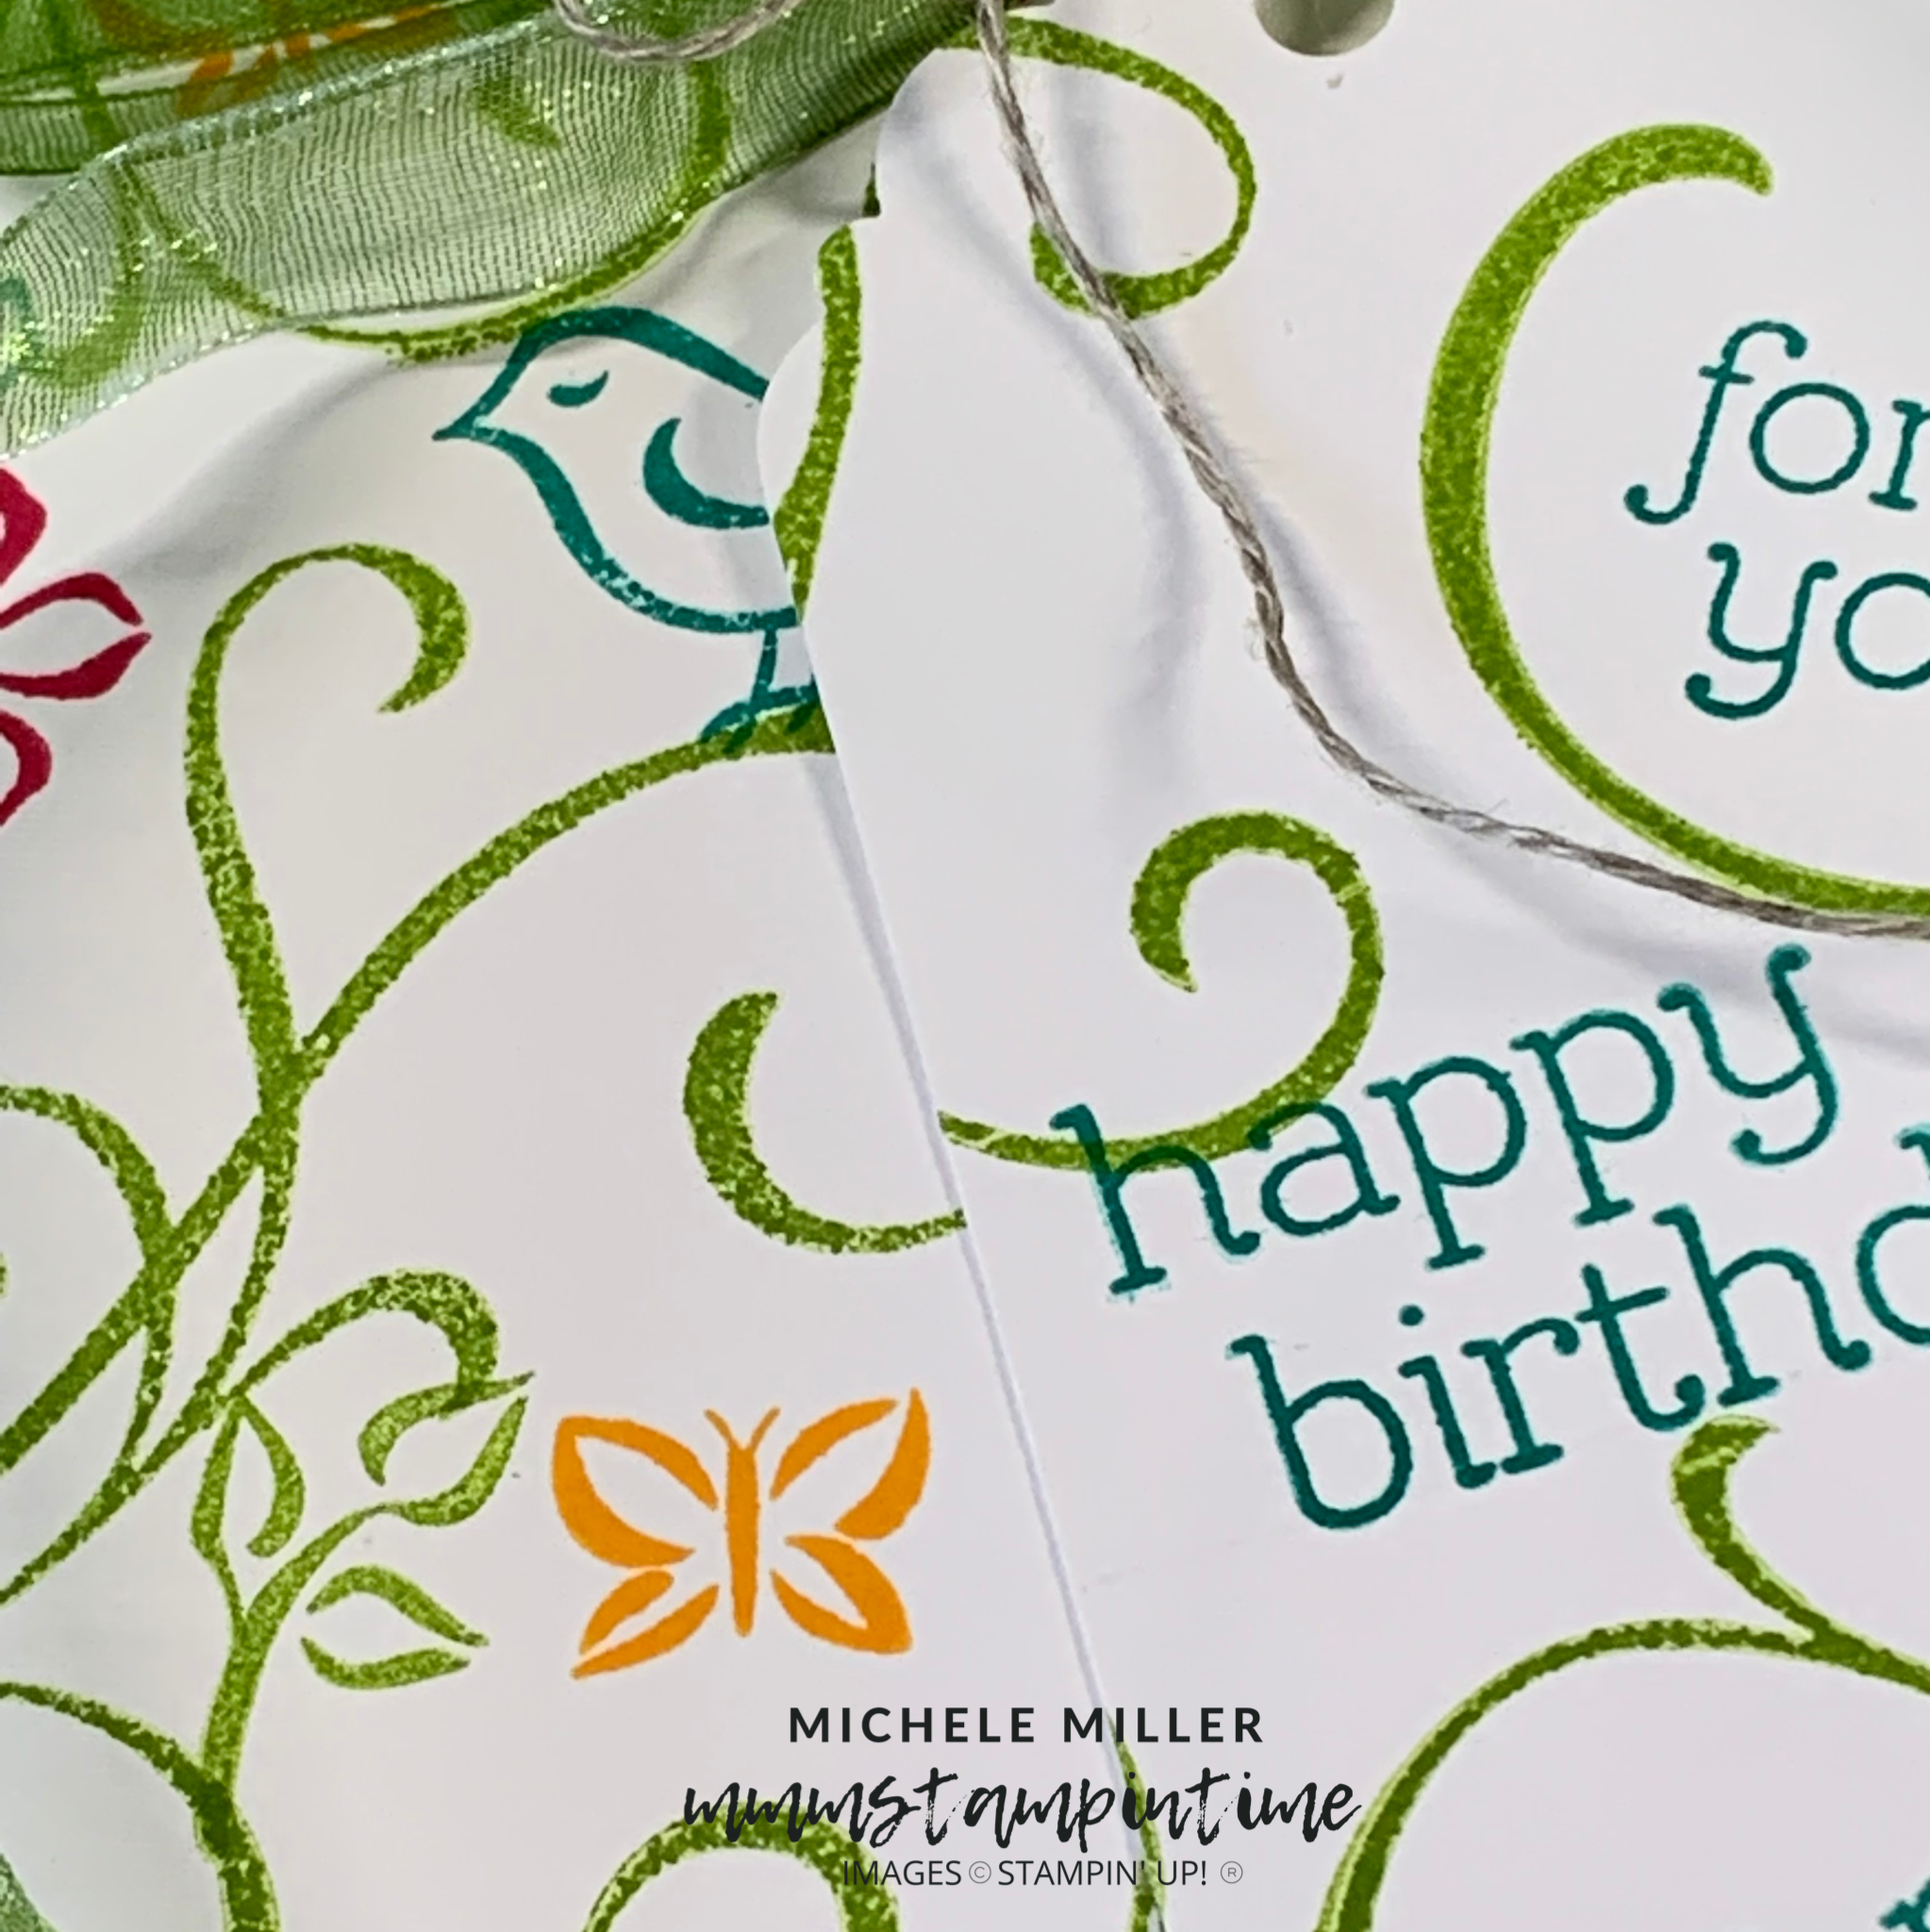
It is 3D Thursday and I have a gift bag to share with you. I used the Sentimental Swirls Stamp Set to create my own design on a piece of Basic White 12″x 12″ cardstock.

Then I cut the card to 10-1/4″x 8-1/2″. I scored it, along the longer side, at 3-1/2″, 5″, 8-1/2″ and 10″. Along the shorter side it was scored at 1-1/2″. The gift bag is 7″ high, 3-1/2″ wide and 1-1/2″ deep.

I used a bone folder to burnish all of the score lines. Across the shorter side, I used my Paper Snips to cut from the bottom up to the 1-1/2″ score line. These cut pieces will form the base of the gift bag.

Stampin’ Seal+ was added to the 1/4″ side of the longer side to form the bag. Then the base pieces were adhered into place.

I used the Granny Apple Green Stampin’ Blends to colour a long length of Pool Party Sheer Ribbon. The ribbon was wrapped around the top of the bag twice before being tied in a bow.

The gift tag was made using an offcut from the original piece of cardstock. I used the Delightfil Tag Topper Punch to create the shape at the top of the tag. The tag was then attached to the ribbon with a piece of Linen Thread.

I need to order some more of the Pool Party ribbon – as you can see in my product photo, I only have about 2″ left on this spool.

The bag is quite a good size, so there are lots of possible goodies that could be popped in it.

Tomorrow I have one more Sentimental Swirls project for you. It is a Fun fold Card.

Until then, happy stamping.

If you live in Australia, you can order any of the products I used to make this card by going to my online store. Just click on any of the images below.

Product List
Paper Snips
[103579]
$17.00
Posted on Leave a comment

IT’S THURSDAY & TIME FOR ANOTHER 3D PROJECT

I may have mentioned once or twice (or maybe more often) how much I enjoy creating 3D projects.

Some are insired by others and some I create myself. I came across this gift bag on the internet and created my own template to make it.

I will be making it during my Facebook Live today – at the same time this post goes live. There will be a Video Tutorial on my Youtube Channel soon.

The New Horizons Suite Collection is used for this project.

The bag is 5″ across the base and 3-3/4″ at the opening. I used the Layering Circles Dies to help create the shape for the bag base.

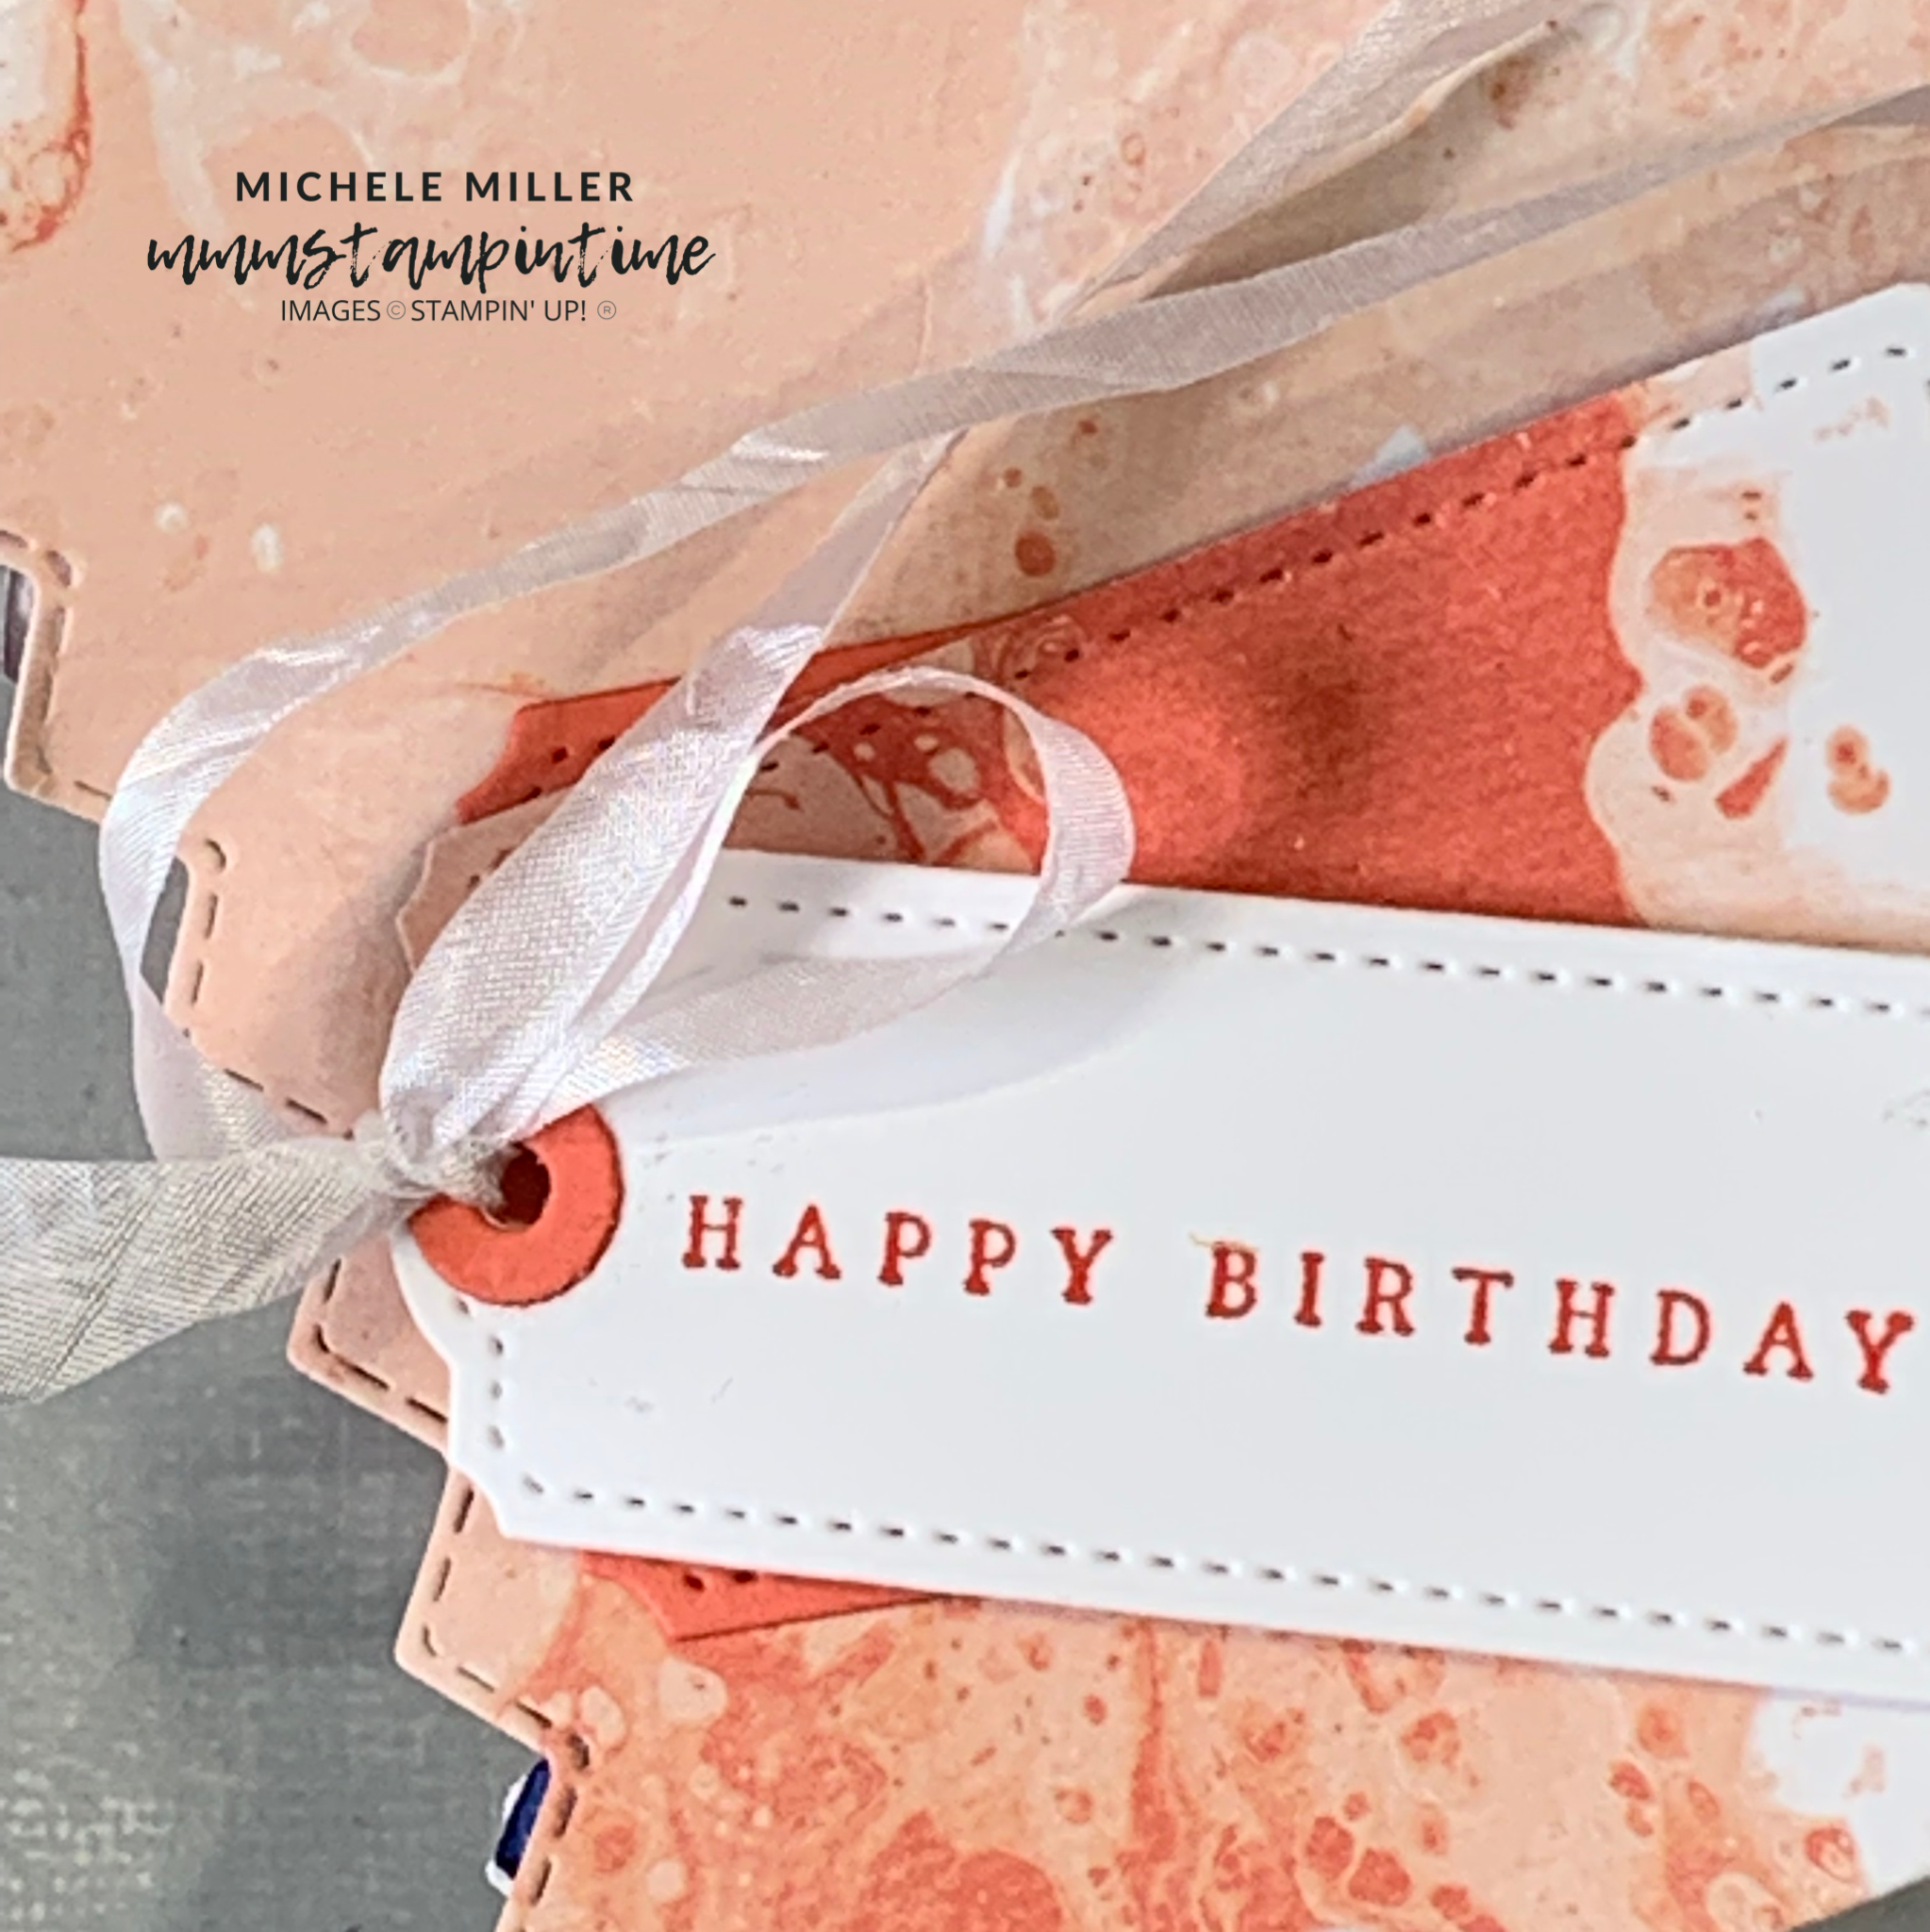
I used two of this design from the New Horizons 6″x 6″ Designer Series Paper for the front and back panels of the bag.

Then I used two of the circle dies to cut the Evening Evergreen handles.

I cut lengths of the Evening Evergreen and Fresh Freesia Open Weave Ribbon to pass through the bag handle and tie a double bow.

When I have uploaded a video to Youtube, I will come back and add a link here.

Tomorrow is Fun Fold Friday and I have a Pop-up Gift Bag Fun Fold Card for you.

Until then, happy stamping.

If you live in Australia, you can order any of the products I used to make this card by going to my online store. Just click on any of the images below.

Product List
Paper Snips
[103579]
$17.00