Posted on Leave a comment

A CUSTOM GIFT BOX FOR A FRECKLE MILK CHOCOLATE BUNNY

For today’s 3D Thursday project I made a custom gift box for a gorgeous freckle covered milk chocolate bunny. To be honest, the box it came in was very abergare.

The Easter Friends Stamp Set is the set I chose to use – it is another stand alone set.

The finished box measures 5-3/4″x 4-1/2″x 5/8″.

I used Flirty Flamingo cardstock for the box.

The front Basic White panel was stamped with the bunny and grass images. I used the Flirty Flamino and Basic Gray Water Colour Pencils to lightly shade areas of the bunny. A Blender Pen was used to lightly blend the colour.

The sentiment was stamped on the panel as well. A simple bow was tied from a length of Misty Moonlight Cotton Ribbon. This ribbon is from the New Horizons Suite.

Finally, I coloured some Rhinestone Basic Jewels with the Dark Melon Mambo Stampin’ Blend.

Isn’t the chocolate freckle bunny so cute.

I will make another gift box durin my Facebook Live so that I will have a second Easter bunny gift box – one for each of my daughters.

Tomorrow I have a fun fold card to share with you.

Until then, happy stamping.

If you live in Australia, you can order any of the products I used to make this card by going to my online store. Just click on any of the images below.

Product List
Paper Snips
[103579]
$17.00
Posted on Leave a comment

3D THURSDAY IS ALL ABOUT SHARING GIFT BOXES & BAGS

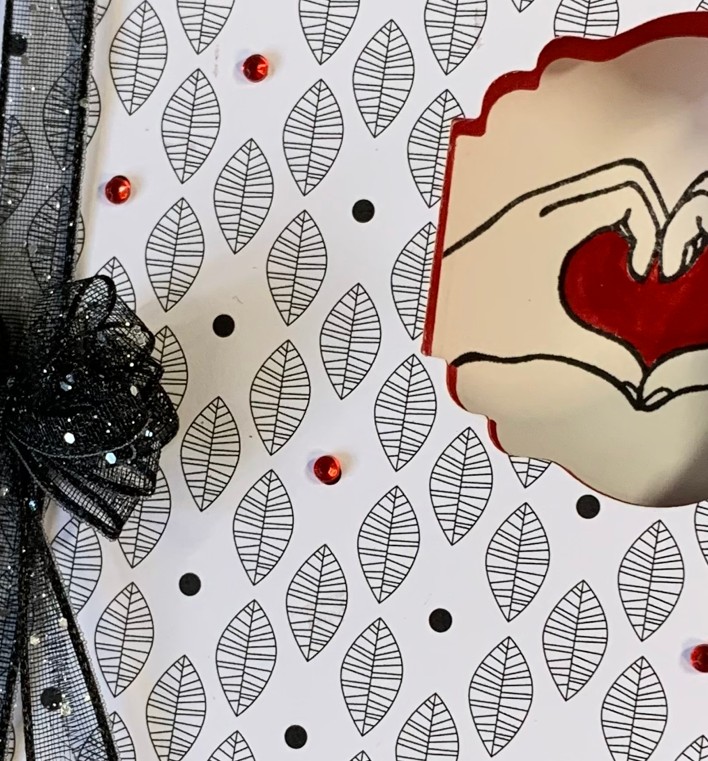
Today I have a triangular gift box to share with you. When I saw the heart hands cut out, I knew that I wanted to see what they would look like if they were attached to vellum and illuminated.

The box if 5″ high and each panel of the triangle is 3-7/8″ wide. The Real Red base is 1″ high and it is adhered to the vellum with Stampin’ Seal+.

After I placed the lid on the box, I positoined the heart hands on each panel.

I used some Mini Glue Dots to help postion and hold a length of Black & White Gingham Ribbon around the base. Then I tied a small bow on the corner.

The little battery operated tea light glows subtly through the vellum.

The gift box could easily be filled with Hershey Kisses or some other chocolate treat.

Just add cardstock, vellum and adhesive to make a gift box like this.

Friday is Fun Fold day and I have a Peekaboo Slider Card to share using the All Together Collection.

Until then, happy stamping.

If you live in Australia, you can order any of the products I used to make this card by going to my online store. Just click on any of the images below.

Product List
Paper Snips
[103579]
$17.00
Posted on Leave a comment

3D THURSDAY – HOW TO MAKE A SIMPLE GUSSETED GIFT BAG

For today’s 3D project, I used some of the Waves of the Ocean 12″x 12″ Designer Sereis Paper to make to make two gusseted gift bags.

This bag measures 5″x 5″x 3/4″. I used one of the Basic Borders Dies to achieve the triangular top of the bag.

The birthday greeting is from the Waves of Inspiration Stamp Set. It was stamped using Granny Apple Green ink before being cut using one of the Tailor Made Tags Dies.

I cut a second, larger tag to place under the greeting.

I punched a hole in centre top of the bag and threaded some Whisper White Crinkled Seam Binding Tape through it. Then I threaded the ribbon through the greeting tags and tied a bow.

For the second gift bag I used a different piece of the Designer Series Paper. This bag measures 3-3/4″x 7″x 2″.

The paper, measurements and top edges all differ but the style is the same.

For this bag, I added an extra tag cut from the same DSP and placed it between the two cardstock tags.

These bags can be filled with all manner of goodies.

Tomorrow is Fun Fold Friday and I have a shaker card to share.

Until then, happy stamping.

If you live in Australia, you can order any of the products I used to make this card by going to my online store. Just click on any of the images below.

Product List
Paper Snips
[103579]
$17.00