Posted on Leave a comment

THURSDAY IS THE DAY FOR SHARING A 3D PROJECT WITH YOU!

For my 3D project this week I spent time, and quite a bit of retired cardstock, to create a Pyramid Gift Box.

This is the template I created to make the box. It took a few attempts to achieve the design that I wanted.

Each side of the pyramid measures 6 1/2″ (16.5cm) and each side of the base measures 3 1/2″ (8cm).

The tabs are 1/2″ each, with one of the base tabs measuring 3/4″. This tab is wider to allow a pair of small magnets to be used to help secure the base. One magnet was secured to the flap using a mini glue dot. The second magnet was placed inside the pyramid, secured with a mini glue dot and covered with a small DSP circle.

The pyramid was made using a piece of Wild Wheat A4 cardstock.

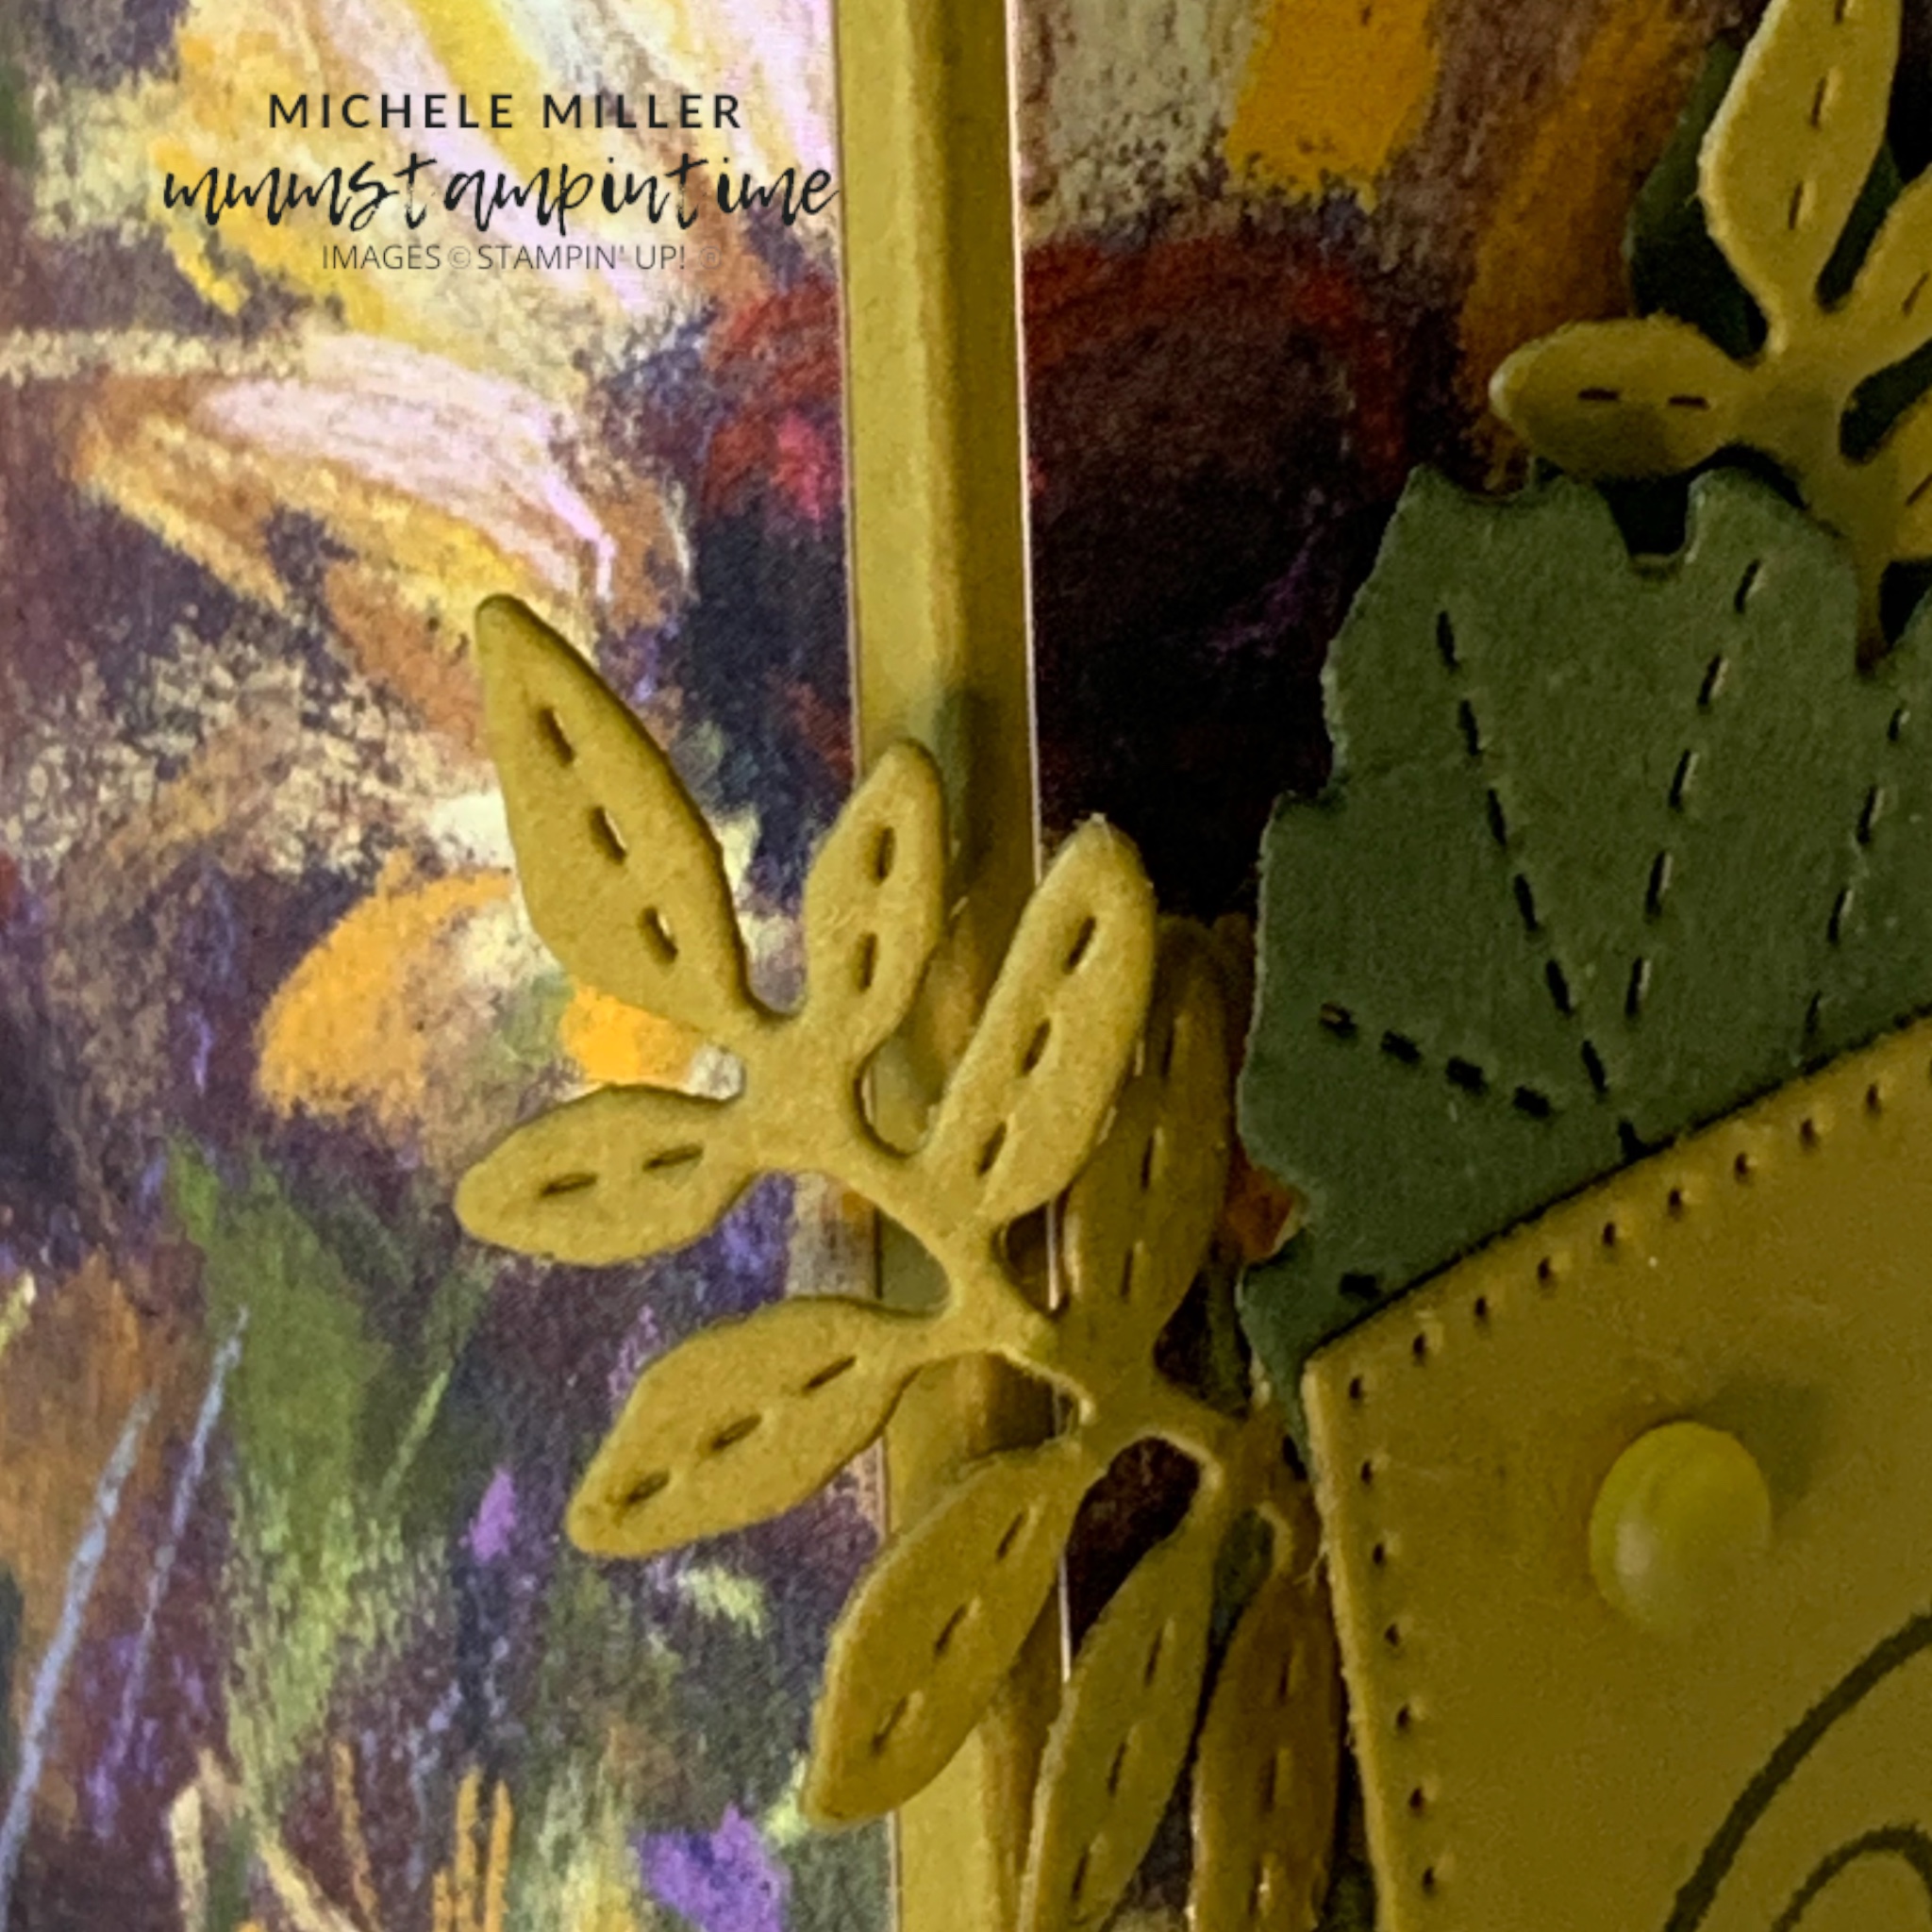
I cut an additional single triangle and used it to cut panels of Splendid Autumn Designer Series Paper. These panels were cut to 1/16″ smaller on all three sides.

After adhering the DSP panels to the base, I assembled the pyramid.

I reused the template to cut a ‘nose cone’ and a base strip. These were then attached to the top and bottom of the gift box to reinforce these ends.

The greeting, form the Autumn Expressions Stamp Set, was stamped in Pebbled Path, on to a piece of Wild Wheat card. Then it was cut with one of the Stylish Shaoes Dies.

The Autumn Expressions Dies were used to cut the small collection of leaves that are tucked in behind the greetings panel. The base of the greeting panel was glued to the box and the top was secured with some Stampin’ Dimensionals.

I was able to cut the DSP so that the design would flow from one side to the next.

The Wild Wheat Rustic Striped Ribbon was tied into a bow and positioned toward the top of the box using a mini glue dot.

The final step was to add some Faux Glass Dots to the front panel.

Now the only thing left to do is to find something to pop inside the box as a gift to someone special.

Tomorrow I have a Fun Fold Card to share with you.

Until then, happy stamping.

If you live in Australia, you can order any of the products I used to make this card by going to my online store. Just click on any of the images below.

Product List
Product List
Paper Snips
[103579]
$21.00
Posted on Leave a comment

IT’S FRIDAY AND TIME FOR SOME FEATURES AND A FUN FOLD CARD

Today’s project share gives me an opportunity to get back into my usual schedule of blog posts.

Each Friday I like to highlight the features of the bundle or suite I have been showcasing during the week before sharing a Fun Fold Project.

Te Country Woods Suite Collection is such a large collection of products.

This Suite Collection is one that encompasses two Bundles – the Country Birdhouse Bundle and Country Flowers Bundle.

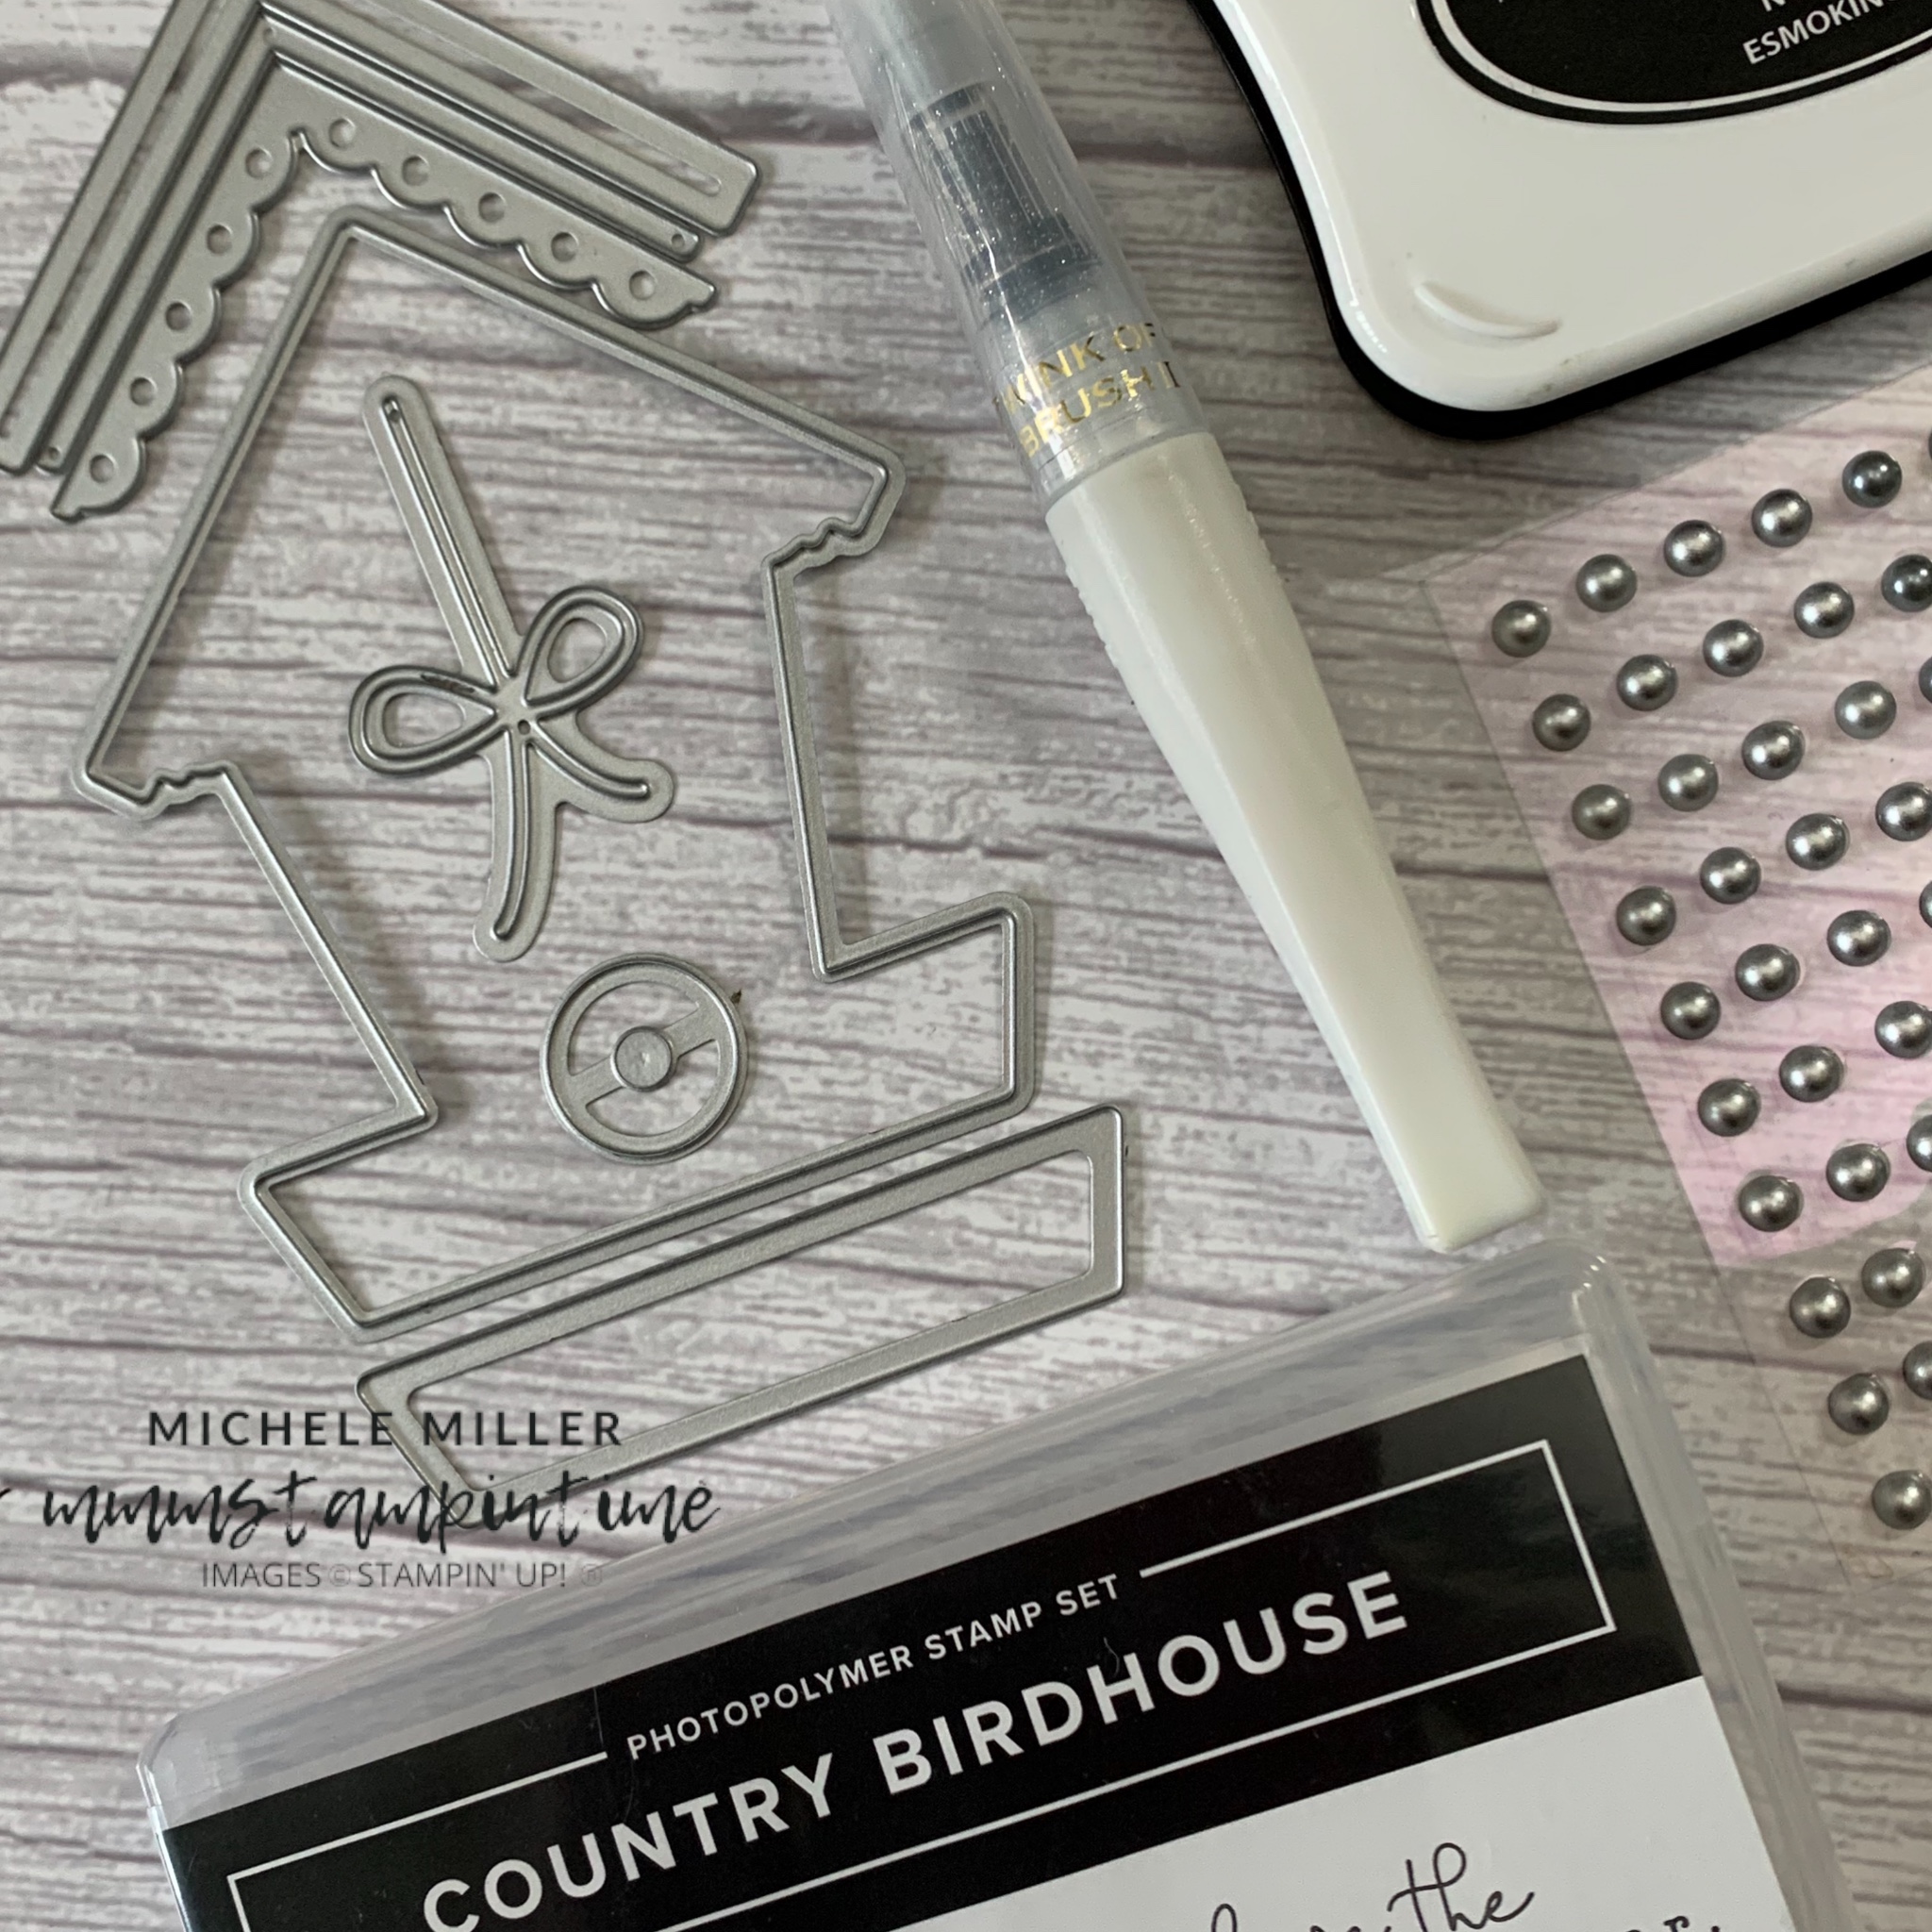
The Country Birdhouse Stamp Set includes six open line images and four further images. There are three sentiments. The open line images are great for a variety of colouring techniques and the other images will add more details to a project. The sentiments use a typewriter-style font alongside a stylish cursive font.

When it comes to the Country Flowers Stamp Set, we can choose from seven open line images and four sentiments. I am ‘treating’ the Flower Market stamp as an image stamp and it has its own font.

This collection of new products also features two Designer Series Paper packs – Country Woods and Country Lace. The colours, across both DSP packs, coordinate perfectly.

There is also an Eyelet 3D Embossing Folder, as well as Basic Gray & Smoky Slate Pearls and Petal Pink & White 1/4″ Diagonal Trim Combo Pack.

Isn’t this such an amazing collection of new products.

Being Friday, I have a Fun Fold Card to share with you. This one is an oldie but a goodie!

I do love making Easel Cards and showing newer crafters how easy they are to make.

For this card I chose a Basic Gray card base and a panel of DSP from the Country Woods pack. It features wood grain coloured in grays and Wild Wheat.

With these colours in mind, I used cardstock in Basic Gray, Basic White, Smoky Slate and Wild Wheat. I attached pieces of Adhesive Sheet to them and then die cut the birdhouse. Introducing newer crafters to Adhesive Sheets is a game changer – no more sticky glue fingers!

After assembling the birdhouse, on the card front, I stamped several birds and fussy cut them. Then I coloured them using the Wild Wheat Stampin’ Blends and Clear Wink of Stella.

The sentiment was stamped onto a strip of Thick Basic White card, trimmed down and adhered with Stampin’ Dimensionals.

I secured a Post It notes bundle inside the card and added some Basic Gray & Smoky Slate Pearls to the front.

Fun Fold projects are always so much fun, especially when they are so easy and versatile.

Tomorrow I have a more sombre project to share with you.

Until then, happy stamping.

If you live in Australia, you can order any of the products I used to make this card by going to my online store. Just click on any of the images below.

Product List
Paper Snips
[103579]
$21.00
Posted on Leave a comment

THURSDAY MEANS THAT IT IS TIME FOR A 3D PROJECT

Today I have two projects to share with you. They both use a masking and blending colouring technique … one is a card and the second is a 3D project.

For these projects I wanted to use Masking Paper to create two sunset scenes by adding colour with my Blending Brushes.

When I started to colour these backgrounds, I punched a circle from a piece of Masking Paper. After positioning the masking paper on the Basic White panel, with a piece of grid paper as a guide, I began to add Daffodil Delight ink to colour the setting sun.

TIP: After you add ink to your Blending Brush, start using a circular brushing technique OFF the card stock. This way you will avoid adding a big splotch of colour . Continue using the circular brusging technique and slowly move the brush across the card, building up colour as you go.

I used other layers of Masking Paper to create the rest of my card background.

The Classic Stampin’ Pads that I used to colour the sunset image were (alphabetically) – Cajun Craze, Cherry Cobbler, Crushed Curry, Daffodil Delight, Gorgeous Grape, Pumpkin Pie and Real Red

After I finished blending the sunset background I die cut the ‘shadow’ elements using Basic Black cardstock.

The beach element was created using the wavy die. Then the life savers’ hut was cut from Basic Black card also.

Finally, I die cut the seagulls and palm tree elements in black card as well.

These pieces were then adhered to the front of the card using Multipurpose Adhesive and Stampin’ Dimensionals.

The 3D project I made for todayalso used a sunset brushed scene.

I found a white chocolate and orange sphere that is wrapped in an orange and yellow foil – it looks just like a gorgeous sun.

The gift box I made, for this chocolate, is a perfect fit.

The gift box is made from 12″x 12″ Pumpkin Pie cardstock. After cutting and scoring the box, I used one of the Deckled Circles Dies to cut out two ‘peepholes’.

For the top and the back of the box, I cut some pieces of Gorgeous Grape card and added texture with the circles Cheery Patterns Embossing Folder.

After adhering them in place, I stamped the greeting onto Basic White card and cut it with a smaller Deckled Circles Die. I added a die cut Pumpkin Pie circle under the greeting. Before adding this layered circles to the top of the box, I took some of the blended sunset scraps and created two banner cut strips.

I am so happy with the way my blended sunset scenes turned out.

Tomorrow I have a Fun Fold Card to share with you.

Until then, happy stamping.

If you live in Australia, you can order any of the products I used to make this card by going to my online store. Just click on any of the images below.

Product List
Paper Snips
[103579]
$19.25
Paper Snips
[103579]
$19.25