Posted on Leave a comment

A DAY LATE WITH THIS PROJECT!

I was having so much fun preparing this project for my Facebook Live that I completely forgot to photgraph and post it. So, I finished the Live this morning and have just taken these photos.

Thanks for popping by to see how cute this gift box is. It is filled with Christmas gift tags. I used the Be Jolly Stamp Set for this project.

The gift box uses Poppy Pararde and Shaded Spruce card, as well as a piece of Designer Series Paper from the Brights 6″x 6″ stack. The box base was cut to 5-3/4″x 4-1/4″ and then scored on all four sides at 1″. The lid was cut to 4-3/4″x 3-1/4″ and scored at ‘a hair’ less than 1/2″.

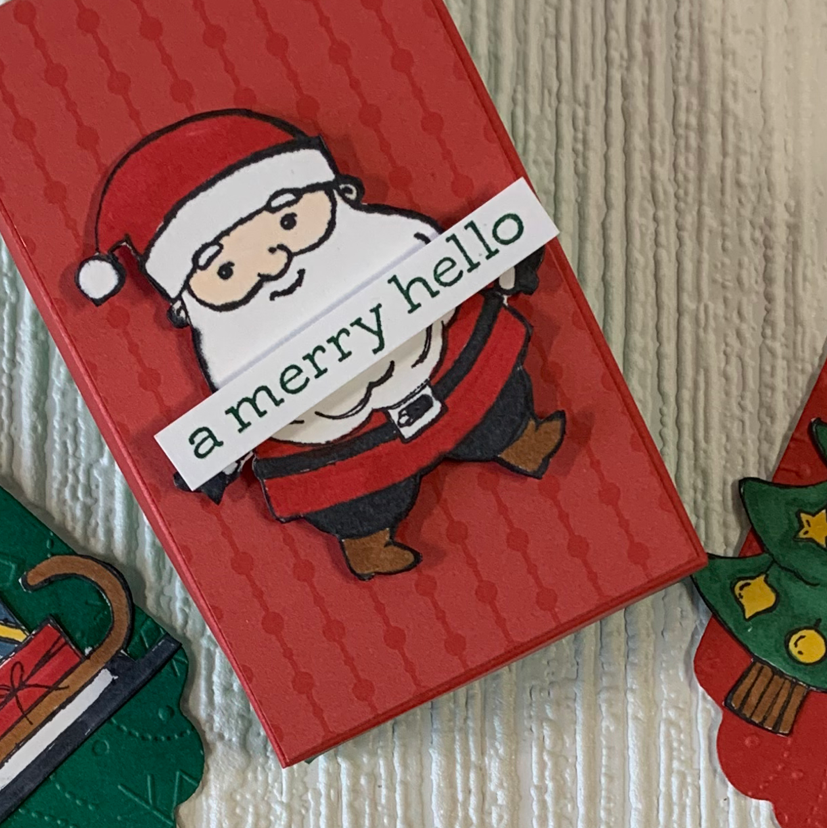
This Santa image was stamped using Memento Tuxedo Black ink and coloured using Stampin’ Blends – Black, Cinnamon Cider, Petal Pink and Poppy Parade. Santa was then fussy cut and popped up on the lid using Stampin’ Dimensionals.

The greeting, from the Be Jolly Stamp Set, was stamped with Shaded Spruce.

When the lid comes off 12 gift tags are revealed. I used one of the Seasonal Labels Dies to make this tag.

There are four different tags – two Santas, a Christmas tree and Santa’s sleigh. These were all coloured using Stampin’ Blends before being fussy cut. Santa’s beards have Clear Wink of Stella brushed across them.

Some of them have been embossed using the snowflakes Wintry 3D Embossing Folder. The others were stamped with ‘be jolly’ using the Stamparatus to hinge-step stamp the greeting evenly along the tag.

Each coloured tag has a white tag adhered to its back. This piece was stamped with ‘to’ and ‘from’.

Now all I need to do is decide who to give this gift box of tags to.

Until next time, happy stamping.

If you live in Australia, you can order any of the products I used to make this card by going to my online store. Just click on any of the images below.

Product List
Paper Snips
[103579]
$17.00
Stamparatus
[148187]
$85.00
Posted on Leave a comment

A CHRISTMAS GIFT CARD BOX

I made a gift box and six 3″x 3″ gift cards during my Facebook Live this week.

This project features the Gingerbread & Peppermint Suite.

This simple lidded gift box has a Cinnamon Cider base and a ‘iced gingerbread’ Designer Series Paper lid. The sample gift I made was too small to hold the small square envelopes that fit the 3″x 3″ gift cards.

Not to waster this smaller gift box, I’m going to find some Christmas gingerbread treats to pop inside.

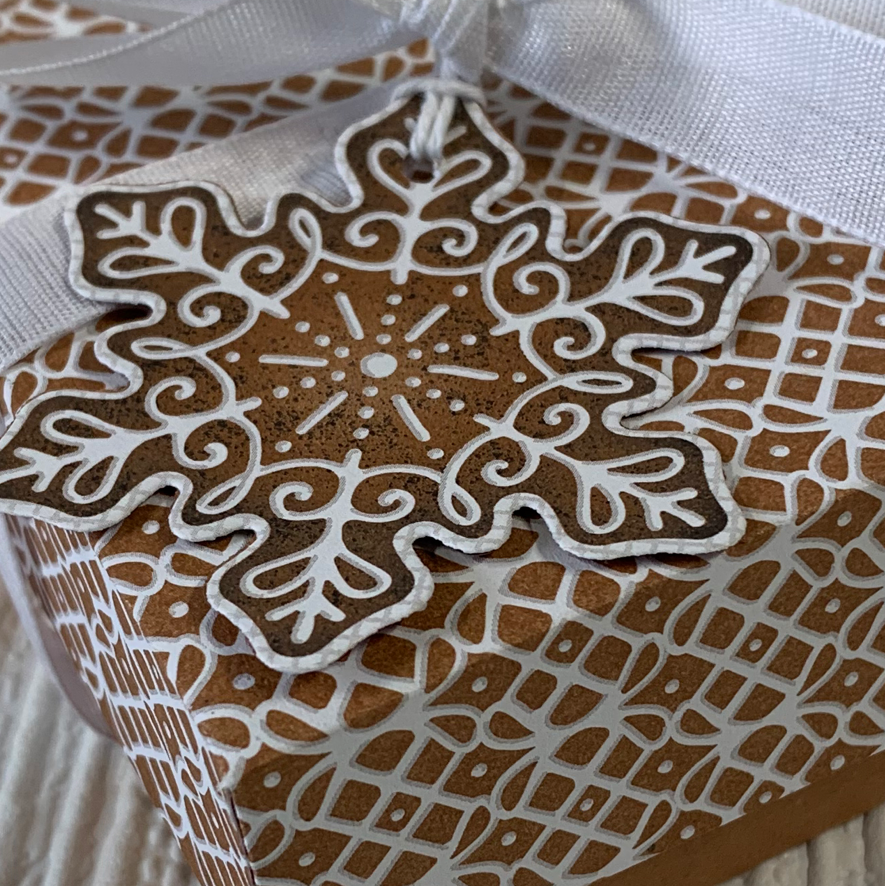
The gingerbread snowflake, cut from some of the DSP, also has a second snowflake cut from Cinnamon Cider adhered on the back. This was perfect for stamping ‘to’ and ‘from’.

Untie the bow and remove the lid to find six unique Christmas gift cards inside.

These are cards made for this gift box. One is a shaker card that has the Gingerbread & Peppermint Acrylic Shapes inside.

FOr the greetings I used Frosted Gingerbread, Be Jolly and Delivering Cheer Stamp Sets.

After my Facebook Live I decided to make a second gift box using some different paper from the Gingerbread & Peppermint DSP.

Three of the cards in this box are the same as the first box but the other three are some different.

I am looking forward to gifting these boxes before Christmas so the recipients can use the gift cards on their gifts.

This collection of products, from the Gingerbread & Peppermint Suite, is amazing to play with. Over the last week have made lots of projects using this Suite. I hope that you have enjoyed them all.

Until next time, happy stamping.

If you live in Australia, you can order any of the products I used to make this card by going to my online store. Just click on any of the images below.

Product List
Paper Snips
[103579]
$17.00
Posted on Leave a comment

CHRISTMAS GIFT BAG

Hello friends! Thanks for popping by to see my latest project.

I decided to make a gift bag to coordinate with a card I shared a couple of days ago.

I used one of the Ombre Gift Bags, some of the Whimsy & Wonder Designer Series Paper and a few of the Wonderful Snowflakes.

I secured a length of the Soft Succulent Open Weave Ribbon to the back of the DSP layer and then adhered it to the front of the ombre bag.

Three snowflakes were added to the bag using Stampin’ Dimensionals.

I cut four tags using the Tailor Made Tags Dies – two in Basic White and one each in Sift Succulent and DSP. One of the white tags was glued to the back of the DSP tag.

Using the Delivering Cheer Stamp Set, I stamped the greeting and trees to the Basic White tag. Then I stamped the ‘to’ and ‘from’ on the Soft Succulent tag.

I stamped, coloured and fussy cut the gift boxes. After I photographed the gift bag I carefully removed the gift boxes and repositioned them so they are now parallel with the bottom of the bag (and it looks much better).

The tags were overlapped and glued in place. Then I cut a length of White Faux Linen Ribbon in half, from the Flowers for Every Season Ribbon Combo Pack, and frayed it before combining it with White Baker’s Twine and Soft Succulent Open Weave Ribbon to finish the tags.

I added some CLear Wink of Stella to the Soft Succulent ‘ribbon’ on the gift boxes before popping some coordinating 2021-2023 In Colur Jewels.

What do you think of this little gift bag? I think that I will make a gift card holder to pop inside the bag.

Until next time, happy stamping.

If you live in Australia, you can order any of the products I used to make this card by going to my online store. Just click on any of the images below.

Product List
Paper Snips
[103579]
$17.00