Posted on Leave a comment

3D THURSDAY – SHARING GIFT BAG, GIFT BOX & HOME DECOR PROJECTS

Welcome to my first 3D Thursday post of 2022. I plan to share a gift bag, gift box or home decor 3D project each Thursday during 2022.

If there is a project idea that you would like to know how to create, make sure you contact me so that I can include it in a future Thursday post.

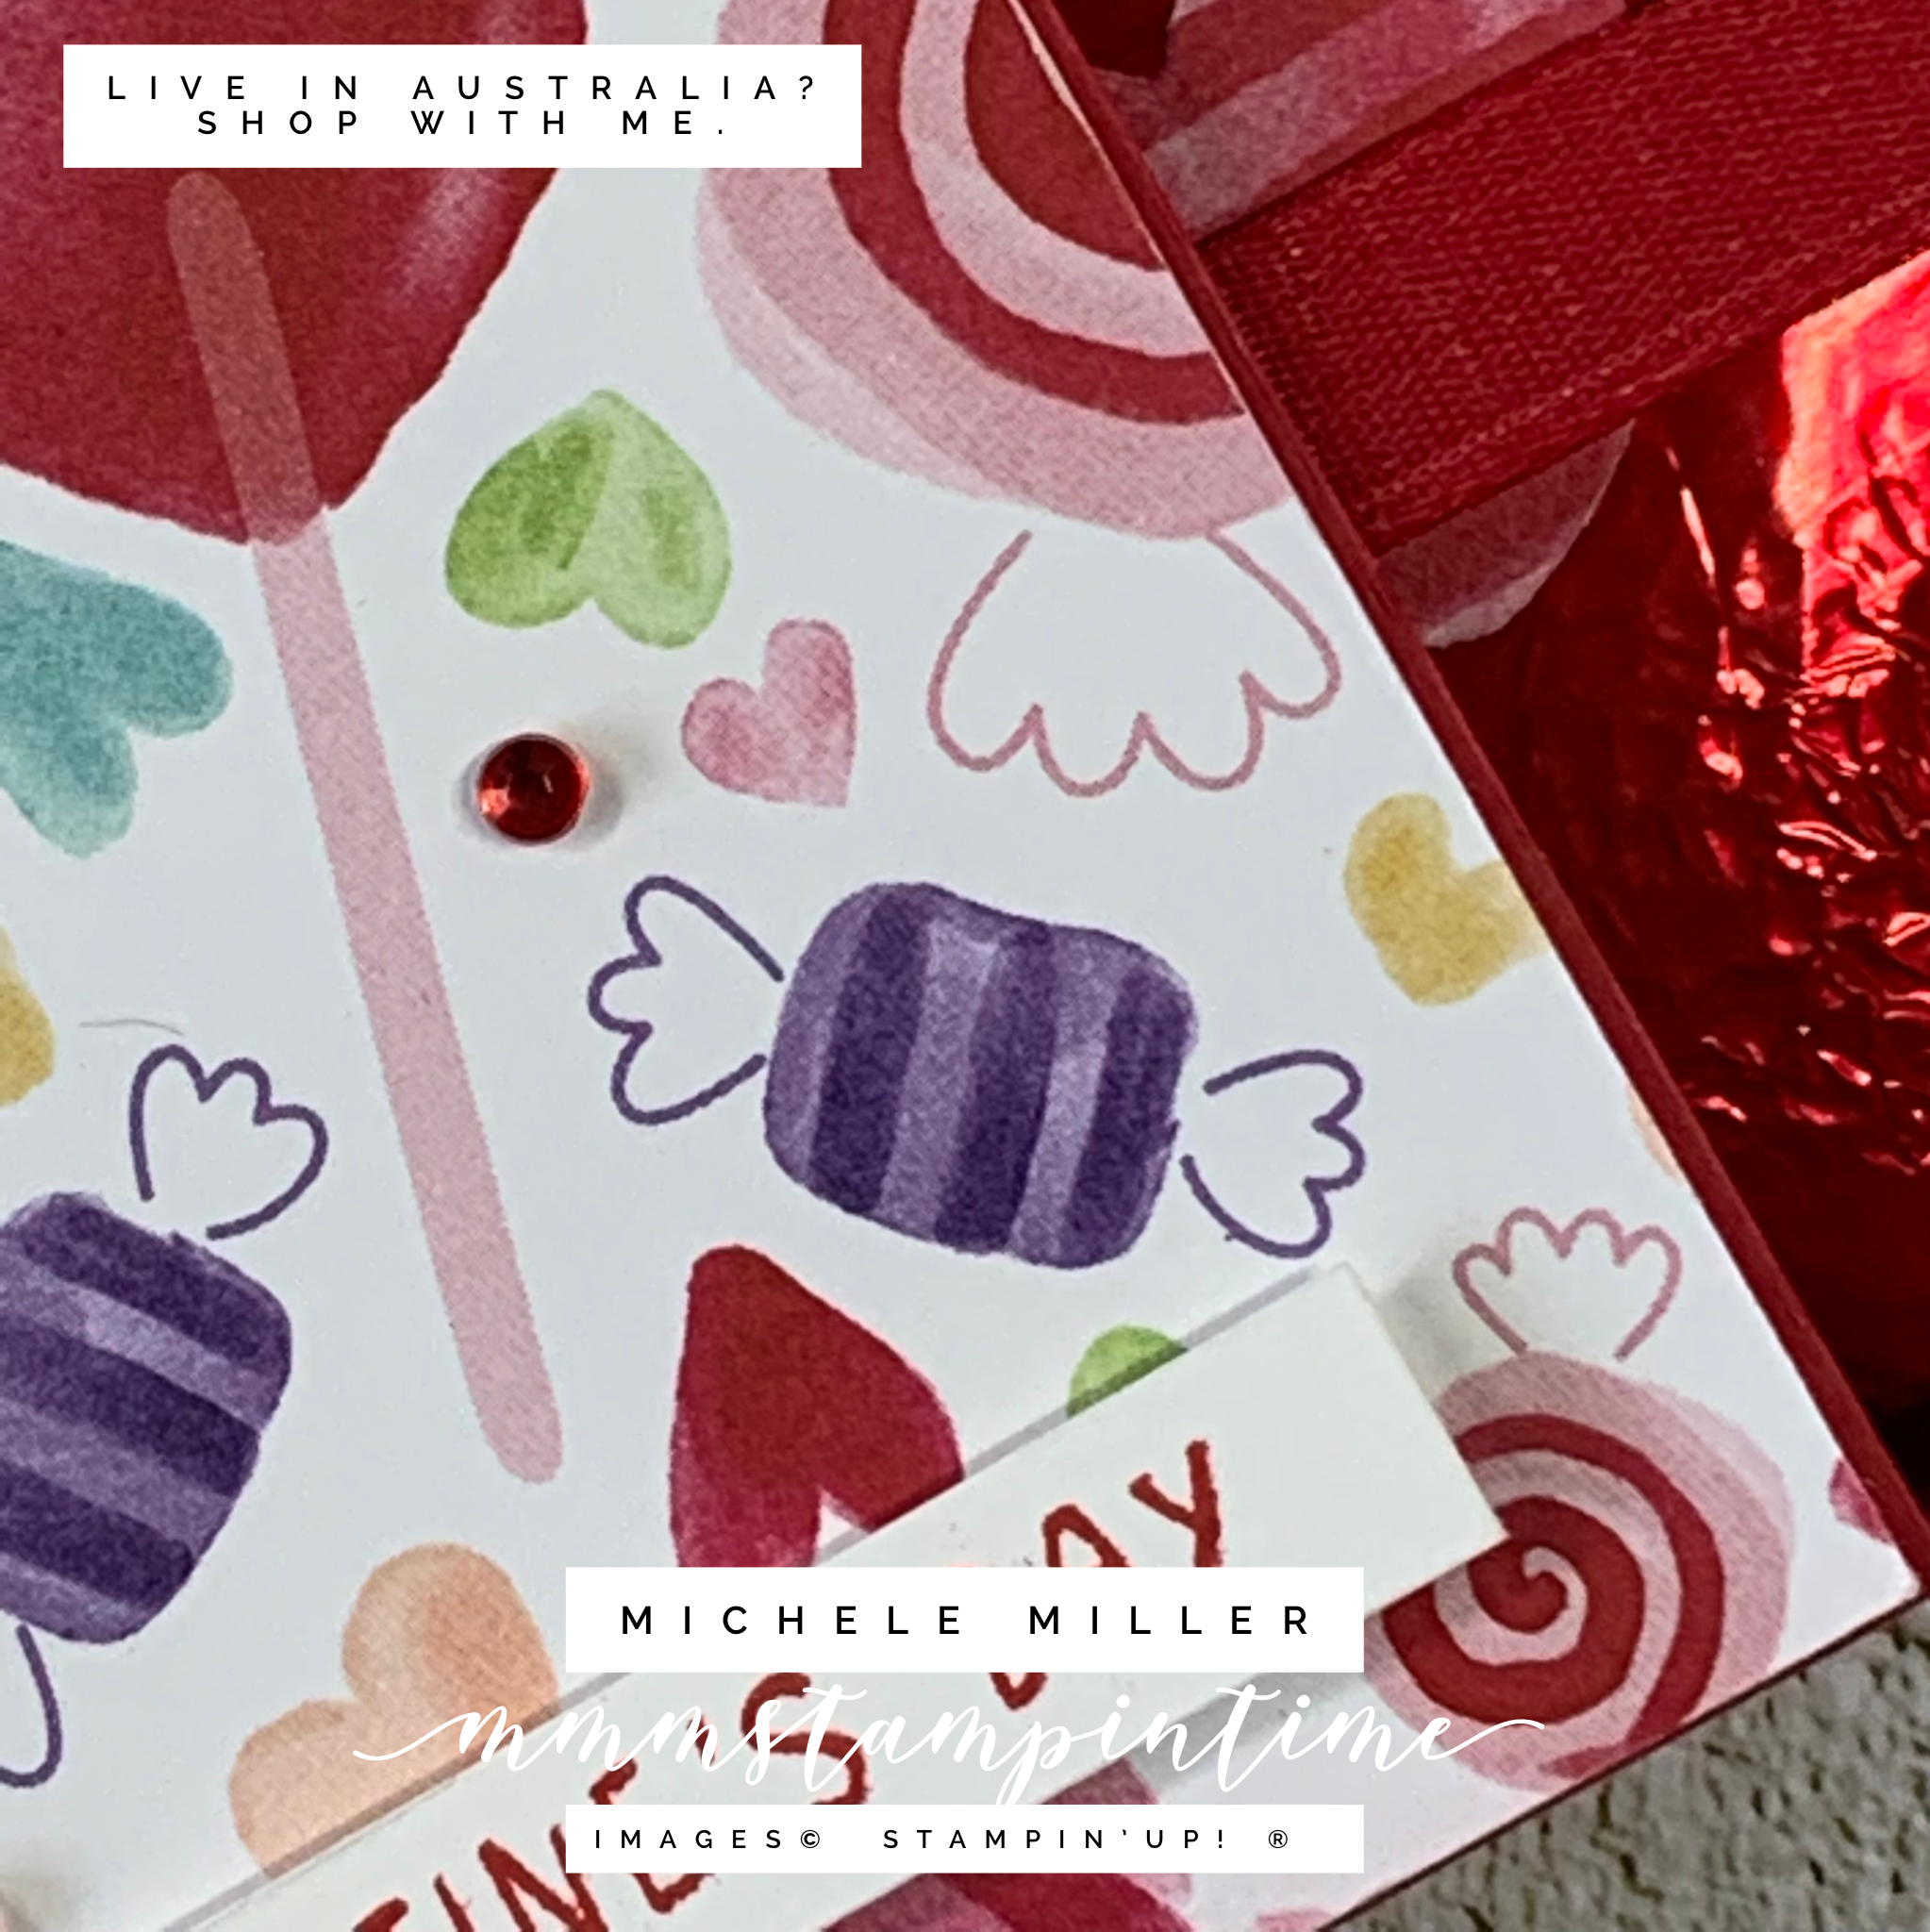
Today I have a Valentine’s Day 3D sliding gift box to share. I am still using the Sweet Talk Suite and I am so pleased with the gift box I have for you.

The Sweet Talk Product Suite is perfect for any Valentine’s project.

This project started with two red foil wrapped chocolate hearts I found at a local store. I decided to create a gift box to present them in, as a special Valentine’s Day gift.

I created a double-fold gift box base and added a divided insert. I was able to secure each of the heart chocolates to the base using a Mini Glue Dot.

I die cut two hearts, from the Designer Series Paper, and attached them to each of the chocolate hearts. Then I wrapped a length of Real Red Faux Linen Ribbon around the gift base.

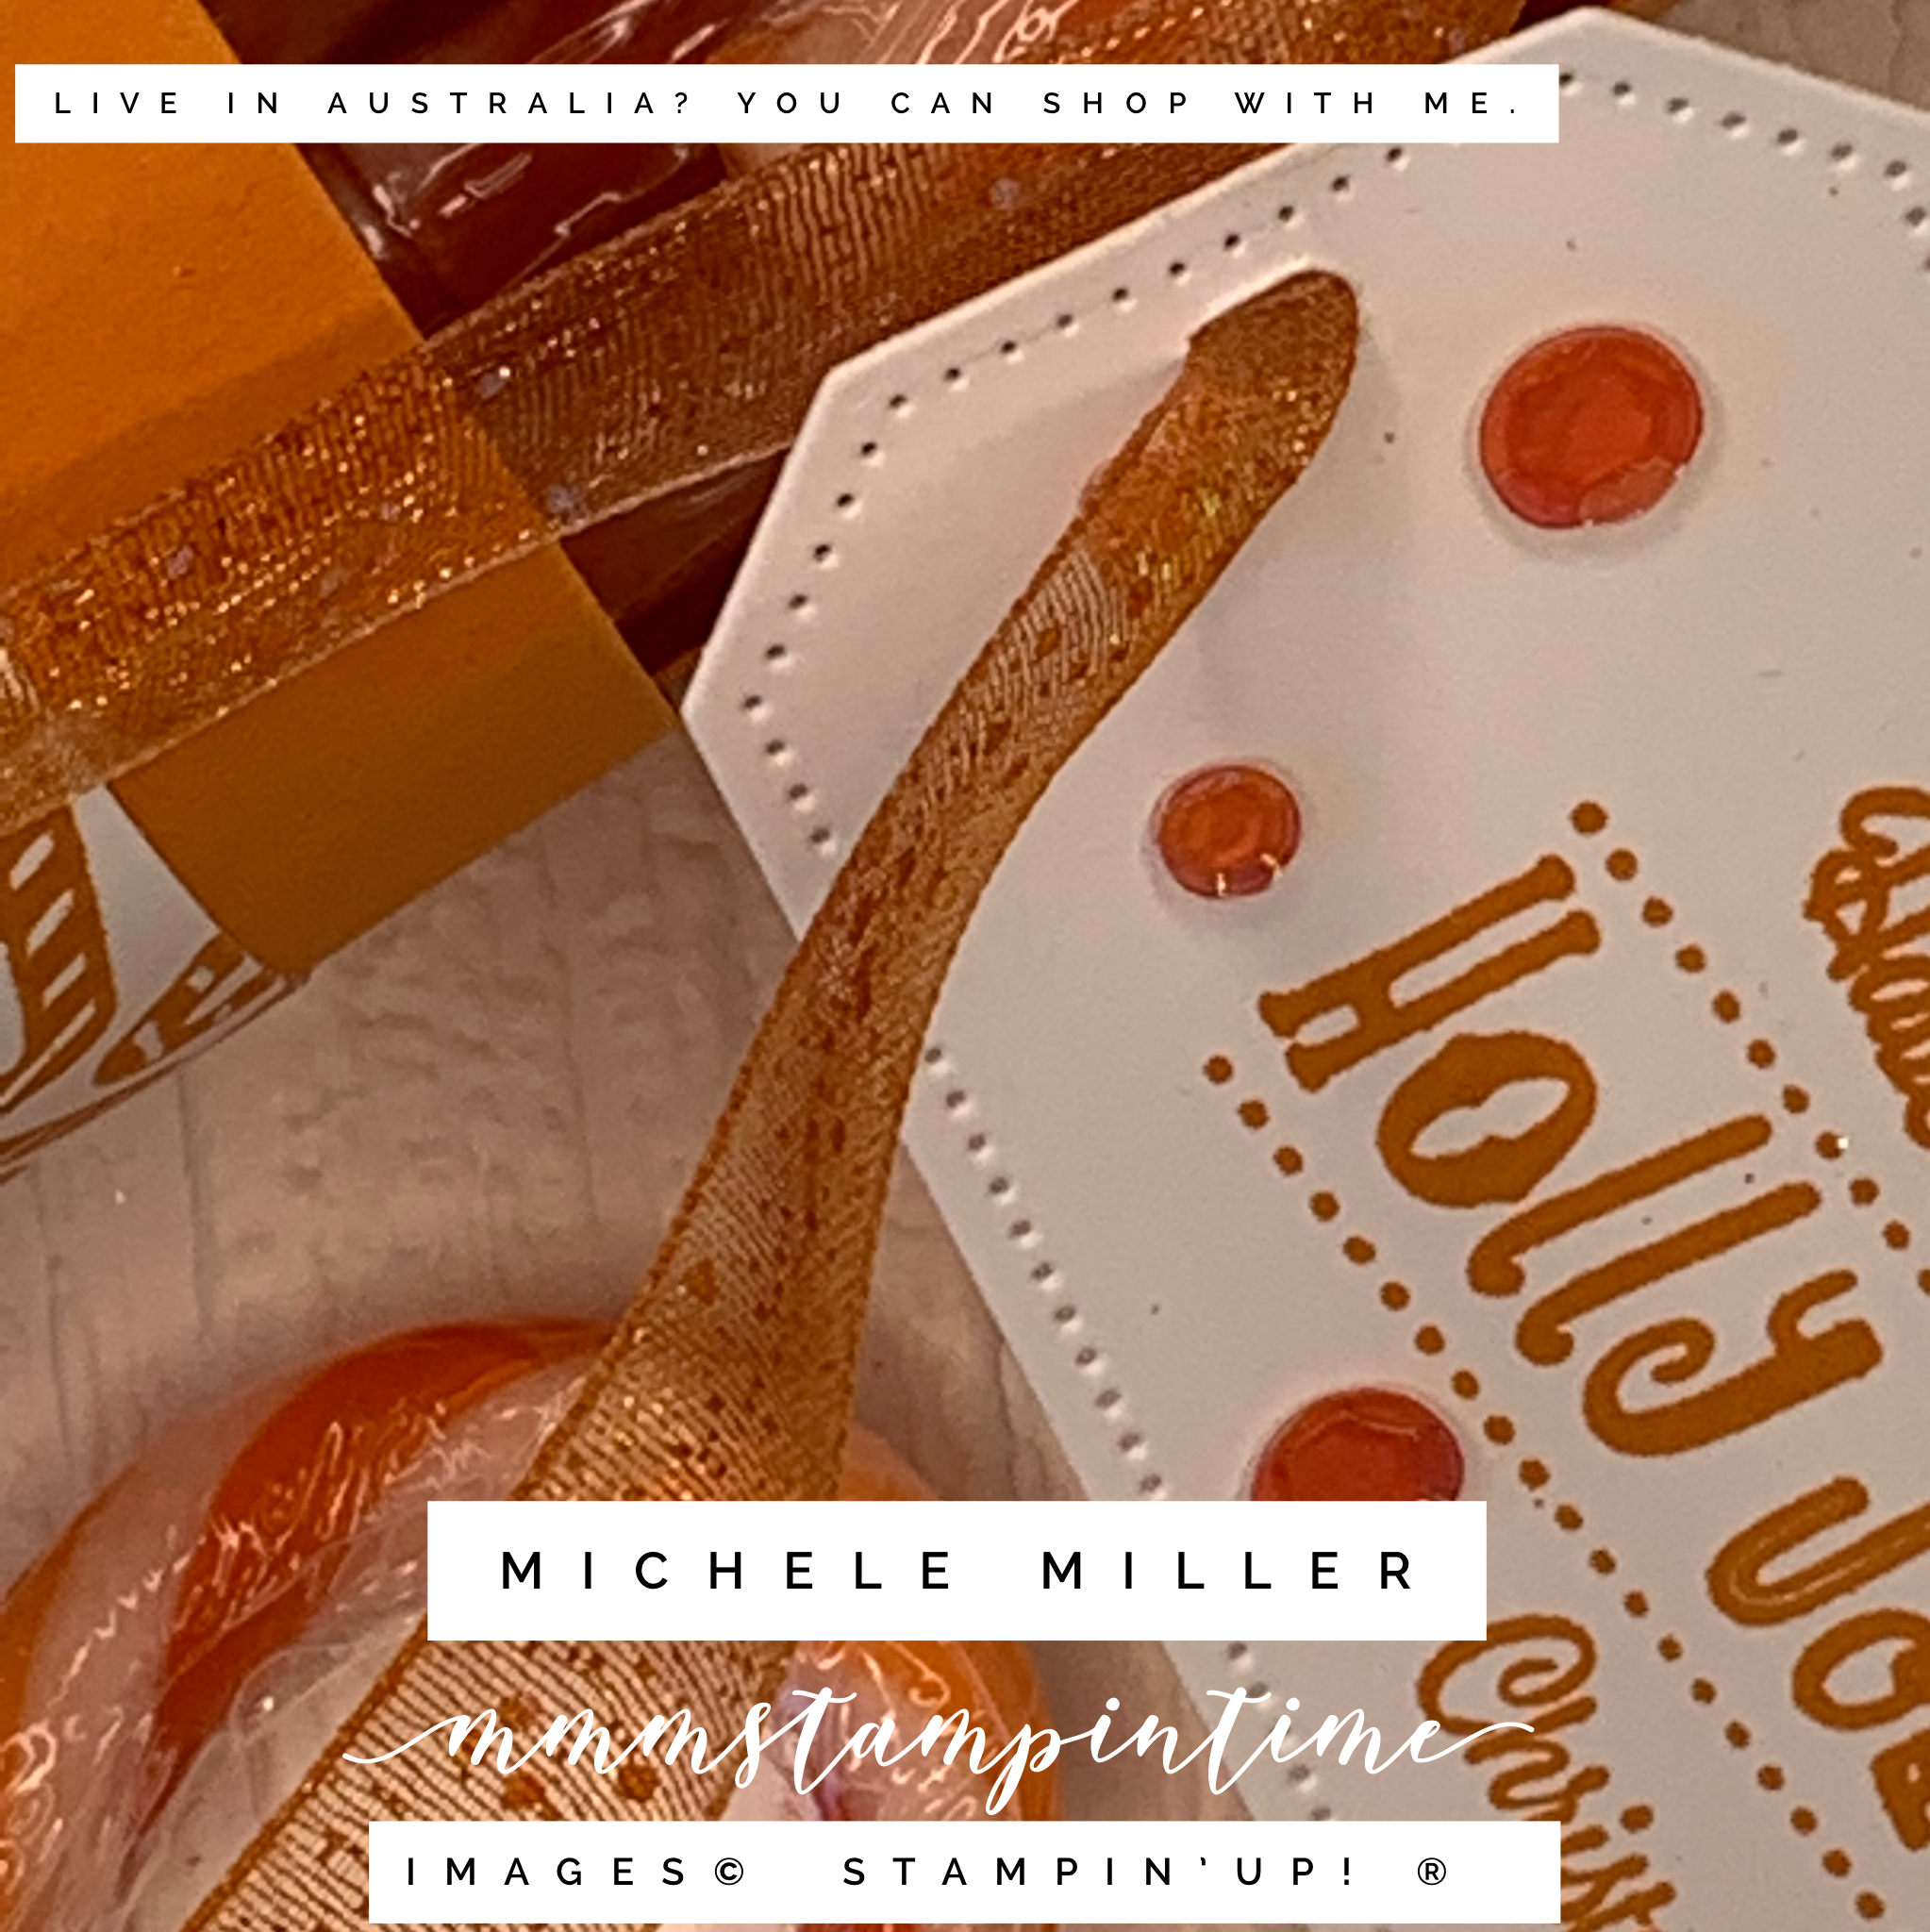
The outer wrapper, like a matchbox, slides off to reveal the chocolate hearts.

The top of the wrapper is decorated with a piece of the Sweet Talk 12″x 12″ Designer Series Paper. I stamped the sentiment onto a thin piece of Basic Whits cardstock.

The envelope was cut using a die from the Sweet Hearts Dies and then embossed using the splatters folder from the Stripes & Splatters 3D Embossing Folders. The heart was stamped and die cut before popping it inside the folded envelope. I added Stampin’ Dimensionals to the back of the envelope to give it height.

I love the texture that the Splatters 3D Embossing Folder gives the cardstock.

The Real Red cardstock, Faux Linen Ribon and Rhinestone Basic Jewels are perfect for any Valentine’s gift.

The reason I include “Live in Australia? Shop with me.” on each image is to make sure that paper crafters, who live in Australia, know that they can order Stampin’ Up!© products through my online store. This is my little business and I hope that it will grow with the support of people who enjoy the projects I share here, on Facebook and Pinterest.

If I can help you place an order, please contact me.

Until tomorrow’s Fun Fold Friday, happy stamping.

If you live in Australia, you can order any of the products I used to make this card by going to my online store. Just click on any of the images below.

Product List
Paper Snips
[103579]
$17.00
Posted on Leave a comment

A CANDY CANE KIND OF CHRISTMAS

I was doing some grocery shopping yesterday and found some unusual candy canes – there were orange and pink canes in the packet. Perfect for making another 3D project!

The boxes remind me of the shape of letter boxes I’ve seen in the United States. I was able to make them using a piece of cardstock measuring 8″x 5-1/2″. I scored along both sides of the long edge at 1-1/4″. After burnishing the score lines, I added Stampin’ Seal+ and overlapped the 1-1/4″ wide lengths to form the base.

The Real Cartoon: Red Letter Box Cartoon

I stamped the Candy Canes image in Melon Mambo and Pumpkin Pie to match the colour of the canes. After trimming the stamped cardstock to 5-1/2″x 4-5/8″, I used Multipurpose Glue to attach it to the gift box.

I coloured a length of White Glittered Organdy Ribbon using the coordinating Stampin’ Blends. After punching Rectangular Postage Stamp pieces of cardstock, I attached the ribbon to it before securing the ribbon to the base of the box.

I made an insert to hold the coloured candy canes and the ribbon ensured that, when tied in a bow, it would not slide out.

The Christmas greeting is from the Holly Jolly Wishes Stamp Set and the two tags were stamped in the coordinating colour. The tags were cut using the Tailor Made Tags Dies.

The tags were added to the ribbon before the bows were tied.

The final touch was to add some Artistry Blooms Sequins.

I’m still refining the way to use my new ring light when taking photos. Please be patient with me as I work on improving my lighting.

What do you think about my candy cane holders?

Until next time, happy stamping.

If you live in Australia, you can order any of the products I used to make this card by going to my online store. Just click on any of the images below.

Product List
Paper Snips
[103579]
$17.00
Posted on Leave a comment

A PERFECT PURPLE PACKET OF PANSY SEEDS

After my trio of pansy card yesterday, I made a 3D double slider gift card to hold a packet of pansy seeds.

Double slider cards are so much fun to make. In the past, I have made them to hold goodies as small as gift cards and as large as a block of Lindt chocolate.

The base for the double slider card was made from Blackberry Bliss card stock and was decorated with the small pansies design from the Pansy Petals 12″x 12″ Designer Series Paper.

The Basic White and Blackberry Bliss internal layers had each of their corners rounded using the Detailed Trio Punch.

When you pull on the ribbon trimmed end of the card, both sides of the double slider card open out revealing the treat and greeting.

For the ribbons, I used some of the Pale Papaya Open Weave Ribbon and the white faux linen ribbon from the Flowers for Every Season Ribbon Combo Pack. The white faux linen was coloured using the dark Evening Evergreen Stampin’ Blend pen. The ribbons were threaded through the punched hole and tied in a knot. Some extra lengths of the Pale Papaya Ribbon were cut in half lengthways and also tied through the punched hole.

The greeting is the same as the one I used in yesterday’s card.

I added some of the 2021 – 2023 In Colour Jewels to the front of this 3D project.

This is such a pretty pansy paper design. The flowers are so sweet, small and colourful.

Who would you send a packet of pansy seeds to?

Until next time, happy stamping.

If you live in Australia, you can order any of the products I used to make this card by going to my online store. Just click on any of the images below.

Product List
Paper Snips
[103579]
$17.00