Posted on Leave a comment

3D THURSDAY – IT’S TIME FOR A NEW GIFT BOX DESIGN

Thanks for joining me for today’s 3D Thursday project. I will be making this on my Facebook Live today and will add a video tutorial to my Youtube channel soon.

Let me know what you think of this project.

The gift box is 6″ long and each side is 3″ wide. Here are some instructions that may help.

I used a 12″x 12″ piece of Mango Melody cardstock and cut and scored the box using the instructions above.

Then I cut some of the Sunshine & Rainbows DSP for the panels and triangular ends.

I used the Detailed Trio Punch to round off the corners of the front flap.

To assemble the triangle I used Stampin’ Seal + on the flaps that are on the triangles. Then I wrapped the sides up and pressed the edges together. A bone folder made it easier to secure the adhesive in place.

I used super strong magnets to help hold the box flap in place. Mini Glue dots were used to secure them in place.

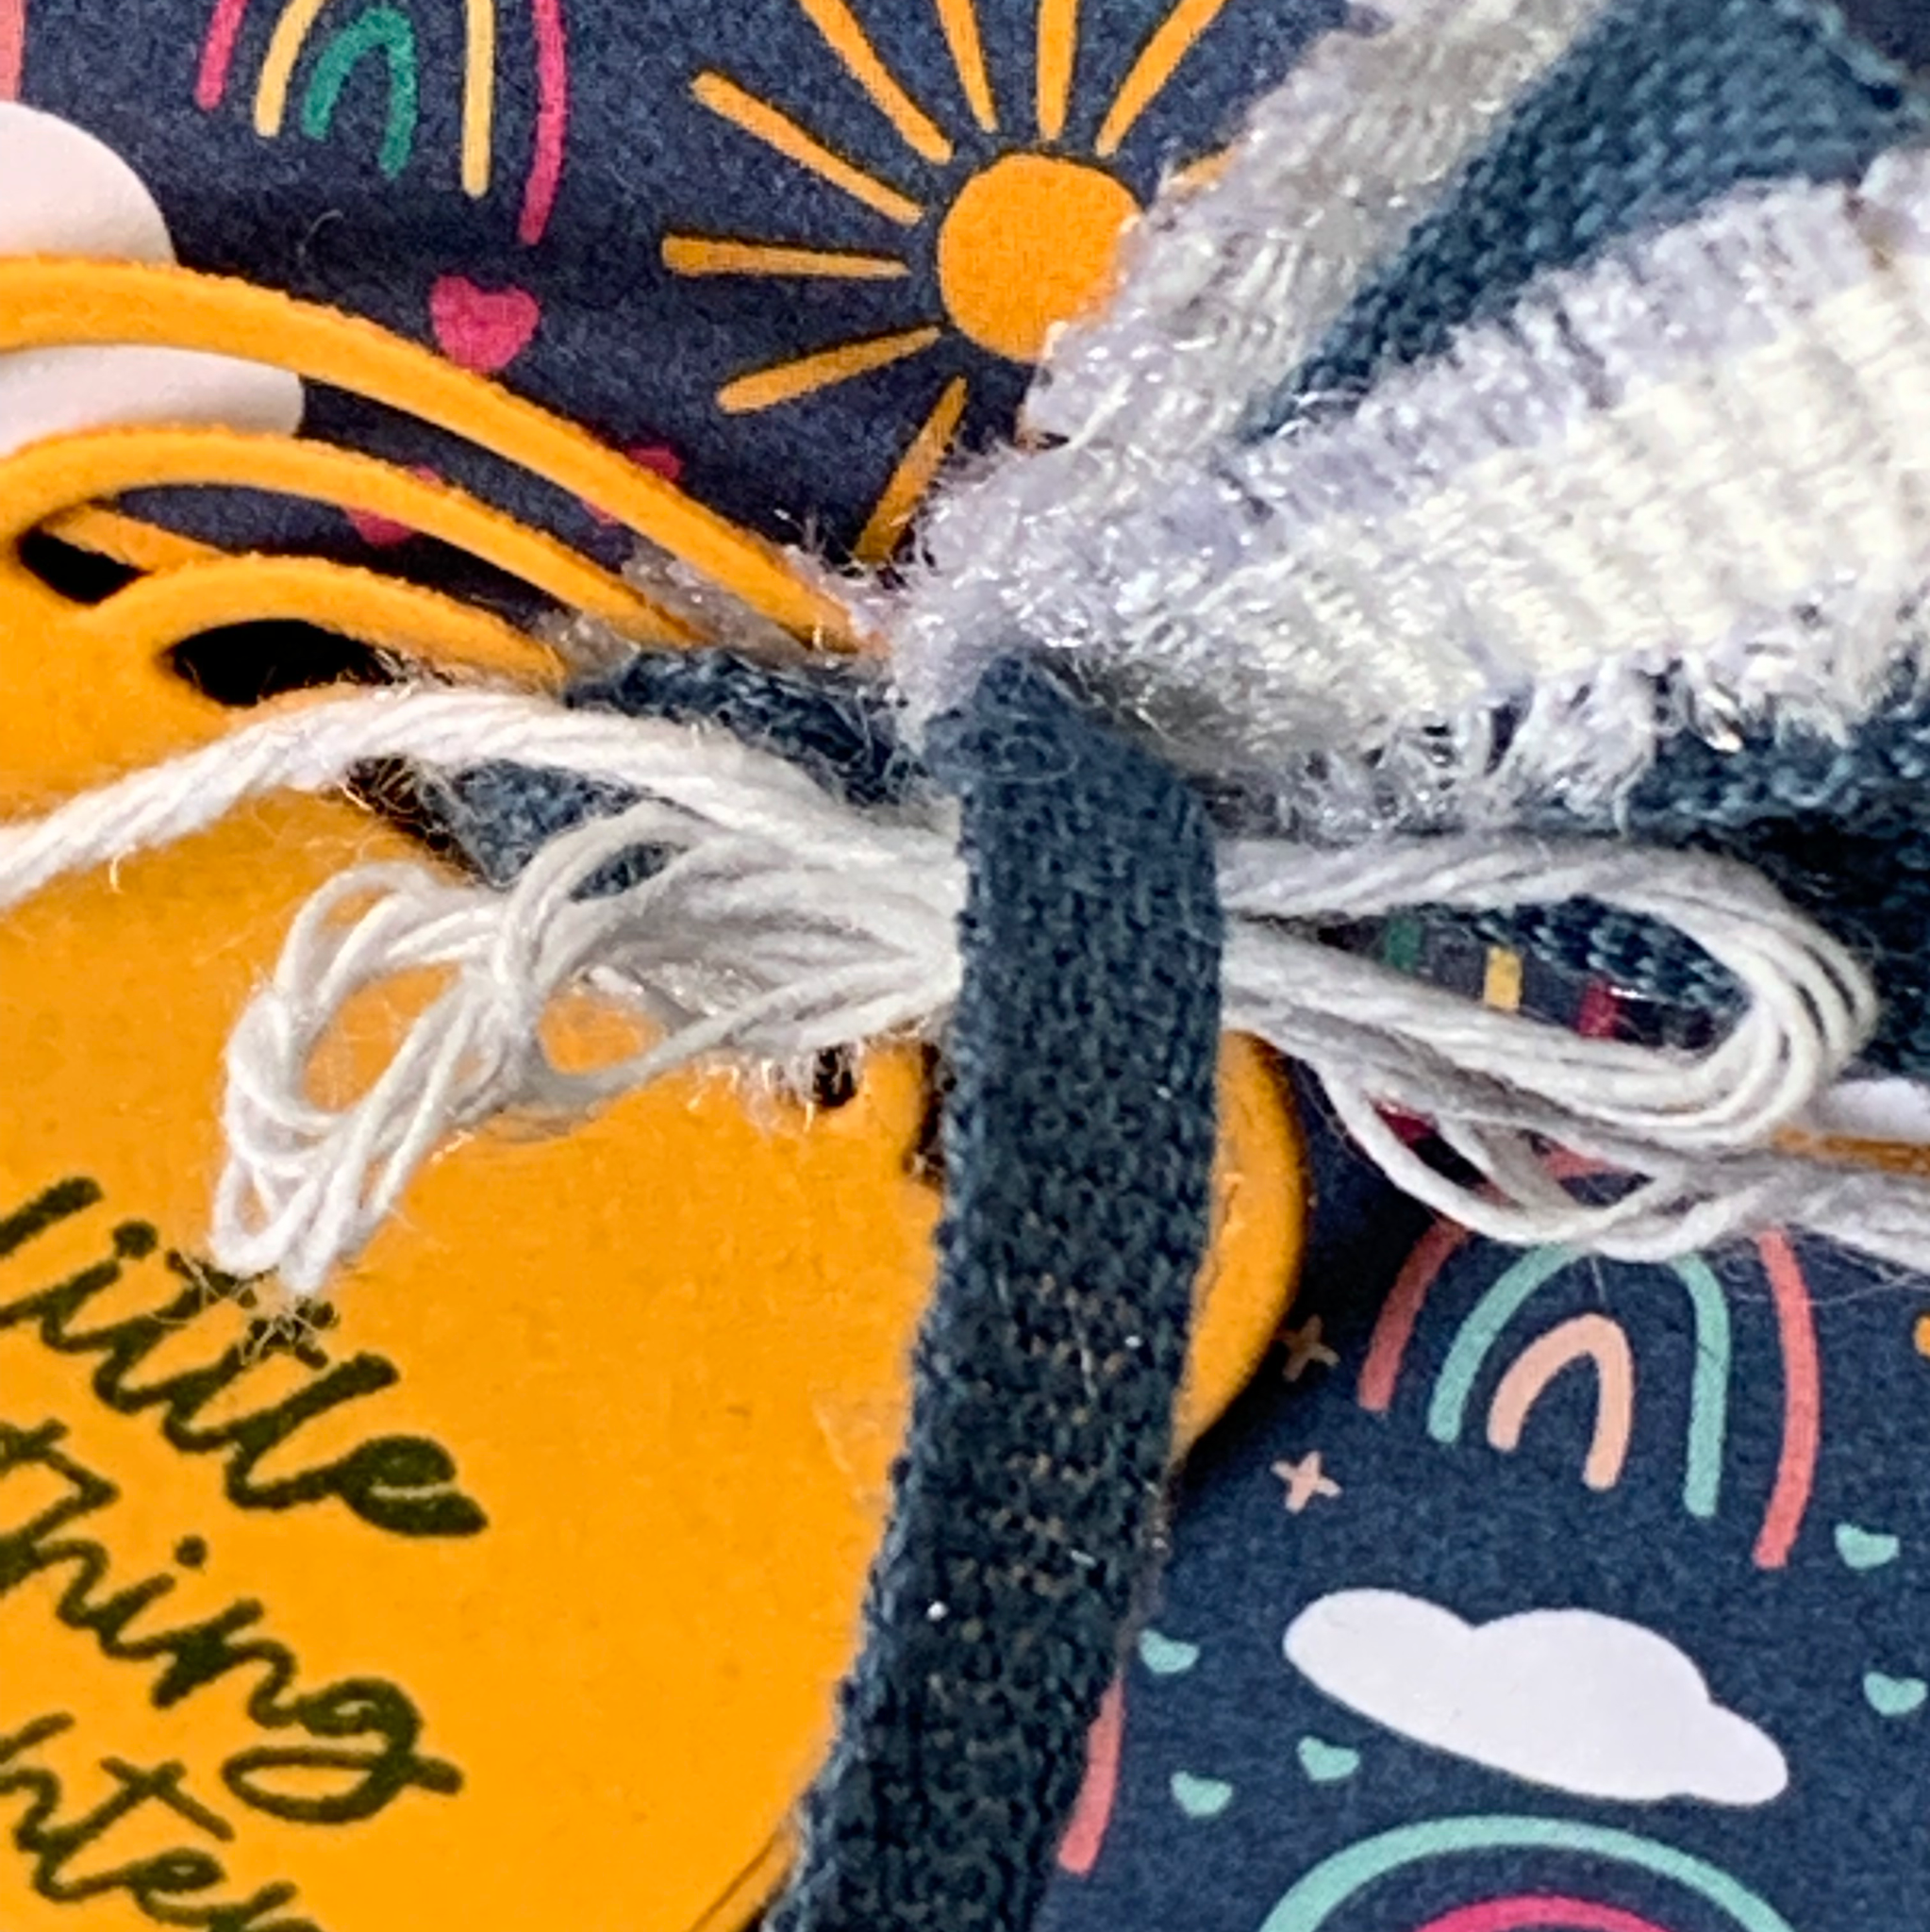
To finish the gift box I used one of the Brilliant Rainbow Dies to cut the gift tag. I stamped the greeting on this tag and then added some ribbons through the rainbow cut aways. They were gathered up and tied with a piece of white Baker’s Twine from the Essentials Pack. The tag was then attached to the front of the box using Stampin’ Dimensionals.

I’ll come back and add a link to the Youtube video tutorial once I have uploaded it.

Tomorrow is Fun Fold Friday and I have a card ready to share with you.

Until then, happy stamping.

If you live in Australia, you can order any of the products I used to make this card by going to my online store. Just click on any of the images below.

Product List
Paper Snips
[103579]
$17.00
Posted on Leave a comment

3D THURSDAY – TIME TO MAKE A GIFT BOX

I really enjoy making 3D projects, especially gift boxes.

Today’s gift box is designed to hold 6 notecards and envelopes. It is also a’flat fold’ gift box. Let me show you what I mean.

This gift box holds the 6 notecards and envelopes that I shared last Saturday and Sunday.

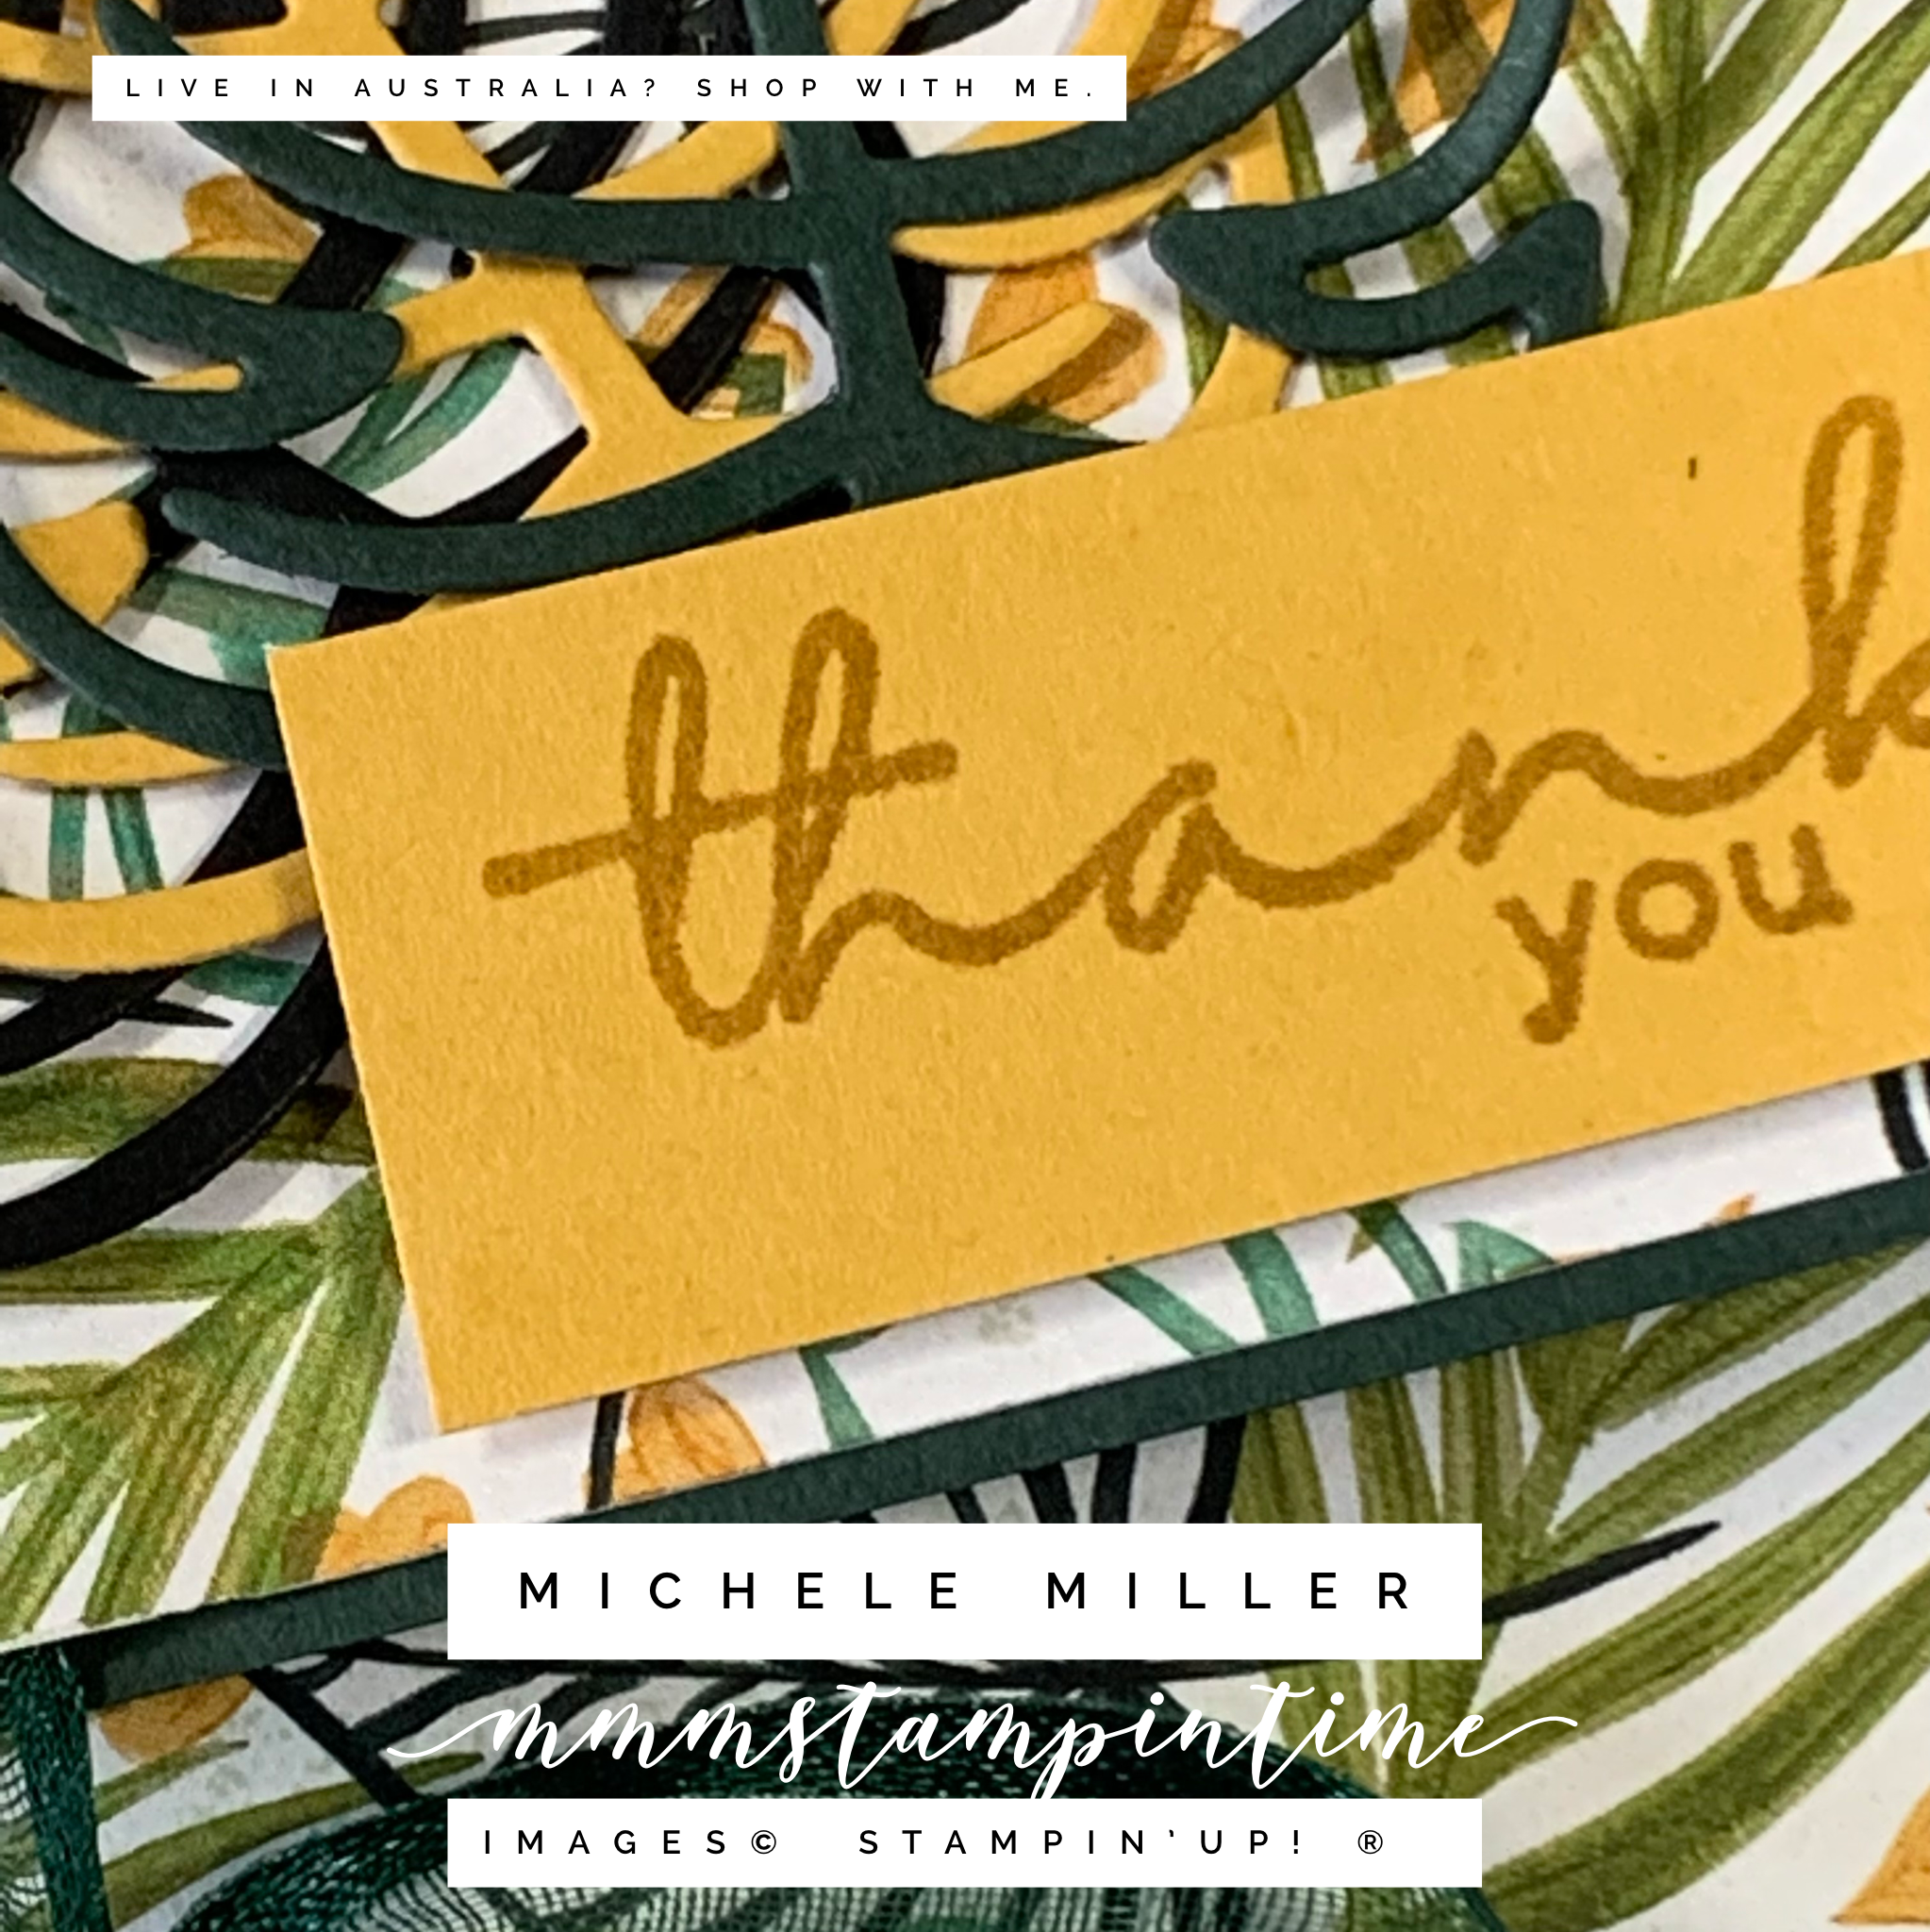
The box has been made using the same Designer Series Paper and coordinating cardstock. It is a ‘flat fold’ box because no adhesive has been used to create a permanent 3D box structure. Once the Evening Evergreen OPen Weave Ribbon bow is untied, the box opens out completely.

There is enough space to position the notecards and envelopes, as you can see. The ‘side flaps’ of the front panel tuck in behind the cards. You could adhere these into position to make a more premanent construction.

For this project, I only added DSP panels to the central panels of the box. As you can see, I have ensured that the continuity of the design wraps continuously through the box panels.

Before I adhered the front DSP piece, I secured a length of Evening Evergreen Open Weave Ribbon so that it could be tied in a bow the hold the front flap down.

3D projects don’t always need ahuge number of products to createthe finished result.

Tomorrow is Fun Fold Friday and I’m not sure what I will create yet. Thank goodness for 24 hours!

UNtil tomorrow, happy stamping.

If you live in Australia, you can order any of the products I used to make this card by going to my online store. Just click on any of the images below.

Product List
Paper Snips
[103579]
$17.00
Posted on Leave a comment

3D THURSDAY & IT’S TIME FOR A GIFTBOX

You have probably figured out that I am featuring one product suite or bundle each week, beginning on Saturday.

This week is all about the FREE Sale-a-bration Friendly Hello Bundle. This a product bundle you can choose with a minimum $180 AUD order.

FRIENDLY HELLO BUNDLE (ENGLISH)

I had a Basil, Lime and Mandarin scented cake of soap that needed a much nicer giftbox than the packaging it came in.

I cut piece of Pool Party cardstock to 7″x 5-1/2″ for the base and scored it at 1-1/2″ on all four sides.

The lid was cut to 6″x 4-1/2″ and scored at slightly less than 1″ on all sides. This ensured the lid was a touch larger than the base and would fit easily over the base. It also meant that part of the blue base would be seen and it would easier to lift the lid away.

The Designer Series Paper was cut from a piece measuring 5-5/8″x 4-1/8″. When I cut the DSP, as shown below, I was able to ensure the continuity of the paper’s design on the top and the four sides.

I adhered the DSP panels to the lid before assembling it.

To coordinate with the giftbox, I wrapped and secured a strip of the same DSP around the soap.

Then I took a length of Pool Party Sheer Ribbon and attached it to the bottom of the card base.

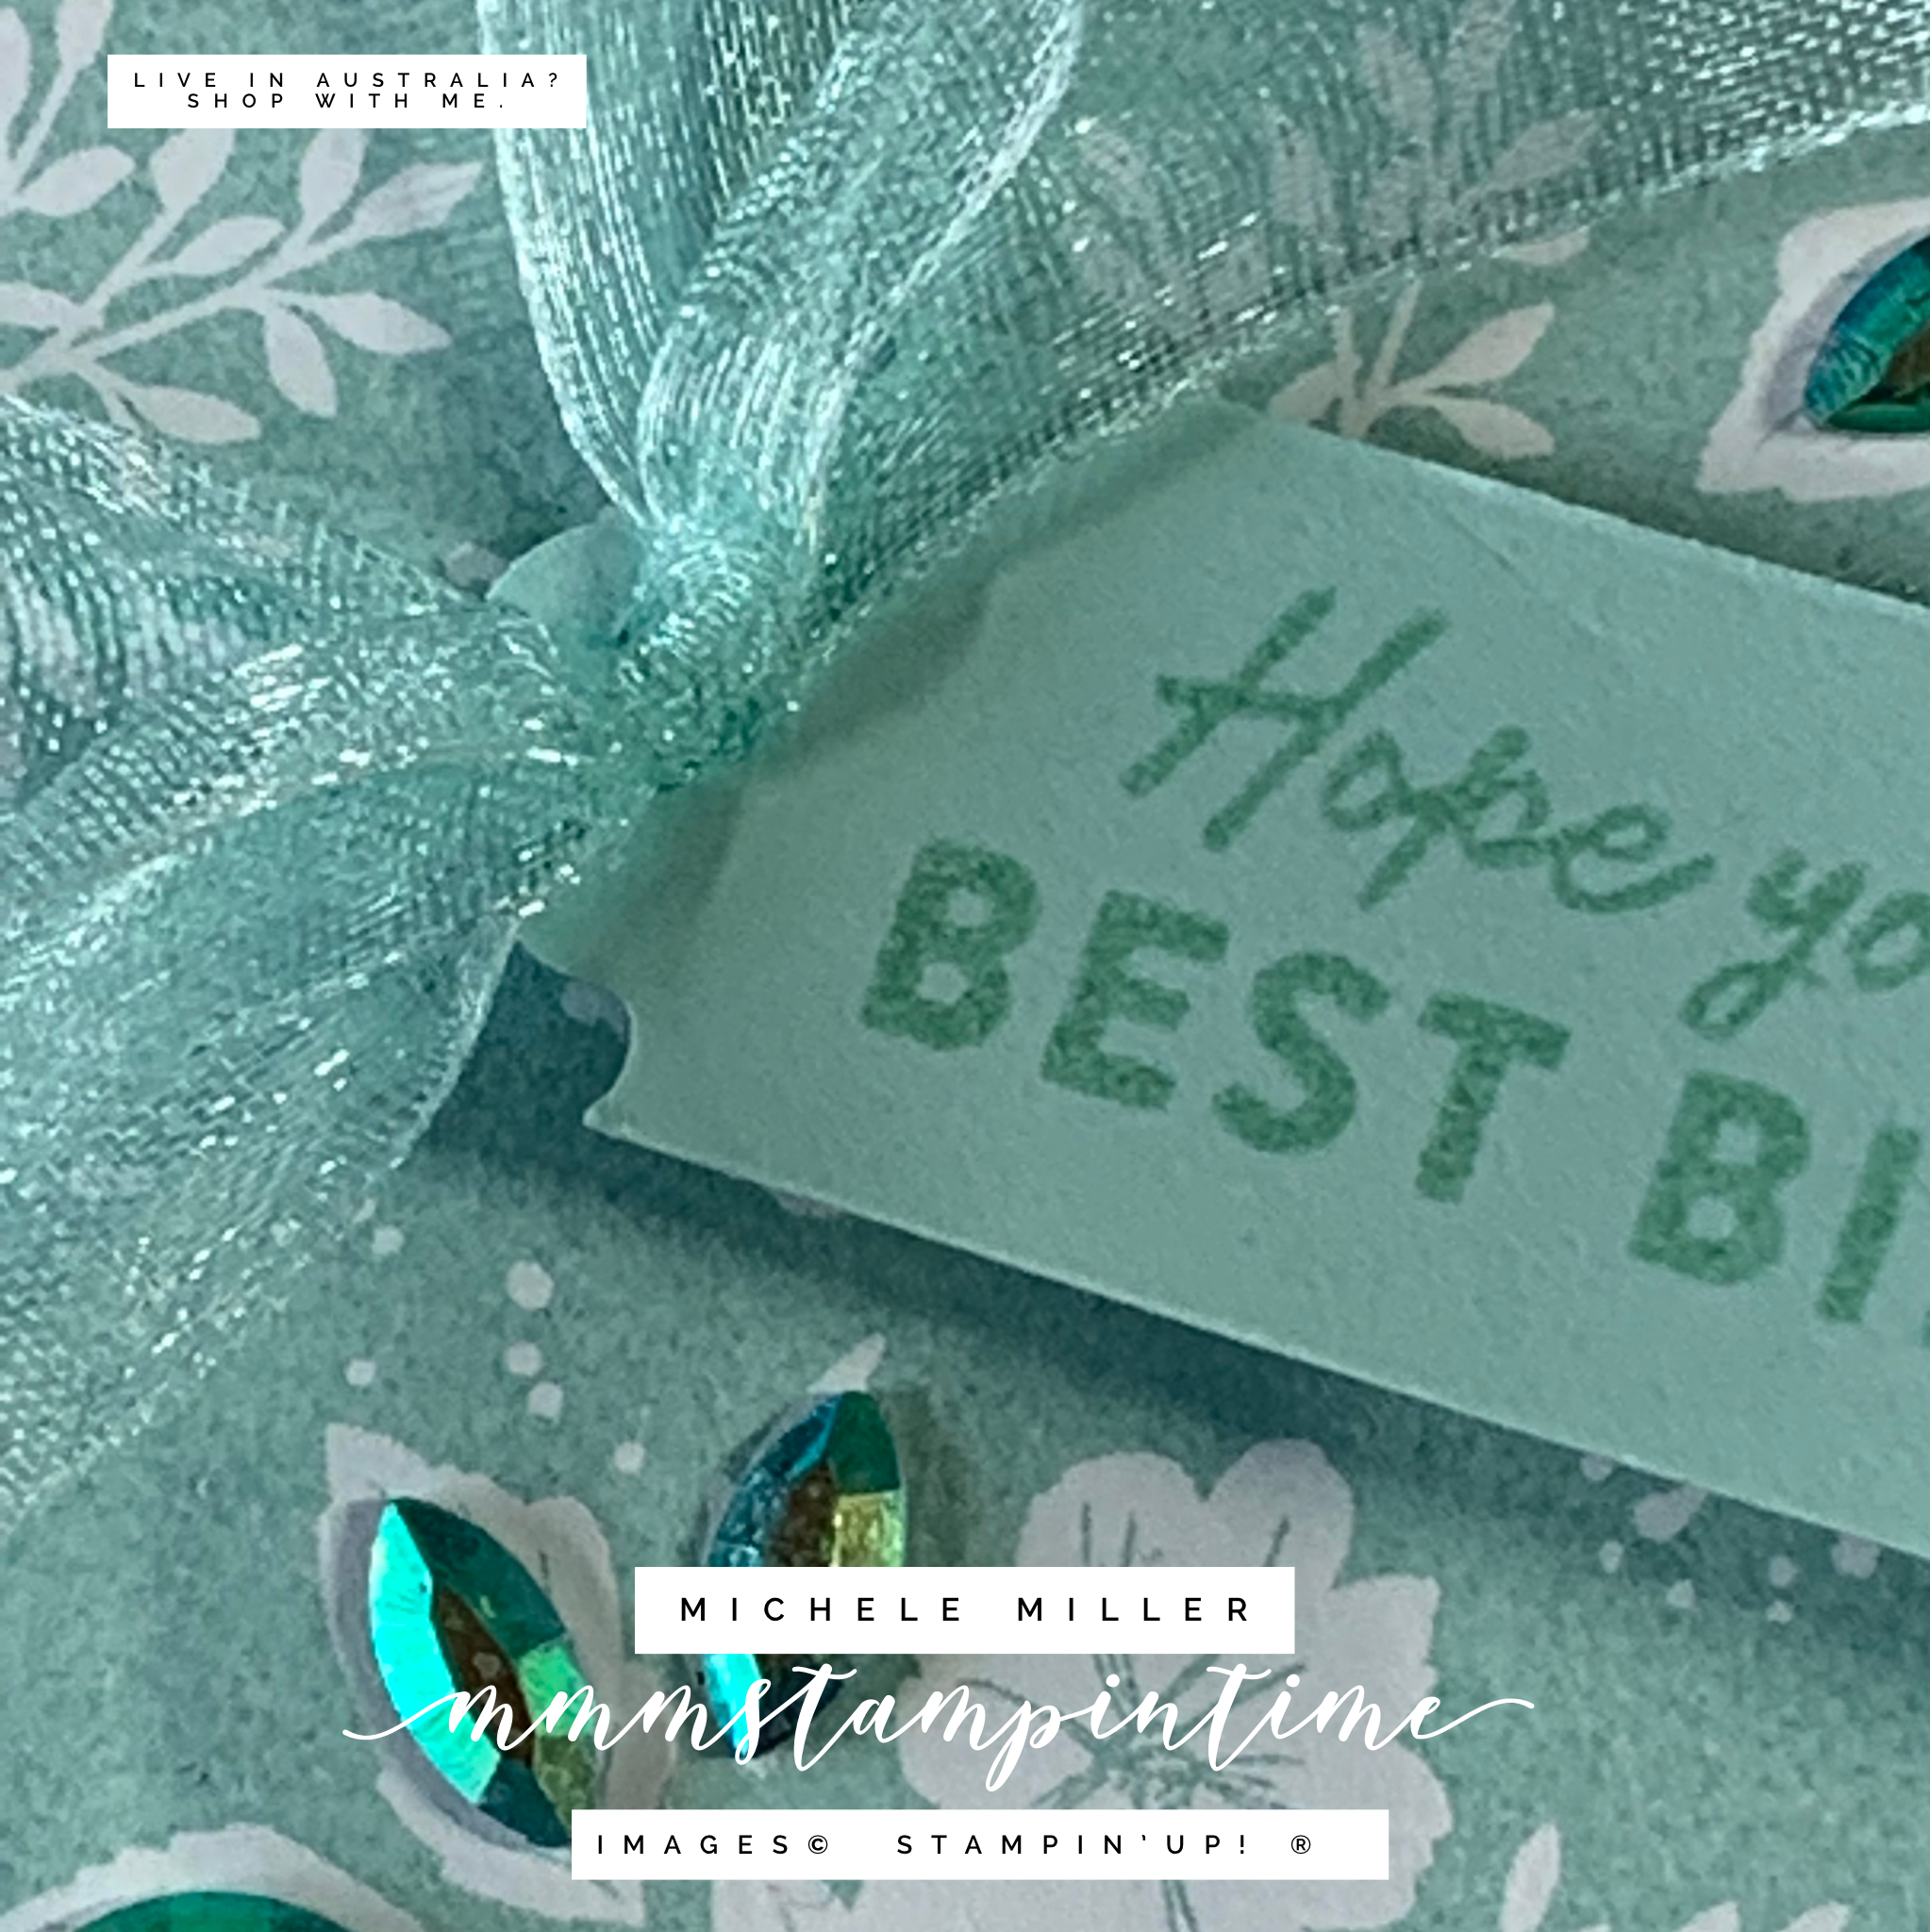
I stamped the birthday greeting onto a piece of cardstock and used the Lovely Labels Punch to decorate the end of the greeting tag. The Label Me Fancy Punch gave me the punched hole I needed to thread the ribbon ends through. The next step was to tie a bow.

The Garden Gems are a gorgeous way to finish the giftbox.

I really have fun when I make giftboxes and packaging. It’s the challenge of creating a 3D item from 2D paper – measuring, cutting and assembling.

Tomorrow is Fun Fold Friday. Until then, happy stamping.

If you live in Australia, you can order any of the products I used to make this card by going to my online store. Just click on any of the images below.

Product List
Garden Gems
[159277]
$12.25
Paper Snips
[103579]
$17.00