The first card I have to share with you today is a super, simple one usingt he same Joyful Images and Joyful Sayings Ephemera Packs and DSP as yesterday.
For this card I used the Basic White Notecards & Envelopes.

All I needed was a piece of the DEsigner Series Paper and then the sleigh and greeting from the Ephemera Packs.

The second card is a step up from the first one.
I created a tucked away pop up corner fold that is revealed when you open the card.

To create the corner fold I scored the Real Red cardbase 3″ along the centre fold and the same distance along the lefthand side.
I added a panel of Real Red card to the card front. and a DSP panel.
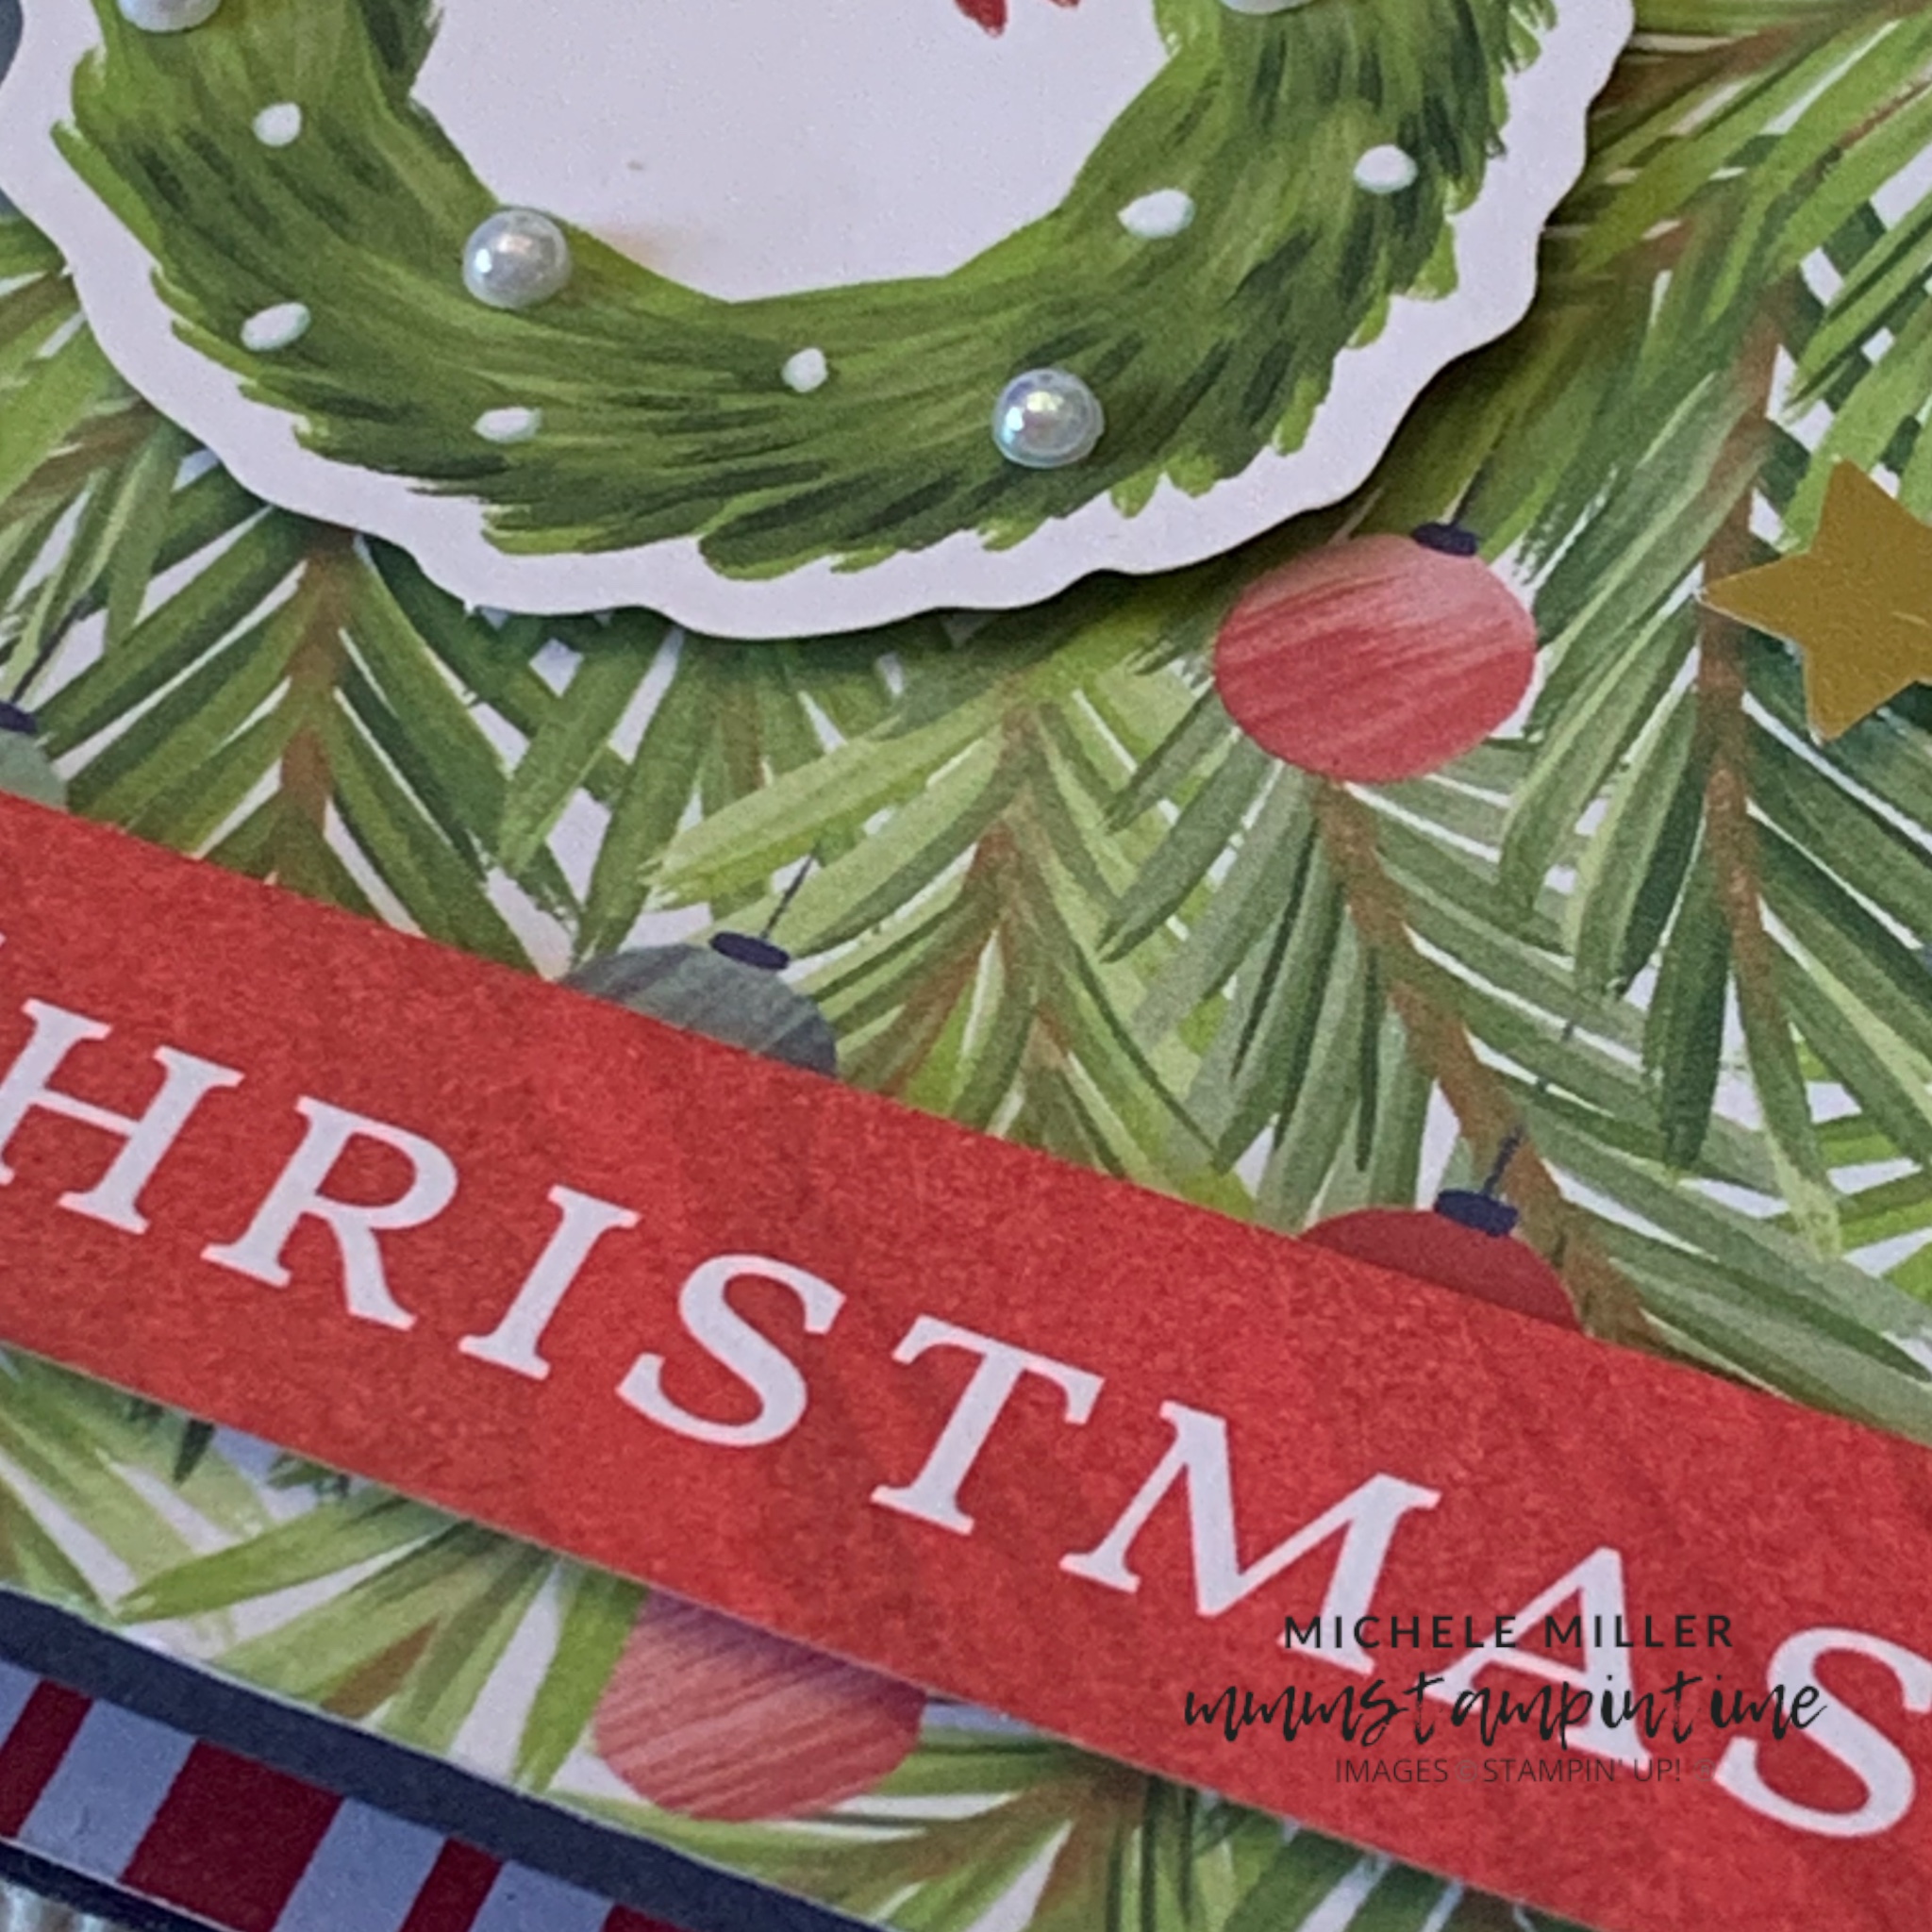
From the Joyful Images Pack, I chose this /christmas tree and sleigh to add to the card.
THe greeting, from Joyful Sayings, was also added.
The three pearl jewels were coloured using the dark Real Red Blends pen.

I I chose some of the gift box images to decorate the corner fold.
The card insert was cut and I added a strip of DSP to finish it off.
For the last card, I used the Forever Plaid 3D Embossing Folder to give the card front some texture.

The embossed Real Red panel was adhered to a Garden Green cardbase beofre adding more elements from the Joyful Images and Joyful Sayings Packs.
The greeting was added to both the front of the card and the card insert.

I added some Clear Wink of Stella to the bow for a little glimmer.
Using the dark Real Red Blends pen, I coloured three of the Iridescent Pearlsto finish the card.
Making these cards was made so easy with the ephemera packs.
Tomorrow I have a 3D project to sahre with you.
Until then, happy stamping.

If you live in Australia, you can order any of the products I used to make this card by going to my online store. Just click on any of the images below.

 |  | |||
 |  |  |  | |
 |  |  |  |  |
 |  |  |

")
 Mix & Match Specialty Designer Series Paper")


")
")


 Designer Series Paper")


