As the title of today’s post suggests, my projects for the rest of the week will be showcasing the Surfing Santa Stamp Set.
As much as I love the idea of a white Christmas, I don’t think that it has ever snowed on Christmas Day where I live. So I am always excited when Stampin’ Up! introduces Christmas images that are perfect for the Southern Hemisphere.

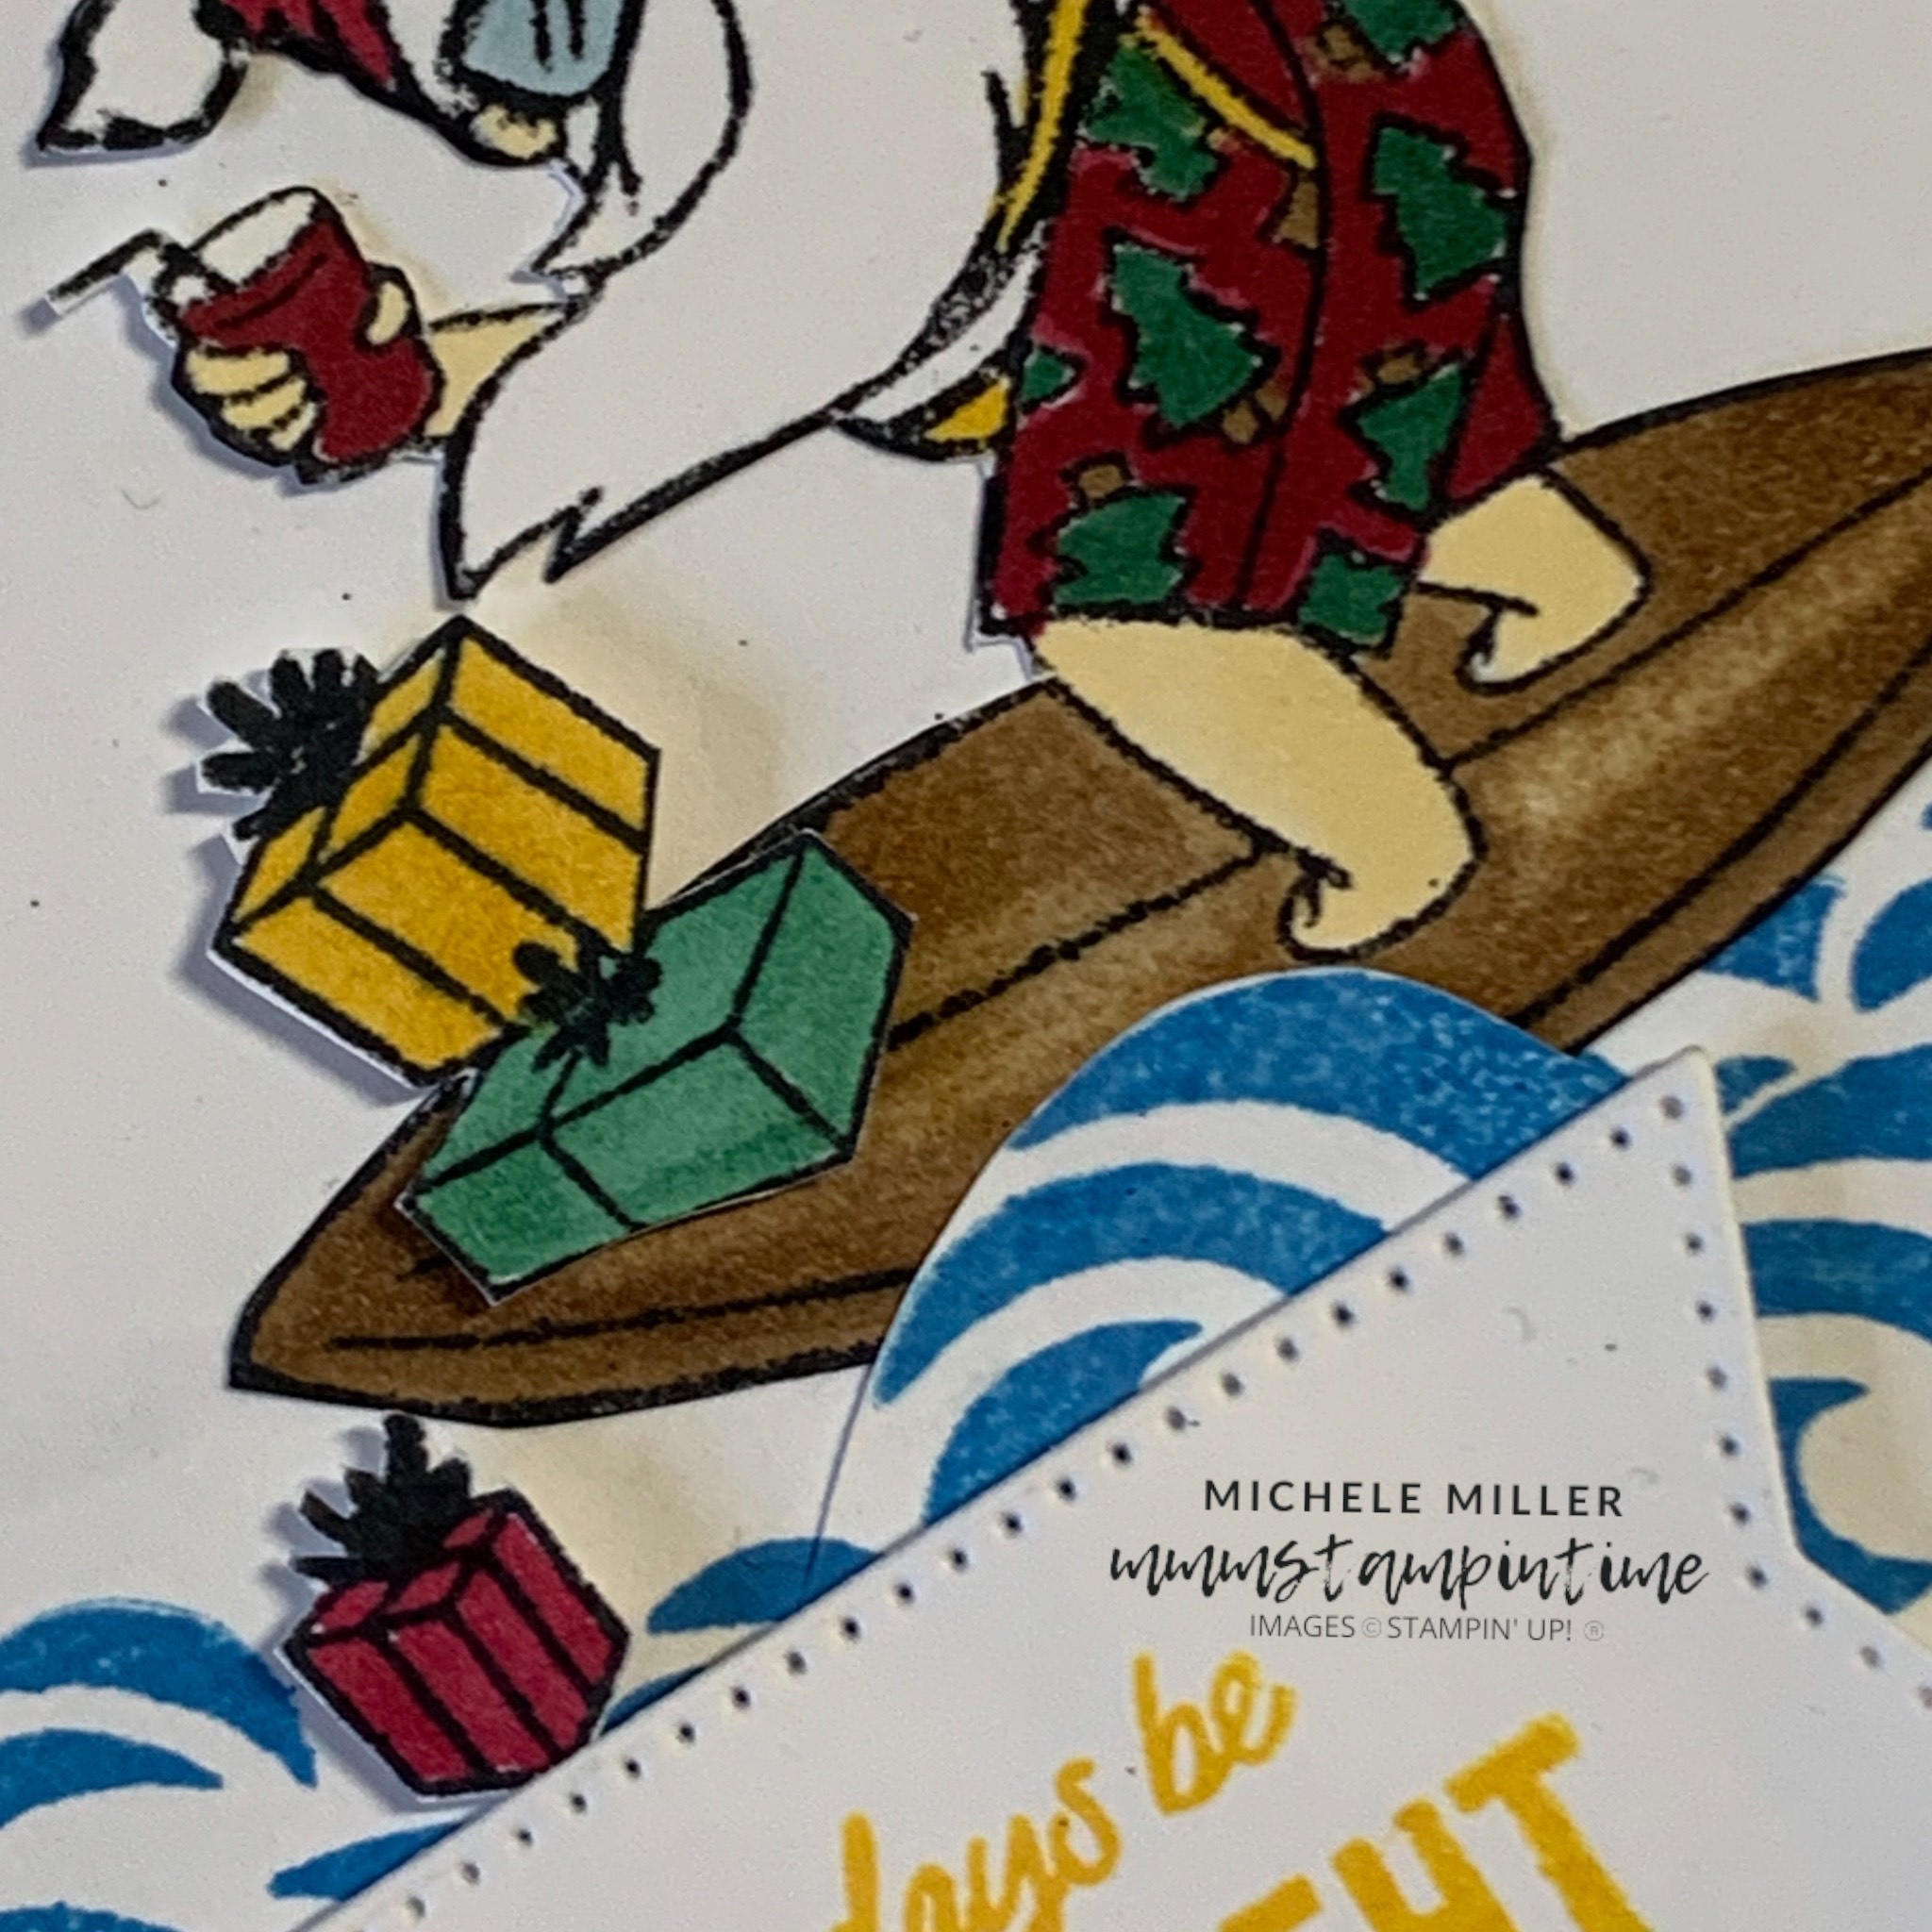
For my first first card, I started by stamping the waves using Azure Afternoon ink and a masking technique align them and create a rolling set.

The next step was to stamp, colour and fussy cut this super cool Santa, hanging 10 on his board. This is day one of his surfing safari and he doesn’t have his summer tan yet.
I used the cutting blade attachment on my Take Your Pick tool, to cut into one of waves so that the board could slip in under it.
Then I stamped, coloured and fussy cut the gift boxes that Santa was trying to deliver on his board.

When I found this surfing Santa styled gingerbread in a local shop I knew that I needed to buy it for this photo!
I stamped the wave on the card insert and the back of the envelope to have everything coordinate.
The sun was stamped, using Daffodil Delight, on a piece of Basic White card and then cut using one of the circles from the Stylish Shapes Dies.
The greeting was also stamped in Daffodil Delight on white card and then cut using the largest banner die from the same die set.
Lots of Stampin’ Dimensionals were used to pop the sun, banner and gift boxes up from the card front.

Tomorrow I have a 3D project to share with you.
Until then, happy stamping.

If you live in Australia, you can order any of the products I used to make this card by going to my online store. Just click on any of the images below.

 |  |  | ||
 | ||||
 |  |  | ||
 |  |  |  |  |
")


")


 Dotted Ribbon")


 Mix & Match Specialty Designer Series Paper")


