
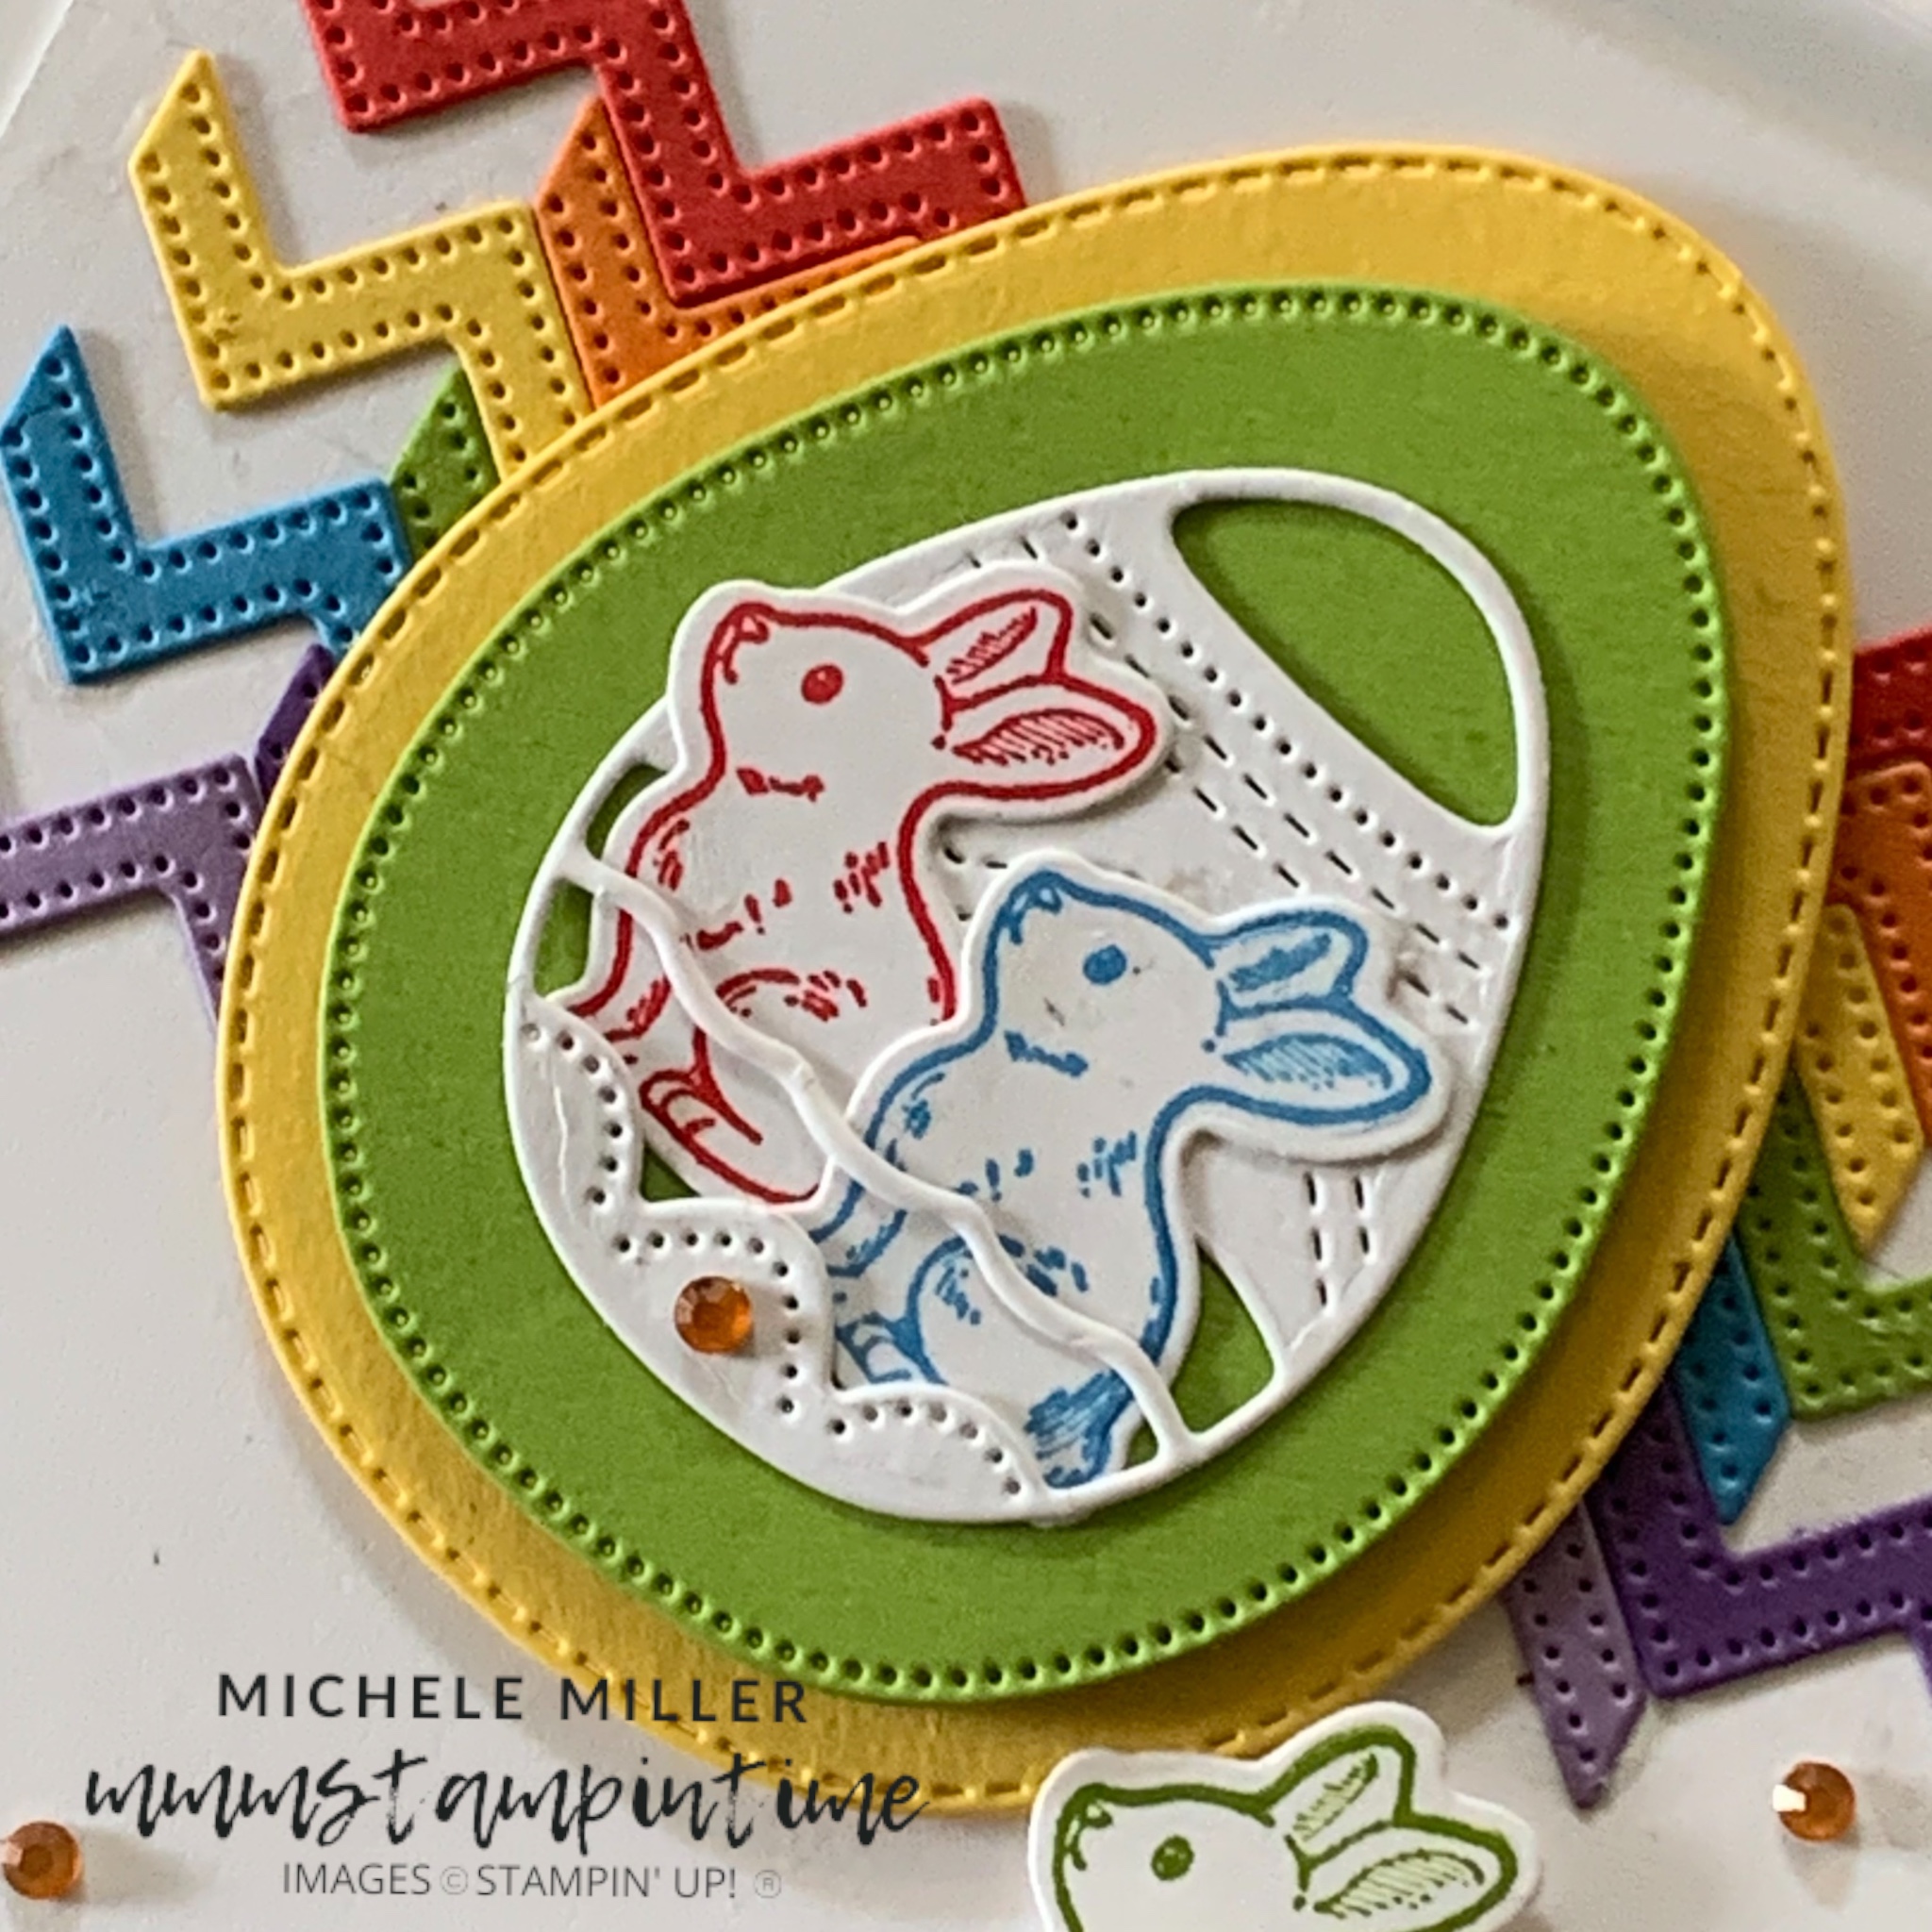
For today’s card I decided to use the Countyrside Inn 12″ x 12″ Designer Series Paper, because one of the designs has bunnies on it!
As it turns out, there is no stamping on this card.

I started with a Misty Moonlight cardbase and then added a layer of the striped Designer Series Paper.
The largest Countryside Inn Die was used to cut a panel of the bunny design DSP.
The two layers of DSP were adhered directly to the cardbase.

Two of the smaller, detailed eggs were cut, with Adhesive Sheet on the back.
I also cut the ‘Celebrate’ die from the Wanted to Say Dies. After peeling back the adhesive sheet backing, I positioned the Misty Moonlight greeting over the whoite outline of the greeting.
The eggs and greeting were positioned on the card front.
I also cut two Misty Moonlight detailed eggs to add to the card insert and the envelope.
Using white twine, from the Baker’s Twine Essentials Pack, I created a triple bow to add to the card front.
Finally, I added some Irifescent PAstel Gems to the card front.

Tomorrow I have a classic Easter egg basket to share with you.
Until then, happy stamping.

If you live in Australia, you can order any of the products I used to make this card by going to my online store. Just click on any of the images below.

 |  |  | |
 |  |  |  |
 |  |  |  |
 |  |  |  |
 Designer Series Paper")


")
")

 Designer Series Paper")


")
")


