Using the Nature’s Sweetness Suite Collection this week has been fantastic. The suite is so stunning and has so many elements.

The Suite comprises two stamp and dies bundles:
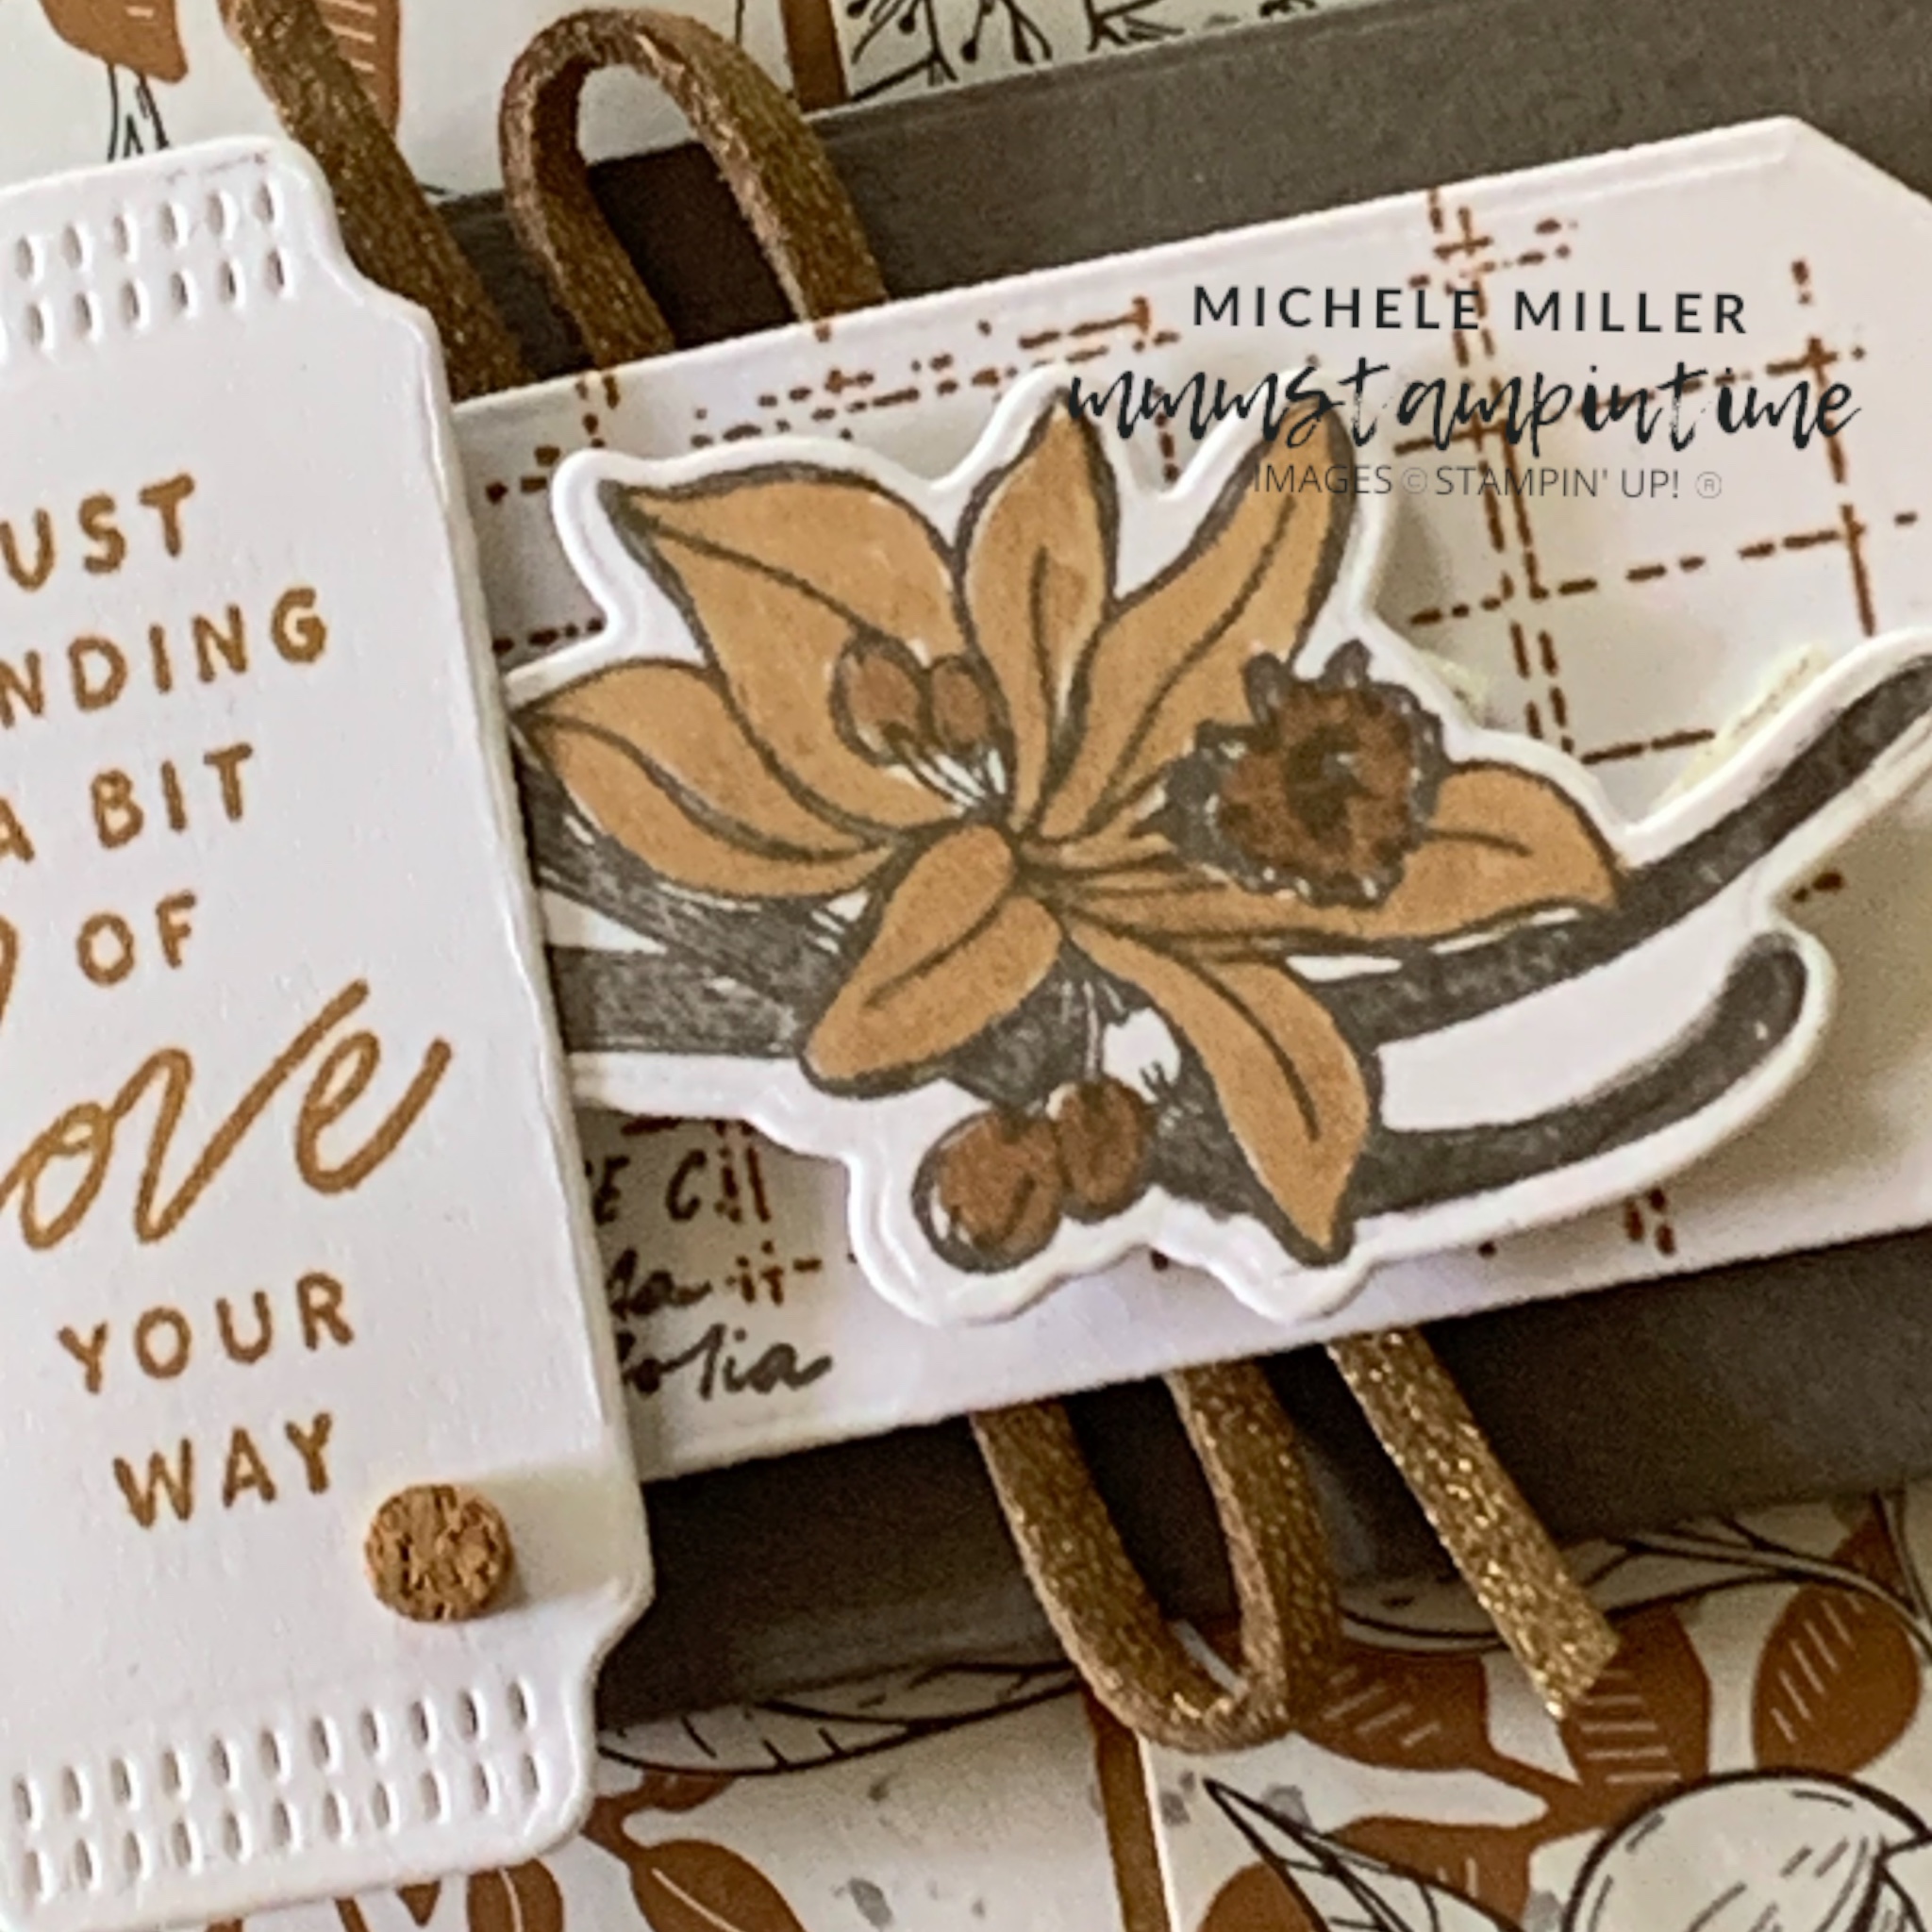
Lovely & Sweet Stamp Set and Dies – the stamp set has three larger botanical images (vanilla beans and flower, cacao pods and leaves, and almond pods and floral images. There is also a small crosshatch/checked image and lighter journal title image. It also has three greetings that suit different occasions. The 13 piece die set includes dies that will cut stamped images and images from the coordinating Designer Series Paper. It includes two tags/tabs dies and a number of small floral and leaf dies.
Notes of Nature Stamp Set and Dies – the stamp set includes three botancial images with coordinating dies. There a re three greetings included. The remaining images are perfect for decorating any field journal – splatters, grid paper and a field notes sample. The nine dies add so much versatility to this suite. Three of them are designed to coordinate with stamped images. The remaing dies will cut other coordinating elements.
The Nature’s Sweetness 12″ x 12″ Specialty Designer Series Paper is made up of 12 sheets – 2 each of 6 double-sided designs. The gold foil designs included in this pack are gorgeous.
Finally, the suite has a roll of Gold 1/8″ Faux Leather Trim (10 yards/9.1m) and Adhesive-backed Cork Rounds.
With so many items in this suite, the possibilities are almost endless.
Here is the card I have to share with you today – a Gate Fold, pop up gift bag card.
I have made this before and love the way it looks with this product suite.

The Gate Fold card was made with a Pecan Pie card base. Then I added two pieces of the Specialty Designer Series Paper to the front panels.
I made the crossover piece using the Countryside Corners Dies – one in Pebbled Path and the samller, second one in Basic White.
I stamped the grid paper image, in Pecan Pie, on the second die cut piece.
I wrapped a length of the Gold Faux Leather Trim under the Basic White layer. After adding dimensionals, I positoned it over the Pebbled Path piece.
Then I stamped, coloured and die cut the vanilla beans and flower image. Dimensionals ensured that it was lifted up from the white layer.
I stamped the greeting in Pecan Pie and cut it using one of the Lovely & Sweet Dies. IT also had dimensionals attached to lift it up.

To finish the card front, I added some of the Cork Rounds. The back of the envelope was stamped with the speckled image. Now, to inside the card.

The two outer panels had some gold cehcked DSP panels added. Before adhering the larger piece, I secured a small magnet in place using a Mini Glue Dot.
The corresponding magnet was secured on the Pebble Path panel.
I stamped the’field notes’ and splattered images on the Basic White card insert.
Finally, I created the pop up gift bag and secured it inside the card using Tear & Tape. The bag was made with Pebbled Path cardstock with panels of the gold foil, scripted Pebbled Path DSP adhered to the large sides.
I punched four holes into the top of the bag and threaded a length of the Gold Faux Leather Trim through the holes to create the handles.

Next week, I plan to showcaes the new Latte Love products.
Until then, happy stamping.

If you live in Australia, you can order any of the products I used to make this card by going to my online store. Just click on any of the images below.

") |  | |||
 |  |  | ||
 |  |  | ||
 |  |  |  |  |
 |  |
")
")
")
 Specialty Designer Series Paper")
 Faux Leather Trim")


 Trim Combo Pack")


")
")

 Designer Series Paper")


