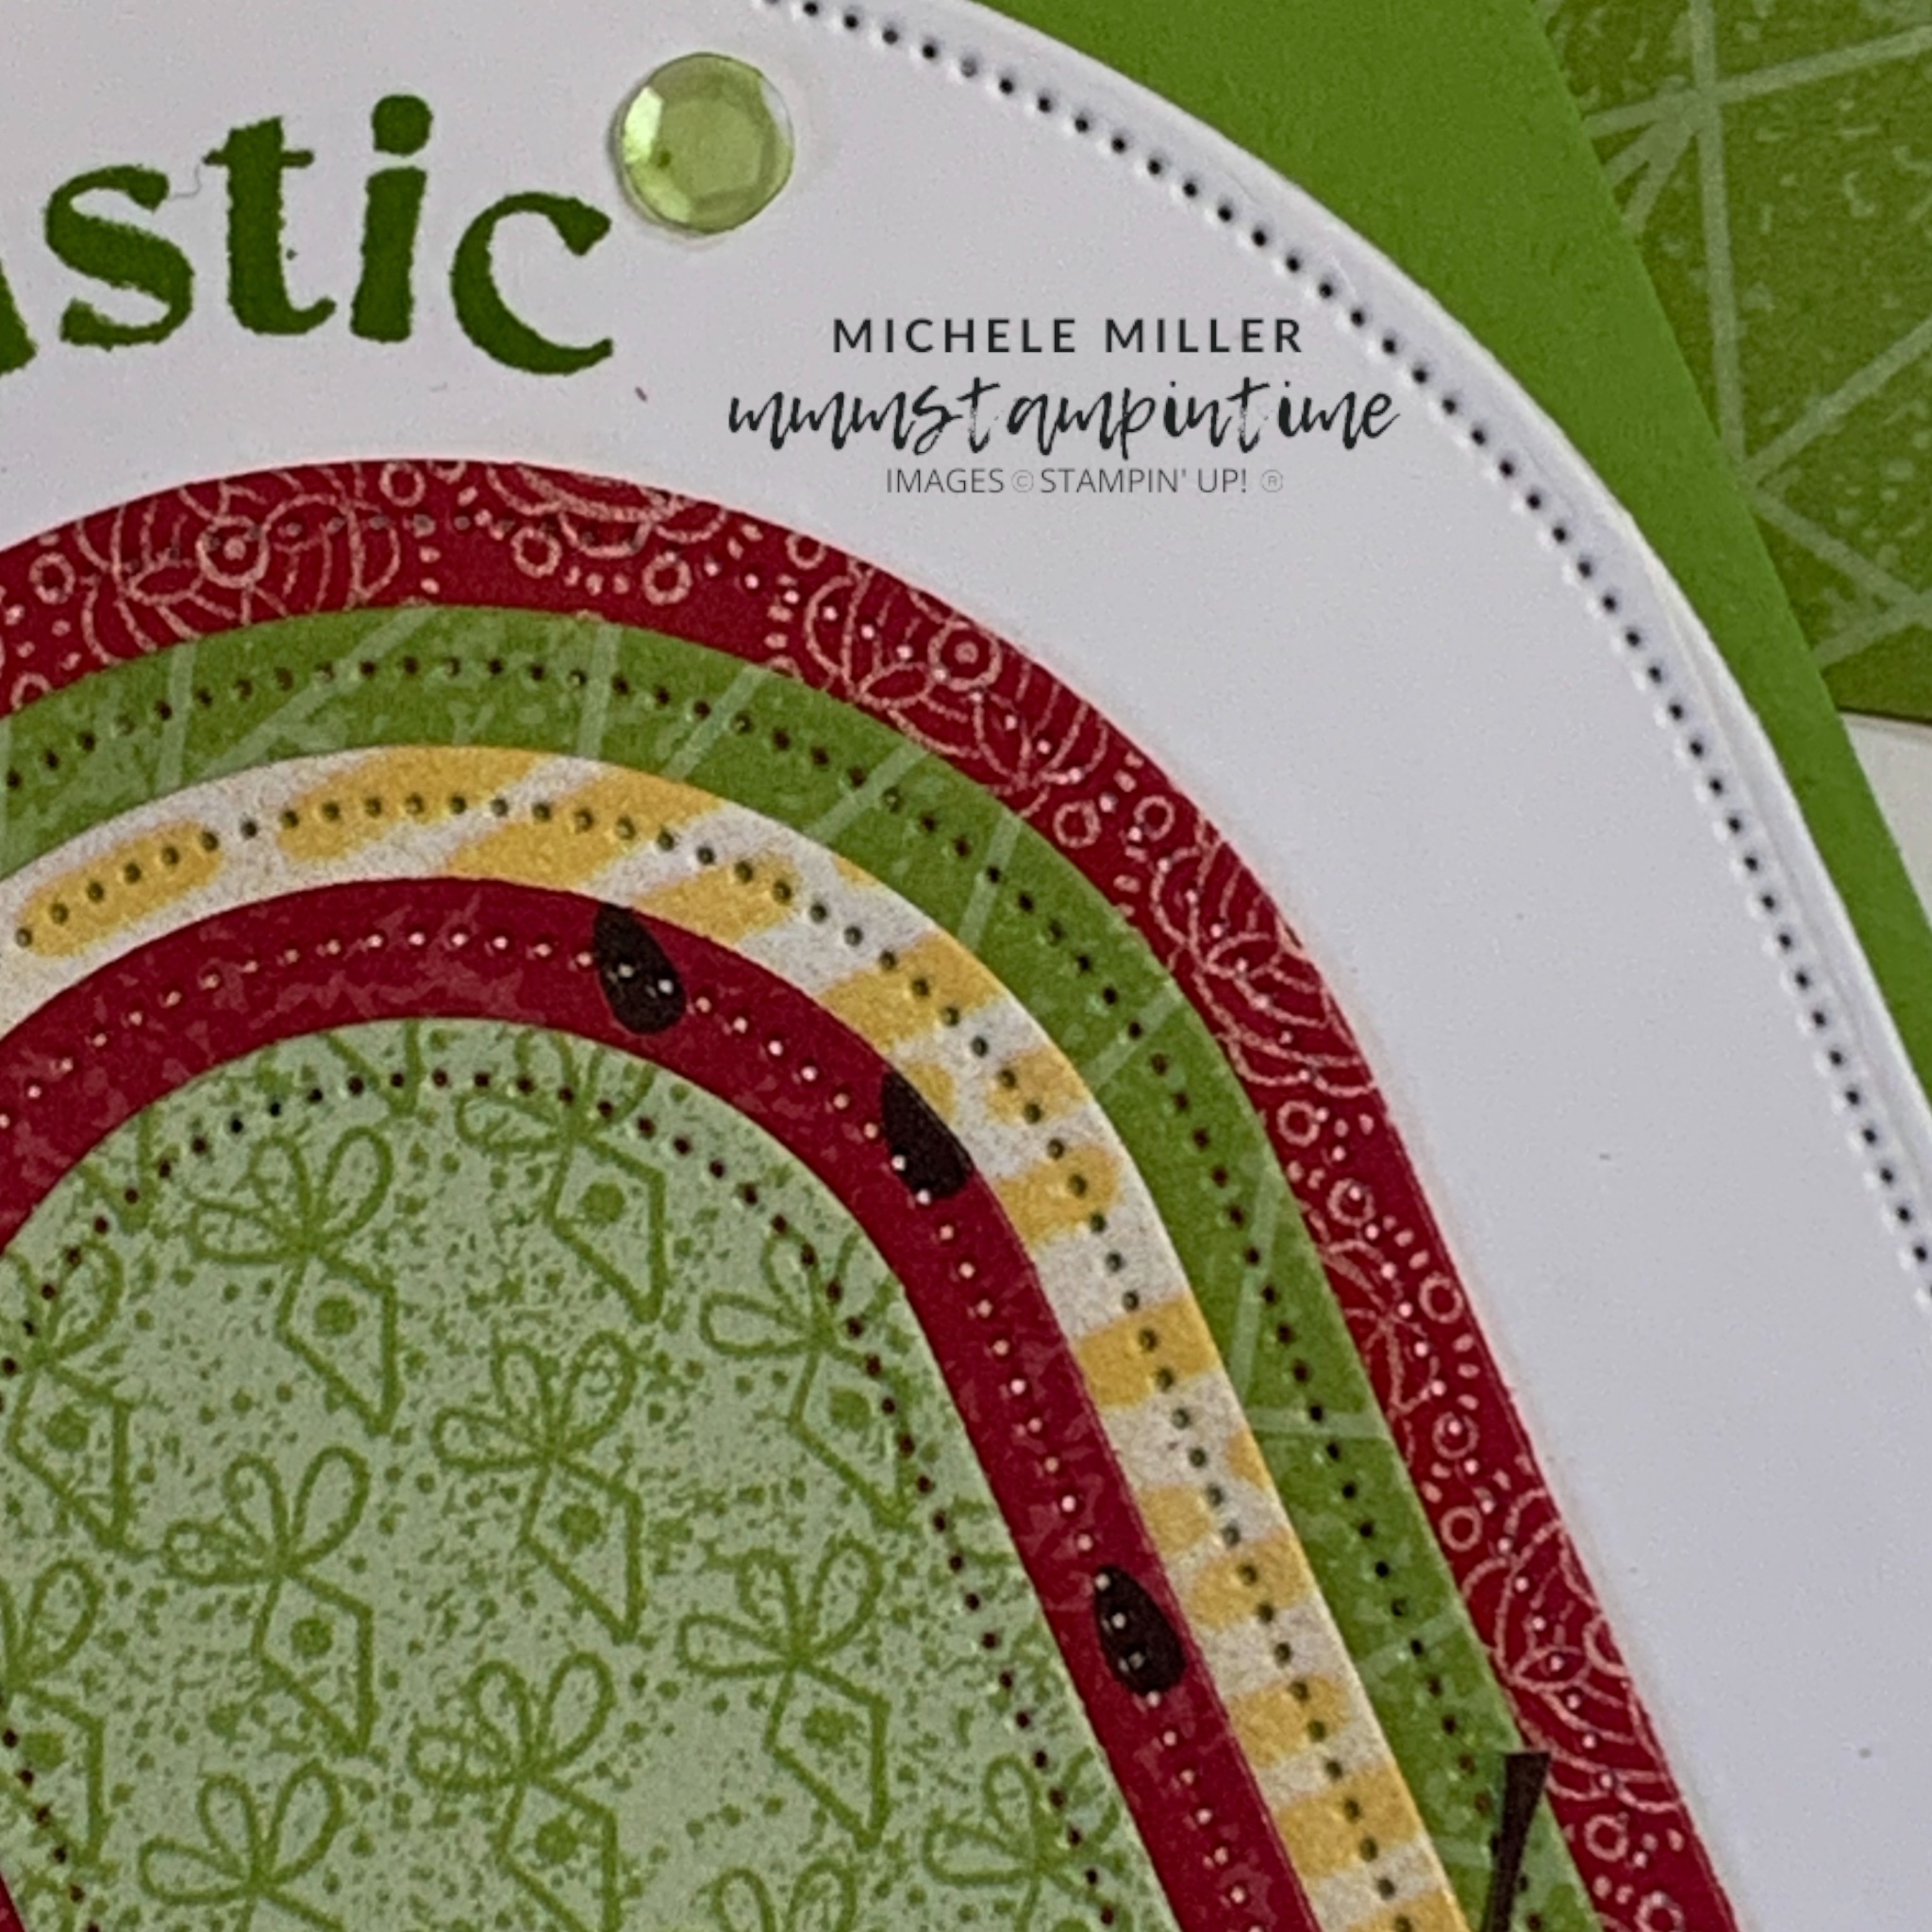
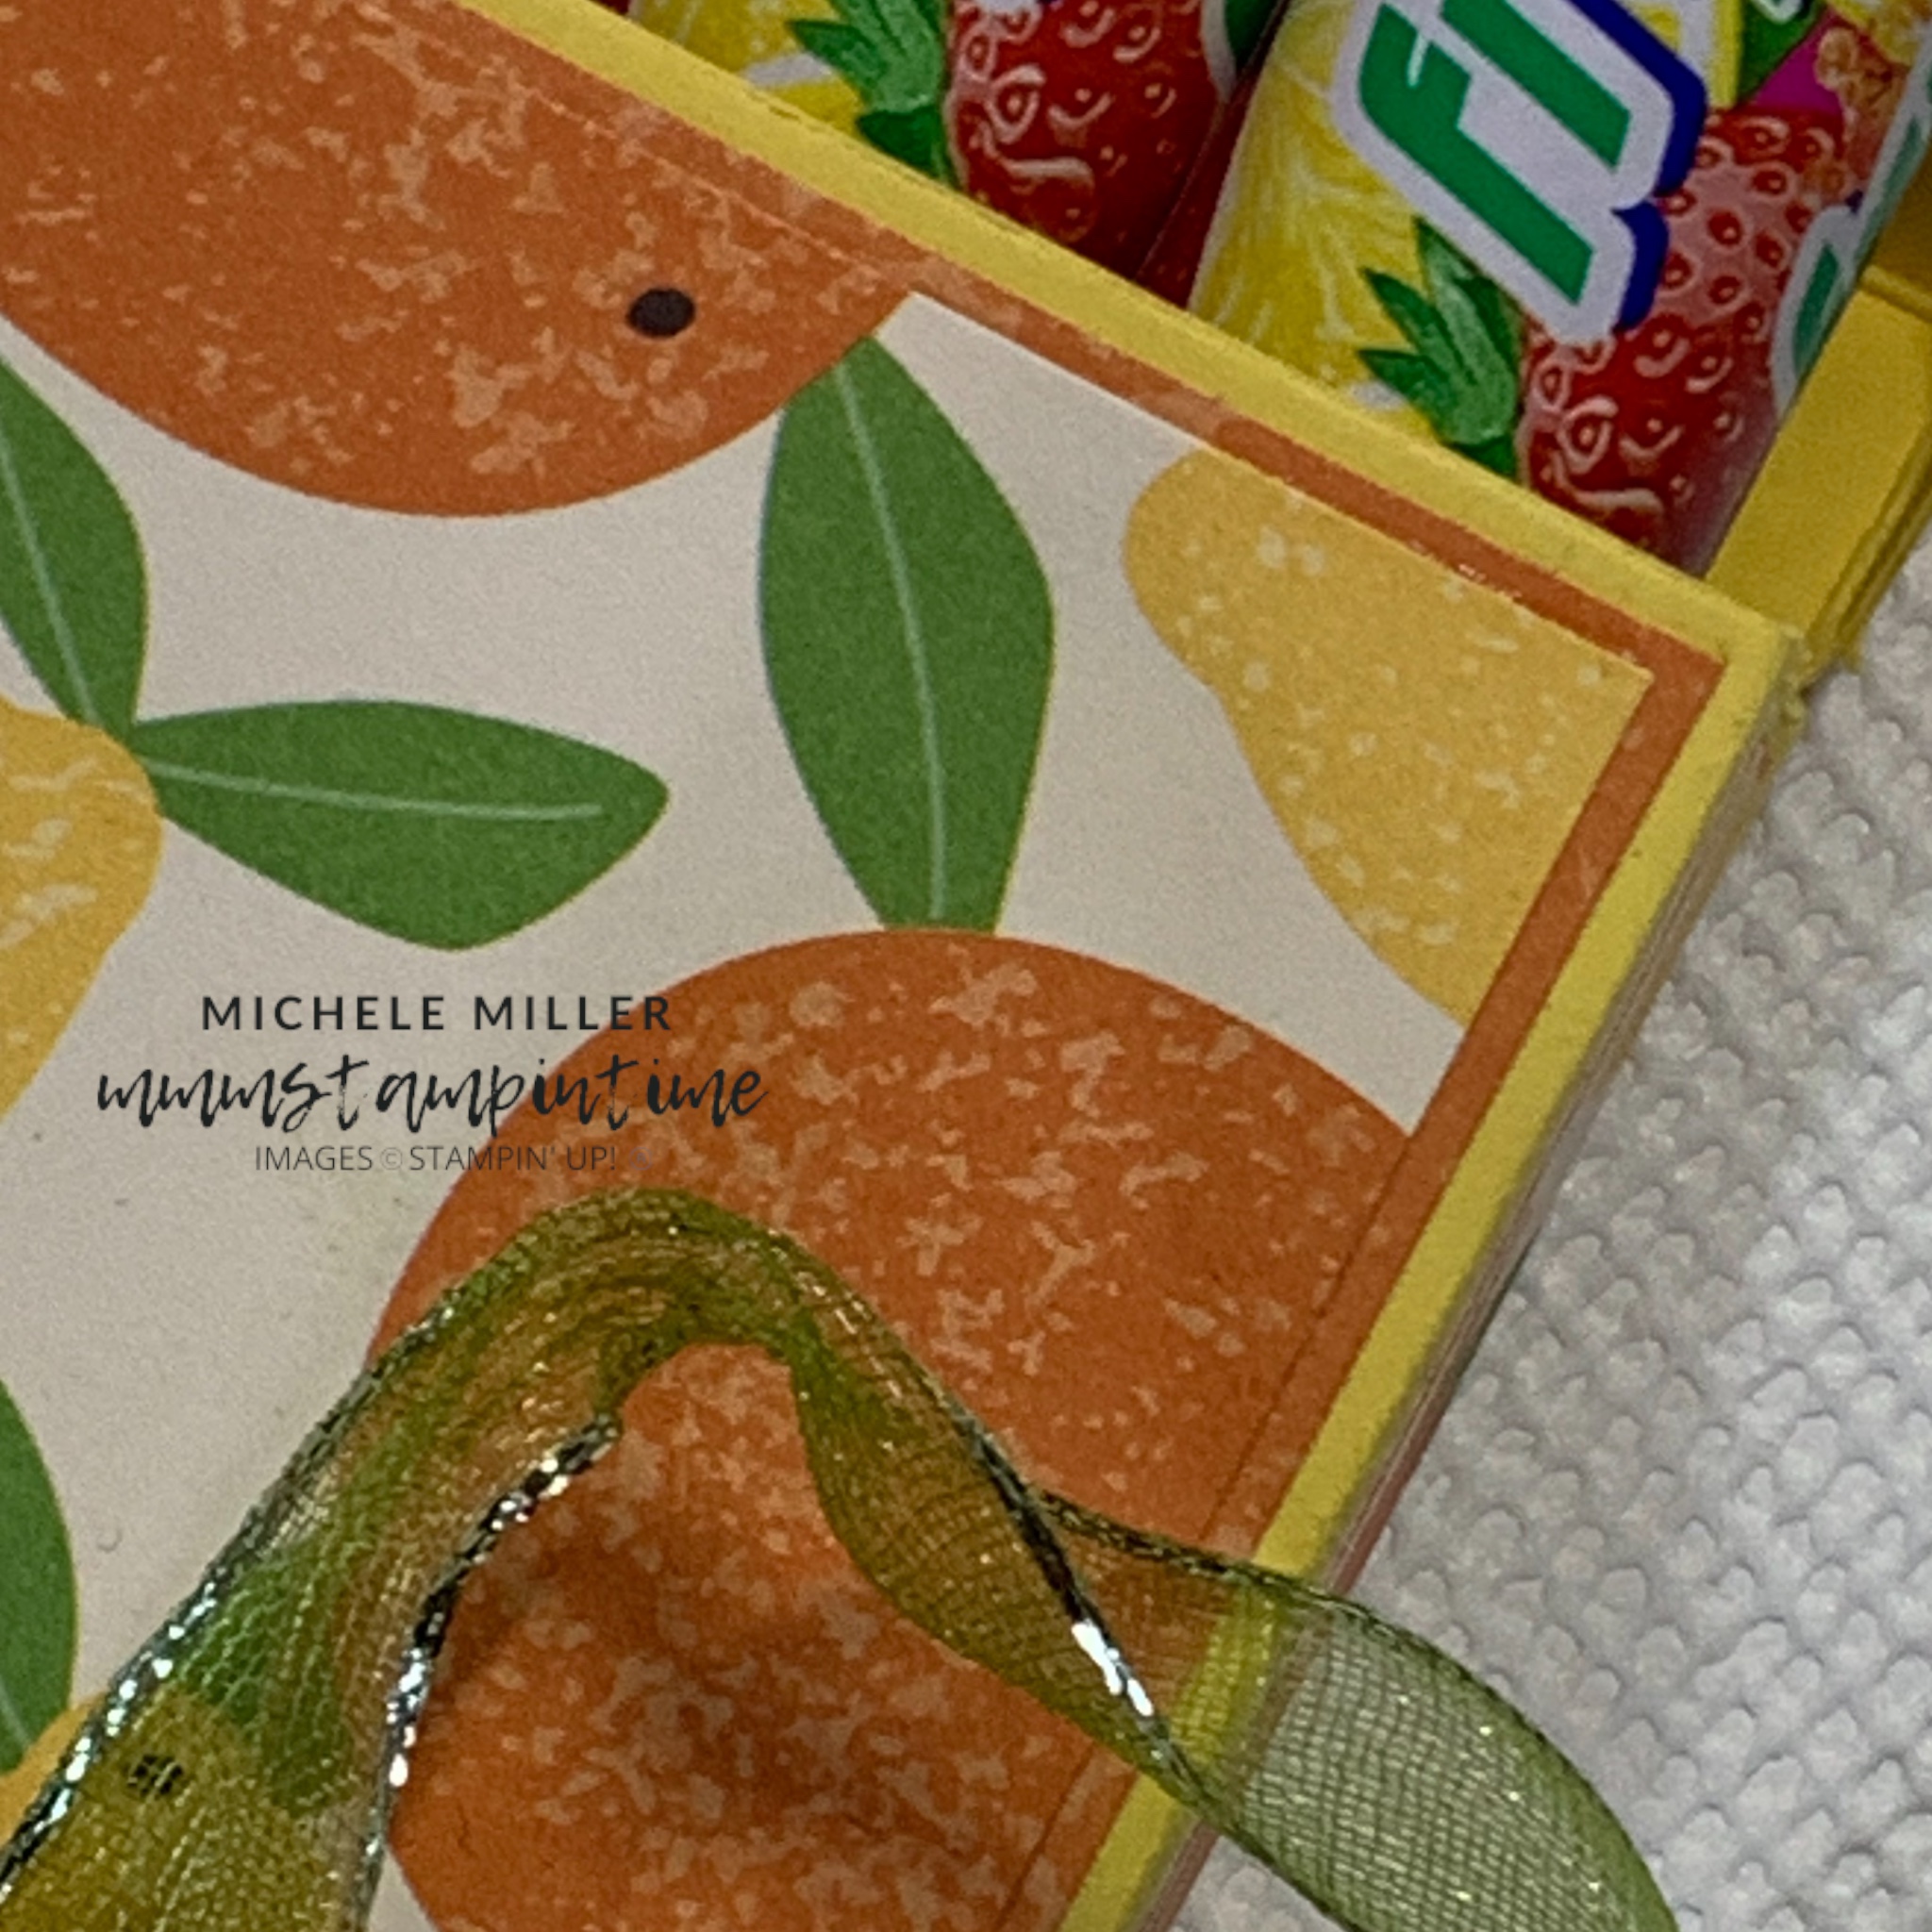
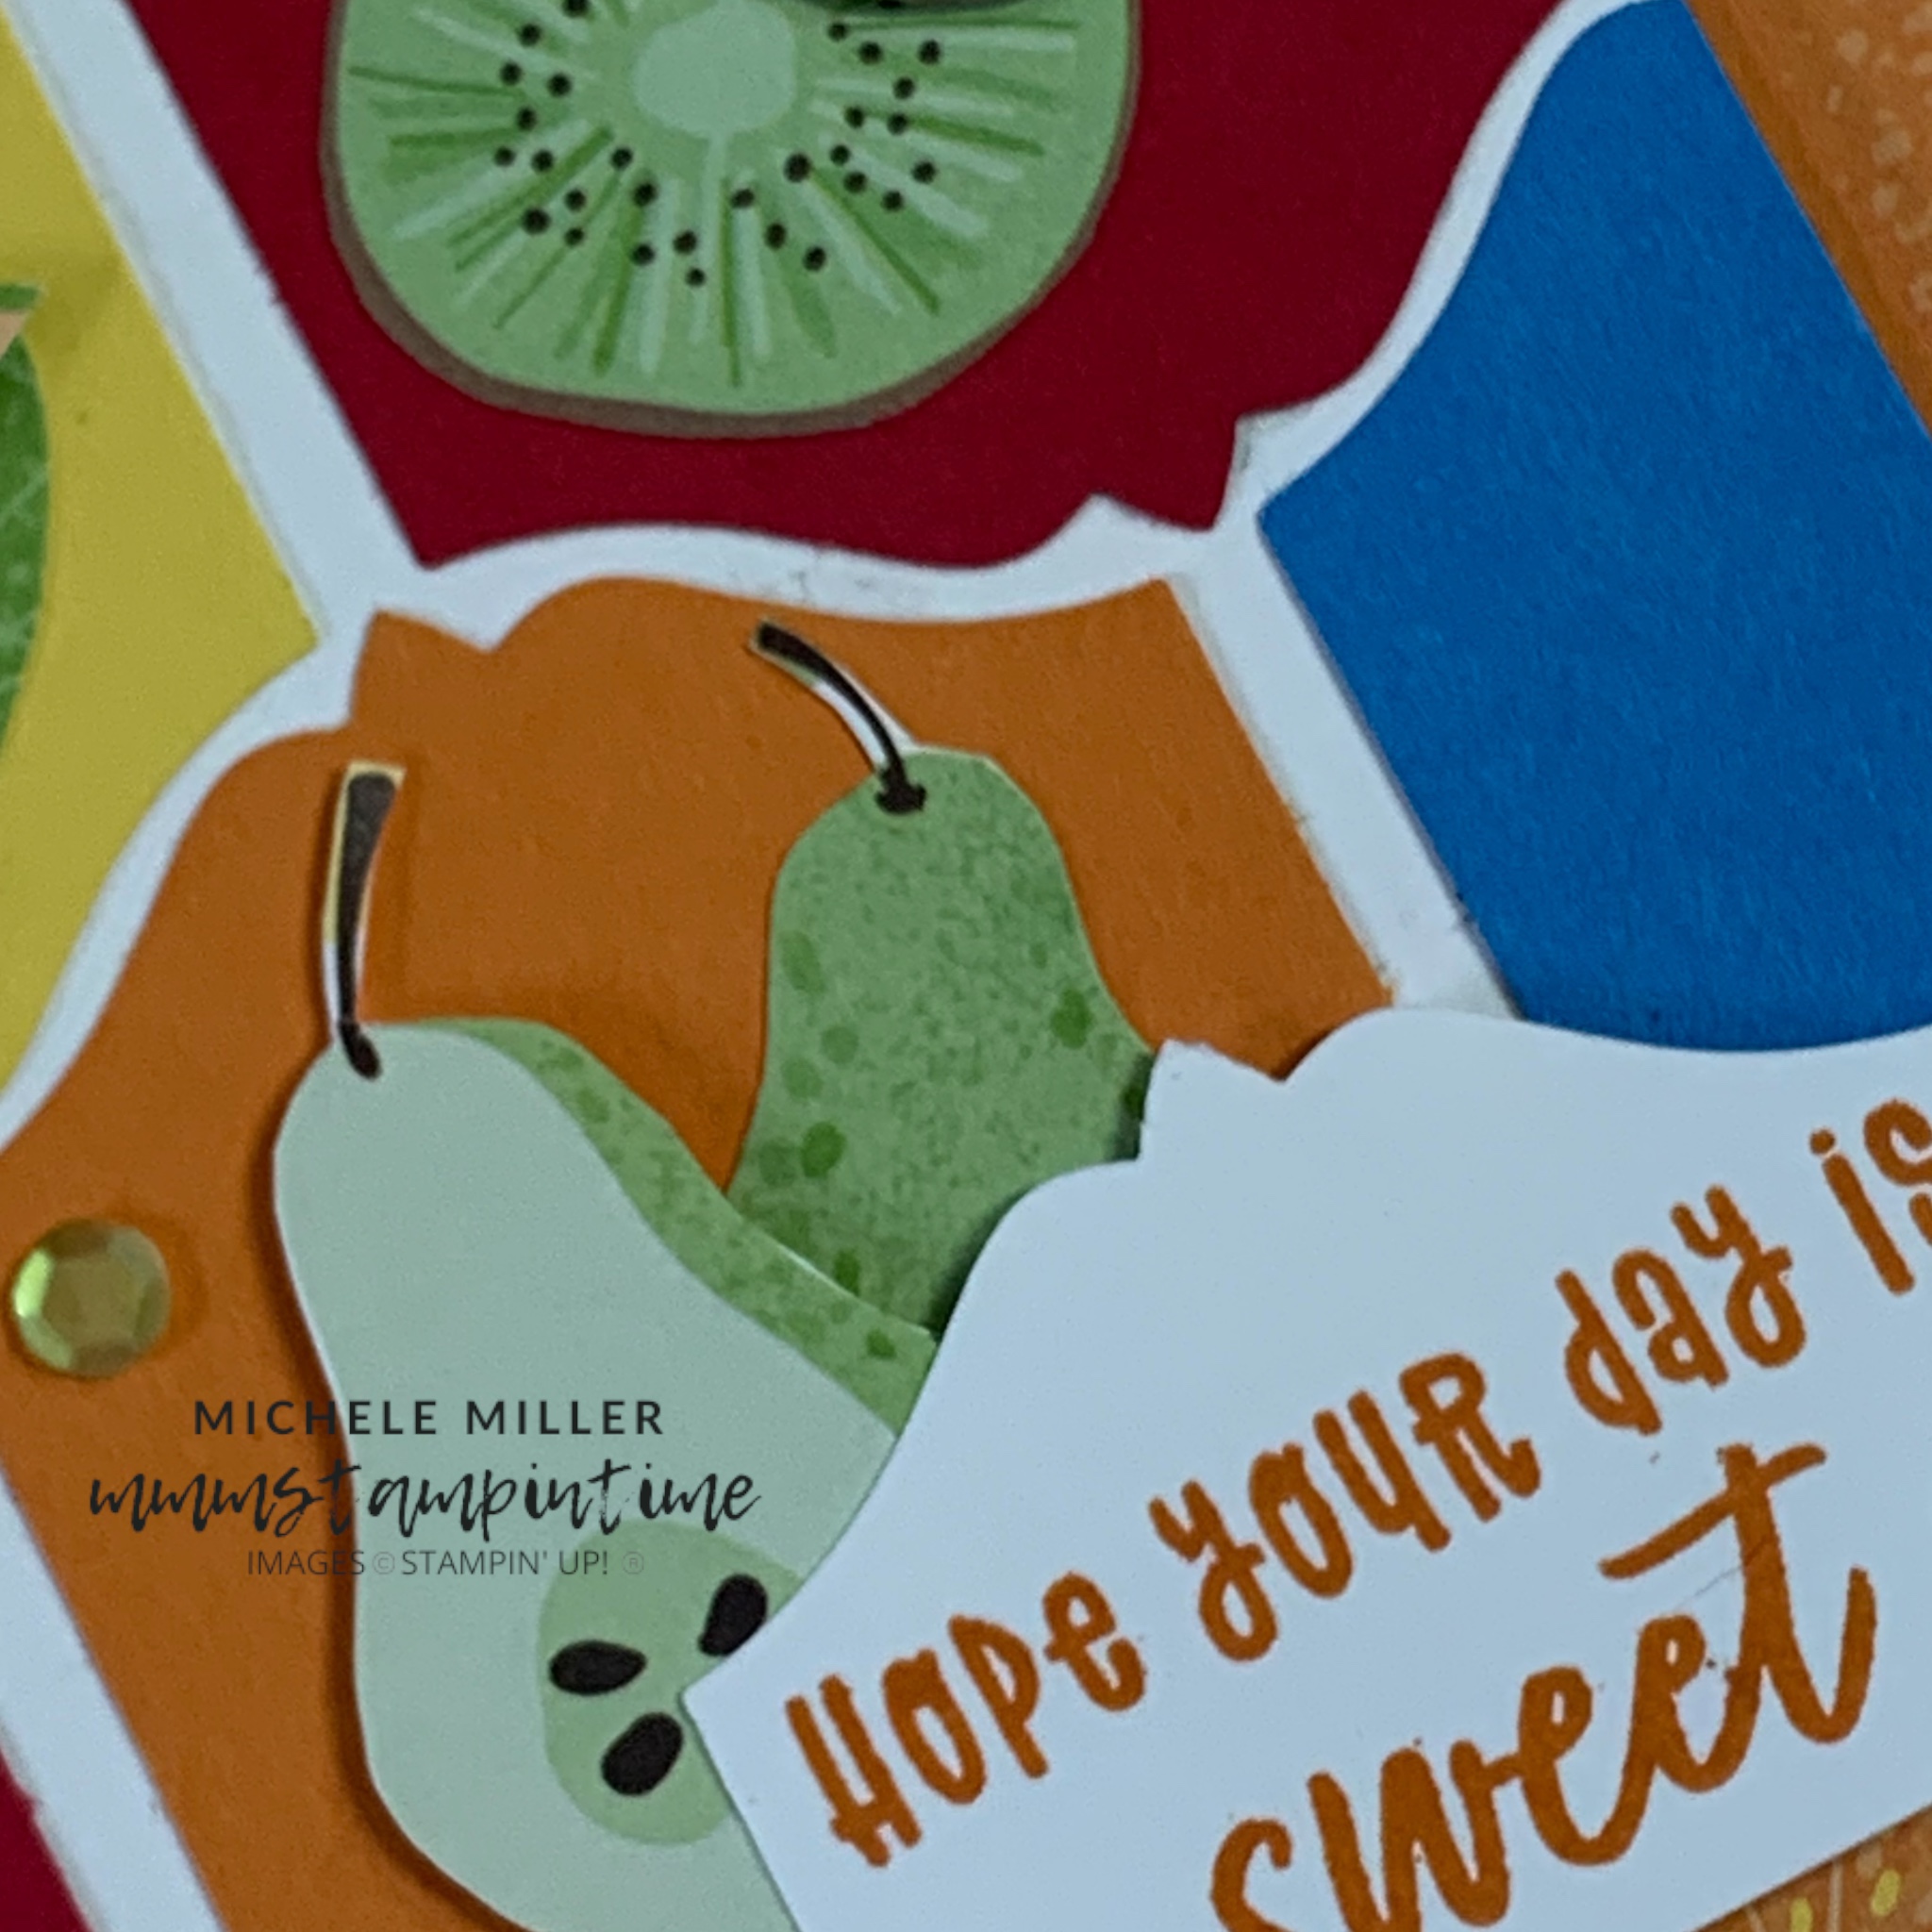
Posted on Leave a comment

WELCOME TO ANOTHER NEW STAMPIN’ UP! PRODUCT SUITE – FLORAL DELIGHT

This week I am featuring the brand new Floral Delight Product Suite and it is amazing.

You can this, and loads more goodies, in the January – April 2025 Mini Catalogue. If you live in Australia and would like your own copy just reach out and I will get one to you. Or click on the image below and see the digital version.

You will find this new suite on pages 33-37.

Here’s a sneak peek.

For my first project I wanted to make a birthday card.

I started with a Basic White cardbase and added a narrow panel of the Pecan Pie Designer Series Paper.

Then I added two smaller rectangular pieces of the Pool Party floral vellum from the Floral & Gingham Vellum 12″x 12″ Specialty Designer Series Paper.

The stem of forsythia flowers took four stampes and colours to create. I stamped the Pecan Pie stem first and then the Lemon Lolly petals. The Daffodil Delight petal highlights were next, followed by the Old Olive leaves.

Then I stamped the bursts of dots in Pool Party.

After trimming this panel, to fit over the top vellum layer, I dragged the edges of the card through my Paper Snips to create the distressed edges. Using a Blending Brush and Pecan Pie ink I gave the distressed edges an antiqued finish.

The greeting comes in two parts – a die cut and layered ‘wishing’ and a stamped and die cut ‘you have a happy birthday’.

By adding Adhesive Sheet to the back of both the Basic White and Pecan Pie card it was very easy to layer and secure the die cut elements.

I added a strip of the vellum to the card insert and some of the Pecan Pie DSP to the back of the envelope.

The final tounch was to adhere some of the very sweet Tiny Bee Trinkets to the card front.

Tomorrow I have a technique tip for you.

Until then, happy stamping.

If you live in Australia, you can order any of the products I used to make this card by going to my online store. Just click on any of the images below.

Product List
Paper Snips
[103579]
$21.00
Posted on Leave a comment

INTRODUCING SCRAPBOOKING ON SUNDAYS

I have created afew memory keeping pages over the last few years but it hasn’t been as intense as it once was.

My first introduction to paper crafting was scrapbooking, well over 20 years ago and it was introduced to me by a dear friend who was a Creative Memories Demonstrator. This is when I learned to let go and cut photos!

Now I have the opportunity to return to this wonderful memory keeping opportunity. I have boxes of photos that tell the stories of my life – before digital images overtook physical photos. And, I have thousands of images that could be printed and scrapbooked.

But, for now, I think I want to go back to those family photos yet to be remembered.

The Storybook Moments Suite Collection reminded me of the times that I read the Beatrix Potter books to my daughters when they were at THAT age.

I haven’t yet dug my way through all the photos I have of the girls, from all thise years ago, but have created a page with pockets and photo/journelling cards ready to be used for just the right images.

By choosing the background Designer Series Paper layer, I chose Balmy Blue for the page base and the die cut frame layers.

I adhered a slightly smaller Basic White panel to the Balmy Blue base. Then, I added the smaller DSP layer.

Four large pocket panels were die cut, burnished and then adhered to the page.

Adhesive sheets were added to the back of some Balmy Blue card and the decorative dies, from the Storybook Friends Dies, were cut and attached to the white pockets.

Each decorative frame then had one of the precut images attached to it.

Each pocket then had a Basic White photo panel, with a Boho Blue tag, included in the pocket. This panel could have a photo or journalling added.

I hope to find some photos soon to be added to these white panels.

Tomorrow brings a new product collection of projects.

Until then, happy stamping.

If you live in Australia, you can order any of the products I used to make this card by going to my online store. Just click on any of the images below.

Product List
Paper Snips
[103579]
$21.00
Posted on Leave a comment

GROWING UP WITH TERRACOTTA POTS IN THE GARDEN

I have always loved terracotta pots and the colour of red clay.

For this project I needed to use Cajun Craze as my terracotta standby … and, it is a great colour substitute.

My plan was to create a card that incorporated lots of stacked pots with several of them having luscious plants growing in them.

The Copper Clay card base had a Basic White panel adhered to it.

My next step was to stamp, colour and die cut the five stacks of pots.

I stamped, coloured and fussy cut the carrots, lettuces, strawberries and radishes; as well as the garden trowels.

After adhering the three background pots, I adhered the plants and gardening tools to the four pots that were then added to the front of the card. These four pots overlapped the three background pots.

I added Adhesive Sheets to the back of some Lemon Lime Twist card and used the Alphabet A La Mode Dies to cut the letters for ‘GROWING UP’.

‘Growing’ was added to the card front.

The card insert had a stamped pots image and the word ‘UP’ added.

The same pots were stamped on to the back of the envelope.

This card was so much fun to create.

Tomorrow I have a scrapbooking page to share.

Until then, happy stamping.

If you live in Australia, you can order any of the products I used to make this card by going to my online store. Just click on any of the images below.

Product List
Paper Snips
[103579]
$21.00