So, you know that the new January – April 2025 Mini Catalogue is now live and that Sale-a-bration is also live until the end of February (while stocks last).
Here’s another new product range that I’m sure many of you will be very happy to see!

Take a look at our new Scrapbooking Workshop Kits now available from the January 2025 Scrapbooking Brochure.
Just click on the catalogue image below to see all the wonderful new scrapbooking products.

Keep checking in because I will be adding more scrapbooking posts and projects to my posts and 2025 classes.
And, here is today’s project.

This card uses the same range of new products in a different way – just to show you how versatile this suite collection is and how well it coordinated with other Stampin’ Up! products.
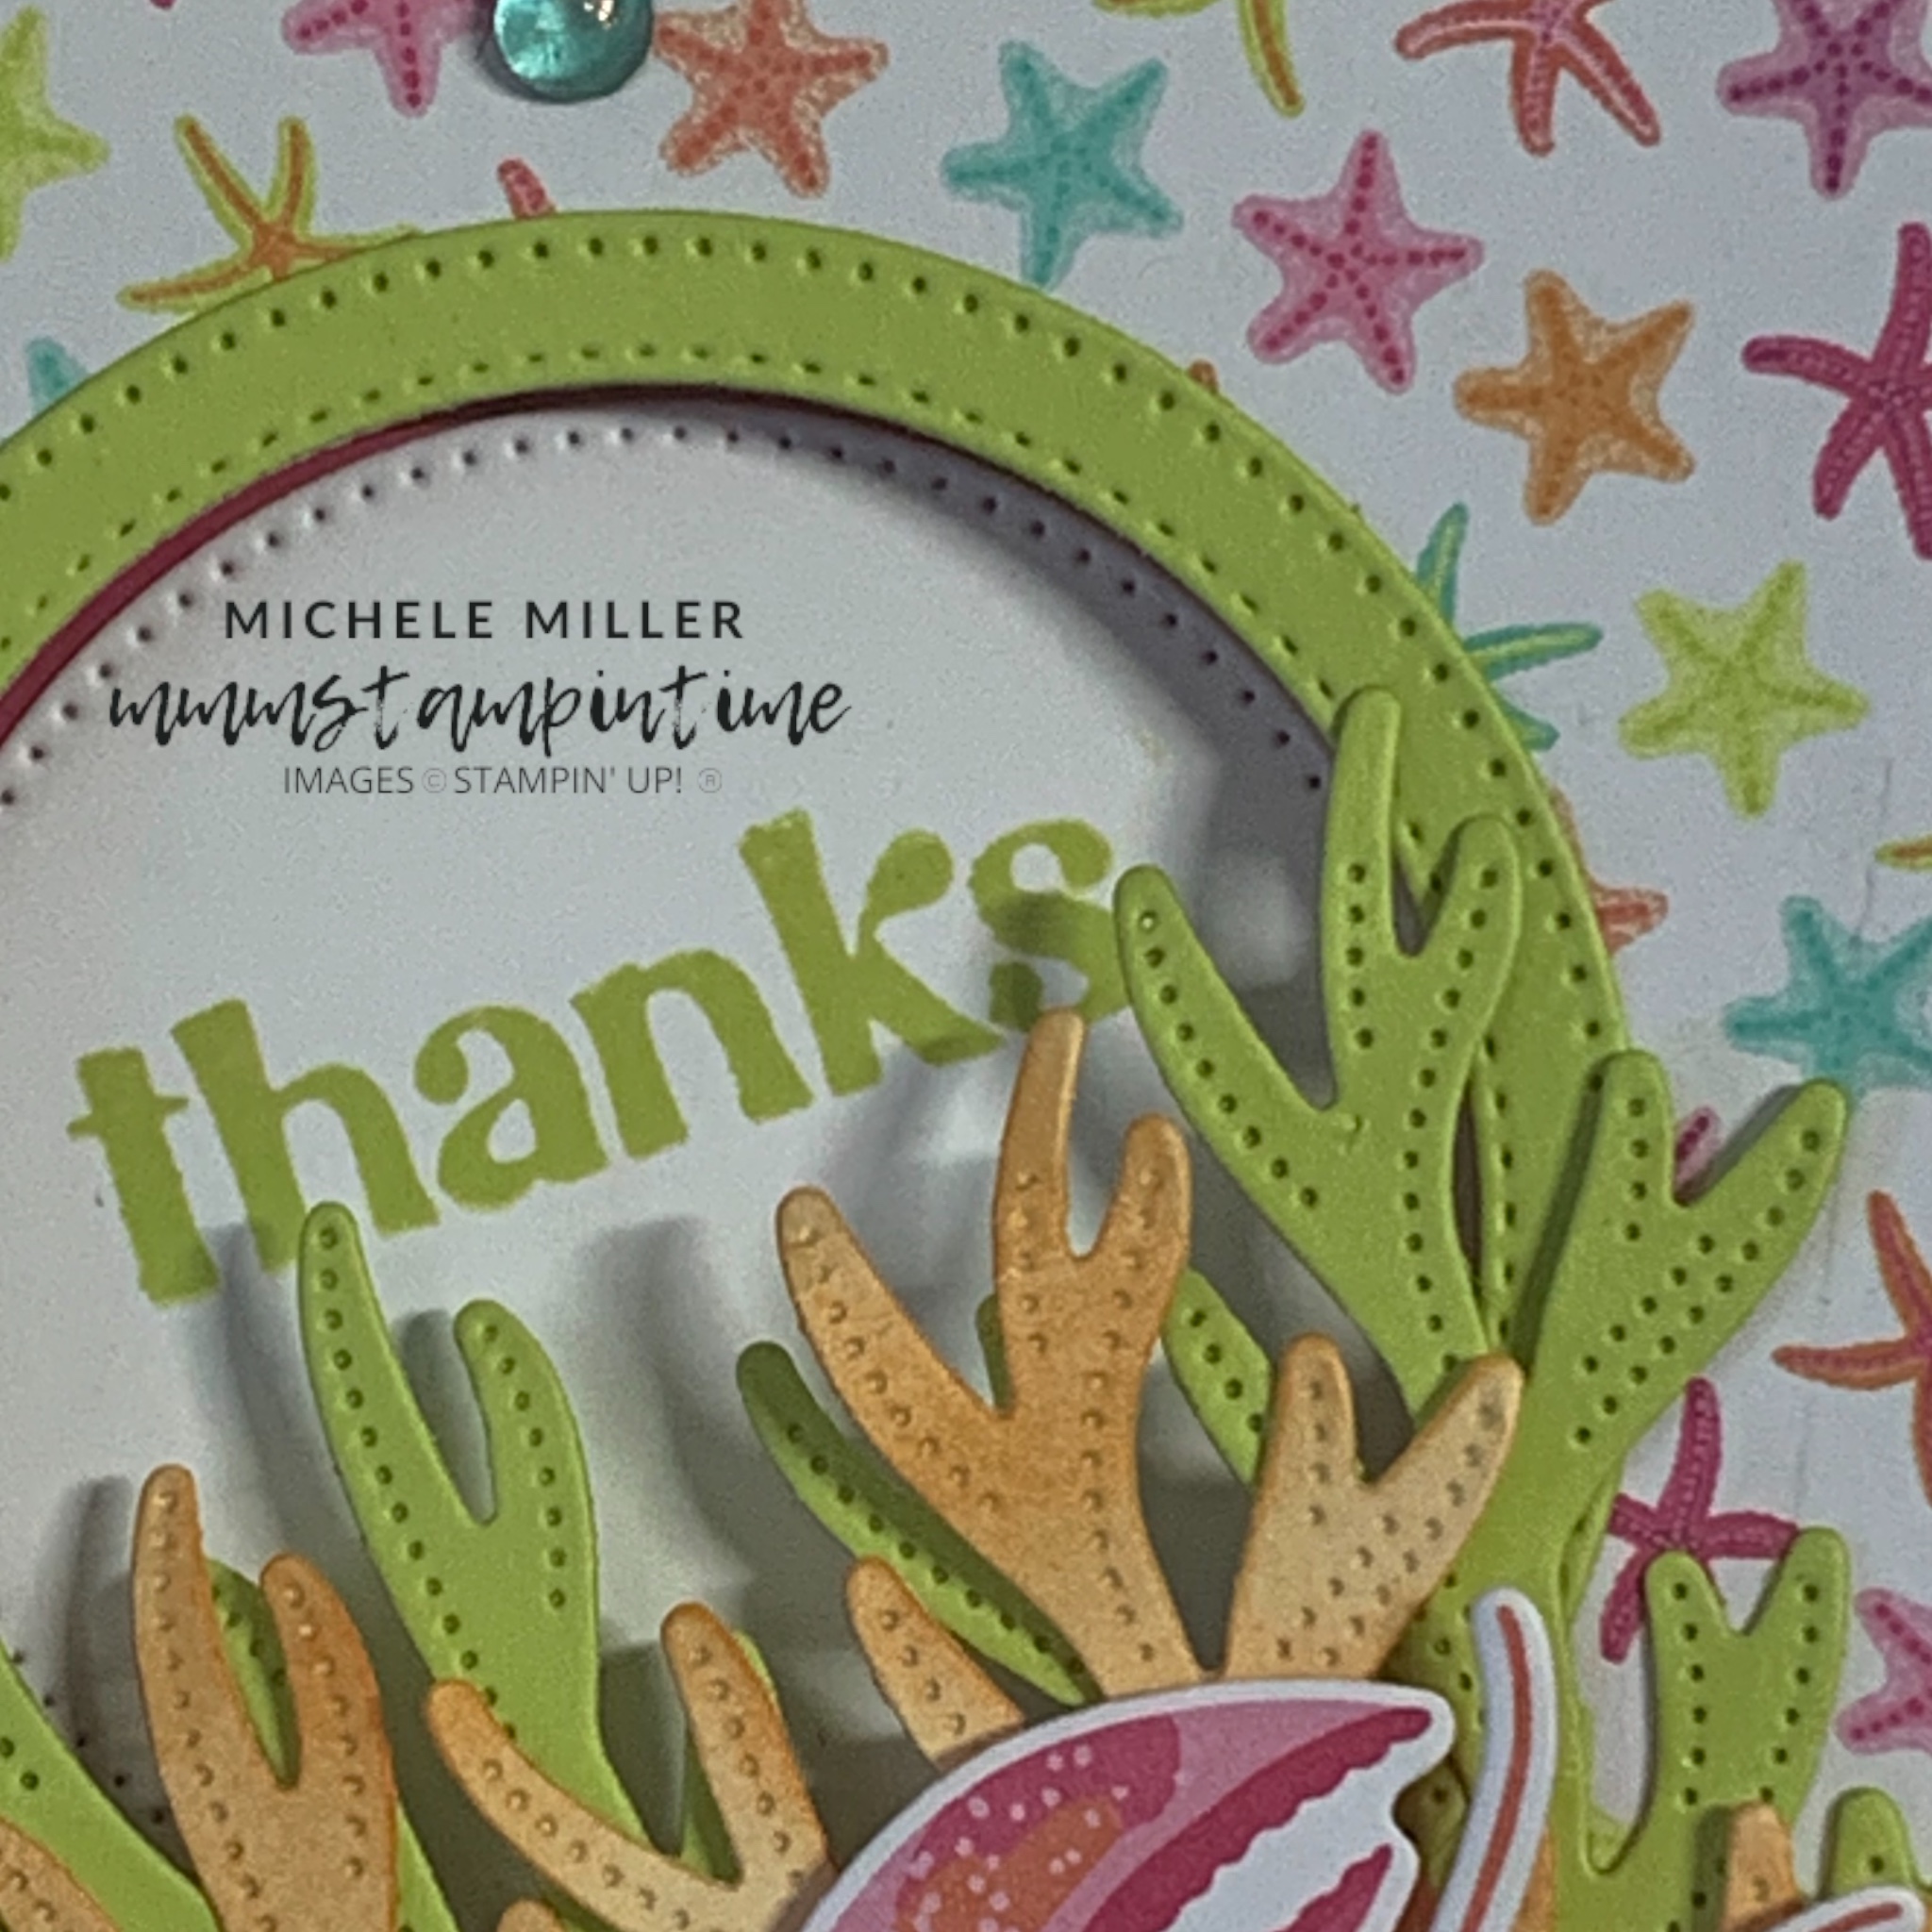
The Calypso Coral card base has a panel of the striped Calypso Coral DSP paper adhered to the front.
I used the water bubble images again and stamped them again several times around the DSP.
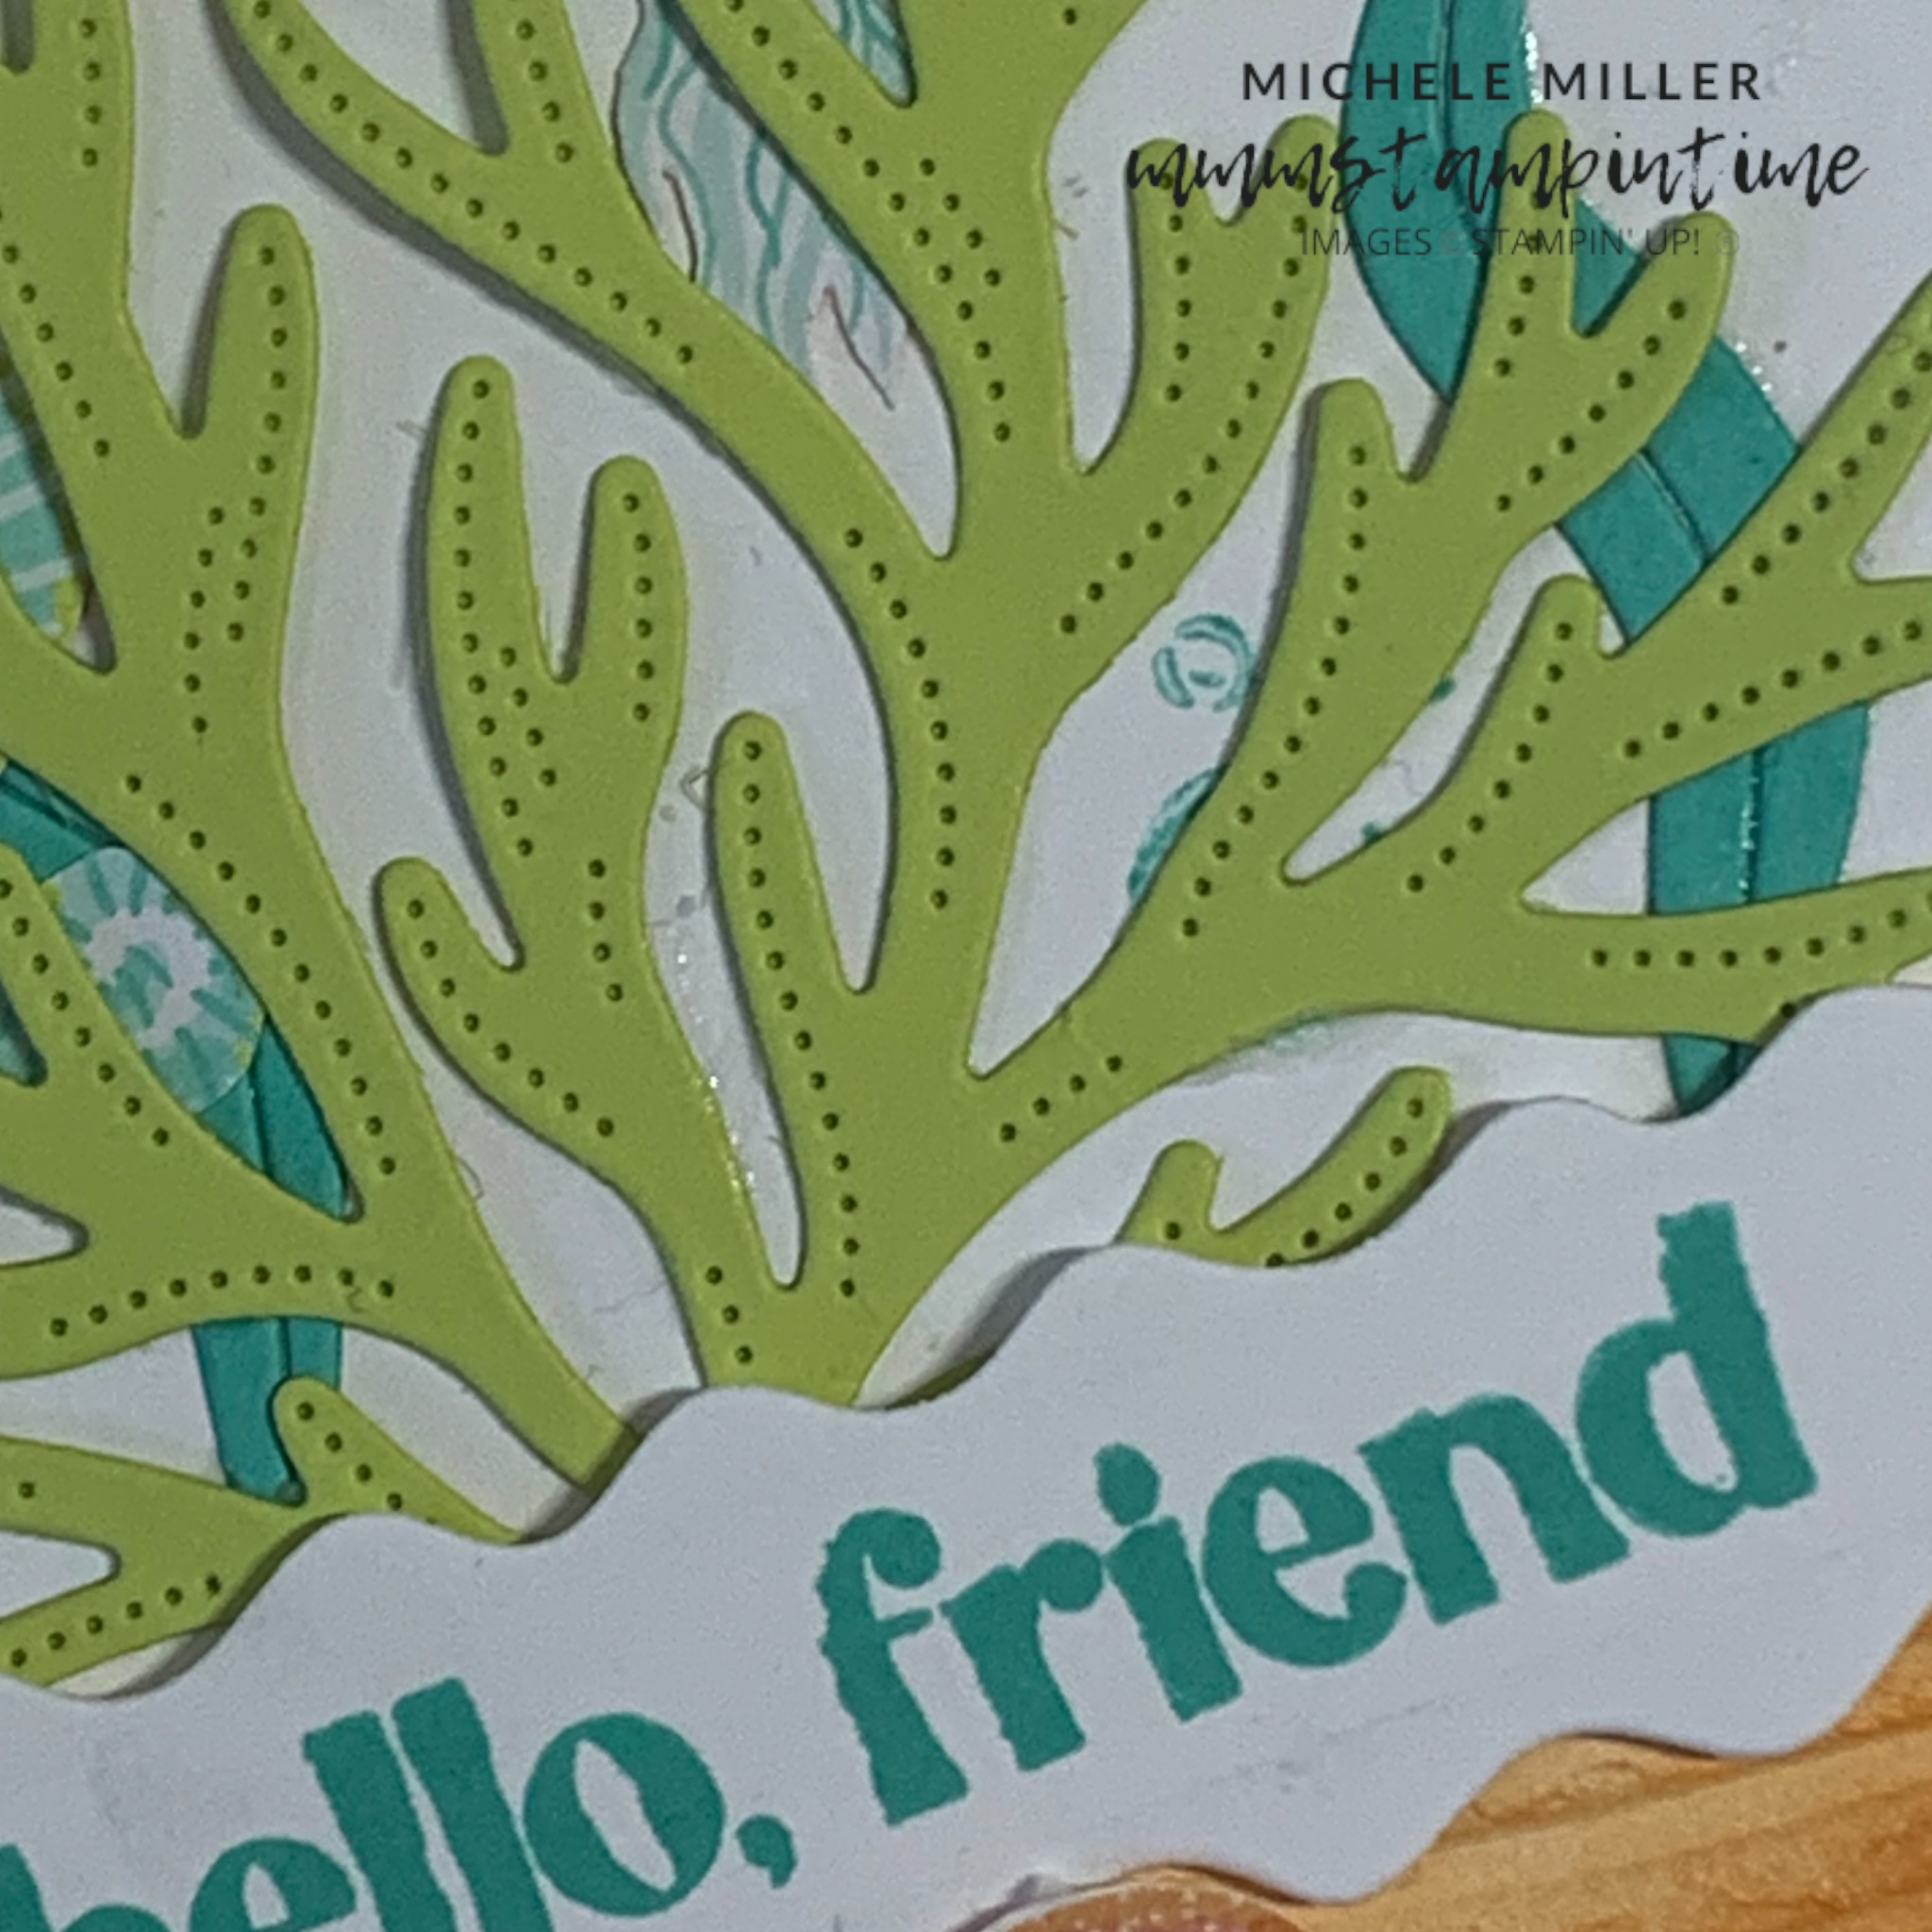
Before adhering the die cut Granny Apple Green and Basic White coral shapes, I cut the two circles. The circle dies are from the Stylish Shapes Dies set,
The Basic White circle was embossed with the new Soft Waves 3D Embossing Folder.
The two circles were adhered together. I used them to guide how I positioned the coral shapes and the fussy cut fish. Then I added Stampin’ Dimensionals to the back of the circles and positioned it centrally.

The die cut lobster, from the DSP, was then added to the card front.
The greeting was partially stamped and cut using one of the banner dies from the same set as the circles. It was then trimmed with a straight edge on the left-hand side. Stampin’ Dimensionals were used to pop it up.
The same striped DSP was added to the card insert and the back of the envelope.
Finally, some of the Sunny Day Iridescent Dots were added to the card.
Tomorrow I have a gift bo to share with you.
Until then, happy stamping.

If you live in Australia, you can order any of the products I used to make this card by going to my online store. Just click on any of the images below.

") |  |  | ||
 |  |  |  | |
 |  |  |  |  |
 |  |  |  |
")
")
 Designer Series Paper")