This challenge introduces the new 2024-2026 In Colour Pretty in Pink.
This is such a cute barn-inspired house.

The coloured circles inspired my project for this challenge.

I started with a Basic Black card bae and added a Pretty in Pink panel.
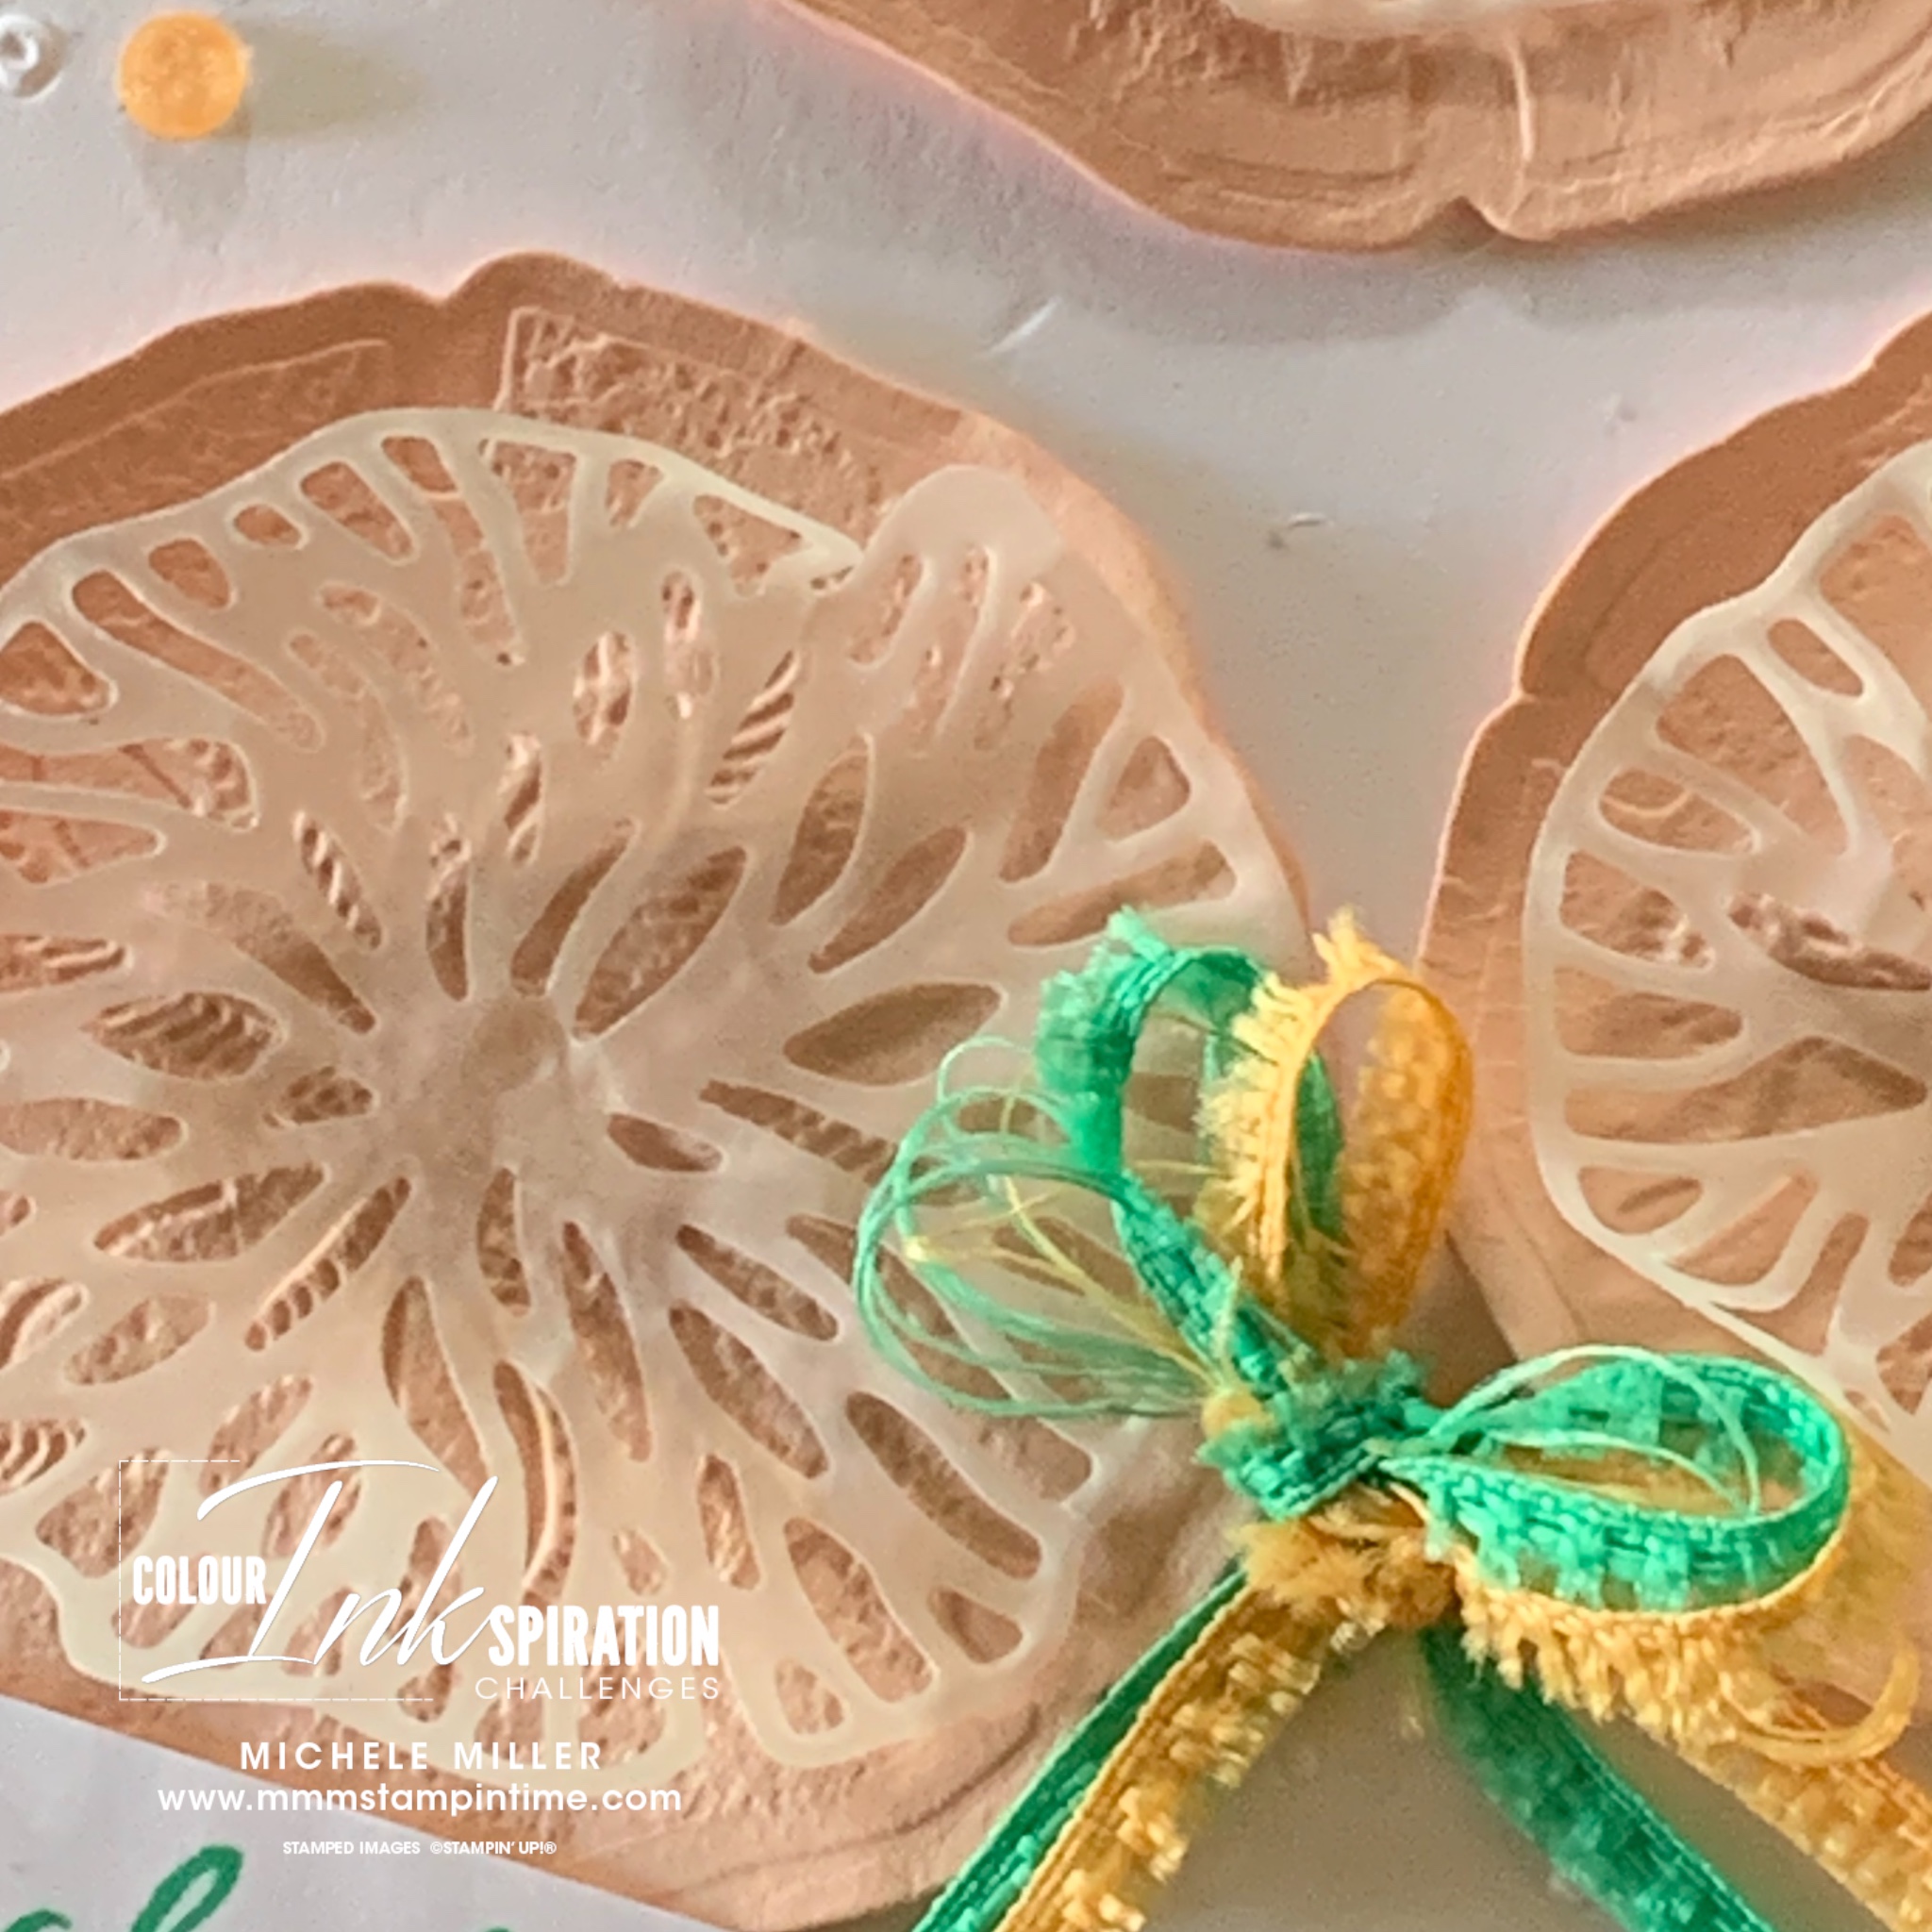
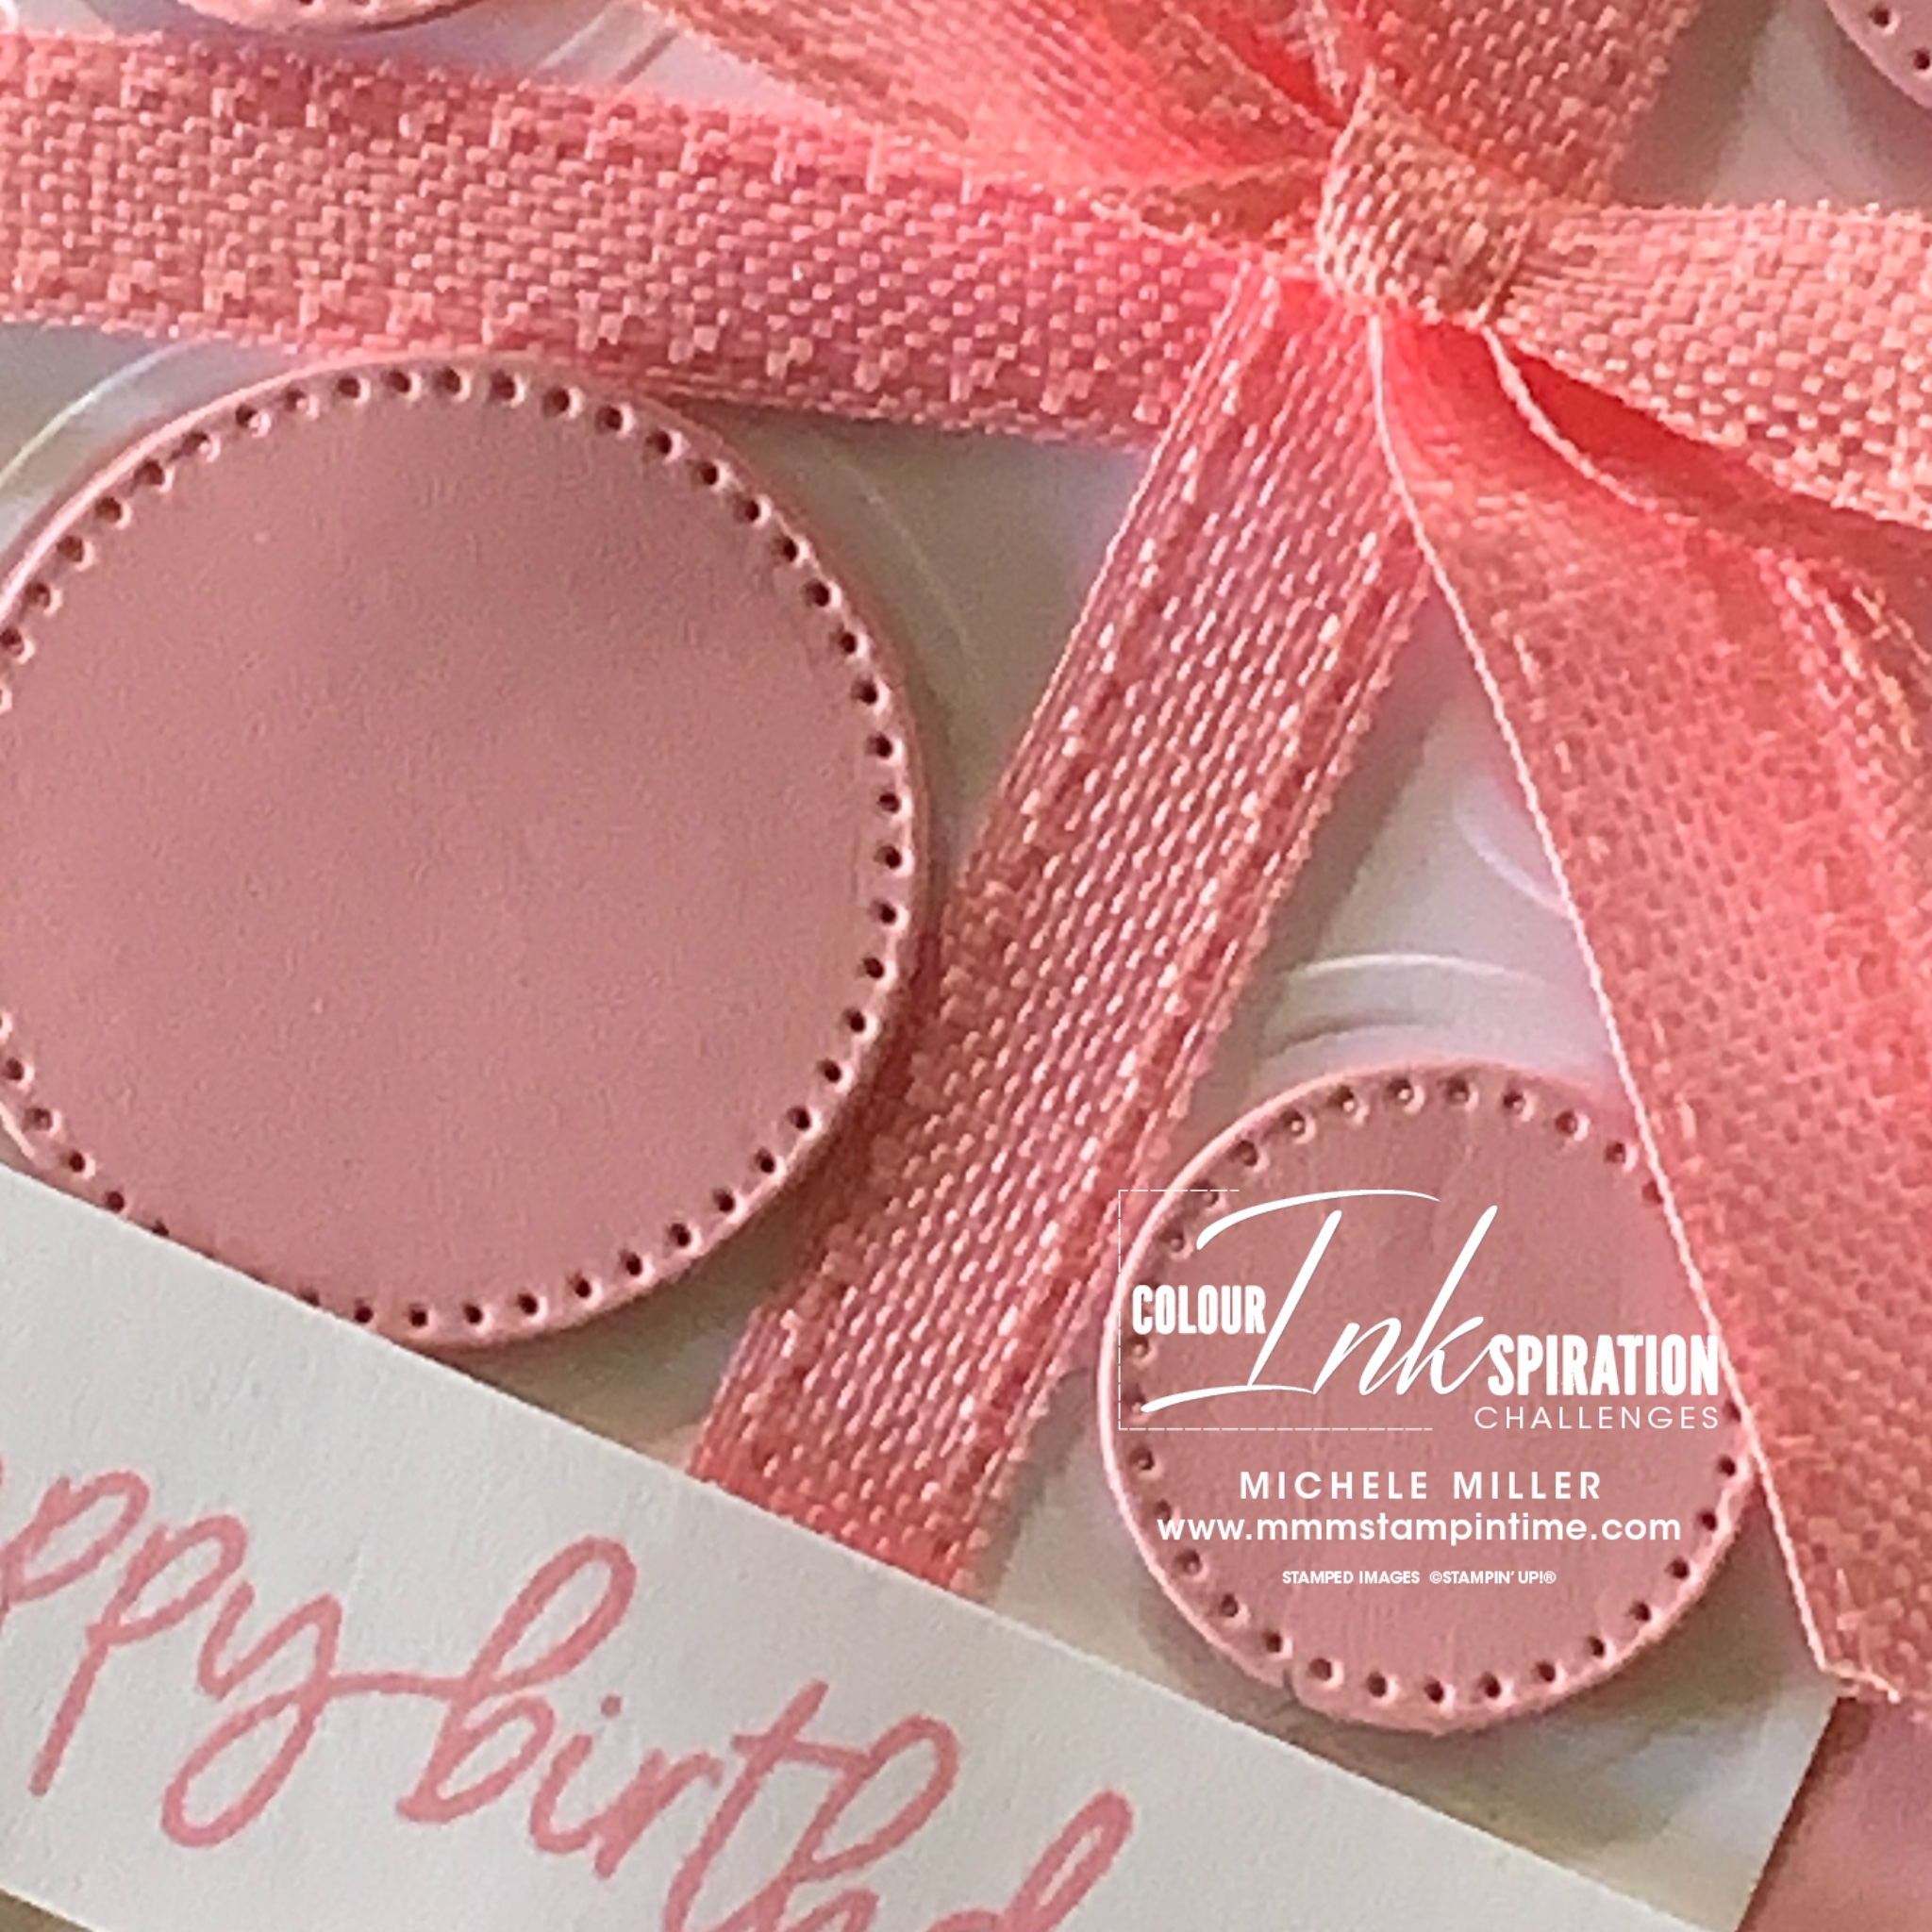
Then I embossed a narrower Basic White panel using the circles Cheery Patterns Embossing Folder.
I used two of the smaller circles from the Stylish Shapes Dies to cut the Pretty in Pink circles that I placed inside some of the Cheery circles.
Then I wrapped and secured three lengths of the Pretty in Pink Brodered Ribbon across the the embossed panel.

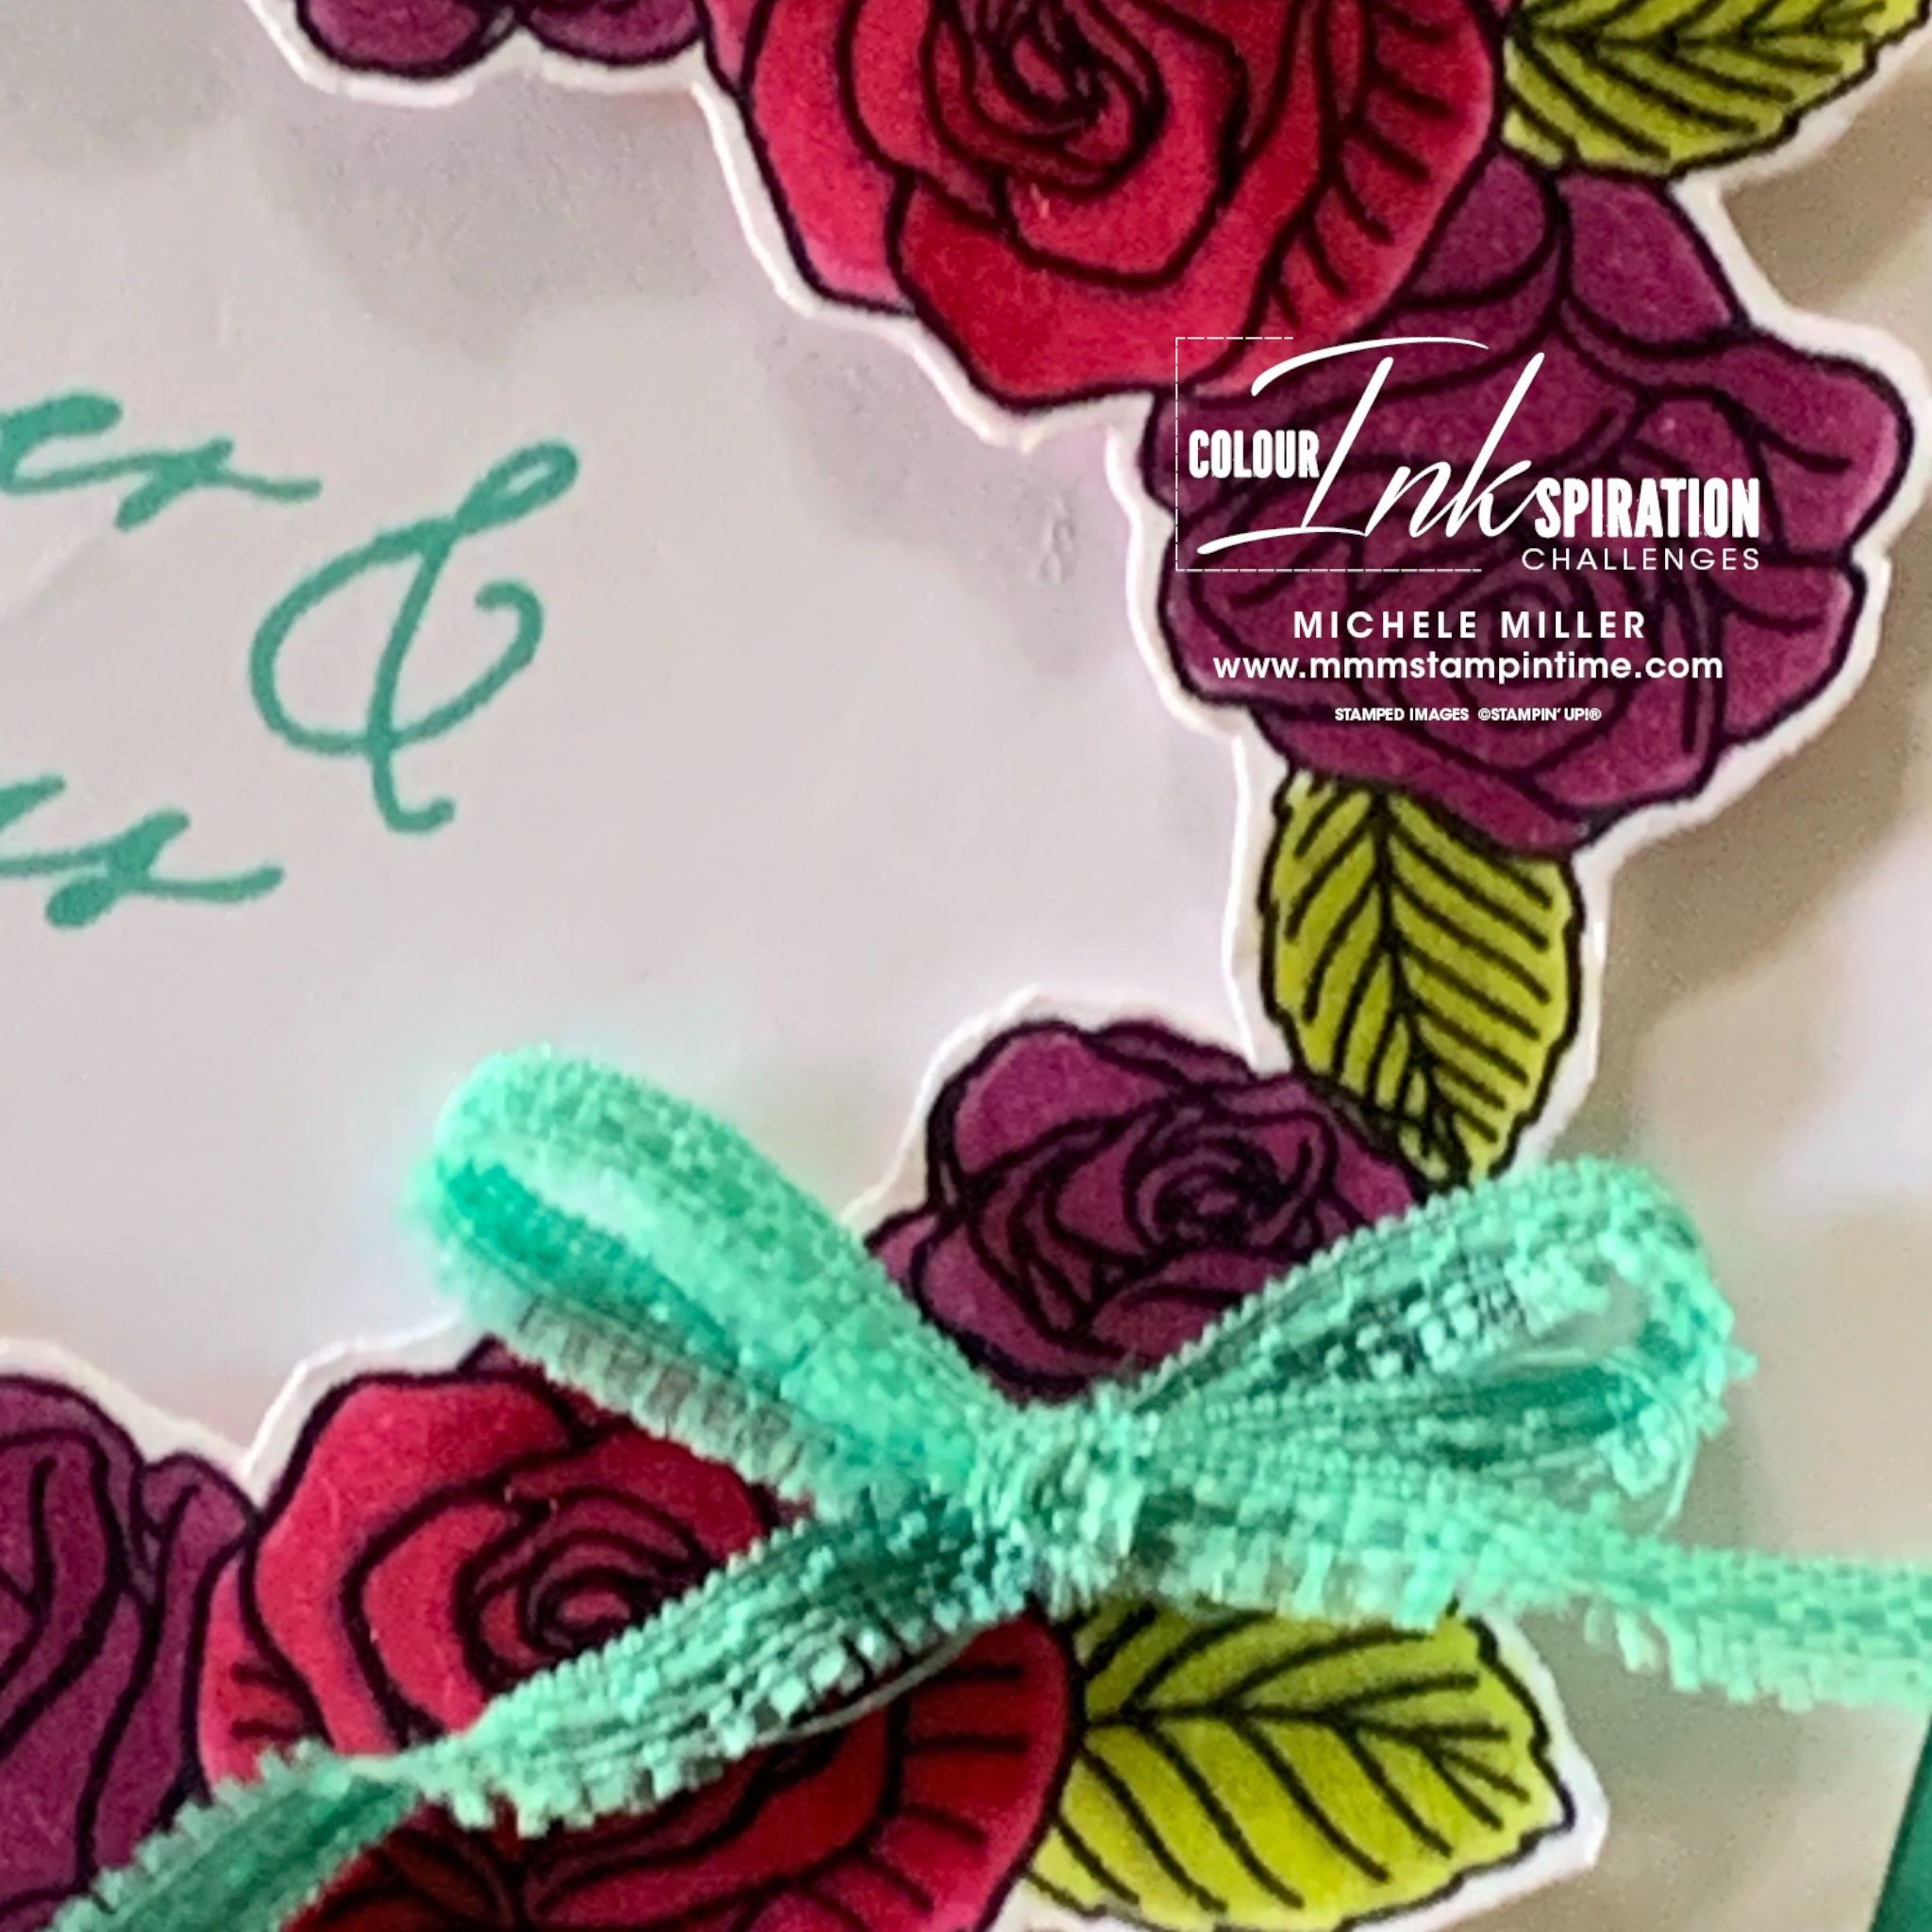
The greeting is from the Sweetly Scripted Stamp Set. It was attached to the embossed panel with Stampin’ Dimensionals.
Extra die cut circles were added to the card insert and envelope.
Finally, I added some of the Pretty in Pink Gems to the card front.

I will share my #CI168 project on June 26th.Until then, happy stamping.

If you live in Australia, you can order any of the products I used to make this card by going to my online store. As you read through this post, you will see the products I used for this project. THe new items are available from May 1st.