Well, today I have two cards to share with you. They are part of a gift box of five cards. I will share the gift box tomorrow and them three fun fold cards on Friday.
All five cards use the same paper from the Country Woods DSP, as well as Silver Foil and Shimmer Paper.
The first card is a simple portrait tent fold card. The card base is Basic Gray.

After attaching the DSP panel to the front of the card I stamped the sentiment on a strip of Basic Gray card. It was stamped with Versamark and heat embossed using the new WOW Black Embossing Powder. Then it was attached to the card front with Multipurpose Glue.
The flower tub was die cut from a small piece of Silver Foil. The FLOWER MARKET label was stamped using Staz On Jet Black ink. The ink was swiped across the urn to give it a tarnished effect. The stamped tub was then trimmed down and added to the card with Stampin’ Dimensionals.
Then I die cut many flowers from a piece of Petal Pink Glimmer Specialty Paper, from the Three Colour Glimmer collection, and added them to the tub.
The card insert and envelope flap were finsihed with the same DSP before some Petal Pink Foiled Gems were added.
The next card is a basic flip fold card that uses 3/4 of a piece of Basic Gray A4 card.

After cutting and scoring the card into thirds I began to work on the front.
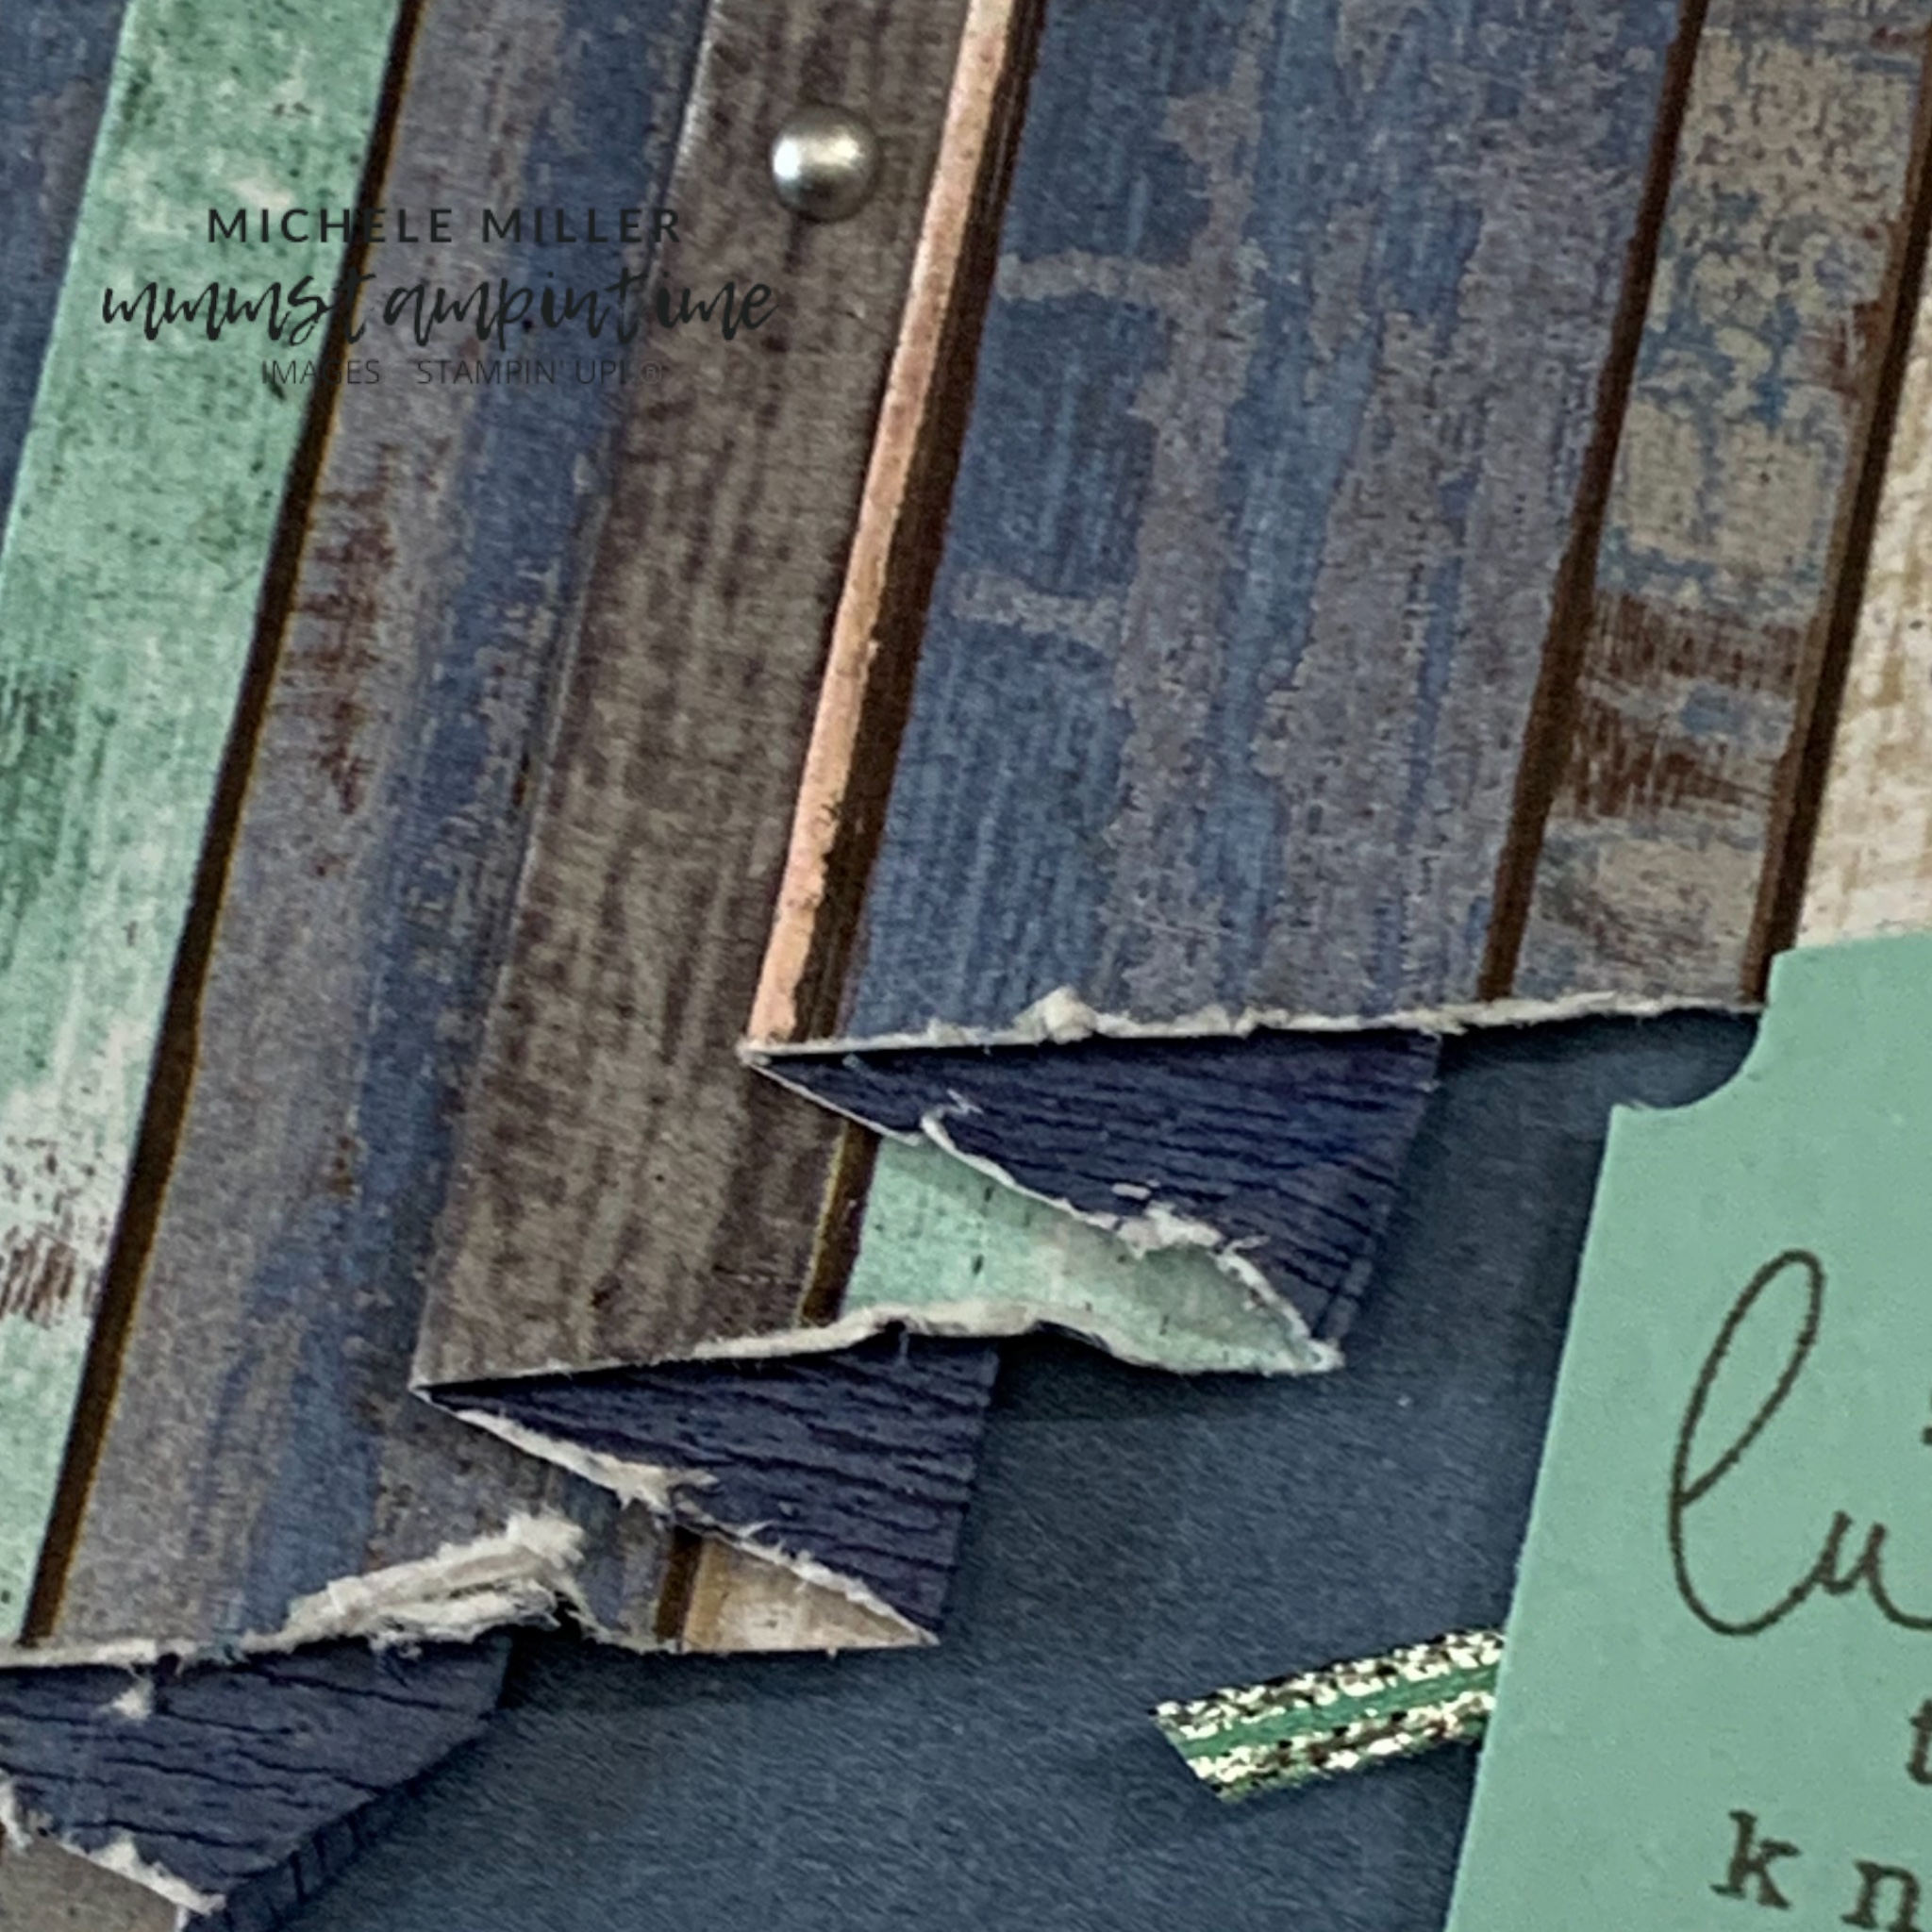
I added a Silver Foil and then a DSP layer to the card front.
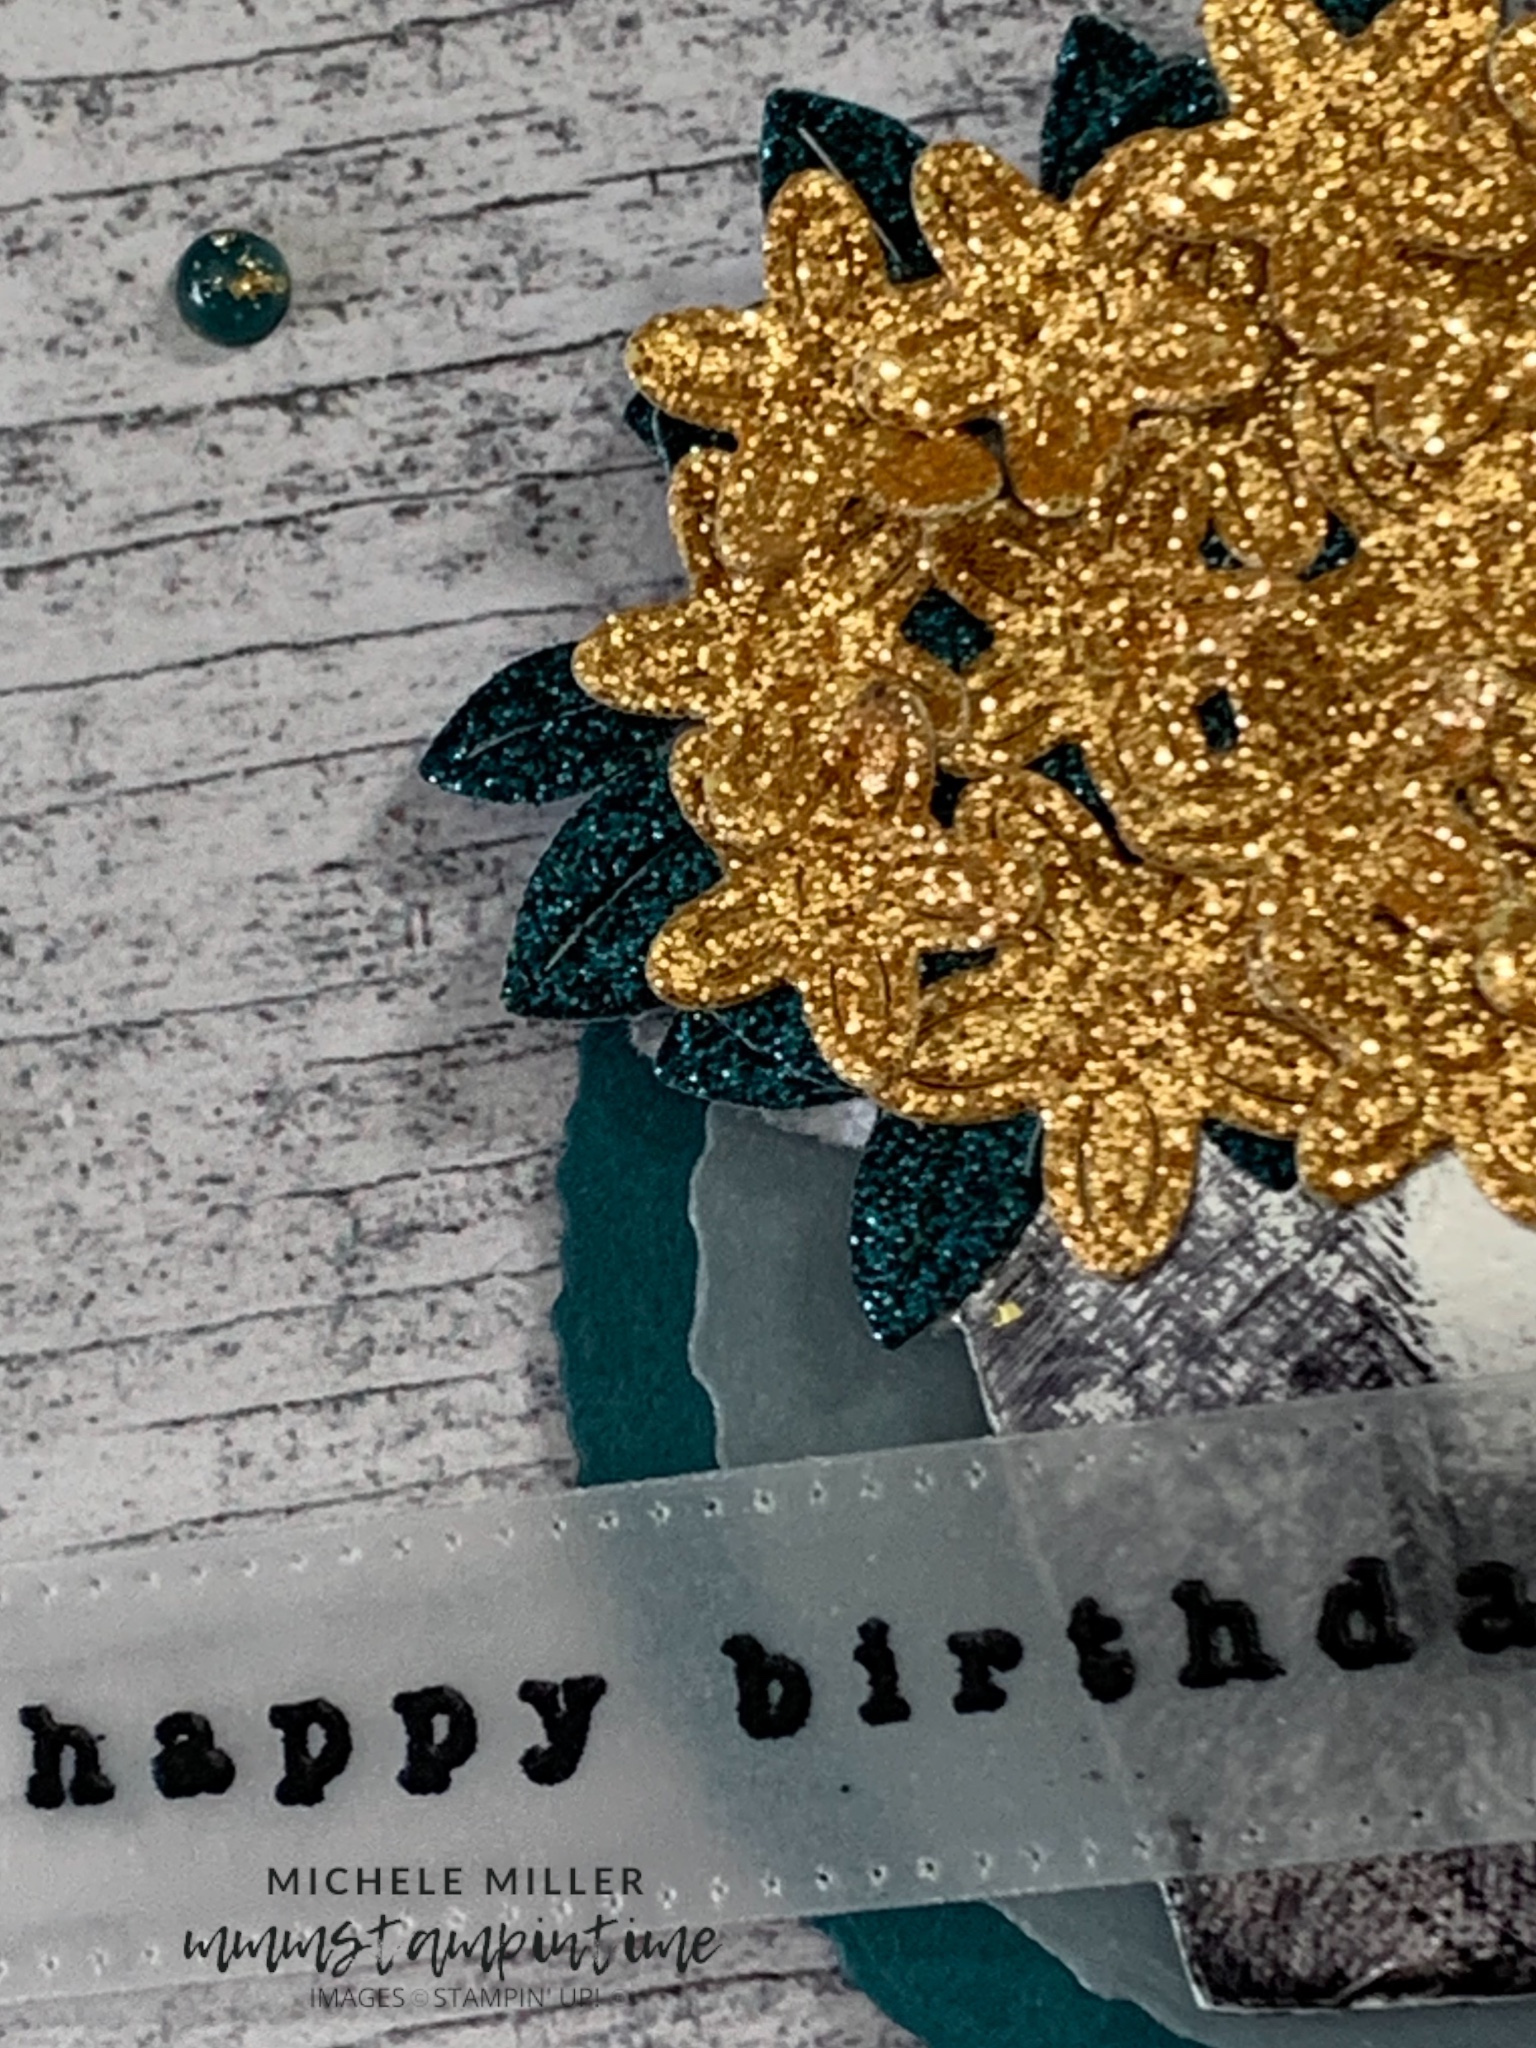
Then I used two of the smaller Deckled Circles Dies to cut Pretty Peacock and Vellum layers. The circles were adhered together and then trimmed to give a straight edge on the right hand side. The circles were then secured to the card front using Stampin’ Dimensionals.
I cut the taller urn from a piece of silver foil and then swiped Jet Black Staz On across it. Then it was added to the card front with dimensionals.
Several leaf branches were cut from Pretty Peacock specialty paper from the Three Colour Glimmer Paper collection. Even more flowers were cut from a strip of Peach Pie glimmer paper from the 2024-2026 In Colour Glimmer Specialty Paper collection.
The sentiment was stamped and embossed with the new WOW black embossing powder. It was cut with one of the banner dies from the Stylish Shapes Dies.
Then some Pretty Peacock Foiled Gems were added.

When the card is opened it reveals a gift card pocket which was made using the middle sized Pocket Thoughts die. It was embossed using the Eyelet 3D Embossing Folder. The gift card pocket was secured using Stampin’ Seal+.
The sentiment was also stamped and heat embossed before being adhered to the inside of the card. An extra Peach Pie glimmer flower was added.
Open the card up even further and you will find a place to write your own message.

The birthday sentiment was created again and die cut in the same way.
Tomorrow I will show you the gift box created to hold all five cards.
Until then, happy stamping.

If you live in Australia, you can order any of the products I used to make this card by going to my online store. Just click on any of the images below.
Product List


