Posted on Leave a comment

IT’S MONDAY AND THAT MEANS IT IS TIME TO HIGHLIGHT SOME NEW STAMPIN’ UP! PRODUCTS

For my projects this week I am featuring the Splendid Autumn Suite Collection from the soon to be released September – December 2024 Mini Catalogue.

Later in the week I will come back and add these new products for you to see them in more detail. These are some samples from the catalogue.

This week I have a decor project, a pyramid shaped 3D project and three card to share with you.

Each of the three cards were designed using tempates from page 22 of the 2024-2025 Annual Catalogue.

The first card uses the first template.

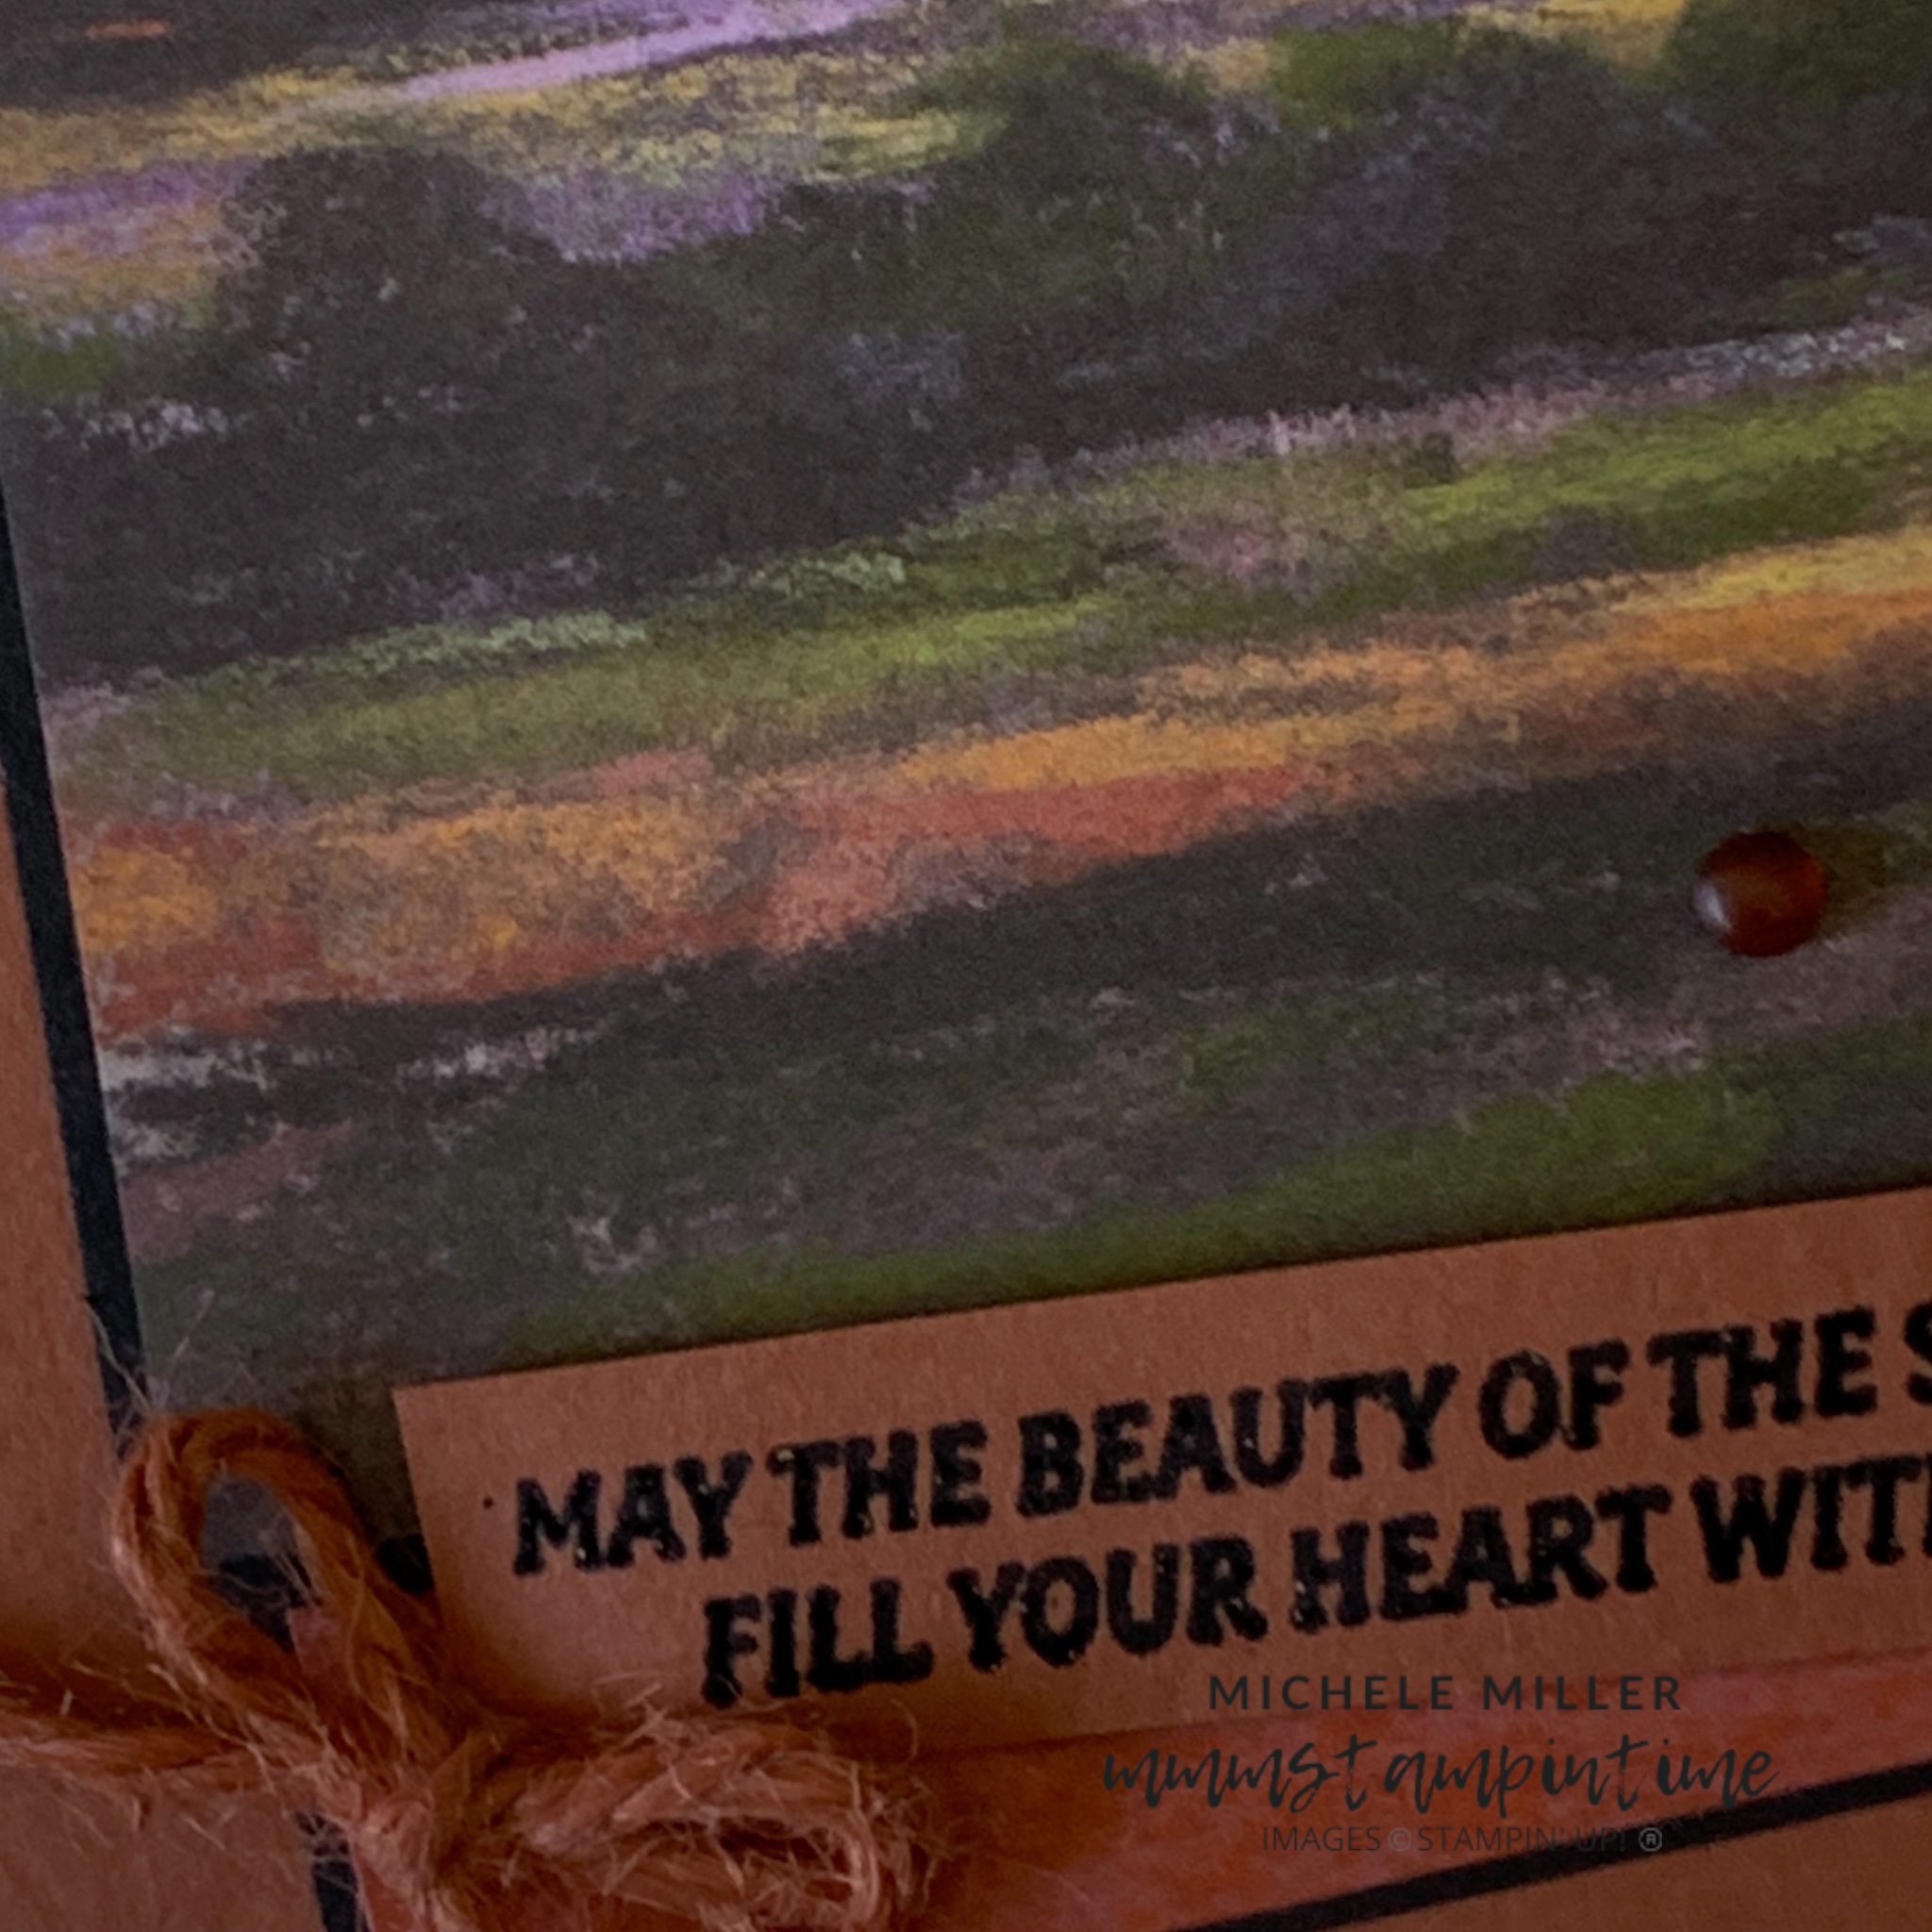
After preparing the Copper Clay cardbase I went on to cut two Basic Black panels and two pieces of paper from the Splendid Autumn 6″x 6″ Designer Series Paper.

These panels were then adhered to the card front, at angles, in a manner similar to the template.

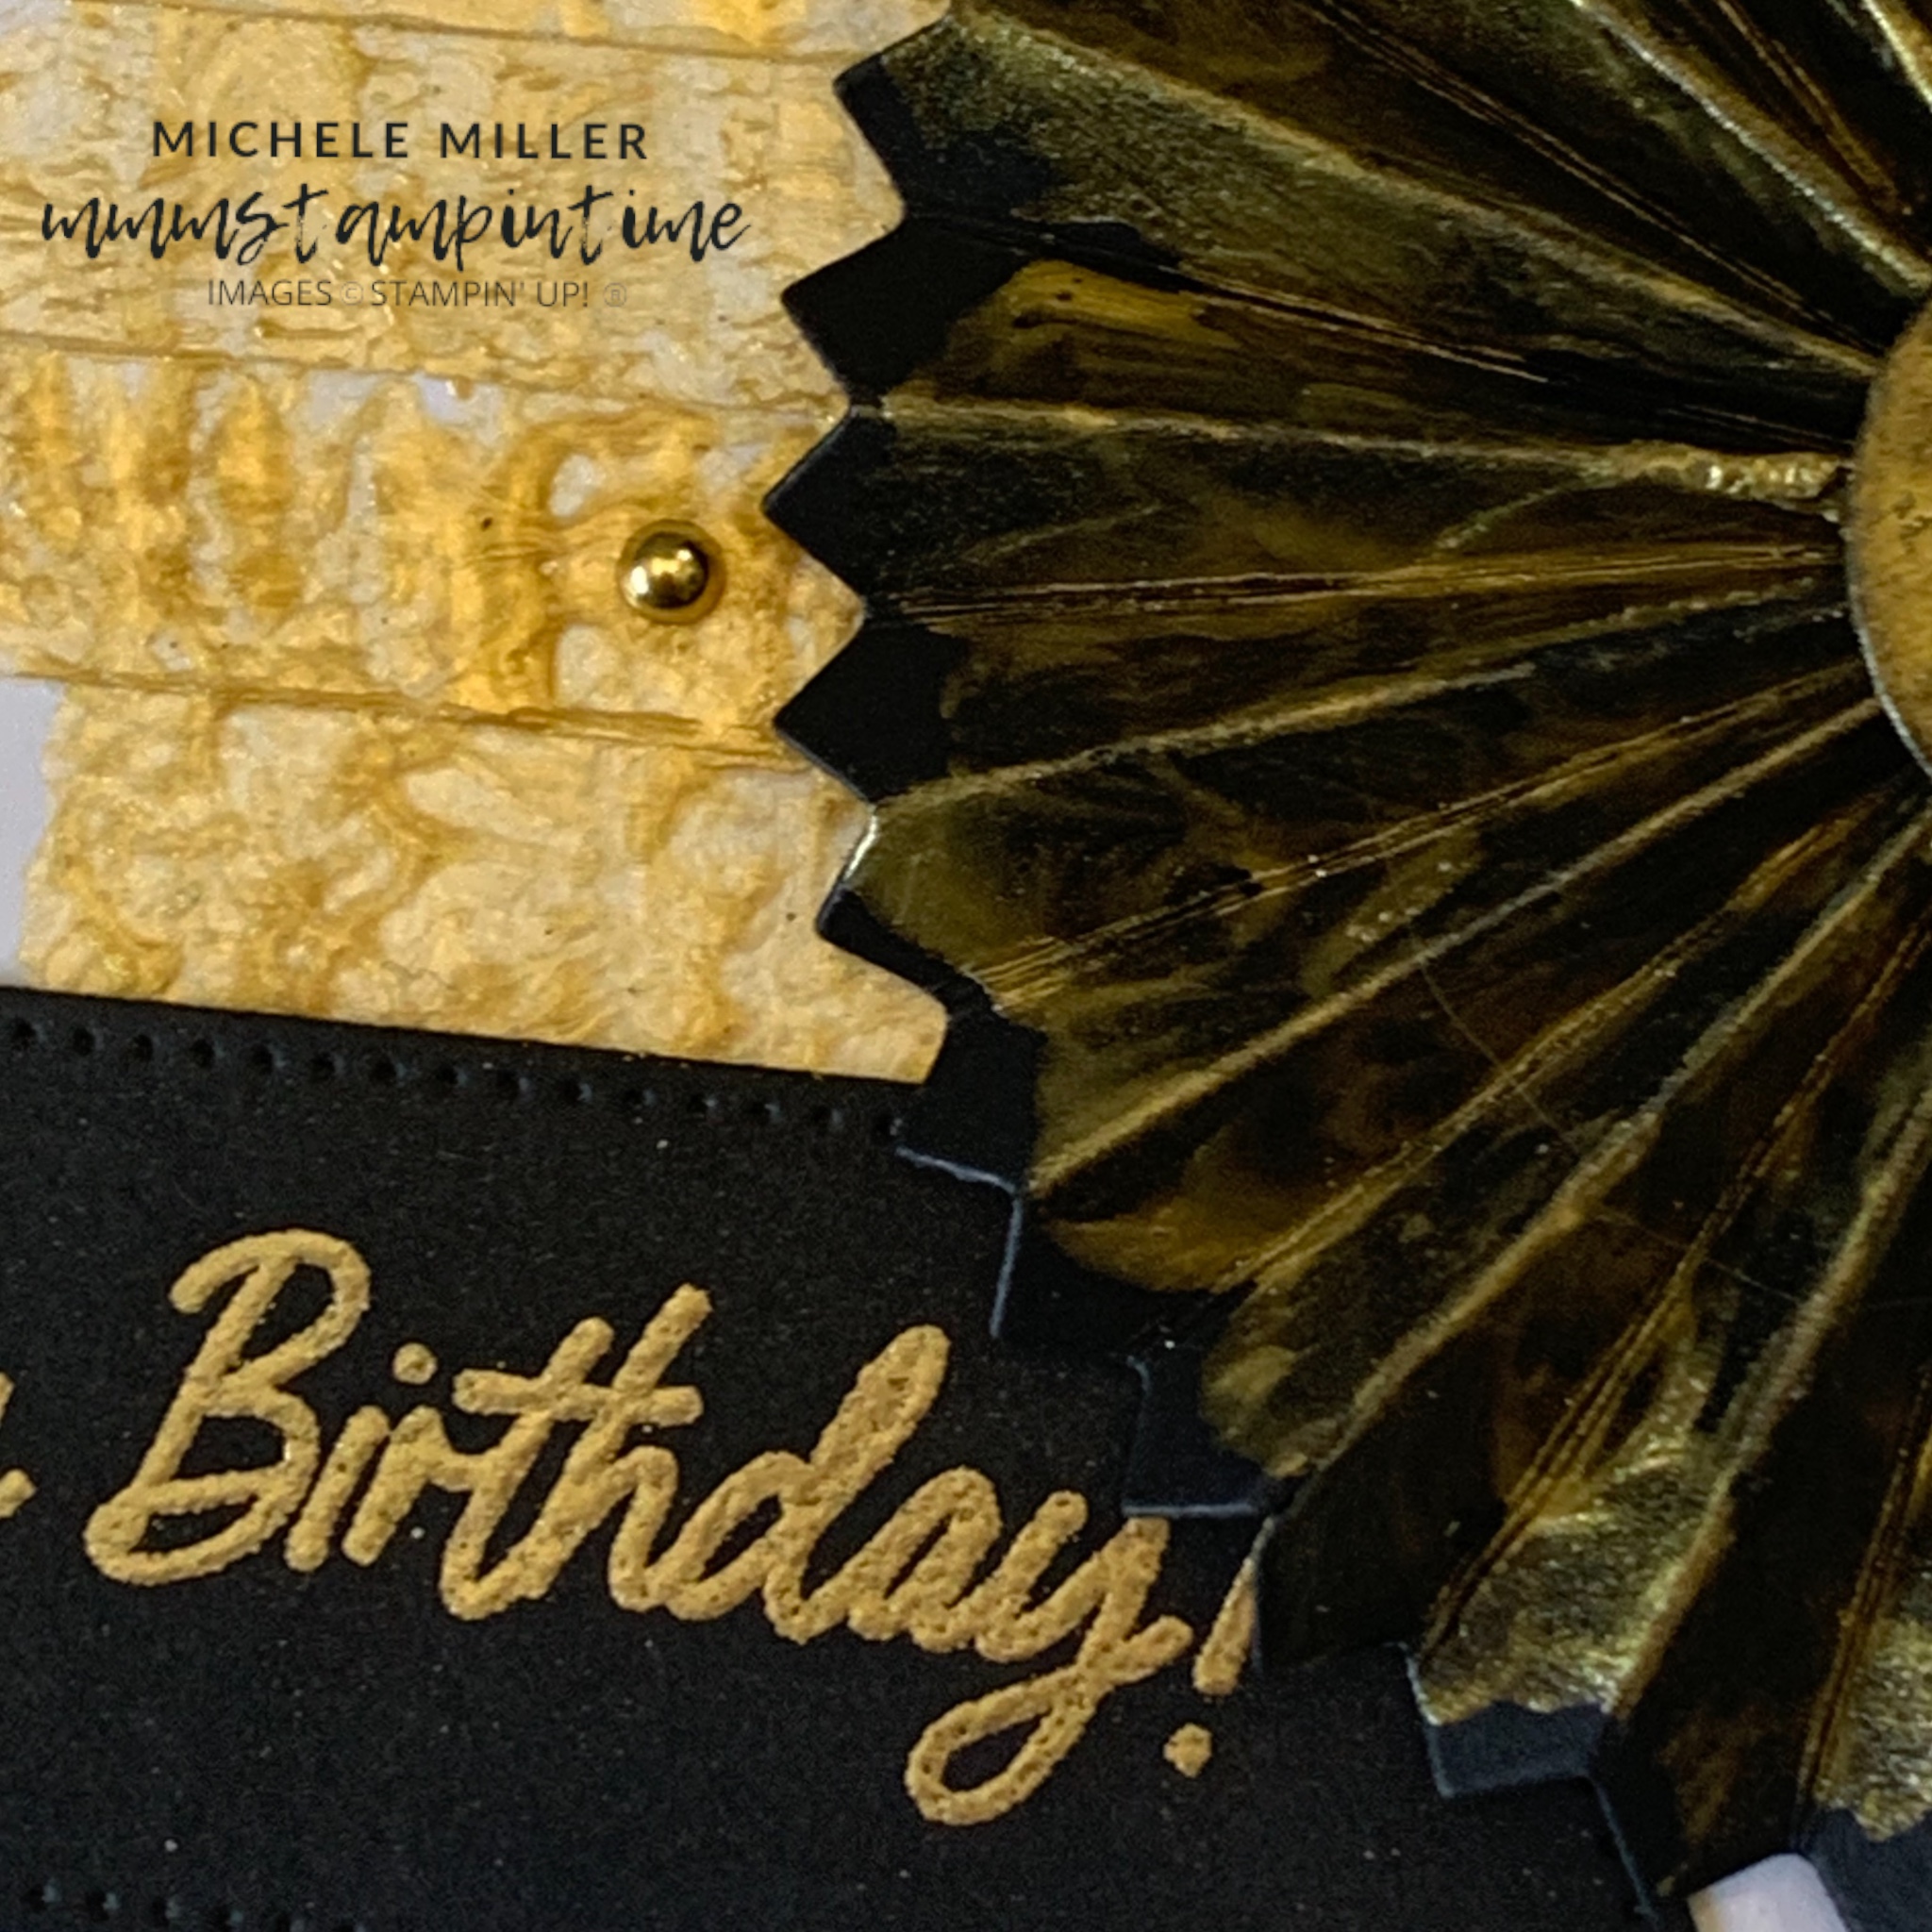
The greeting, from the Autumn Expressions Stamp Set, was stamped with Versamark and then heat embossed with the new black WOW! Basics Embossing Powder.

I trimmed the greeting into a rectangle and attached it to the card front using Stampin’ Dimensionals.

After tying a bow, using Copper Clay from the 2023-2025 In Colour Jute Trim bundle, I attached it with a Mini Glue Dot.

I added more of the DSP to the card insert and the back of the envelope to finish it off. Finally, some Faux Glass Dots were added to the card front.

There are 22 card templates, in the Annual Catalogue, to inspire everyone’s creativity. After this week I will have 19 more to use. And, there are more in the new Mini Catalogue, that is ‘live’ from September 3.

If you live in Australia and would like your own copy of this new catalogue please reach out to me.

Tomorrow I have another card to share with you, as well as some tips and a technique.

Until then, happy stamping.


If you live in Australia, you can order any of the products I used to make this card by going to my online store. As you read through this post, you will see the products I used for this project. The new items are available from September 3rd.

Product List
Product List
Heat Tool
[129056]
$56.00
Paper Snips
[103579]
$21.00
Posted on Leave a comment

TODAY IS SUNDAY & I WANT TO SHARE MY #GDP CHALLENGE PROJECT

I am so excited to be back in groove and that includes sharing a project that I have created for the weekly Global Design Project Challenge.

This week the Challenge is GDP460 which is casing GDP Design Team Member Susan Wong!

To see what other creative stampers have made check out Instagram or Facebook – @global.design.project and #GDP460.

For my card I decided to work with the Round We Go Bundle and Gold Metallic Enamel Effects Basics.

I started by using strips of Masking Tape to create 3/8″ inch gold enamel panels on the Thick Basic White panel.

With each narrow strip, I applied the gold enamel using brushstrokes that created wonderful texture. Although it took time for each strip of gold enamel to dry, each level revealed wonderful texture for this card.

I applied this same technique to the card insert and the back of the envelope.

After die cutting the rosette twice, using the Round We Go die, I folded each scored line in preparation. Before completing the construction of the rosette I painted the same gold metallic enamel to the black card. After it dried, quite some time later, I folded and created the rosette. The rosette was finished with an enamel painted 3/4″ circle – the die I used was from the Kiddin’ Around Dies pack.

After I adhered the rosette to the front Basic White panel I trimmed it on the righthand side.

I used a totally amazing glue gun, that I was introduced to at a fairly recent Paper Angels training day, to assemble this rosette. (Check out Ryobi)

After securing and trimming the rosette I went on to create the greeting.

I stamped the greeting using Versamark and then sprinkled gold embossing powder over it. After heat embossing the greeting, it was cut using one of the Stylish Shapes banner Dies.

The lefthand side of the greeting banner was trimmed to align to the card base edge.

I added some small gold embellishments, from the Blooming Pearls collection, to finish the card front.

I applied the roughly painted gold enamel strip to the card insert and the back of the envelope. I love the texture this roughly painted technique has created.

I now have an amazing ‘industrial’ Ryobi glue gun that I use for these kinds of projects.

From Monday, I will start shairng projects using the Splendid Autumn Suite Collection.

Until then, happy stamping.

If you live in Australia, you can order any of the products I used to make this card by going to my online store. Just click on any of the images below

Product List
Heat Tool
[129056]
$56.00
Paper Snips
[103579]
$21.00
Posted on Leave a comment

BACK ON TRACK WITH MY COLOUR INKSPIRATION DESIGN CREW PROJECTS

Well, at last I am back contributing the Colour INKspiration challenges and this one is for our 172nd challenge!

Today’s picture which has inspired our colour palette was chosen by Colour INKspiration Crew Member, Monica Formosa.

I hope that you are inspired to join the challenge.

As well as the chosen colour combination for #CI172, Peach Pie, Garden Green and Pebbled Path, you may also add Basic White, Very Vanilla, Crumb Cake, Basic Beige, Basic Black and metallics to your project. We also allow ‘Ivory’, ‘Bronze’ and ‘Natural Tones’ in the Stampin’ Blends. If you don’t have the colours in our palette, feel free to use the closest Stampin’ Up! (or any other brand) substitute – Basic Grey instead of Pebbled Path for example.

For my project I chose one of the newly available stamp sets that have come across from Close to My Heart. The Home Stamp Set was one that really caught my eye.

The Pebble Path card base has panel of Garden Green paper from the Regals 6″x 6″ Designer Series Paper.

I stamped the ‘is where the heart is’ onto a narrow piece of Peach Pie paper from 2023-2025 In Colour 6″x 6″ Designer Series Paper. This was then positioned on the Garden Green panel using Stampin’ Dimensoinals.

The large ‘home’ was stamped twice. The first panel was glued directly to the panel. The second ‘home’ was coloured with the Garden Green pencil from the Watercolour Pencil pack 2 and ‘blended’ in with a Blender Pen. I fussy cut the three coloured letters and placed them over the corresponding letters, with dimensionals.

Three lengths of white Baker’s Twine, from the Essentials Pack, were coloured using the Dark Peach Pie and Light Pebble Path Stampin’ Blends. These were then wrapped around the panel and ties in a bow.

The house was stamped and coloured using both Light and Dark Blends Pens in Peach Pie and Pebble Path.

I used the Colour Lifter to to lighten the ‘glass’ in the windows. They then had Clear Wink of Stella painted on them.

After fussy cutting the house it was then added using dimensionals.

I added more dimensionals to the back of the front panel and placed it on the card base.

Three Pebble Path Dots, from the 2023-2025 In Colour Dots, were placed across the front.

The card insert and back of the envelope had more of the Peach Pie DSP added.

It has been wonderful to welcome Makers, from Close to My Heart, into Stampin’ Up! and a treat to be able to order CTMH products that have transitioned across to our online catalogue.

Tomorrow I will have a Global Design Project card to share with you.

Until then, happy stamping.

If you live in Australia, you can order any of the products I used to make this card by going to my online store. Just click on any of the images below.

Product List
Blender Pens
[102845]
$25.00
Paper Snips
[103579]
$21.00