Posted on Leave a comment

TIME TOGETHER IS THE BEST TIME

The Time Together Bundle is absolutely amazing!

The stamp set has four great greetings and eight images. There are 14 dies that coordinate and can be used in projects using this bundle.

I designed this project for my Coffee & Card Class this week. It was a great way to introduce some new techniques to new stampers and allow more experienced stampers to reconnect with these techniques, using new products.

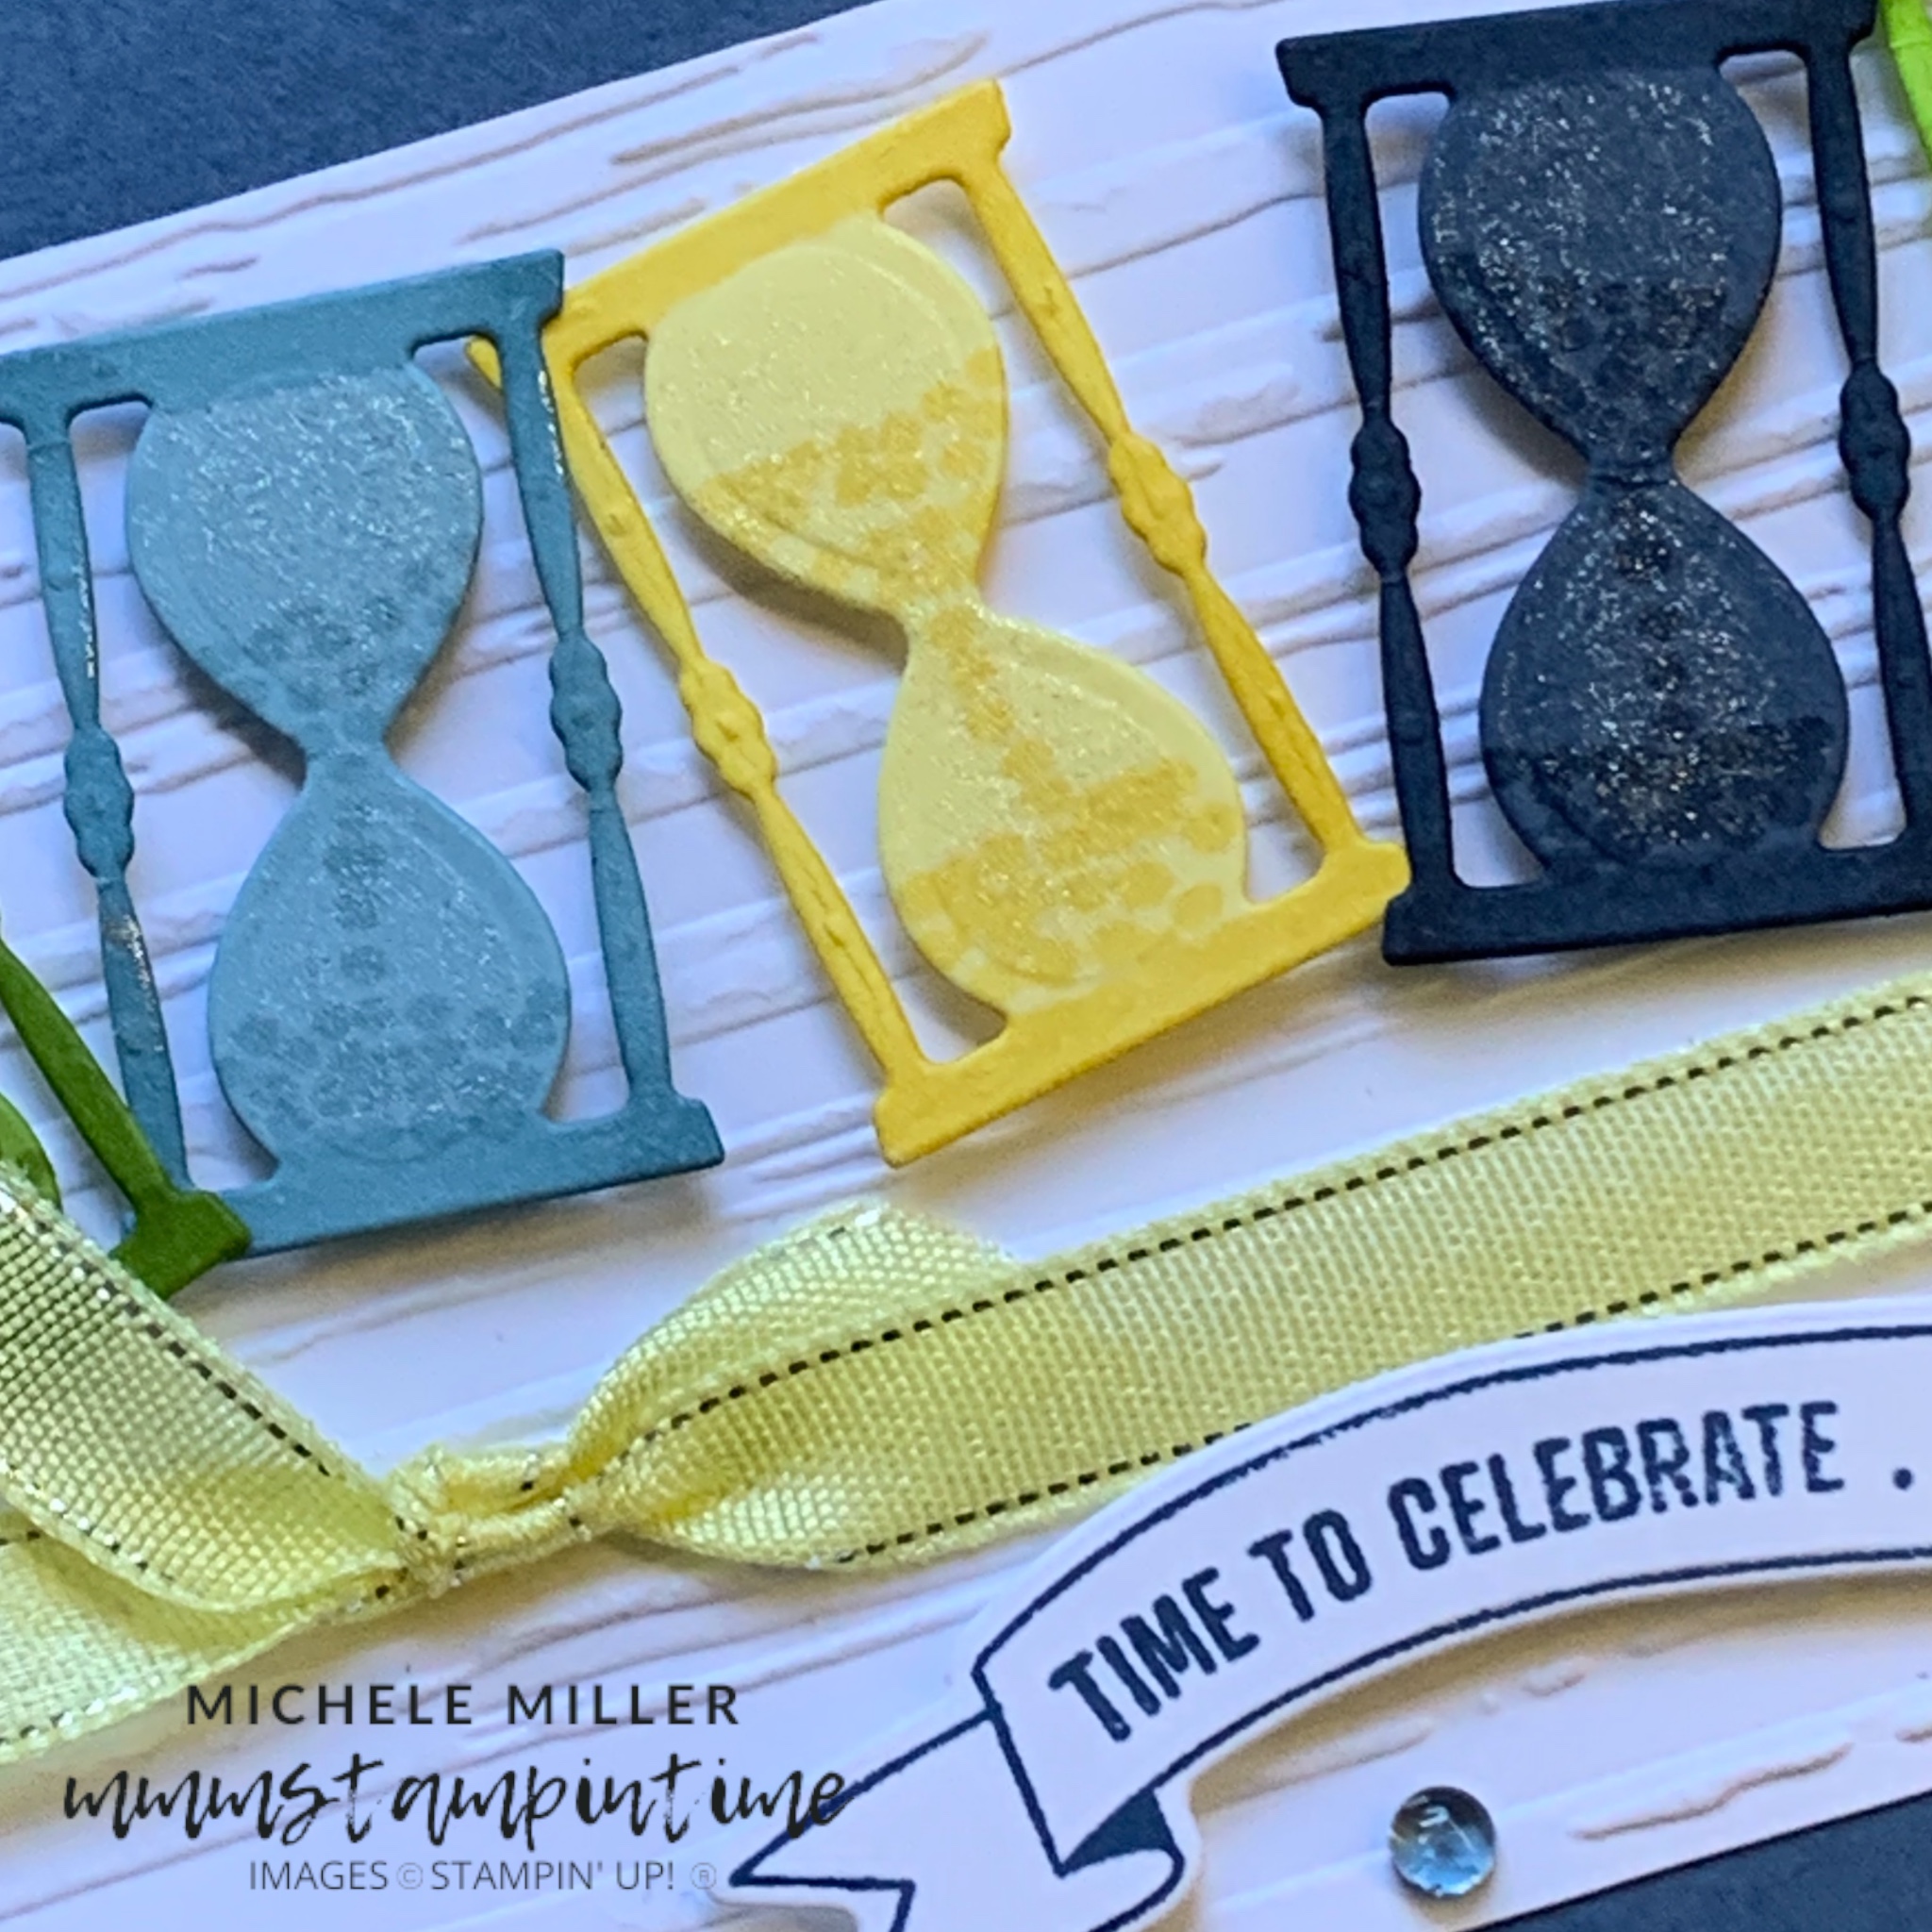
I started with a Misty Moonlight landscape tent card base and embossed a 5 3/4″ x 3″ strip of Basic White cardstock using the Stripes 3D Embossing Folder, from the Stripes and Splatters duo.

A length of Lemon Lolly Sheer Ribbon, from the combo pack, was attached to the embossed cardstock and tied in knot. Then I trimmed the ends of the ribbon.

Multipurpose glue was used to adhere the embossed panel to the front of the card.

I used the small hourglass die to cut seven out – three in Misty Moonlight and one each in Balmy Blue, Lemon Lolly, Garden Green and Parakeet Party.

The frame of each hourglass and ‘sand’ were coloured using the dark Stampin’ Blends in the five colours chosen. This gave the hourglasses a more distinctive look on the card.

The die cut shapes had two Stampin’ Dimensionals attached behind the ‘glass’ and were placed in the section above the ribbon.

The sentiment and banner were stamped and die cut before securing it to the card using dimensionals.

Finally, I added some Misty Moonlight gems from the Tinsel Gems Three-Pack for a bit of sparkle.

The envelope and card insert had hourglasses attached.

Tomorrow I have some gift tags to share with you.

Until then, happy stamping.

If you live in Australia, you can order any of the products I used to make this card by going to my online store. Just click on any of the images below.

Product List
Paper Snips
[103579]
$19.25
Posted on Leave a comment

IN THE PATCHWORK CONSTRUCTION ZONE

It’s hard to explain why I thought I would use the Patchwork Pieces Dies with the Construction Zone Stamp Set – just call it a whimsy.

I knew that I was thinking of bright, bold colours to make some projects for the boys at heart.

I used the die with the 12 triangular segments.

The first thing was to select six colours – Azure Afternoon, Blueberry Bushel, Copper Clay, Daffodil Delight and Granny Apple Green. I cut each of these pieces of cardstock slightly larger than the die.

When you look at the cards, you will see that the cut out segments rotate through the colours. I simply separated each die cut piece of cardstock and selected each colour according to size and sequence of colours. Let me show you – I’ll describe this with the first card.

For this card I collected the largest triangle in both Blueberry Bushel and Copper Clay. Then I added the second largest pieces in Azure Afternoon and Pumpkin Pie. Finally, the smallest triangles in Granny Apple Green and Daffodil Delight.

To assemble these Patchwork Pieces, I used a small piece Basic White cardstock to adhere the triangles.

This coloured panel was adhered to a Notecard base.

I stamped the forklift onto a scrap of Basic White card and punched it out using the new 2 3/8″ circle punch. Before colouring it in, I trimmed the right hand side of the circle so I could have it align with the Patchwork panel. I stamped, coloured and fussy cut the gift box before using a Mini Stampin’ Dimensional to position it on the forklift tray.

After adhering the Patchwork panel to the front of the card, I added Stampin’ Dimensionals to the back of the circle and positioned it on the card front.

The sentiment, from the Construction Zone stamp set, was stamped in Granny Apple Green and I used one of the Sending Dies banners to cut it out.

The little workman was stamped inside the card and on the envelope.

To finish the card, I added some Copper Clay gems from the 2023-2025 In Colour Dots.

The next project uses a single strip of the Patchwork die cut card. This shows a variation of the colour sequence that can be achieved. This strip was adhered to another Notecard front.

The birthday greeting was stamped using Blueberry Bushel and die cut, using one of the Timeless Arrangements Dies. The greeting was positioned on the card front using Stampin’ Dimensionals.

The cement mixer stamp was also stamped, coloured and fussy cut. Then it was placed above the birthday greeting, using dimensionals as well.

The super cute construction worker was stamped on the card front and the envelope.

I finished the card by adding some Blueberry Bushel gems from the Tinsel Gems Four-Pack.

The final project for this post is a 3D one. I decided to create a gift box.

I made three colour strips to adhere to the gift box. As you can see, the top and front panels are mirrored in the colour sequence.

Before adhering these panels, I secured a length of Copper Clay Textured Ribbon to use to secure the box.

The top of the box is decorated with a crane, sentiment, safety cones and directional signs. This gives the gift box a great construction zone feel.

I used a length of Copper Clay Twine create the lifting ‘wire’ of the crane.

The panel on the back of the box has a slightly different colour sequence.

The box measures 5″ x 2″ x 2″. Imagine all the goodies you could fit into a box this size.

I hope you have enjoyed these projects. Until next time, happy stamping.

If you live in Australia, you can order any of the products I used to make this card by going to my online store. Just click on any of the images below.

Product List
Paper Snips
[103579]
$19.25
Posted on Leave a comment

A BIRD’S EYE VIEW OF BOOKS

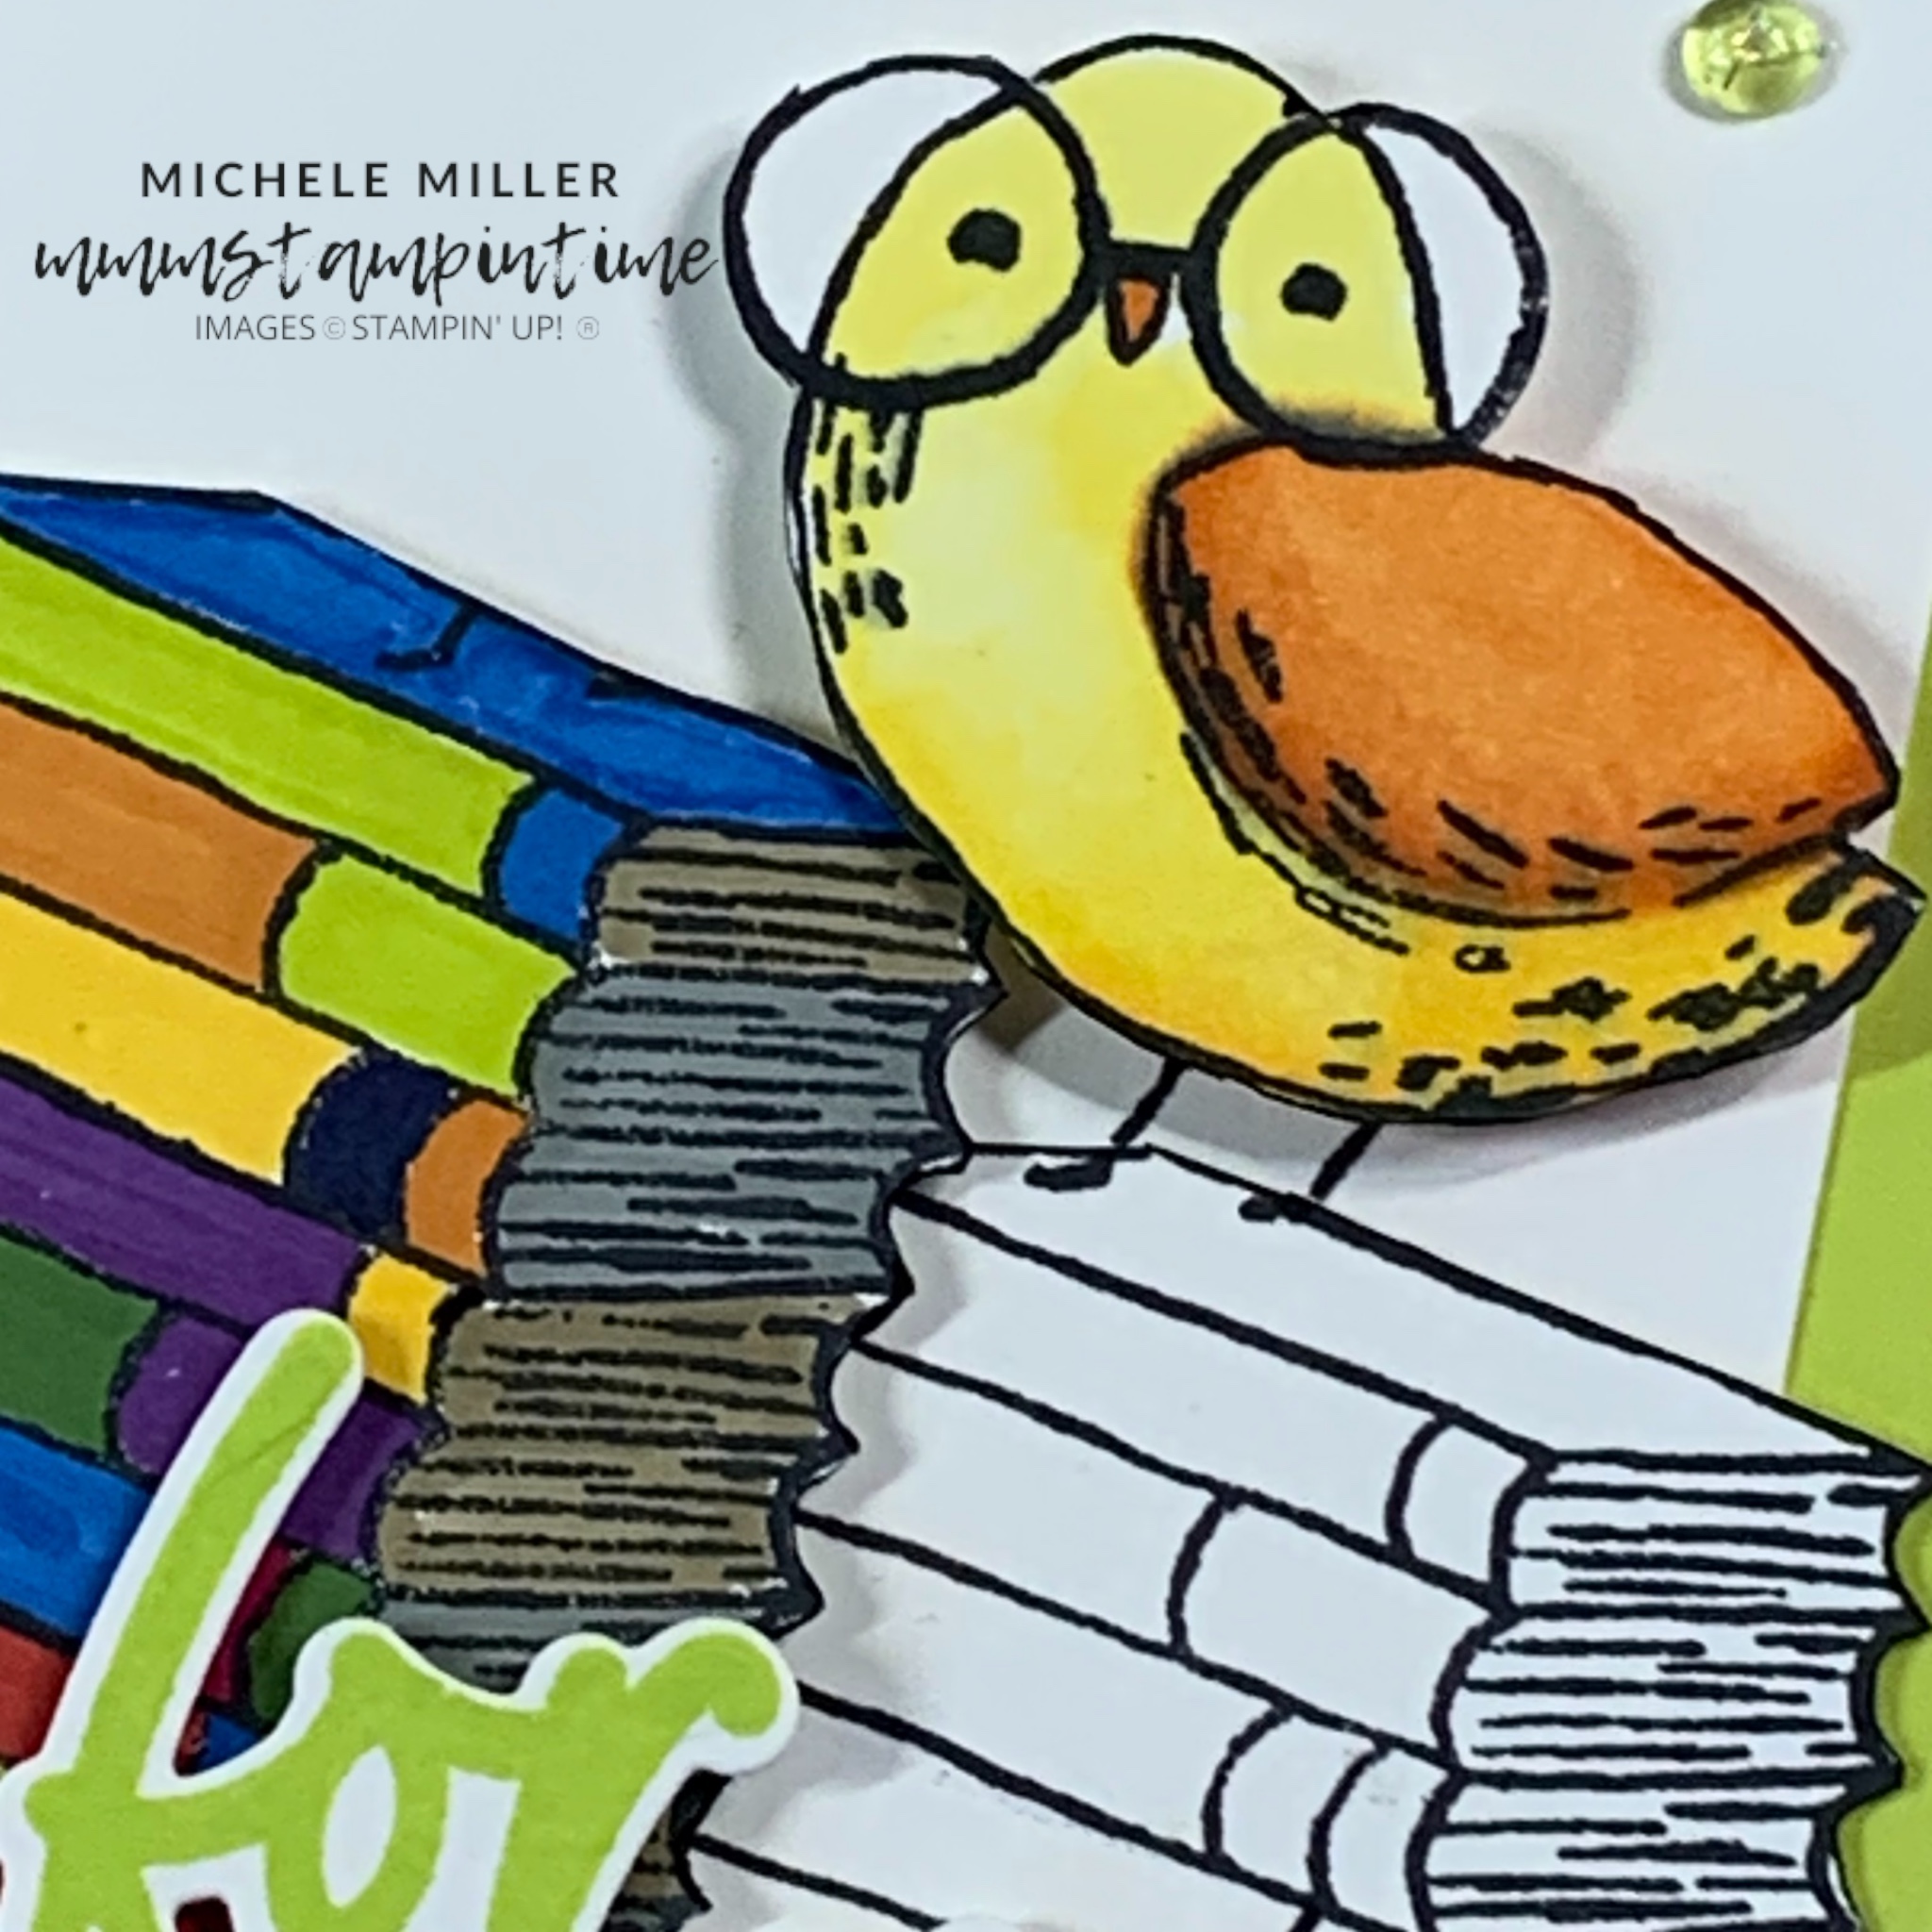
I think the Bird’s Eye View stamp set is so cute and perfect for colouring.

My immediate thought was to make a slimline card featuring a pile of books, stacked and read. I was inspired by Brian Pilling and the photos he shares on Facebook of the stacks of books he has read.

One of three images he shared of some of the books he has read so far this year.

This photopolymer set has 11 image only stamps. I love the way they appear hand-drawn in a childlike way.

The book stack lends itself to use a masking technique to build the pile even higher.

To do this, I stamped the books onto a piece of Masking Paper and cut away the pages and binding, leaving only the front of the top book.

This was then positioned on cardstock and the books stamped.

EXTRA INFORMATION EDIT – I took the section of masking paper that had the three books cut away and positioned it in line with the first stamped image. This allowed me to position the book front mask in the right place.

Then I repositioned the masking paper and removed the three book masked paper so the stack could be stamped again.

It’s a little bit fiddly but well worth the effort.

After I stamped the tallest stack of books I coloured them all and then fussy cut them. I also stamped a second pile of books and left them uncoloured.

The bird, with its glasses, was stamped and I coloured it with Stampin’ Blends. The bird was also fussy cut.

I prepared the slimline card base and then wrapped some Black Baker’s Twine from the Essentials Pack around the Basic White panel, tying a bow to finish it.

After I adhered the panel to the front of the card, I also adhered the uncolured books to the card.

Stampin’ Dimensionals were added to the back of the coloured books and this was then positioned slightly overlapping the uncoloured books.

I stamped the bird’s legs onto the top of the books and then the bird was popped up using Dimensionals.

The sentiment was stamped and die cut using the Love for You Bundle.

As you can see, I used quite a few Stampin’ Write Markers™ for this project. The embellishments are from the Tinsel Gems Four-Pack.

This was such a fun card to make. I think I will add a pocket to the inside of the card so that a bookstore gift voucher could be included.

I’ll have another post to share with you tomorrow.

Until then, happy stamping.

If you live in Australia, you can order any of the products I used to make this card by going to my online store. Just click on any of the images below.

Product List
Paper Snips
[103579]
$19.25