Posted on Leave a comment

LET’S GO SHOPPING – MY FAVOURITE WORDS!

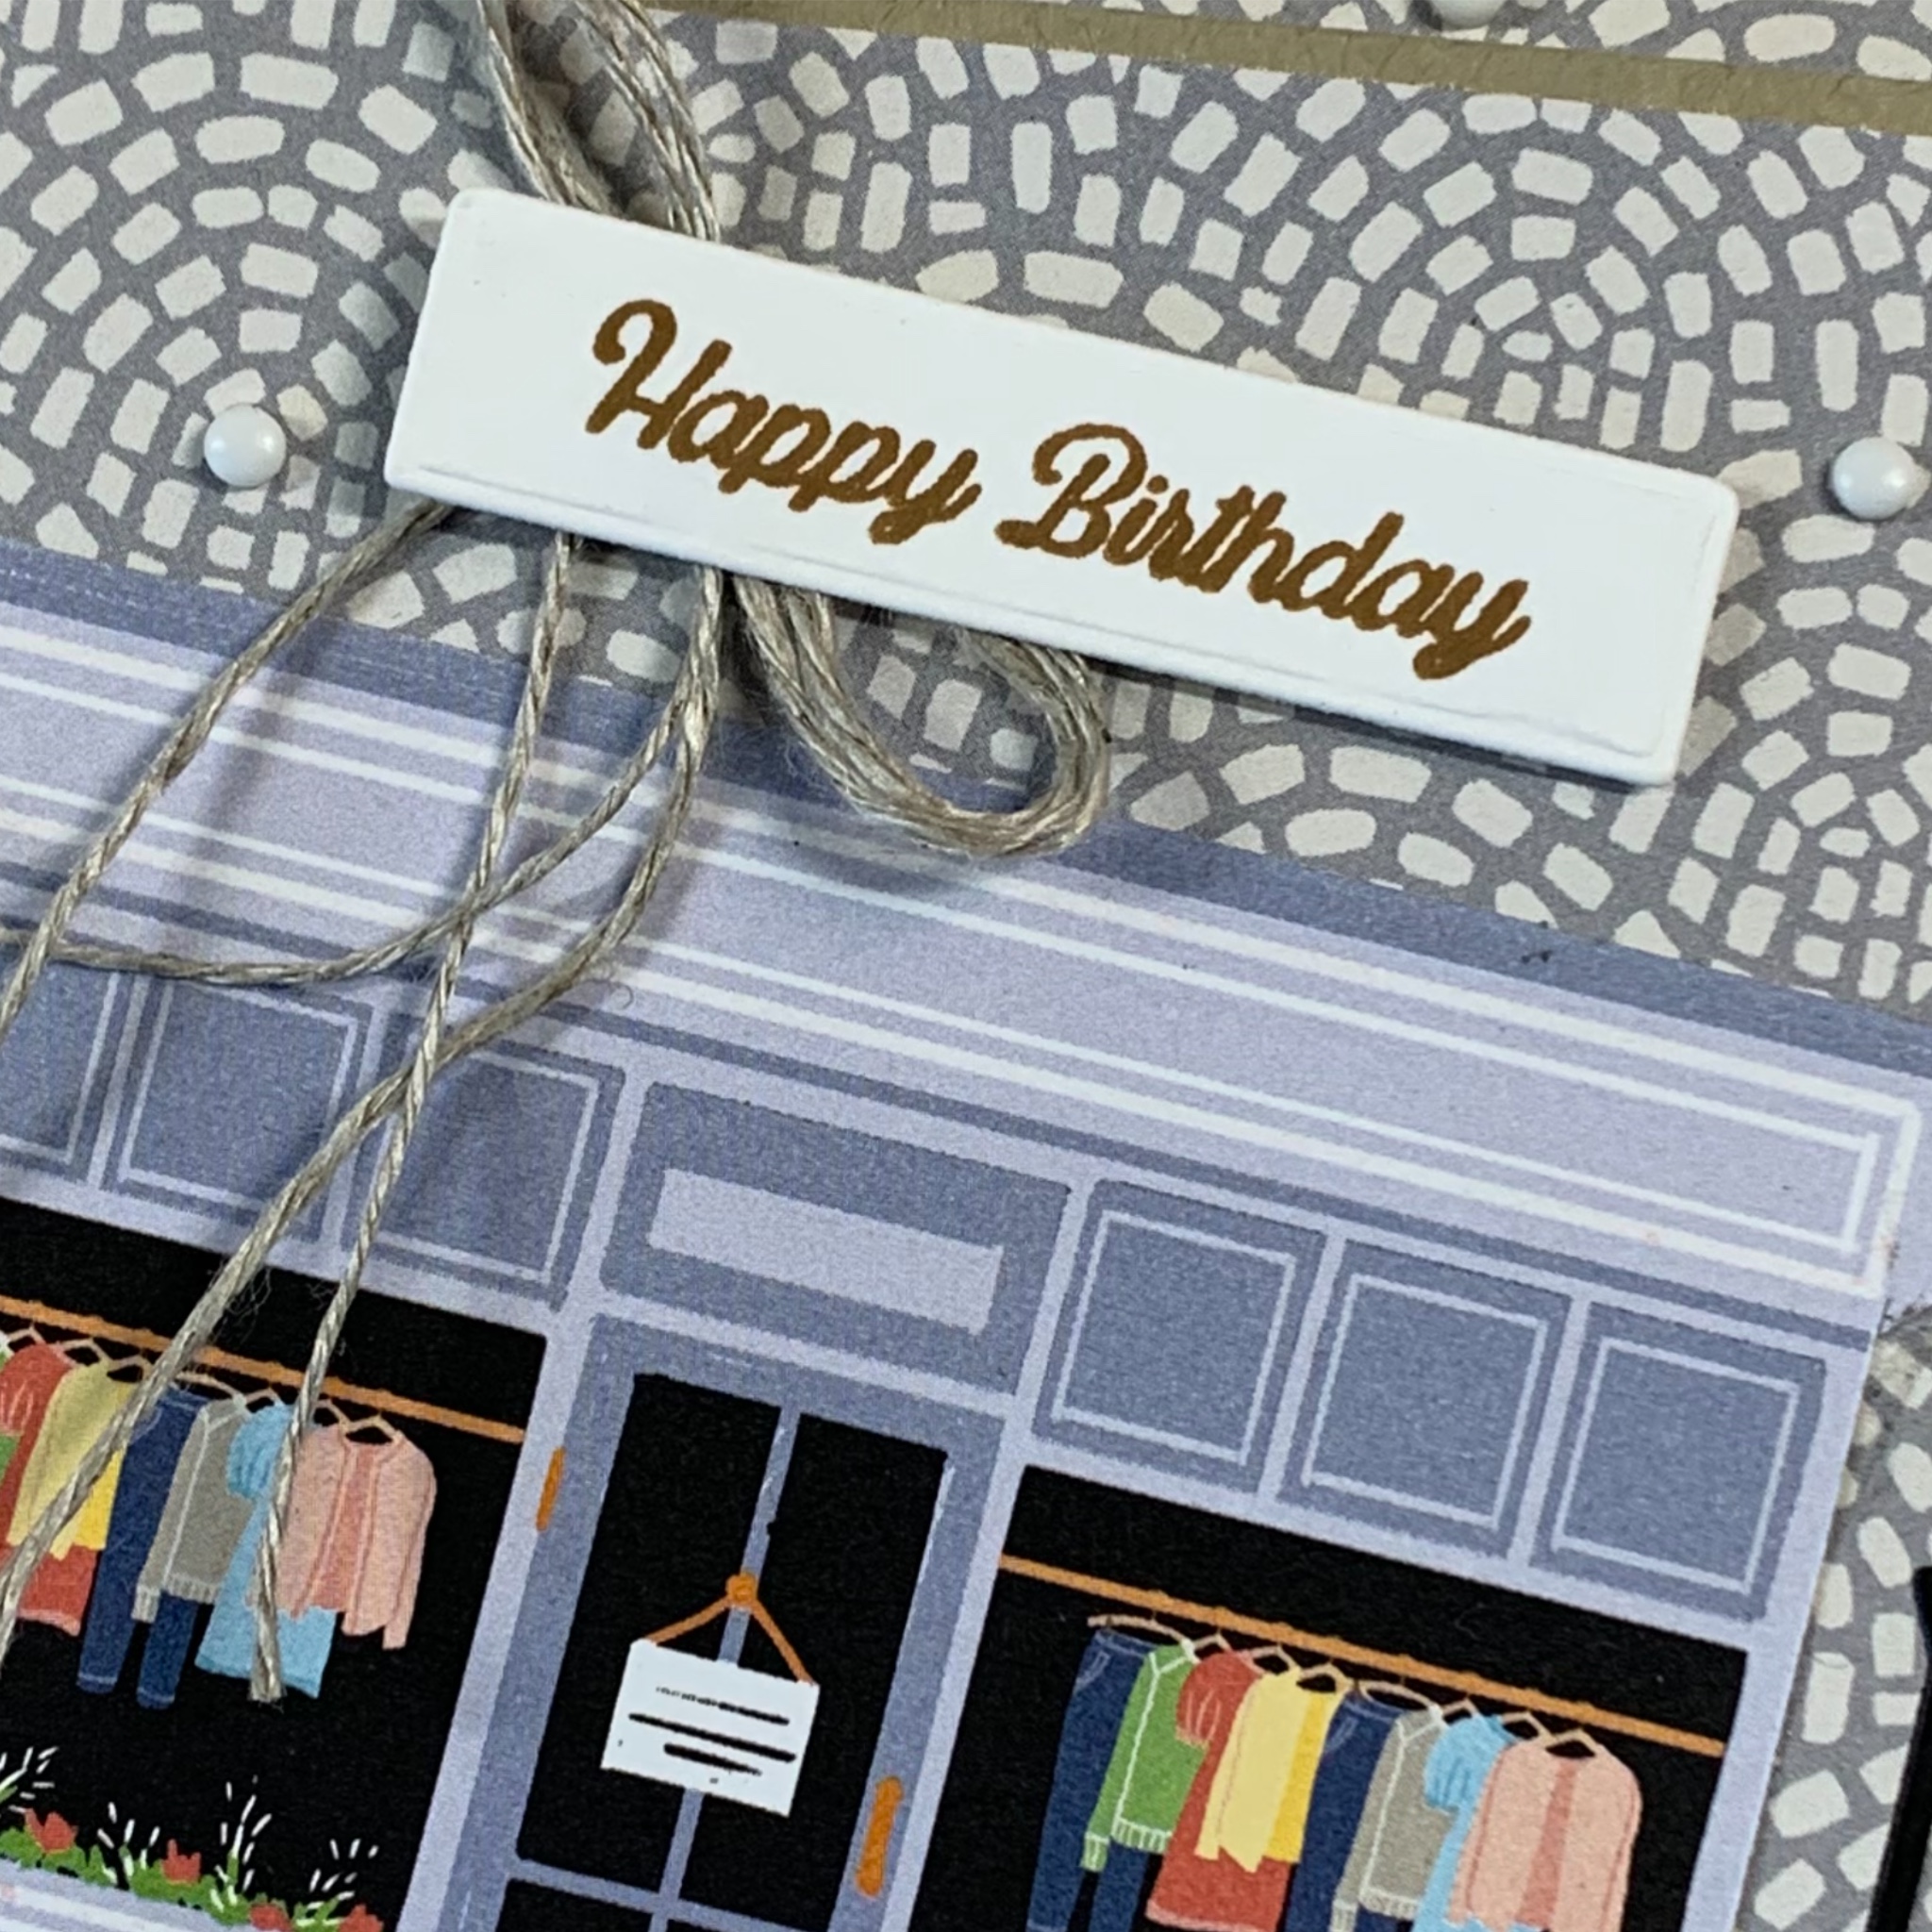
I have been working on some new projects using the new Let’s Go Shopping – Les Shoppes Suite Collection.

The Let’s Go Shopping stamp set, coordinating dies, Designer Series Paper and Loose Silver Sequins make up such an amazing collection of products.

I decided to make an angled trifold card for my first project.

I wanted to show off the Les Shoppes Designer Series Paper and let it do all the hard work.

The only stamping on this card is the birthday greeting on the front and on the giftcard pocket.

To cut the various shop buildings from the DSP I used the new hobby blade, from the Take Your Pick Crafter Tips. I have a metal ruler that made this task so much easier.

The lightpost, potted plant, menu board and park bench were all die cut.

As you open out the card, five different shops are revealed.

On the back of the card there is a Basic White pocket for a message to be written and a space for a giftcard.

To finish the card, I added some Classic Matte Dots throughout the card and a Linen Thread double bow to the front.

I have another card and a 3D gift box to share with you in the next few days.

Until then, happy stamping.

If you live in Australia, you can order any of the products I used to make this card by going to my online store. Just click on any of the images below.

Product List
Paper Snips
[103579]
$19.25
Posted on Leave a comment

Colour INKspiration #146 – Zany Zoo

Welcome back for another Colour INKspiration challenge. This inspiration picture which has inspired our colour palette was chosen by Crew Member, Nicole Wilson. 

Picture credit – https://www.thespruce.com/decorating-with-green-blue-and-purple-350535

As well as the chosen colour combination for #CI146, Berry Burst, Blackberry Bliss, Pretty Peacock and Granny Apple Green, you may also add Basic White, Very Vanilla, Crumb Cake, Basic Black, and metallics to your project. We also allow Ivory, Bronze and Natural Tones in Stampin’ Blends. If you don’t have the colours in our palette, feel free to use the closest Stampin’ Up! substitute – Lemon-Lime Twist for Granny Apple Green for example.

To get your creative ideas flowing make sure you check out the Crew’s Projects in the CI#146 album. https://www.facebook.com/media/set/…

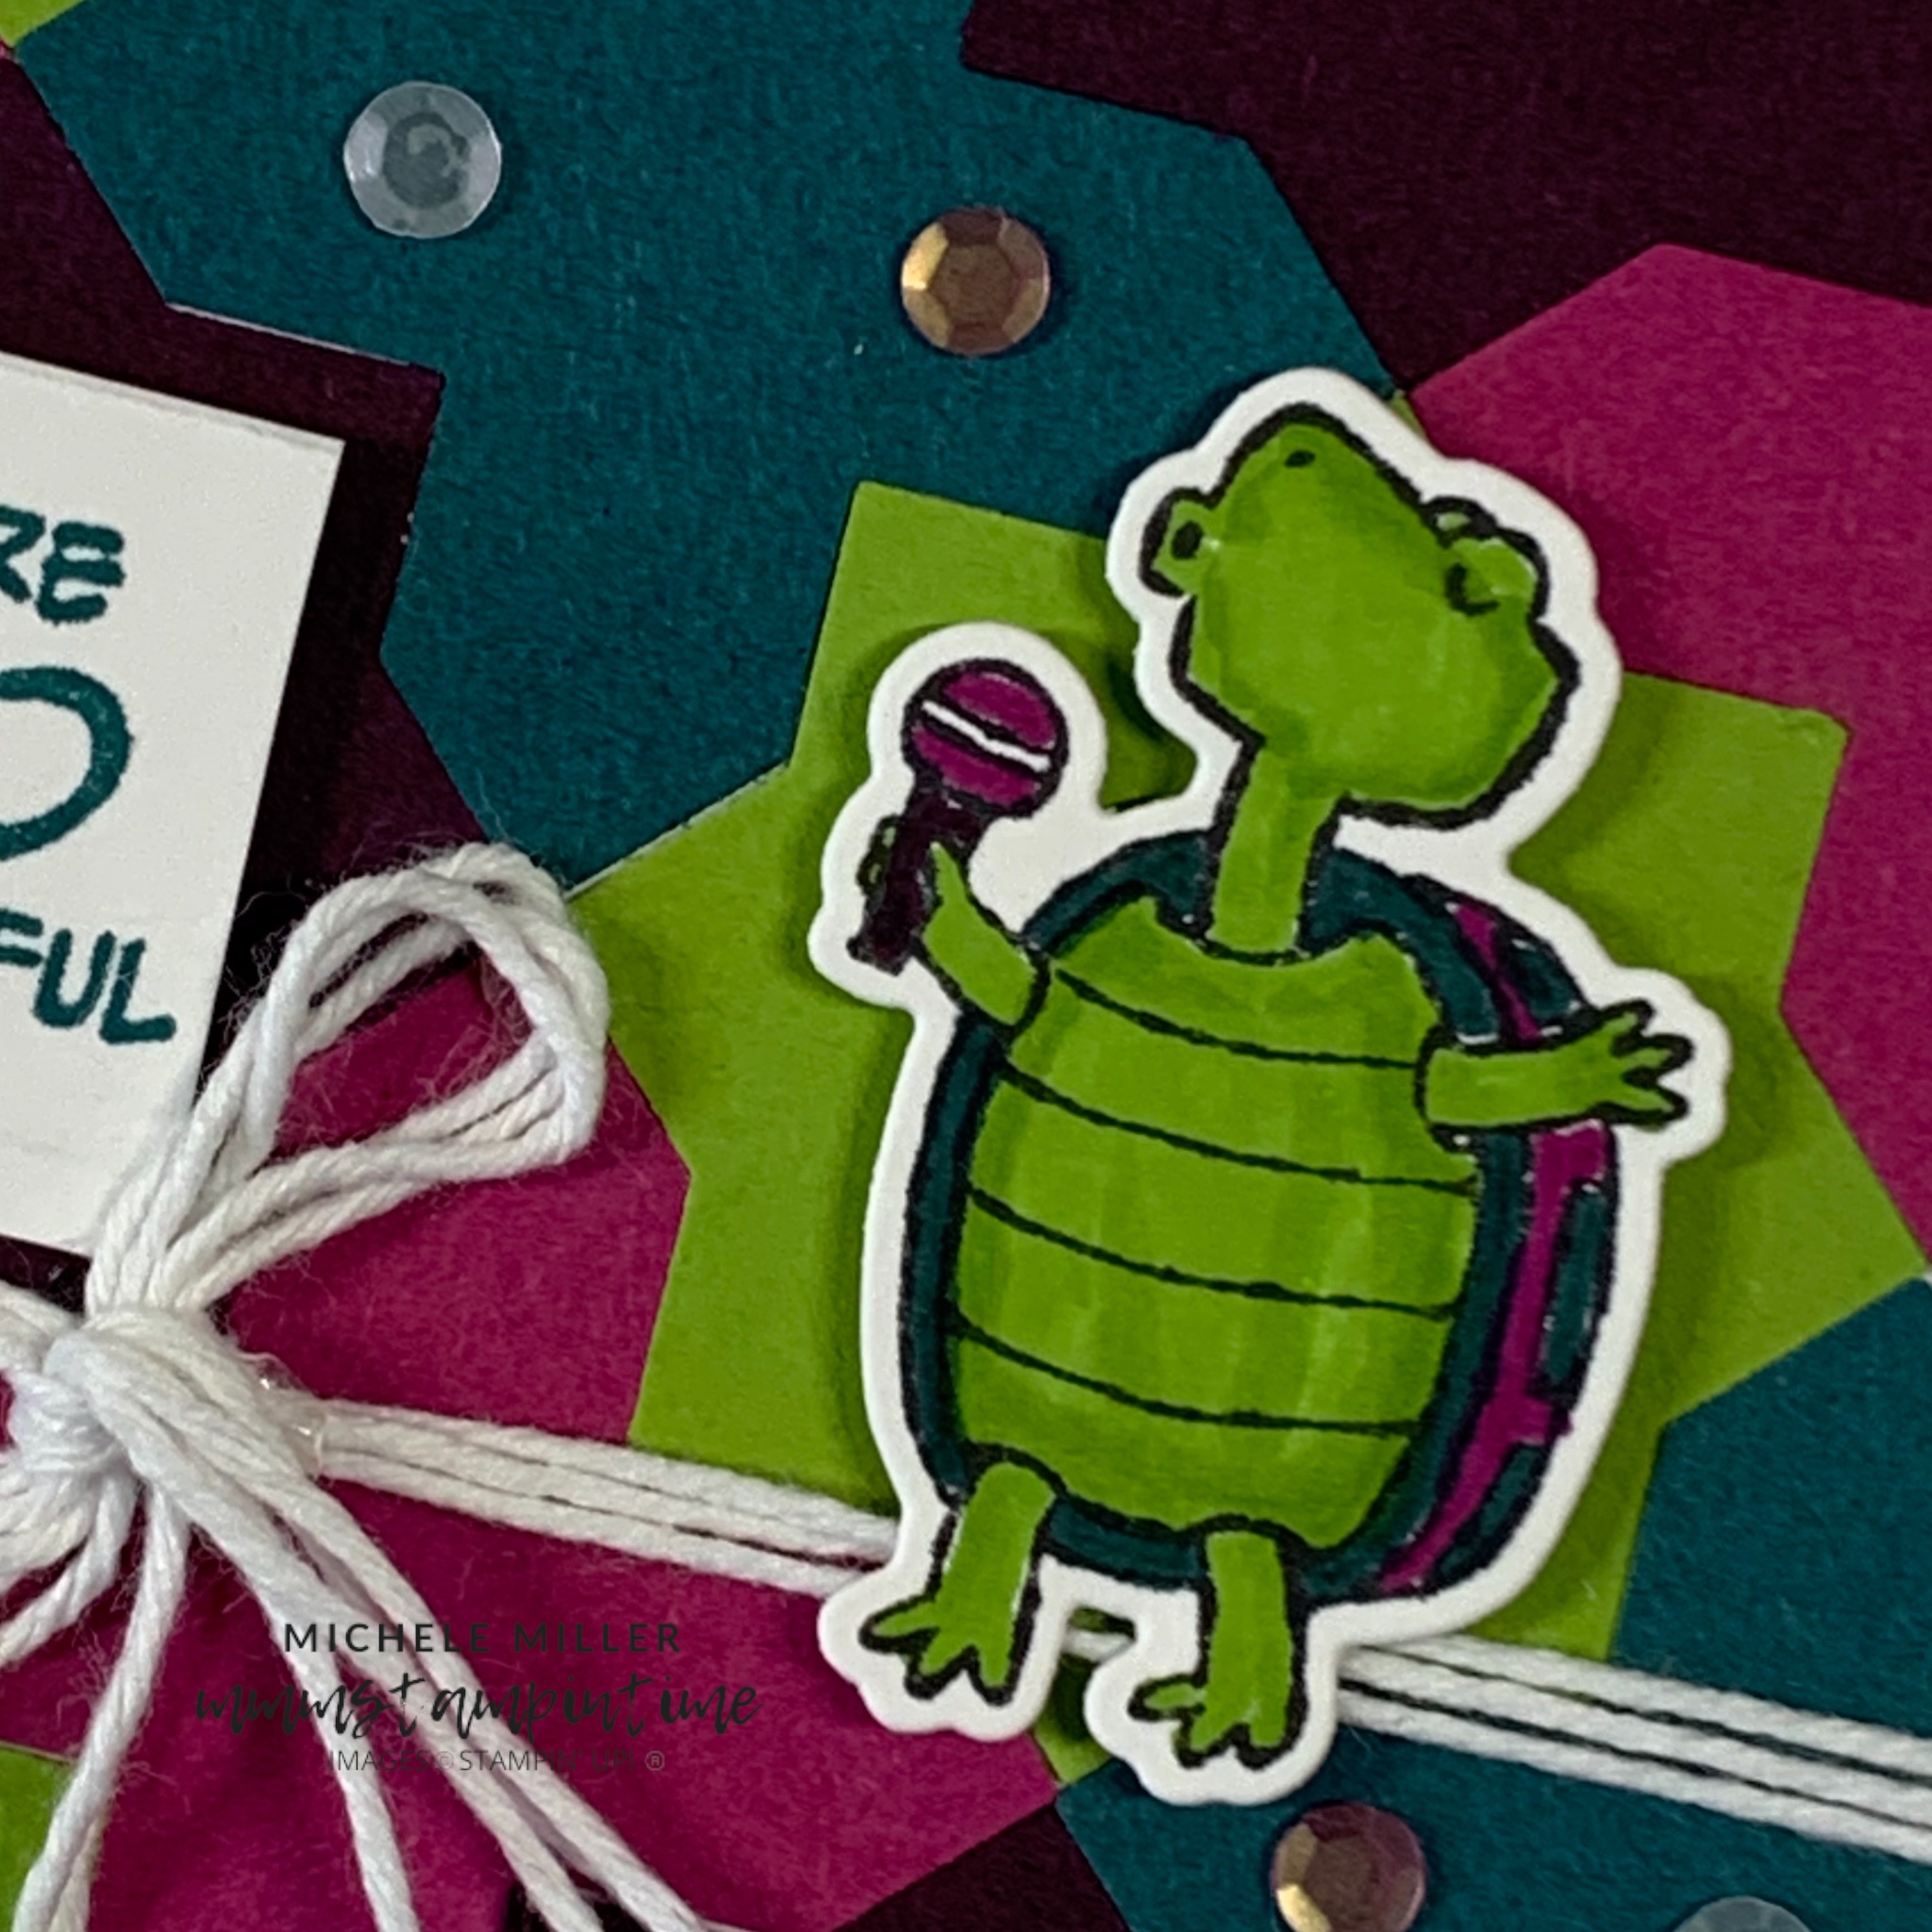
My contribution features the Inked & Tiled Punch Duo and the Zany Zoo Stamp Set.

I started by punching out the background shapes using the new Inked & Tiled Punch Duo and adhering them to a piece of Basic White cardstock. This was then trimmed down to create a symmetrical layer.

After wrapping three lengths of white twine, from the baker’s Twine Essential Pack, around the matte layer; I tied the twine in a bow and used a Mini Glue Dot to secure the bow.

The matte layer was then adhered to the card front.

The singing turtle was stamped and coloured before I used the coordinating die to cut it out. Stampin’ Dimensionals were placed behind the turtle and then placed it on the card front.

Then the sentiment was stamped onto a scrap of Basic White cardstock and then cut into a square to fit inside one of the punched shapes. Dimensionals helped to lift the sentiment up off the card front.

The musical notes were then above and below the sentiment.

The turtle was stamped inside the card and on the envelope.

Finally, I added some of the Adhesive-Backed Sequins Trio to give the card a bit of bling.

By the look of the white twine spool, I need to place an order soon.

This post is a day late because Rob and I just returned home from four days away at Tamborine Mountain. We celebrated our 38th wedding anniversary a few days before our get away. It was so lovely to enjoy the beautiful scenery and walks.

I’m not sure what I’ll share next – but it will be soon.

Until then, happy stamping.

If you live in Australia, you can order any of the products I used to make this card by going to my online store. Just click on any of the images below.

Product List
Paper Snips
[103579]
$19.25
Posted on Leave a comment

TIME FOR SOME GIFT TAGS

When I saw the large hourglass dies, in the Time Together Dies set, I immediately wanted to use them to make some gift tags.

To make them, I started with a piece of cardstock 8 1/4″ x 3 3/4″.

The cardstock was folded in half and burnished, using a bone folder, to create a crisp edge.

The die was positioned on the cardstock, with the folded edge sitting just inside top of the die – avoiding the cutting area of the die. The card was secured with a piece of Post-it strip.

The die and cardstock was then run through the Mini Stampin’ Cut & Emboss Machine.

By avoiding the cutting edge at one end, the result is two hourglass frames joined and ready to create a gift tag.

I made three gift tags; one each in Boho Blue, Bubble Bath and Parakeet Party.

The ‘glass’ shapes were stamped in their coordination colours and then die cut. These were then adhered to the front and back frame panels.

The birthday greetings were stamped, die cut and adhered to the front of the gift tag.

I used coordinating ribbons to create a tag attachment.

Finally, coordinating gems from the Tinsel Gems Three-Pack and Four-Pack were used, as well as some retired pink sequins.

When opened, there is space inside each tag to write a message to the gift recipient.

Today I am joining some demonstrator friends for Stampin’ Ups! Creativity Now event. Then I will be away for a week, enjoying a relaxing time at Mt Tamborine.

I’ll be back soon wtih some more projects to share with you.

Until then, happy stamping.

If you live in Australia, you can order any of the products I used to make this card by going to my online store. Just click on any of the images below.

Product List
Paper Snips
[103579]
$19.25