Posted on Leave a comment

FLOATING CIRCLE BIRTHDAY CARD WITH ZANY ZOO CREATURES

There is an amazing US Stampin’ Up! demonstrator who is celebrating her birthday this month and I have created a card to send to her.

If you can guess who she is, then message me and I might send you a card as well.

She loves riding her bike and lives close to too many ‘gators for my liking.

This is the card I created … and, it is the mail now.

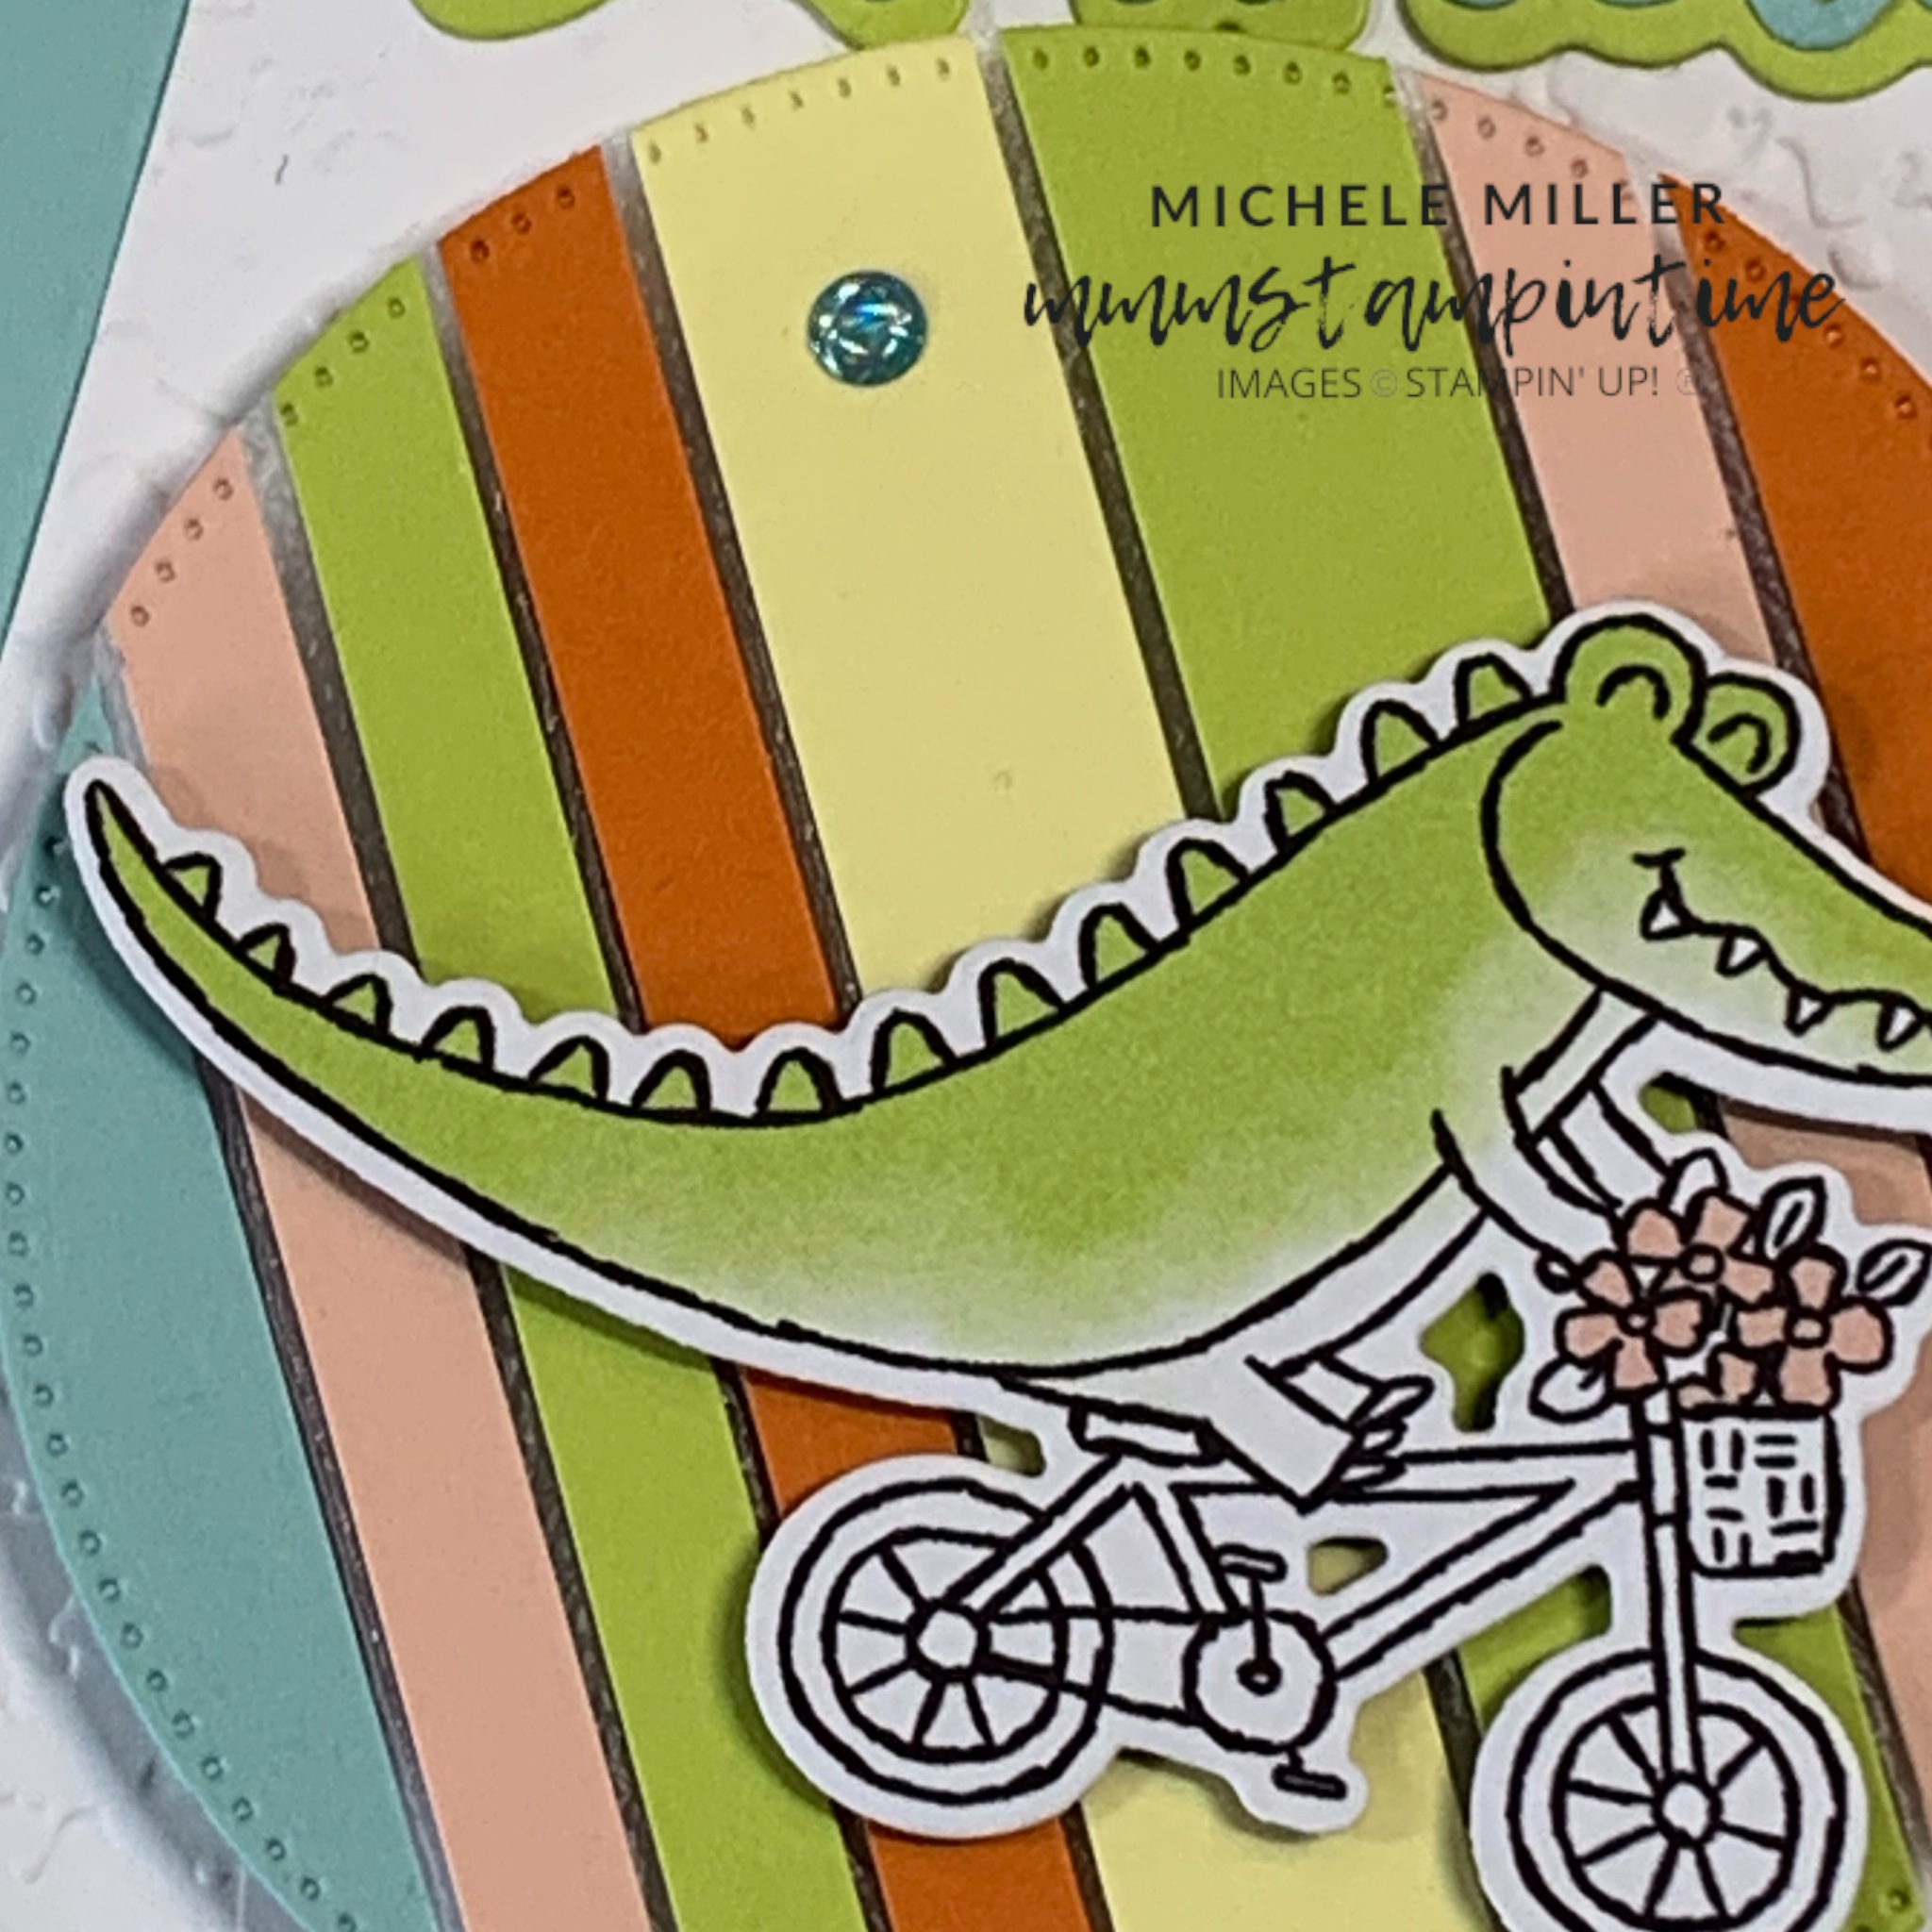
I used the Zany Zoo Dies to cut the ‘gator from the Zoo Crew Designer Series Paper.

For the floating circle background, I added 1/4″ and 1/2″ strips of cardstock to a piece of Glad Press and Seal. Then I used the largest of the circles from the Stylish Shapes Dies to cut this layer.

I attached Foam Adhesive Strips to the back of this layer so that it would sit up from the Splatters Embossed basic white panel. Then I added the cycling ‘gator to floating strips circle.

The birthday greeting is from the Wanted to Say Dies. I used Adhesive Sheets to attach the sentiment layers to the card front … I have used these dies for all of the projects I’m sharing today.

To finish the card, I added some Glossy Dots for that little bit of bling.

The ‘gator was added to the card insert and the back of the envelope.

I adore all the critters in the Zany Zoo Stamp Set and the Zoo Crew Designer Series Paper. Many can be die cut but the rest need a little fussy cutting.

This is my next card.

This banner elephant is from the DSP and needed some fussy cutting. I added the same fussy cut elephant to the card insert and envelope flap.

The floating strips circle was made in the same way – just using a different colour combination.

I used the same Glossy Dots on this card.

This next card features the fussy cut hippo in a tutu, with some balloons that were attached to the racoon.

This card has balloons, cut from the Zany Zoo Dies, added to the card insert and on the back of the envelope.

All the cards, that are part of this project, have a Basic White panel that has been embossed with the Splatters 3D Embossing Folder.

The final project in this series is an exploding gift box.

I decided to make it to showcase as many of the Zany Zoo creatures that I could … and hold a gift voucher for the recipient.

Here it is!

The box measures 4″ x 4″ x 4″. The floating circle was made in the same way as described before. While the racoon was die cut, the hippo and dog were fussy cut.

I used the same Glossy Dots on this 3D project.

These are the external parts of the gift box. I used Subtles 6″x 6″ DSP for these panels before adding lots of creatures from the DSP.

Inside the explosion gift box, I added a gift card pocket in the centre. The bear was fussy cut from the DSP before being adhered to the gift card pocket. I cut away the balloons from the die cut racoon to add to the bear’s paw.

Each of the four internal panels had panels of DSP that were coloured using Lemon Lime Twist and Lemon Lolly Stampin’ Blends.

Four projects, with one of them for a very talented colleague in the US. I hope she likes it.

Until next time, happy stamping.

If you live in Australia, you can order any of the products I used to make this card by going to my online store. Just click on any of the images below.

Product List
Paper Snips
[103579]
$19.25
Posted on Leave a comment

FRESH AS A DAISY

My youngest daughter recently asked me to make two birthday cards. One was for a young woman who likes daisies and the other for an older man, with a passion for motorcycles.

This was the card I made featuring daisies.

I used the Fresh as a Daisy Suite Collection, as well as the Wanted to Say Dies.

The slimline card has a Copper Clay base with a panel of Fresh as a Daisy Designer Series Paper. Before the DSP was attached to the card base, I secured and wrapped some Copper Clay Textured Ribbon and ties a knot and trimmed it.

Then I stamped and die cut a number different sized daisy images to attach to the card front.

The birthday greeting is from the Wanted to Say Dies. Using Adhesive Sheets makes it so easy to layer and secure the two larts of the sentiment.

Then I decided to make another daisy inspired card.

This time, the featured colours are Lemon Lolly and Soft Sea Foam.

I used one of the Around the Bend Dies to cut the Soft Sea Foam panel. Before attaching it to the Lemon Lolly card base, I tied a bow in a length of Lemon Lolly Sheer Ribbon and wrapped it around the panel.

Each of the Cheerful Daisy images were stamped using Versamark and white embossing powder. I used my Heat Tool to set the embossing powder. They were then cut using the Cheerful Daisies Dies.

I used Blending Brushes to apply Lemon Lolly ink to the daisies and Soft Sea Foam to the die cut leaves.

The birthday greeting and coordinating die are from the same Cheerful Daisies Bundle.

To finish the card I added some Adhesive-Backed Sparkle Gems.

Tomorrow I have a card that uses the Gone Fishing Dies in a VERY different way.

Until then, happy stamping.

If you live in Australia, you can order any of the products I used to make this card by going to my online store. Just click on any of the images below.

Product List
Heat Tool
[129056]
$54.00
Paper Snips
[103579]
$19.25
Posted on Leave a comment

A RUSTY OLD BIRTHDAY GREETING

Thank goodness I was able to order the Trucking Along Bundle. There have been many amazing projects to see online.

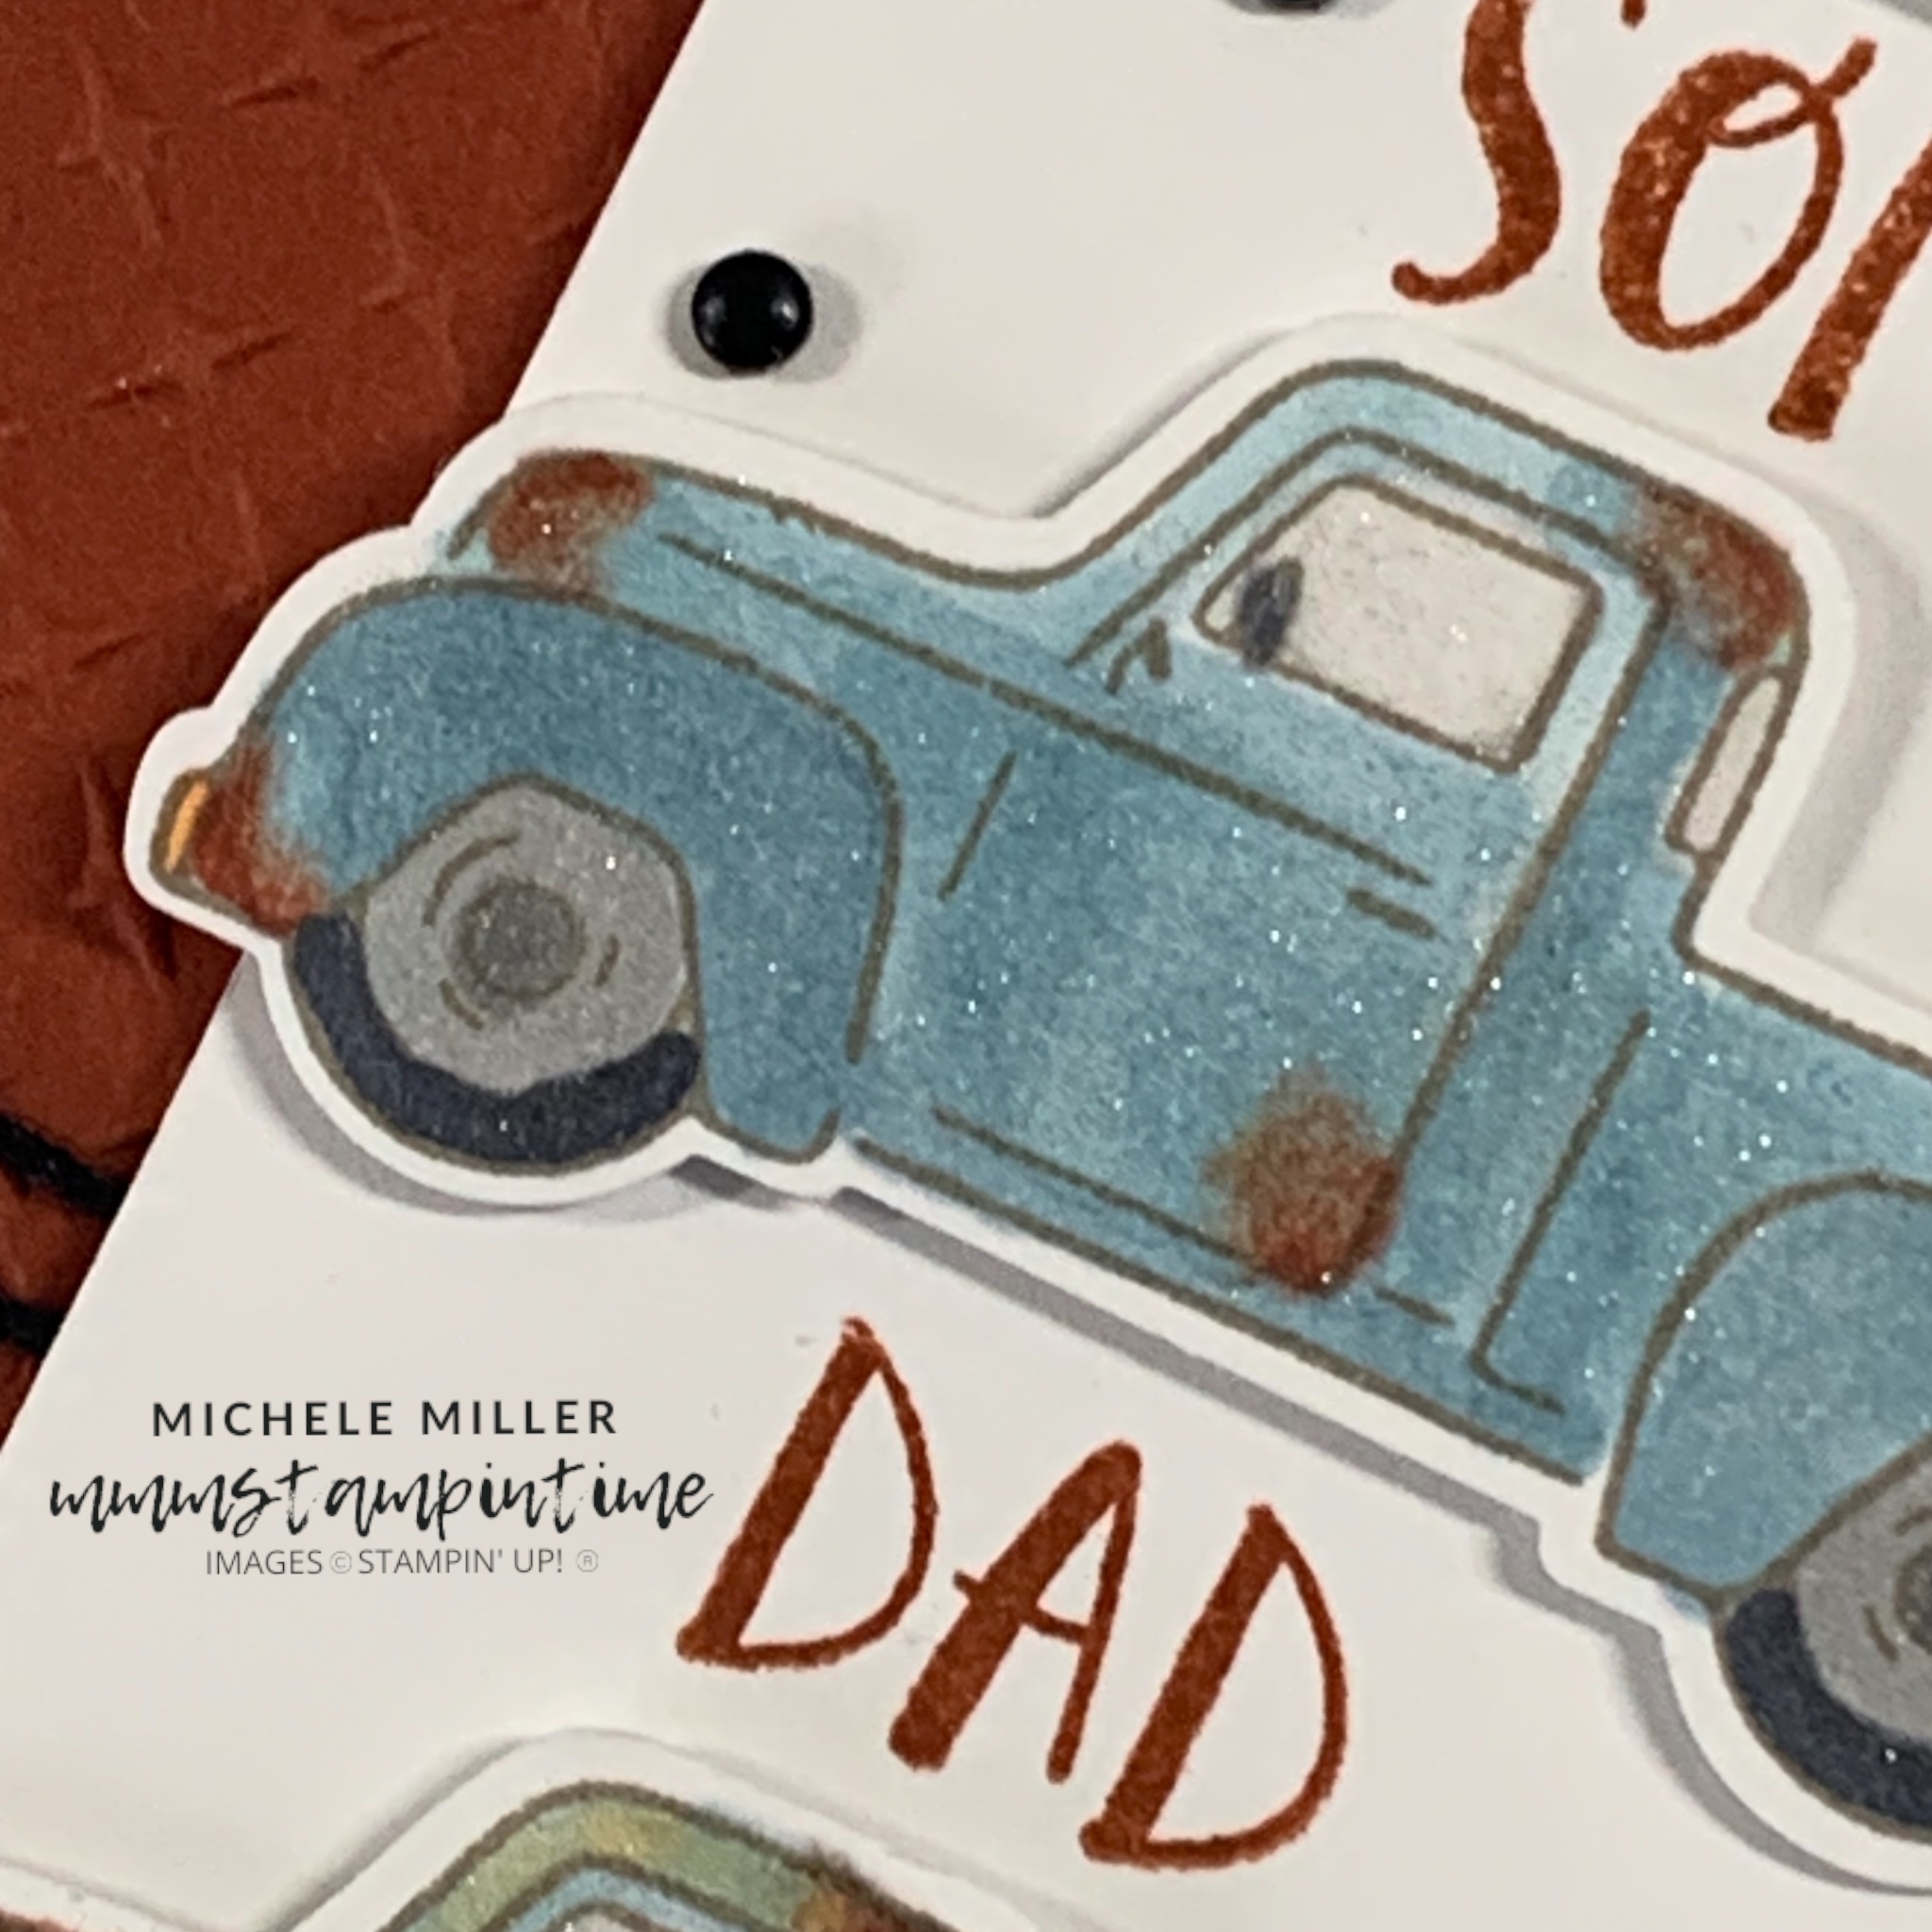
For me, I was immediately drawn to the idea of creating three of the trucks in varying states of decline.

I always like a stamp set and punch bundle. It is great value for customers.

This punch has a 1/2″ circle that could be used for so many other projects!

This is a birthday card that suits three different recipients – a son, a father and a grandfather.

I started by stamping and colouring the three trucks (utes in Australia). The colours used were Balmy Blue, Cajun Craze and Pumpkin Pie, as well as Gray Granite, Smoky Slate, SU100, SU800 and Colour Lifter. The trucks were then painted using a Clear Wink of Stella.

After colouring and punching out the trucks, I worked on the card base and layers.

As you can see I used a Balmy Blue card base and a Basic Black layer. The Cajun Craze layer was embossed using the Metal Plate 3D Embossing Folder.

I wrapped a length of black twine, from the Baker’s Twine Essentials Pack, around the black and cajun craze layers and tied in a know and trimmed.

I cut a 2″ wide strip of Thick Basic White cardstock and stamped Son, Dad and Grandpa on it, from the Best Family Ever stamp set. The trucks were then postioned on the white strip using Stampin’ Dimensionals to pop them up.

The Basic White strip also had dimensionals attached before popping it up on the card front.

The ‘happy birthday’, from the same stamp set, was stamped and cut. After adding some Dimensionals I added it to the front of the card.

Finally, I added a number of black dots from the Classic Matte Dots collection.

The card insert and envelope flap each had the truck stamped on them.

I can’t wait to keep playing with this bundle!

I have a new Cheerful Daisies card to share – tomorrow or the day after.

Until then, happy stamping.

If you live in Australia, you can order any of the products I used to make this card by going to my online store. Just click on any of the images below.

Product List
Paper Snips
[103579]
$19.25