Posted on Leave a comment

ONSTAGE HERE I COME … BUT FIRST MY GLOBAL DESIGN PROJECT CHALLENGE CARD

I always wake up early when I am about to set off on an adventure. This morning was no different. I was at my crafting desk at 3.30 working on my #GDP436 project.

This week’s challenge is a CASE project.

I decided to use the Taco Fiesta Stamp Set.

I wanted to create a bright and whimsical card for this design challenge.

After lots of stamping, colouring and fussy cutting, I was able to fill the front of the card with a feast of Mexican flavours.

The Gorgeously Made Dies allowed me to create an interesting edge to the Granny Apple Green central layer.

i stamped the chilli on the card insert and coloured it. The envelope was simply stamped with the chilli.

When I return from OnStage, I will have lots more to share with you.

Until then, happy stamping.

If you live in Australia, you can order any of the products I used to make this card by going to my online store. Just click on any of the images below.

Product List
Paper Snips
[103579]
$19.25
Posted on Leave a comment

Colour INKspiration Challenge #155 – TIMELESS ARRANGEMENTS

Welcome to another Colour INKspiration Challenge.

This inspiration picture which has inspired our colour palette was chosen by Crew Member, Monica Formosa. 

Picture credit – https://musefraisedesbois.tumblr.com/post/90783247152

As well as the chosen colour combination for #CI155, Fresh Freesia, Highland Heather, Gorgeous Grape and Cherry Cobbler, you may also add Basic White, Very Vanilla, Crumb Cake and metallics to your project. We also allow Ivory, Bronze and Natural Tones in Stampin’ Blends. If you don’t have the colours in our palette, feel free to use the closest Stampin’ Up! substitute.

To get your creative ideas flowing make sure you check out the Crew’s Projects in the CI#155 album. 

While I love this photograph – it’s colours and textural features, it was a tough one to decide what to create.

After spending time scanning my stamp sets, dies and embossing folders, I decided on the Timeles Arrangements Bundle and Basics 3D Emossing Folder – Flowers.

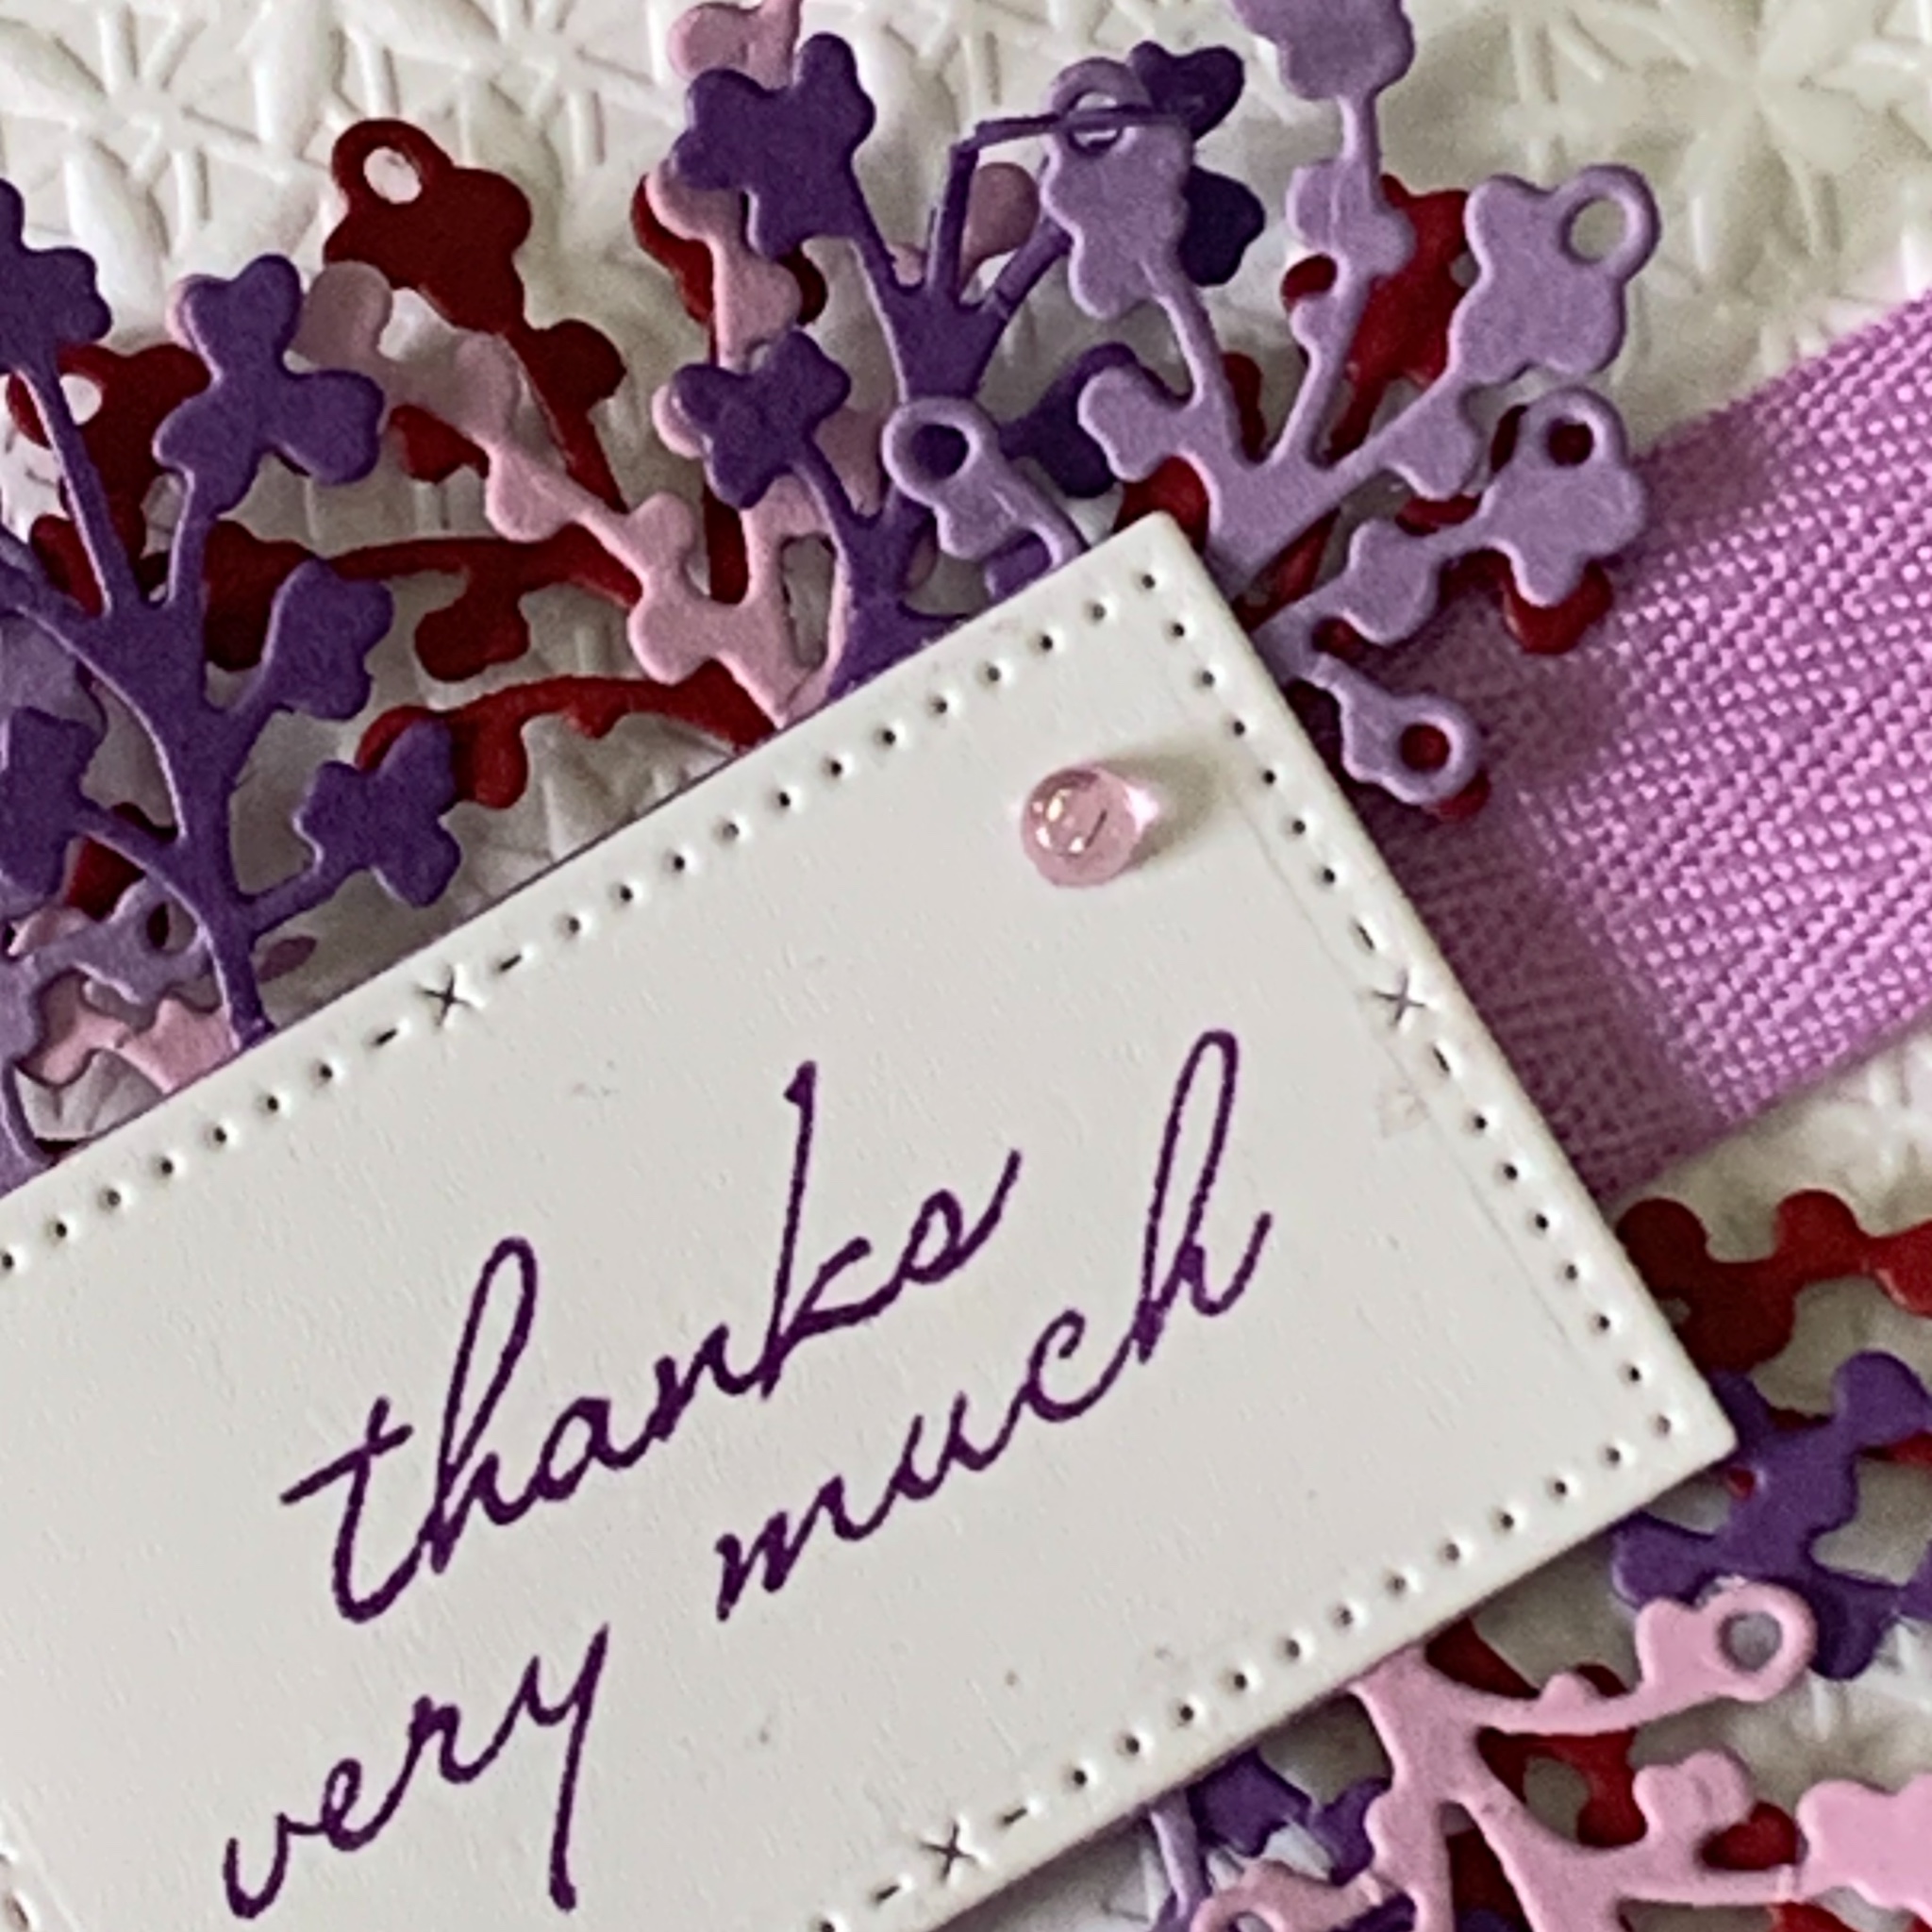
I started with a Fresh Freesia card base and then took a Basic White panel to emboss with the Flowers 3D Basics Embossing Folder.Using the Dark Fresh Freesia Stampin’ Blend pen, I coloured a length of White Herringbone Ribbon. This ribbon was wrapped around the embossed panel and secured with Tear and Tape.

I used the dies you can see above to cut several floral panels and individual flowers, in each of the challenge colours.

They were layered and glued together.

The greeting was stamped in Gorgeous Grape before cutting it using one of the rectangular dies from the Timeless Arrangements Dies.

The layered flowers were then adhered behind the greeting panel. Stampin’ Dimensionals were placed behind the greeting so that it would sit up above the ribbon.

I stamped the trio of small flowers on the card insert and envelope.

Finally, I added several Fresh Freesia embellishments, from the Tinsel Gems 3 Pack, to the card front.

I’m so happy with this card! What do you think?

Until next time, happy stamping.

If you live in Australia, you can order any of the products I used to make this card by going to my online store. Just click on any of the images below.

Product List
Paper Snips
[103579]
$19.25
Posted on Leave a comment

Colour INKspiration #153 – FRAMED FLORET BUNDLE

Welcome to another Colour INKspiration Challenge.

This inspiration picture which has inspired our colour palette was chosen by Crew Member, Vivki Boucher.

Picture credit – https://gabytaangeles.tumblr.com/post/613893814624649216/vintage-books

I decided to break out the Artistic Mix Decorative Masks and my Small Blending Brushes for this project.

I used some strips of Masking Paper to secure the mask to the Basic White layer and left only the three centre spaces open. The colours were blended in the same order as the colours of the books in the inspiration image.

The next step was to attach a length of Moody Mauve Textured Ribbon to the white layer.

Next, I stamped and die cut several of the flowers, buds and leaves, before colouring them with Stampin’ Blends.

When I had finished colouring the floral elements, I attached them to the card front using Mini Glue Dots and Stampin’ Dimensionals.

The sentiment was stamped and then I used one of the label dies from the Autumn Leaves Dies set. It was cut twice to make it narrower.

The finishing touches included stamping the larger flower image on the card insert and envelope. Some Moody Mauve 2023-2025 In Colour Dots added that little bit of bling.

Now it’s time to start thinking of my card for Colour INKspiration #154.

Until then, happy stamping.

If you live in Australia, you can order any of the products I used to make this card by going to my online store. Just click on any of the images below.

Product List
Paper Snips
[103579]
$19.25