Posted on Leave a comment

WELCOME TO WEDNESDAY

This is the third Wednesday in 2022 and I have finally settled on what each Wednesday will bring.

Week 1 was ‘What’s New Wednesday’ and week 2 was ‘Wonderful Wednesday’. Now, it’s going to simply be called ‘Welcome to Wednesday’. Wednesday will be the day when I share a project I make for the Global Design Project Challenge. I really enjoyed participating in this last year. Each new challenge is posted on Tuesday, so Wednesday is the perfect time to post my creation.

This week’s GDP Challenge #326 is a sketch challenge. If you click on the sketch below, you will be connected to GDP website and will be able to see all of the projects created by the design team.

I love sketch challenges because they provide so many ways to interpret them and opportunities to create something original.

This week, on my blog, I am featuring the Artfully Composed Suite. For this challenge I am using the Artfully Composed 12″x 12″ Designer Series Paper.

I also decided to introduce another new 2022 January – June Mini Catalogue product bundle and use it for this project: the Love & Happiness Bundle.

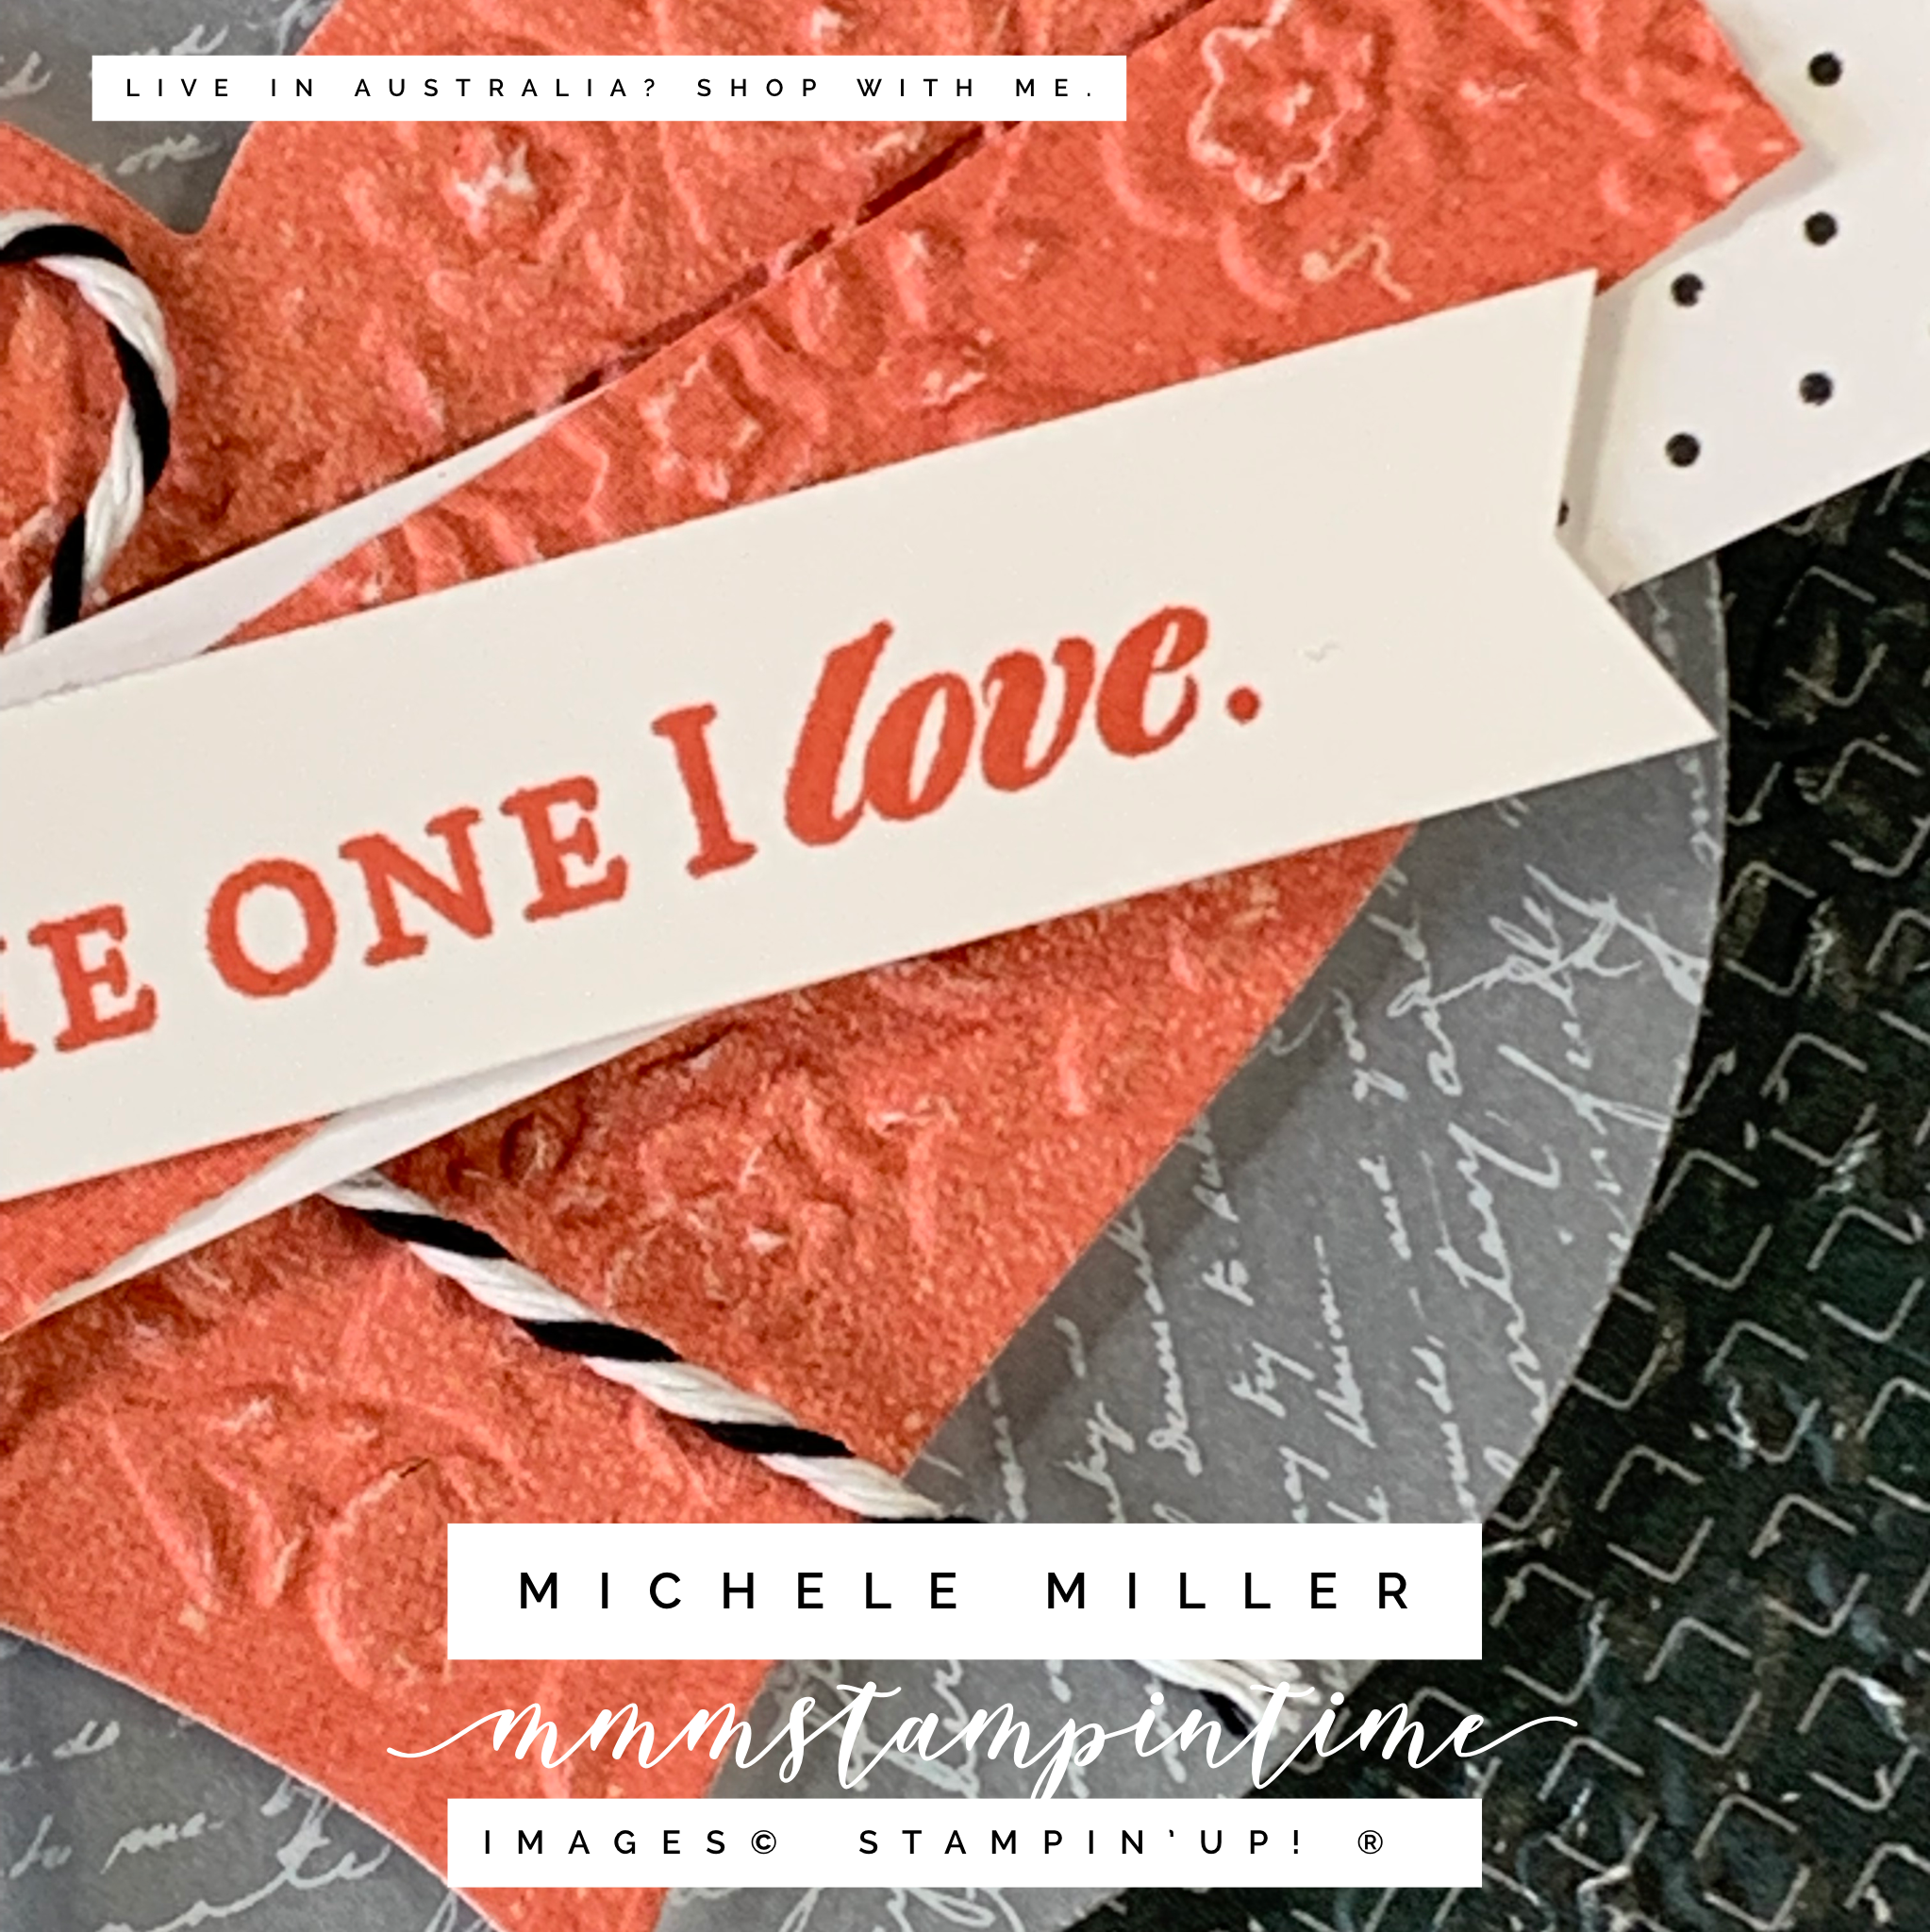
The Basic White card base was the perfect backgound for the Evening Evergreen piece of DSP. This layer was embossed with the Bouquet of Love Hybrid Embossing Folder. This panel was then adhered to the card base.

The same folder and heart die were used to cut and emboss the Calypso Coral DSP piece for the centre of the card front.

I used the largest circle from the Layering Circles Dies to cut a piece of Vellum 12″x 12″ Layering Designs paper.

The embossed and die cut heart was centred on the vellum circle using Stampin’ Dimensionals. The vellum then had a double layer of Stampin’ Dimensionals attached to its back before being placed on the embossed DSP layer.

The sentiment, from the Love & Happiness Stamp Set was stamped, using Calypso Coral, onto a 1/2″ strip of Basic White cardstock. Then I used the Banners Pick a Punch to create the banner ends of this piece.

I used a 1/2″ strip of the embossed Calypso Coral cardstock and a 5/8″ strip of the dots DSP to create the sentiment bundle.

I tied a simple bow, using the black and white baker’s twine from the Playful Pets TRim Combo Pack, and attached it to the back of the sentiment bundle.

To finish the card I added three of the small white dots from the Classic Matte Dots embellishments.

The Hybrid Embossing Folders are an amazing new product option created by Stampin’ Up!©. To be able to emboss and die cut at the same time is inspirational.

Today, I have only used the Designer Series Paper from this week’s product suite focus. Each Wednesday will be different – the GDP challenge will determine how many products from the weekly focus I will be able to use.

I would love you to let me know what you think of the way my Wednesdays will look like for the rest of the year.

Tomorrow is Thursday and it is 3D Thursday.

Until tomorrow, happy stamping.

If you live in Australia, you can order any of the products I used to make this card by going to my online store. Just click on any of the images below.

Product List
Paper Snips
[103579]
$17.00
Posted on Leave a comment

IT’S TIME TO ECLIPSE TECHNIQUE TUESDAY

Tuesday = time to showcase a cardmaking or stamping technique. Today I want to share some ideas for using the ECLIPSE TECHNIQUE. There are several ways that you can use this technique.

Let me show you two and then I will describe a few others.

I am still featuring the Artfully Composed 12″x 12″ Designer Series Paper, as well as the Artfully Layered Bundle.

There are two DSP layers adhered to the Pale Papaya card base.

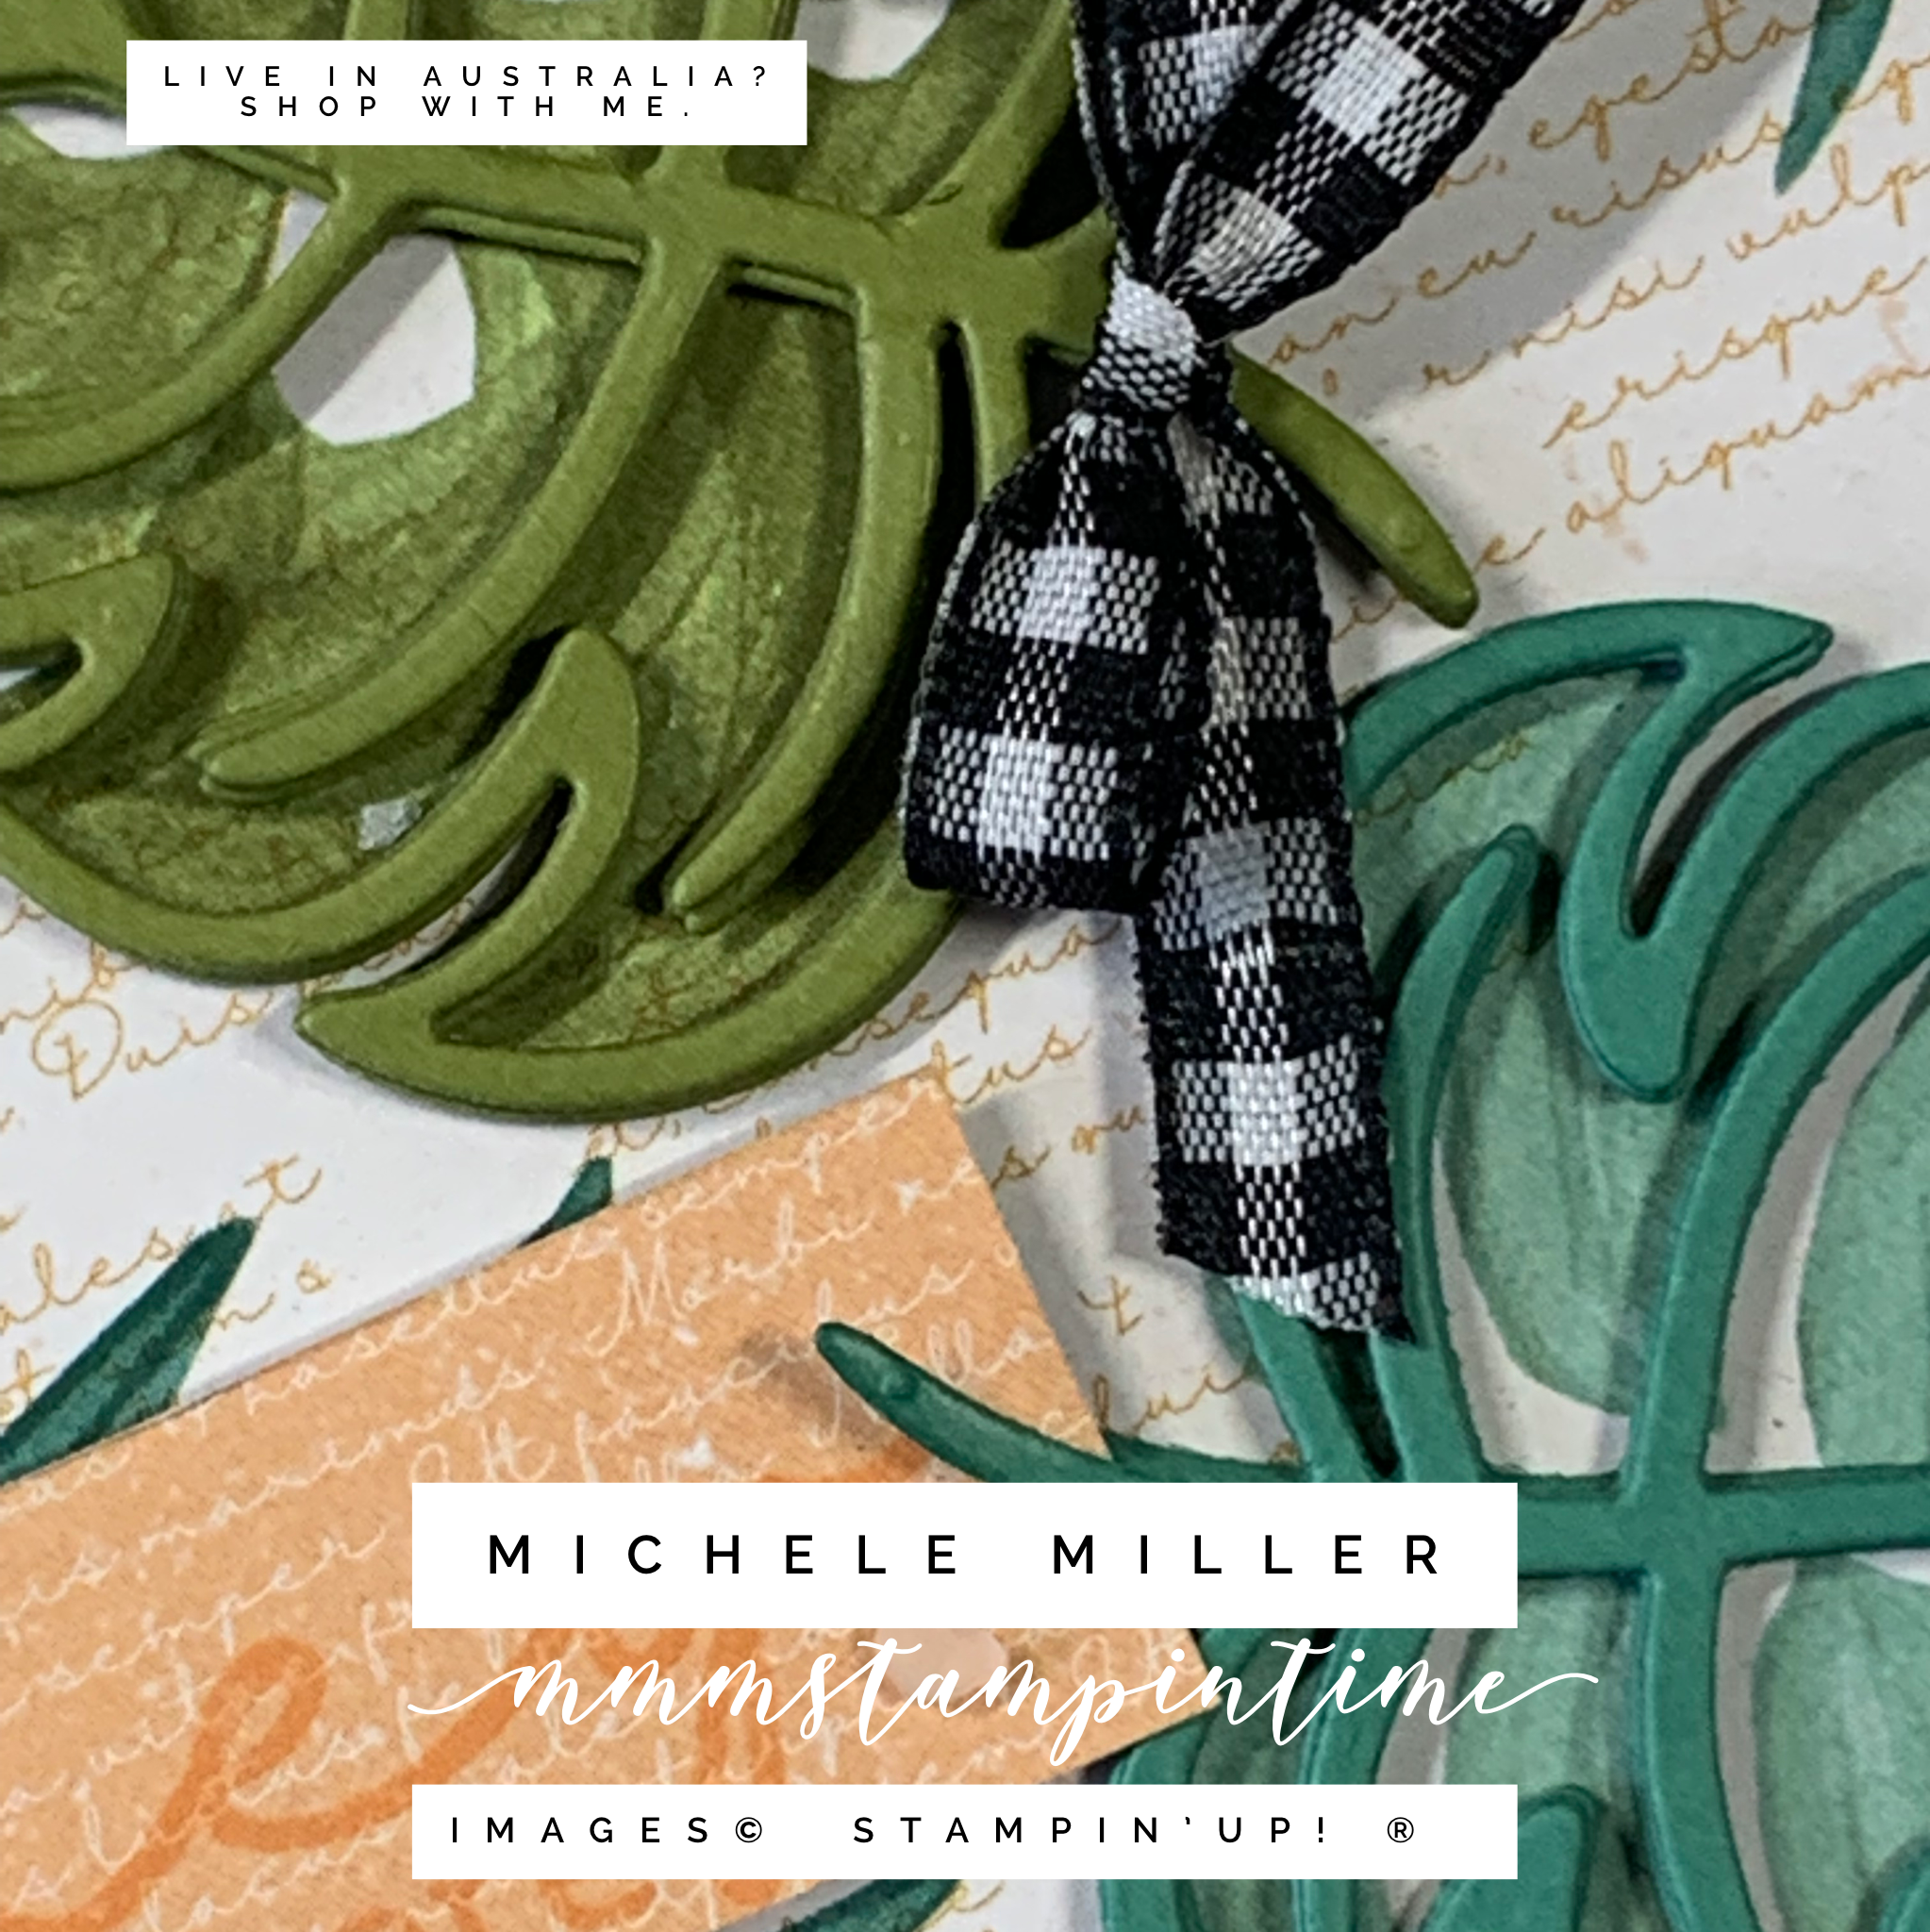
After attaching Adhesive Sheets to 3″ strips of Just Jade and Pear Pizzazz cardstock, I cut five of the leaf outline shapes. Then I removed the backing from the Adhesive Sheet and layered each of the shapes, one on top of the other. After removing the backing from the base layer, I positioned each of the die cut bundles over the corresponding DSP leaves.

The card insert and envelope have a strip of the DSP, used for the sentiment, attached.

I stamped the sentiment, from the Artfully Layered Stamp Set, onto a piece of the DSP. Then the DSP was trimmed down and had Stampin’ Dimensionals added so that it could be popped up on the card front.

A bow tied, using the Black & White Gingham Ribbon, and attached to the front of the card.

Finally, I added some Faux Sea Glass Shapes to the card.

This Eclipse Card used a die cut shape. The next card uses a die cut word (script) to overlay.

I started, this card, by die cutting the “just want to say” space on this Calypso Coral DSP piece. Then I adhered it to the Calypso Coral cardstock base. I kept the ‘inserts’ from the j (just), a (want), o (to), s (say) and y (say) to use as infills.

Adhesive Sheets were attached to the back of the leaf and floral DSP you can see. The same text die was used to cut the words. I carefully inserted each of the words in the spaces on the DSP layer. Then I used the infill pieces to complete the effect.

This is very close to being a reverse eclipse technique.

After attaching Adhesive Sheets to Calypso Coral cardstock, I cut ‘thanks’ five times. The ‘thanks’ comes from the new Amazing Thanks Dies. The top layer of the eclipse word was cut using the same design from the DSP. Each of the layers were stacked and the Adhesive Sheets did exactly what I wanted them to do.

I used the same leaf outline die that I did for the first card. The adhesive sheet-backed DSP was cut three times to provide the three shapes added to the card front.

The card insert and envelope have the leaf outline ‘cut aways’ added to decorate these areas of the card.

Finally, I added three of the small white embellishments from the new Classic Matte Dots.

(As an aftertought, I think that I would add more layers to the ‘just want to say’ and eclipse more of the card.)

What do think of these two versions of the eclipse technique?

Did you know that you can also use individual letter dies, layer lots of different coloured cardstock or a background die to create other styles of Eclipse Cards?

What do you think about this technique? Have you tried it before?

It is a week until my next Technique Tuesday post. Make sure that you let me know if there is a technique you want me to share.

Tomorrow is Wednesday and I am still working on what this day will be. So far I have tried ‘What’s New on Wednesday’ and ‘Wonderful Wednesday’. I’m not sure that I have this day locked down yet – it is definitely still being refined – stay tuned.

So until tomorrow – and, what it brings, happy stamping.

If you live in Australia, you can order any of the products I used to make this card by going to my online store. Just click on any of the images below.

Product List
Paper Snips
[103579]
$17.00
Posted on Leave a comment

MORE MEMORIES on MONDAY

For my scrapbooking pages today I went in search of some beachside photos because my background paper is from the Artfully Composed 12″x 12″ Designer Series Paper. The paper I’ve chosen is the second from the right, on the top row.

ARTFULLY COMPOSED 12" X 12" (30.5 X 30.5 CM) DESIGNER SERIES PAPER

Rob and I visited Sydney in April, 2018. The main reason we were there was because April Stampin’ Up!© On Stage event was being held at Luna Park. We stayed in an Air BnB in Kirribilli and it was a lovely, short walk from the venue. Rob did some of his own exploring while I attended the event.

We also spent a few extra days visiting some places we haven’t been to before.

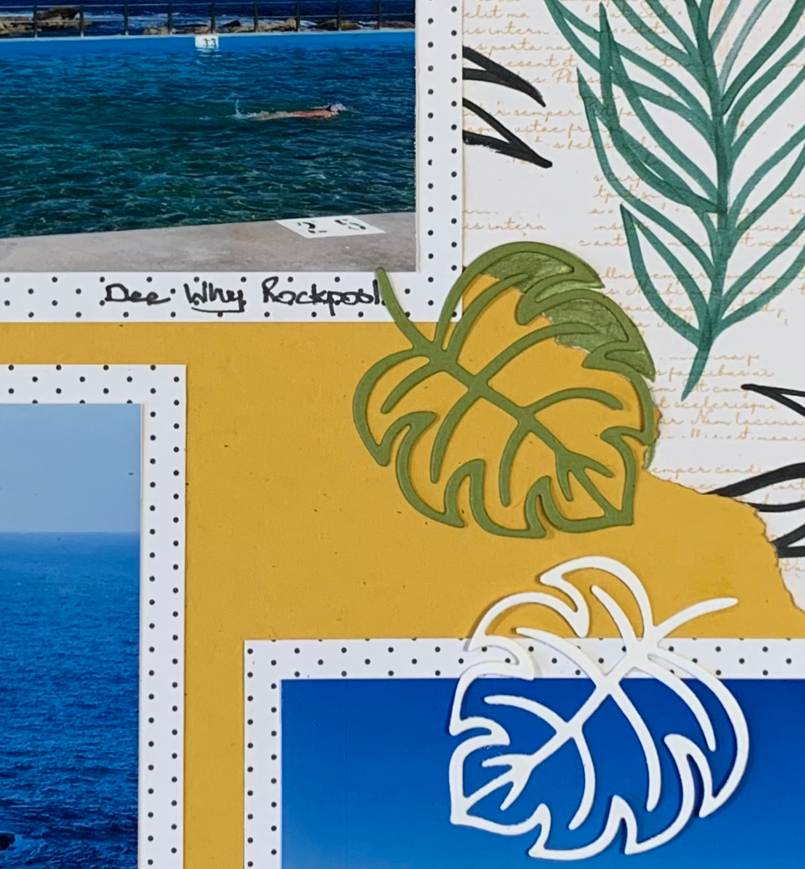
The 12″x 12″ Bumblebee cardstock was a perfect match for the colour of the deck of the Manly Ferry – and, it is one of the colours in the chosen Designer Series Paper. I tore the DSP roughly across at the diagonal.

Each of the photos was adhered to a larger piece of the new Vellum Layering Designs as matte layers. I was able to add some brief journalling to the vellum.

The Tropical Layers Dies were used to cut some leaf accents for the page. The solid leaf die cut was also used for some journalling.

Still working on taking a straight photo of scrapbook pages and using straightening tools.

I used the remaining piece of torn DSP on the second page of this layout.

For this page I used the small spots DSP as the matte layer for the photos and journalled under each image.

More of the die cut leaves were added to the page as embellishments.

It is fun scrapbooking again. Each week will be different as I work my way through some of the new 2022 January – June Mini Catalogue and Sale-a-bration Brochure products. I will try to find photos to coordinate with the stamps and Designer Series Paper. If I can’t find the right photos I will just add some ’empty’ photo mattes on the pages.

Tomorrow is Tuesday and that means it’s time to share a technique with you.

Until tomorrow, happy stamping.

If you live in Australia, you can order any of the products I used to make this card by going to my online store. Just click on any of the images below.

Product List
Paper Snips
[103579]
$17.00