Posted on Leave a comment

#SIMPLESTAMPING SATURDAY MERGES WITH SUNDAY’S STEP IT UP

It is now Monday morning and time to share some weekend projects.

I would normally share some #simplestamping projects on Saturday and then have some Step It Up Projects on Sunday.

However, I spent Saturday at a Stampin’ Up! Team Training Event with the Paper Angels. My task was to share projects, tips and techniques using the Waves of the Ocean Collection. Then Sunday was time to pack things away and make my weekend projects.

Here are the #simplestamping projects.

This first card is so quick and easy. I used Basic White Note Cards and Envelopes. The wave image and sentiment are part of the Waves of Inspiration Stamp Set. I stamped them using Coastal Cabana ink.

For the second card, I added Pacific Point to the wave stamp by carefully dabbing the ink pad at different areas on the stamp.

As you can see, I am slowly adding a few more elements to each card – colour, layers, adhesives, tools and card. For this card, I added Night of Navy to the stamped image. To apply the colours this time, I used my Stamparatus and Blending Brushes.

The sentiment was stamped and punched using the Timeless Label Punch. I cut a 1/4″ strip of Bermuda Bay, Night of Navy and Pacific Point cardstock and attached them to the back of the punched label. Then I cut these strips at an angle before using Stampin’ Dimensionals to pop the punched shape up on the card front.

For this card, I stamped the wave image, using the same Stamparatus technique and inks, directly on to a piece of Waves of the Ocean 12″x 12″ Designer Series Paper.

The sentiment was stamped on to a piece of Bermuda Bay cardstock and then punched it out. It was popped up on the front of the card using dimensionals.

For this card, I introduced the Blue Foils 12″x 12″ Specialty Paper and the Waves Dies. I used one of the waves dies to create the outline shape. A piece of the DSP was placed under the wave using dimensionals.

The pelican image was coloured using Smoky Slate, Crumb Cake and Soft Suede Stampin’ Write Markers™ directly on the stamp. After it was die cut , I placed it on the front of the card.

The sentiment was stamped and cut before it was added to the card front. Then I took three short lengths of white twine, from the Baker’sTwine Essential Pack, and looped them through end of the tag.

Finally, I added some Pebbles Enamel Shapes to the base of the pylons.

The last card, that has been stepped up, also features the Mother of Pearl 12″x 12″ Specialty Paper. I placed Adhesive Sheets behind the Mother of Pearl paper to make it easier to add to the wave.

The sentiment was stamped, die cut and trimmed on one side. Then Stampin’ Dimensionals were used to pop it up.

The last step was to add some Rhinestone Waves Basic Jewels to the card.

It doesn’t take much to make a variety of cards.

Whoops – I’m not sure why I added the Whisper White Crinkled Seam Binding Ribbon in this photo, I didn’t use it for any of these cards.

A little later today, I will share my Monday project and then we’ll be back on track.

Until then, happy stamping.

If you live in Australia, you can order any of the products I used to make this card by going to my online store. Just click on any of the images below.

Product List
Waves Dies
[158840]
$60.00
Stamparatus
[148187]
$85.00
Paper Snips
[103579]
$17.00
Posted on Leave a comment

FRIDAY IS THE DAY FOR FUN FOLD CARDS & HOW TO MAKE THEM

For today’s Fun Fold card I have been playing around with closures and magnets. I’m going to call this one a Top Fold Flap Card. If there is a more commonly known name, I hope that you will reach out and let me know.

I started with a partial Bermuda Bay card base measuring 6-1/4″x 5-3/4″. The bottom section was scored at 2-1/8″ and was folded up.

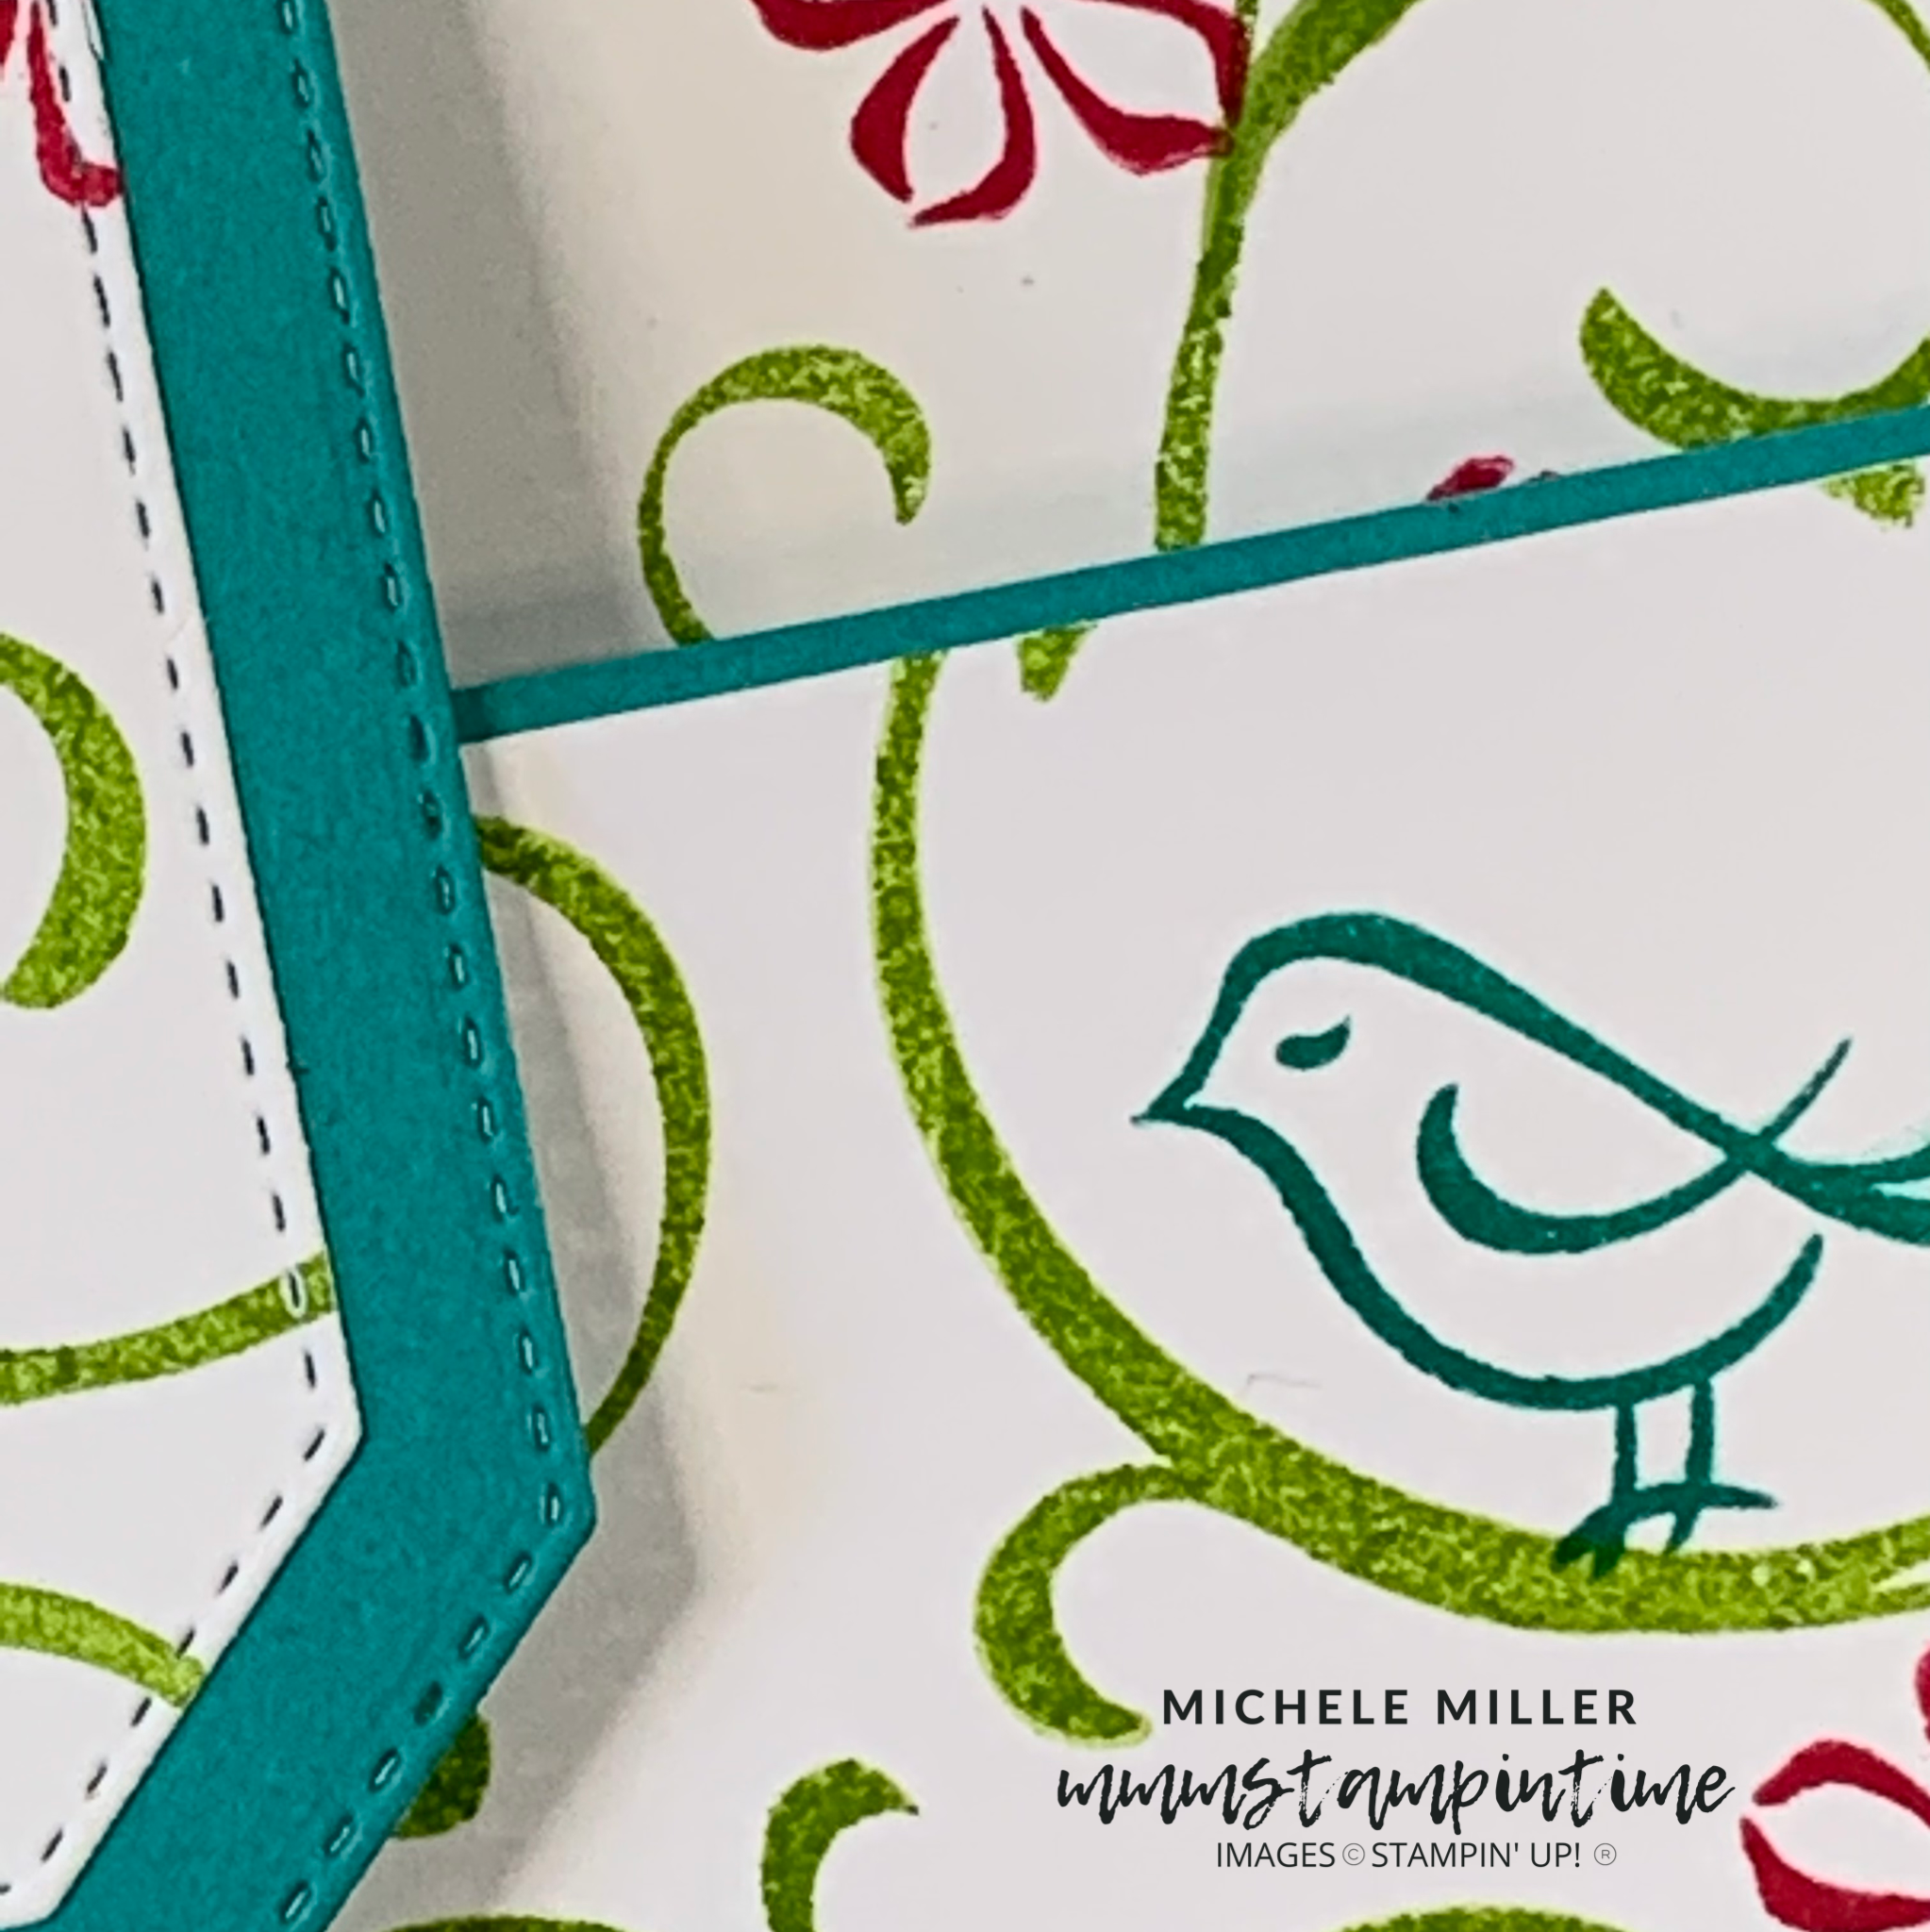
The Basic White panel for this horizontal flap was cut to 5-5/8″x 2″ and was stamped using the Sentimental Swirls Stamp Set.

For the top, vertical flap I used two of the Hippo & Friends Dies. I lengthened these pieces so that the flap would have enough to tuck some in behind the Basic White insert. This resulted in a hinge.

The white die cut panel was stamped also before the two die cut pieces were glued together.

After I stamped the Basic White card insert, I attached the hinge between the back of the card and the insert.

With the top flap in place, I secured the first magnet on the bottom flap and then adhered the stamped Basic White panel over it.

The next step was to position the second magnet over the first and added a Mini Glue Dot on it. I pressed thetop flap firmly onto the second magnet and lifted it up. To hold the magnet in place I adhered a piece of Bermuda Bay cardstock over it.

The flap snaps closed and keeps the card shut.

I cut another piece of Bermuda Bay cardstock, using the Hippo & Friends Dies, to place on the card insert. The birthday greeting was then stamped on the insert.

I also stamped the bird on the front of the envelope.

This was a fun card to create. I think I will make some adjustments so that it can also hold a gift card.

Tomorrow sees some #simplestamping and a new product bundle to showcase.

Until then, happy stamping.

If you live in Australia, you can order any of the products I used to make this card by going to my online store. Just click on any of the images below.

Product List
Paper Snips
[103579]
$17.00
Posted on Leave a comment

HOW TO MAKE YOUR OWN STAMPED CARDSTOCK FOR A GIFT BAG

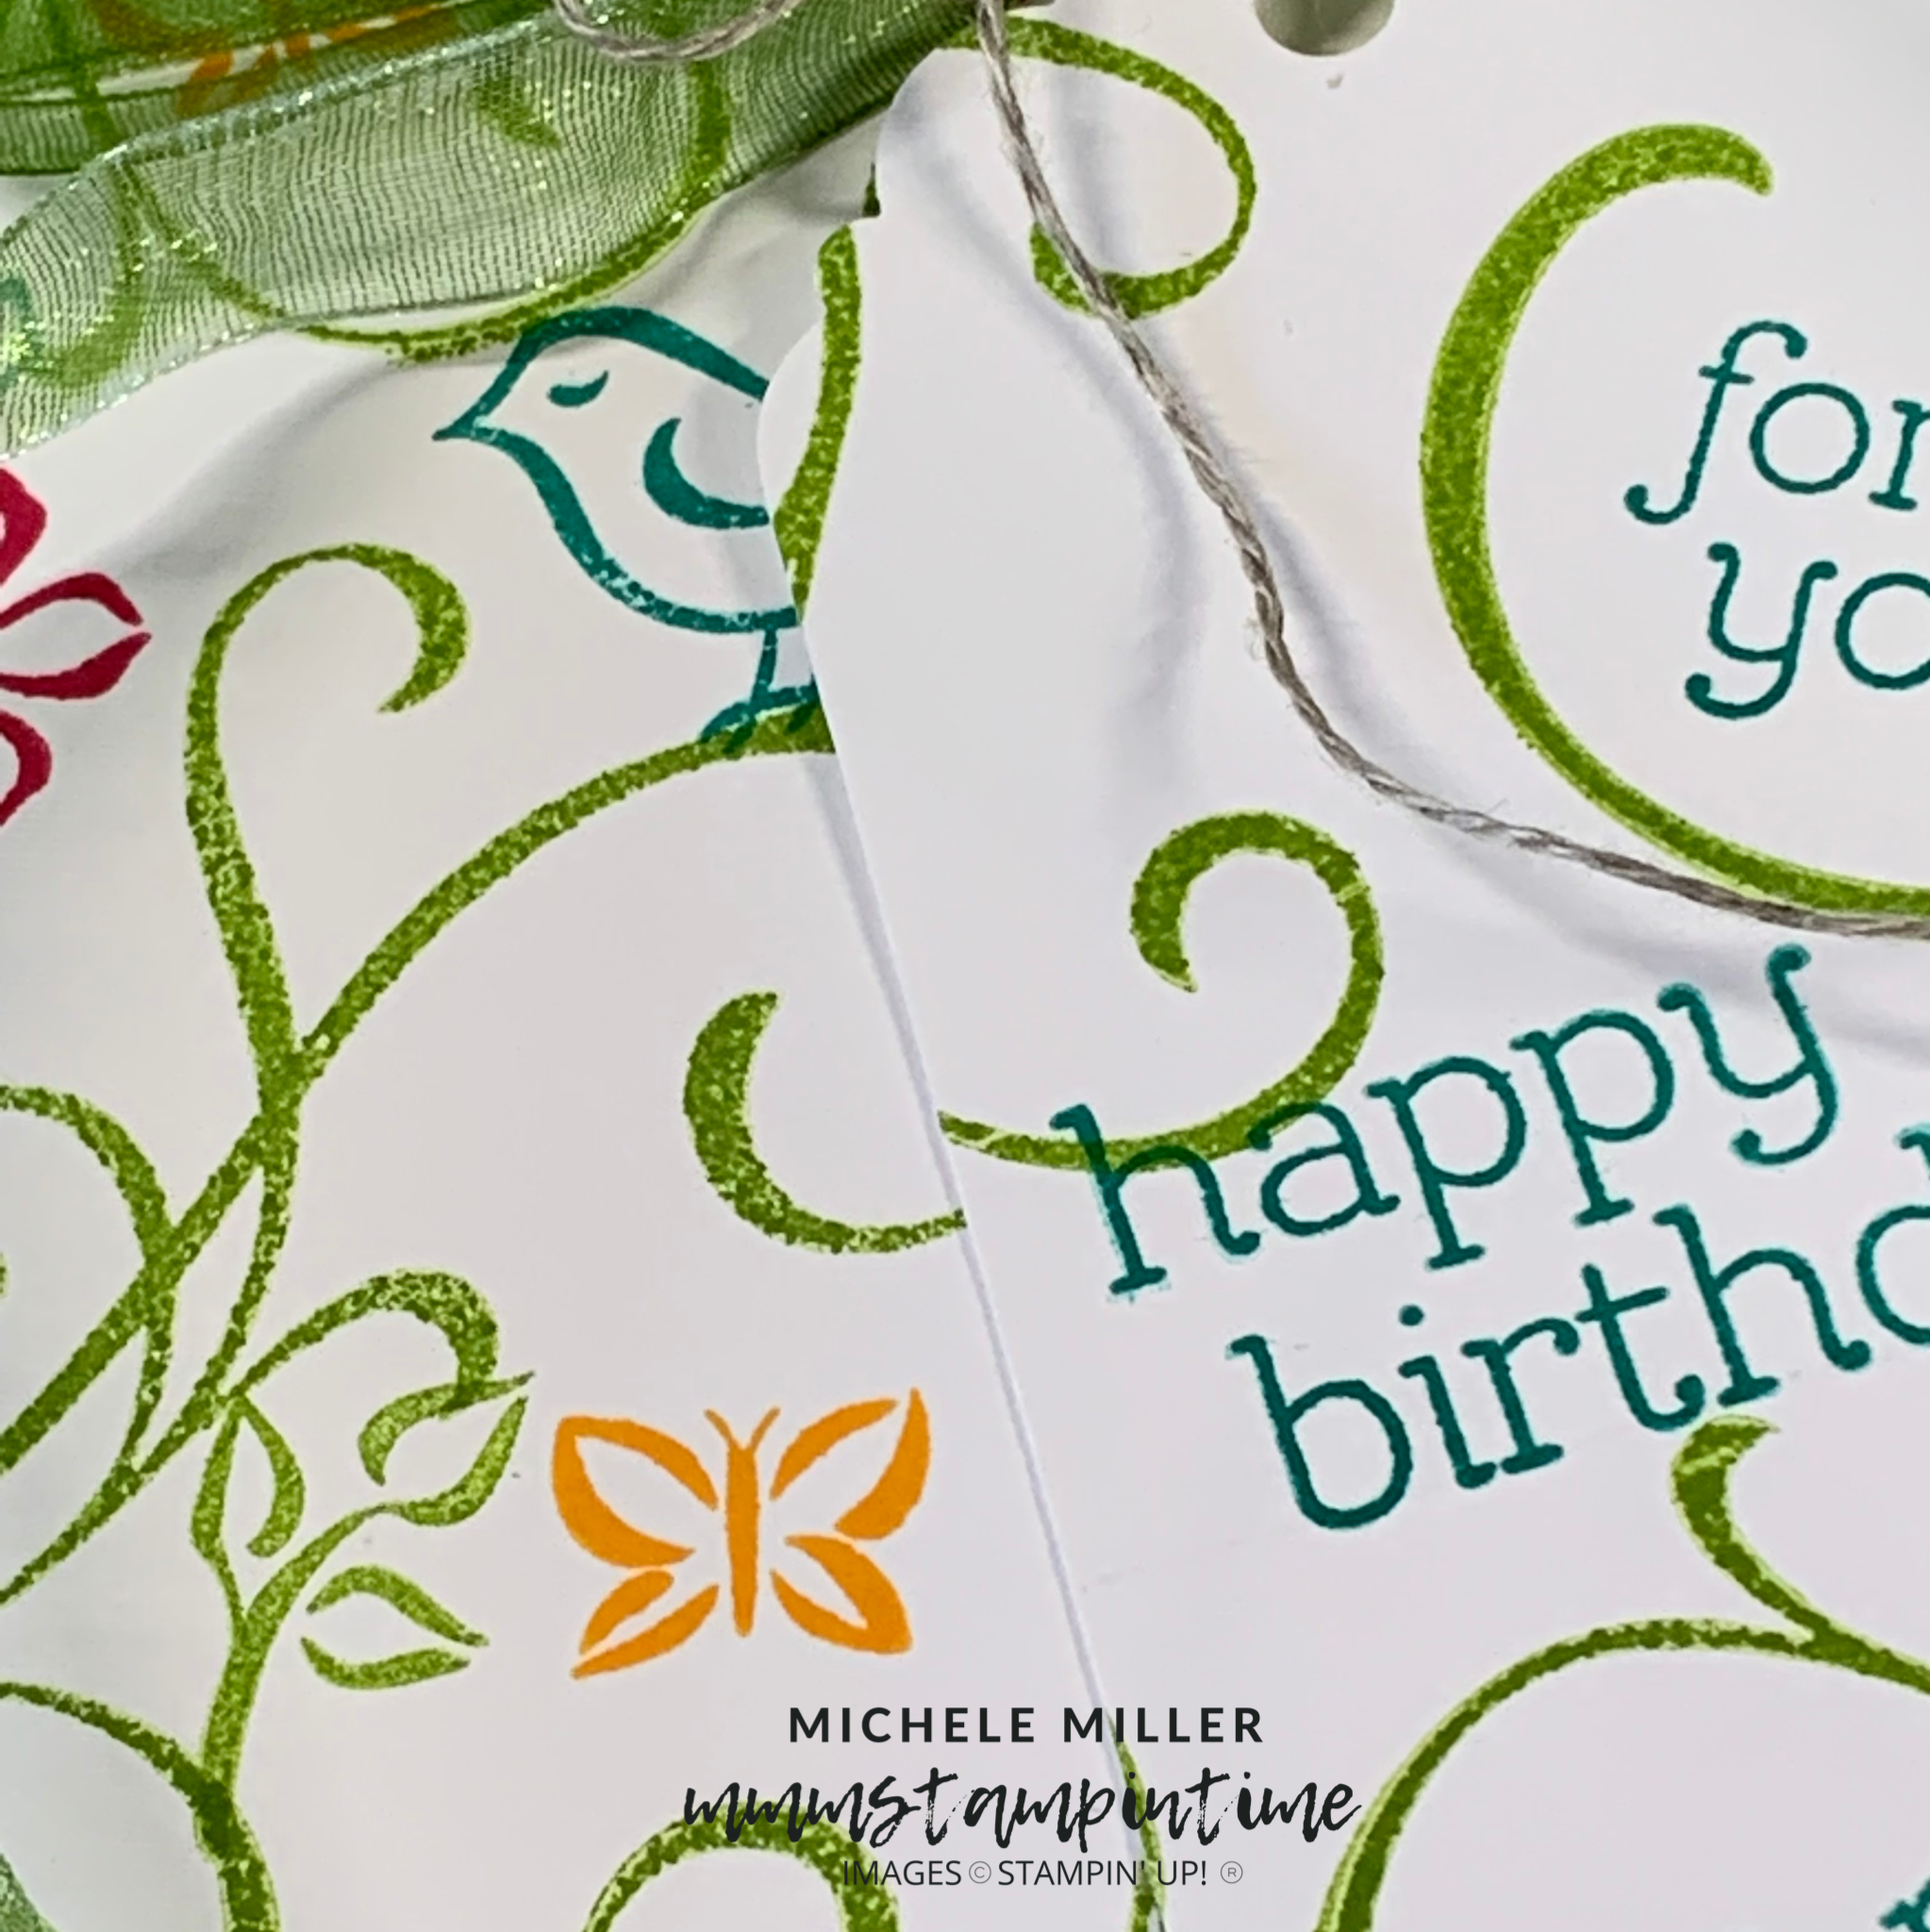
It is 3D Thursday and I have a gift bag to share with you. I used the Sentimental Swirls Stamp Set to create my own design on a piece of Basic White 12″x 12″ cardstock.

Then I cut the card to 10-1/4″x 8-1/2″. I scored it, along the longer side, at 3-1/2″, 5″, 8-1/2″ and 10″. Along the shorter side it was scored at 1-1/2″. The gift bag is 7″ high, 3-1/2″ wide and 1-1/2″ deep.

I used a bone folder to burnish all of the score lines. Across the shorter side, I used my Paper Snips to cut from the bottom up to the 1-1/2″ score line. These cut pieces will form the base of the gift bag.

Stampin’ Seal+ was added to the 1/4″ side of the longer side to form the bag. Then the base pieces were adhered into place.

I used the Granny Apple Green Stampin’ Blends to colour a long length of Pool Party Sheer Ribbon. The ribbon was wrapped around the top of the bag twice before being tied in a bow.

The gift tag was made using an offcut from the original piece of cardstock. I used the Delightfil Tag Topper Punch to create the shape at the top of the tag. The tag was then attached to the ribbon with a piece of Linen Thread.

I need to order some more of the Pool Party ribbon – as you can see in my product photo, I only have about 2″ left on this spool.

The bag is quite a good size, so there are lots of possible goodies that could be popped in it.

Tomorrow I have one more Sentimental Swirls project for you. It is a Fun fold Card.

Until then, happy stamping.

If you live in Australia, you can order any of the products I used to make this card by going to my online store. Just click on any of the images below.

Product List
Paper Snips
[103579]
$17.00