Throughout 2022, my creative task each Monday is to create a scrapbooking/memory keeping layout. Some Monday layouts will have photos included and at other times my scrapbooking pages will just be waiting for the right images.
For today’s layout I continue to feature the Rainbow of Happiness Bundle and the Sale-a-bration FREE Sunshine & Rainbows 6″x 6″ Designer Series Paper.
Although I didn’t find the ‘right photos’ for this layout, I imagine ot is perfect for images that celebrate happy achievements. After clouds, storms or hard work rainbows appear when the sun shines. What might be dark turns into a brilliant and bright explosion of colour.

On this first page I created two spaces for photos.
I used some of the Sunshine & Rainbows DSP to frame the photo bases.
The ‘Hello Sunshine’ is from the What a Year Memories & More pack.
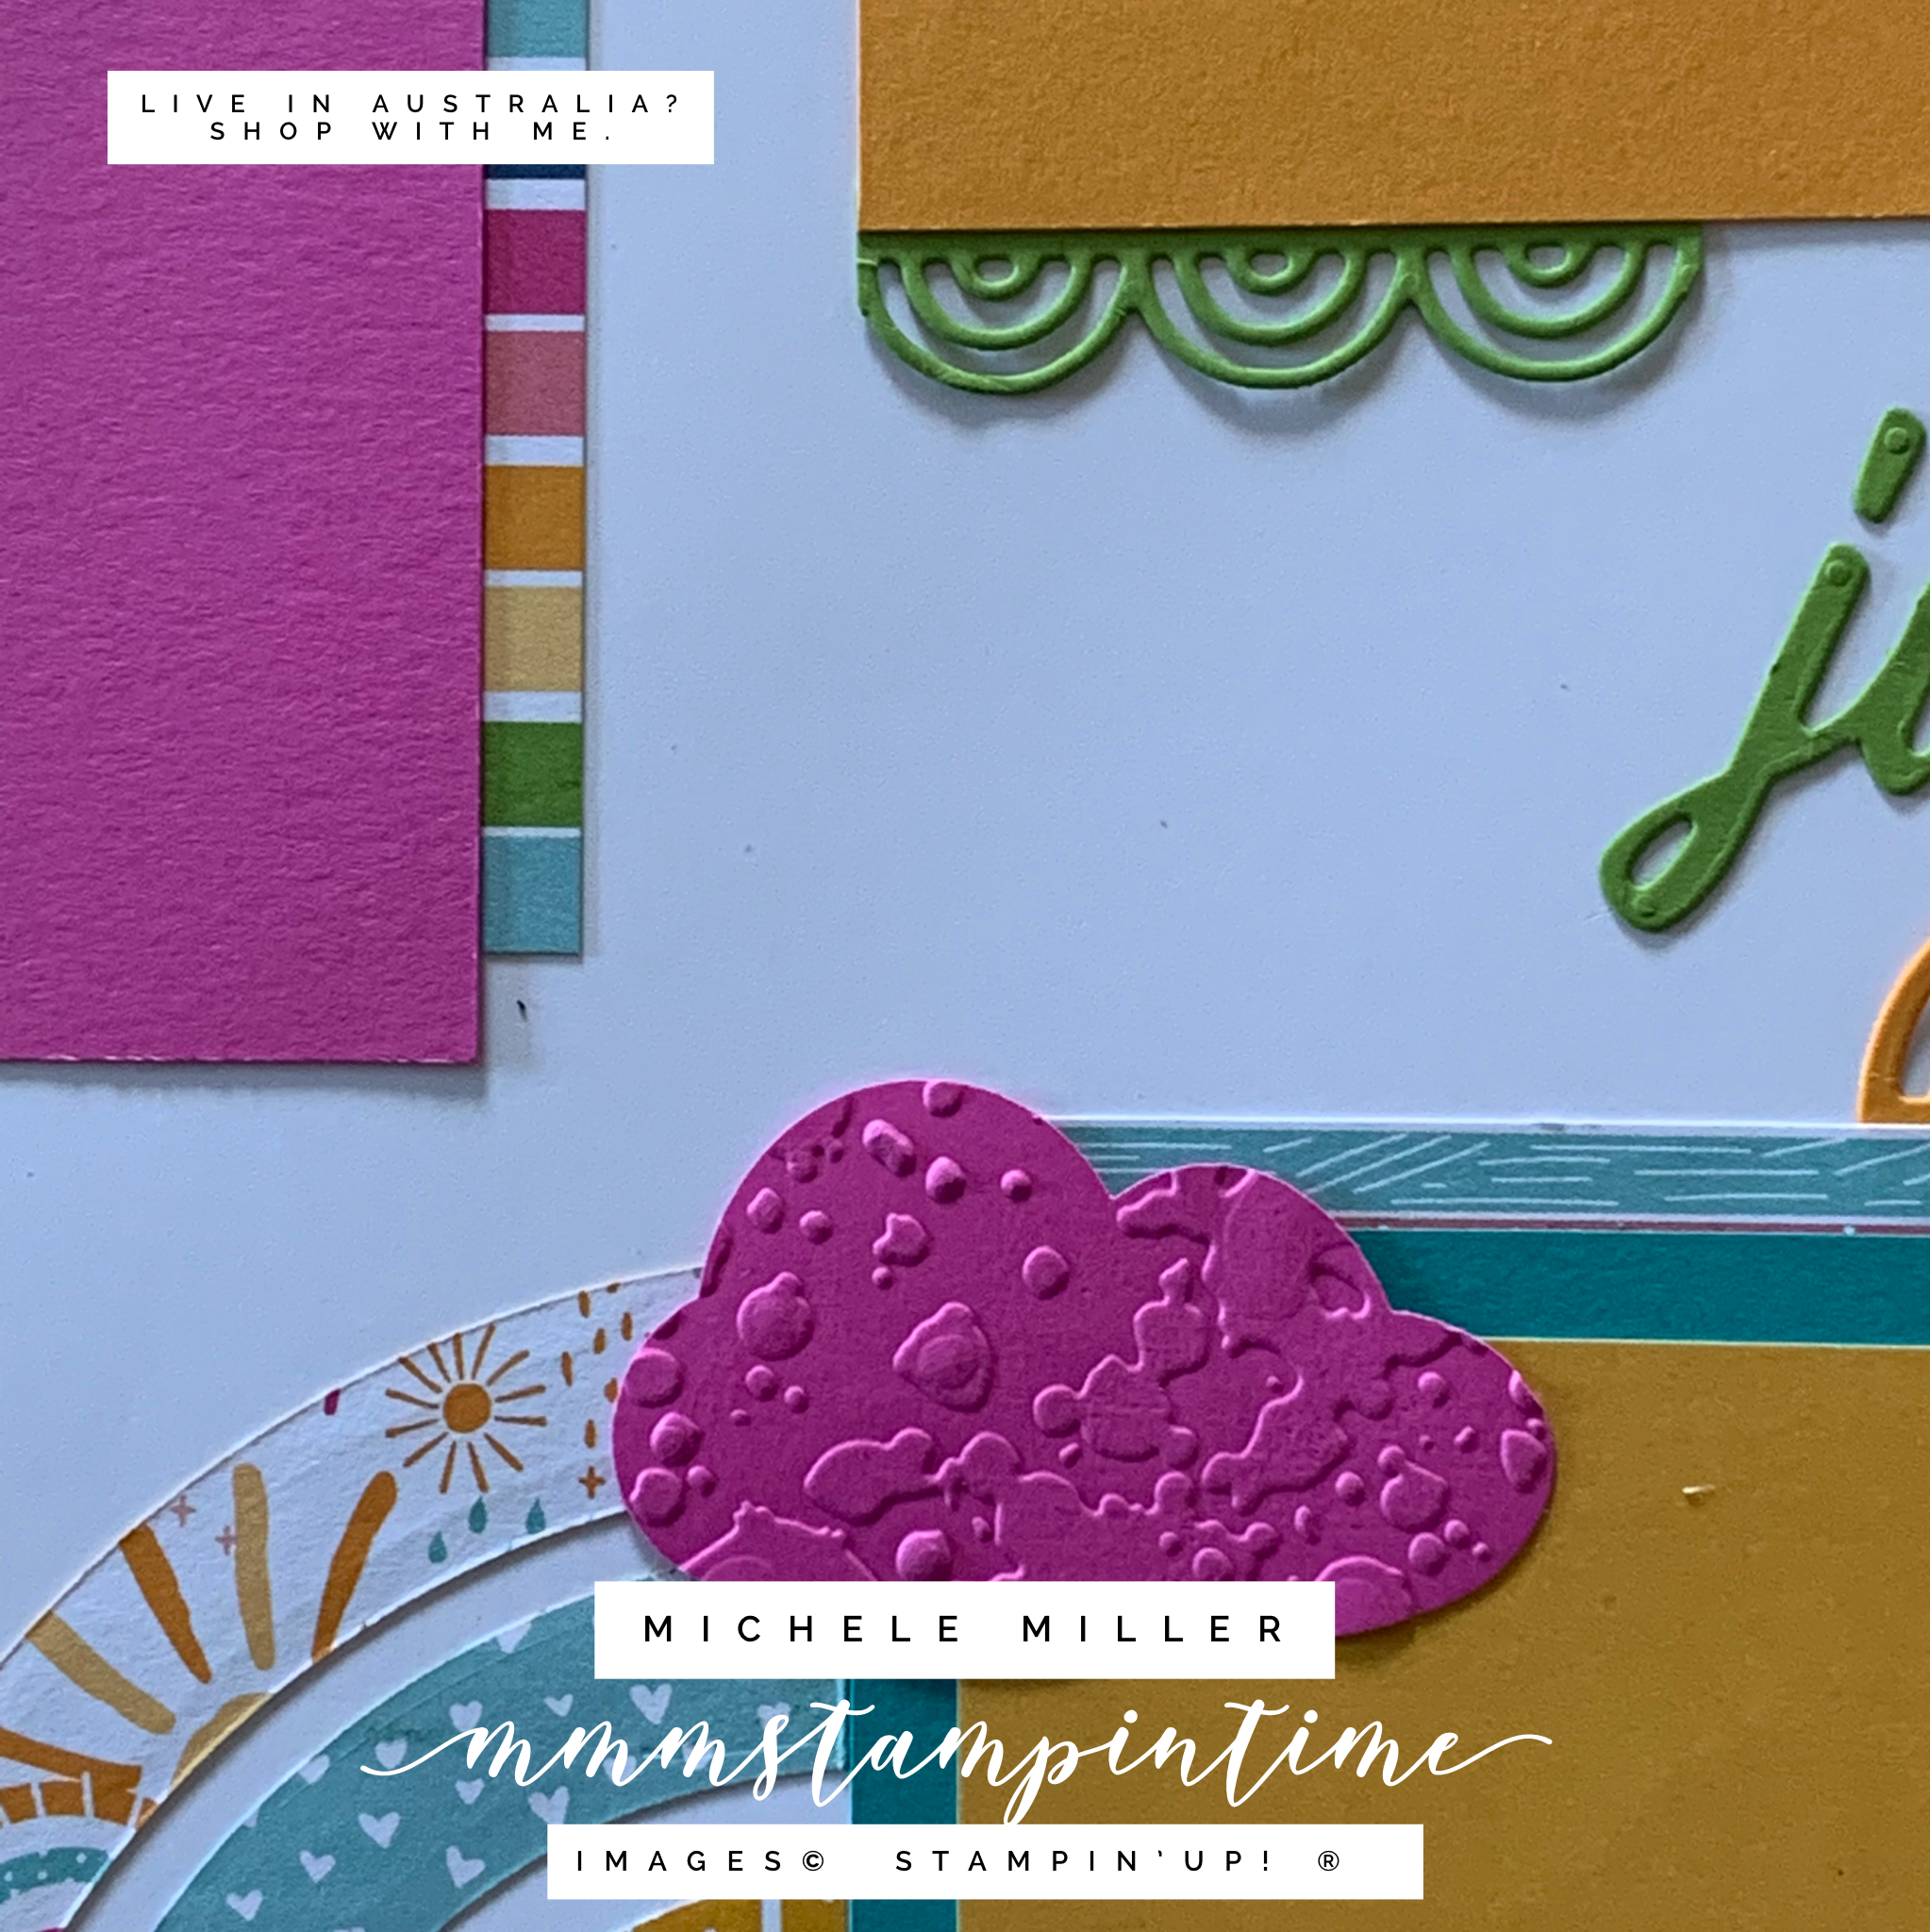
I used dies from the Brilliant Rainbow Dies to cut the smaller rainbow shapes that have been tucked in under the photo bases.
Using the half rainbow die from the same dies set, I cut each of the four semi-arches from different designs from the FREE Sunshine & Rainbows DSP. These were then adhered alongside the ‘Hello Sunshine’ panel.
I adhered Adhesive Sheets behind a piece of Granny Apple Green cardstock and then used the Floral Gallery Dies to cut the ‘just want to say’ from the Floral Gallery Dies set. I used the first two words on this first page.
To finish this page, I used the new Cloud Punch for the Magenta Madness cloud and then passed it through my Mini Stampin’ Cut & Emboss Mcchine using the splatters folder from the Strips & Splatters 3D Embossing Folders set.

For the second scrapbooking page I added two photo spaces (mounts/backgrounds) with strips of the coordinating Designer Series Paper tucked into the top or sides.
I used one of the smaller full rainbow dies to cut the elements that I tucked in behind the photo bases.
The last two words from the Floral Gallery Dies were added to this page. Then I die cut the word ‘shine’ from a piece of Mango Melody cardstock that had Adhesive Sheet attached. I used the Playful Alphabet Dies to cut out these letters.
For the full rainbow on this page I folded two of the 6″x 6″ DSP pages and positioned the die so that after I passsed it through my Mini Stampin’Cut & Emboss Machine I was able to create a full rainbow. I used my Tombow Multipurpose Glue to adhere the rainbow elements in place.
The ‘date’ & ”notes’ panel was taken from the What a Year Memories & More card pack. This is a perfect journalling space for these pages.
To finish this page, I punched and embossed three clouds using the new Cloud Punch. Two of the clouds were embossed using the splatters folder from the Strips & Splatters 3D Embossing Folder set. The third cloud was punched from a piece of the Sunshine & Rainbows DSP.
I am totally happy with these pages but do not yet know what images I will add to them. Until I find the right photos, I will pop these pages into my scrapbook layouts drawer.
What do you think? I would love you to leave me a comment!
What photos would you use on these pages?
Tomorrow is Tuesday and that means it is time for a techniques share.
Until tomorrow, happy stamping.

If you live in Australia, you can order any of the products I used to make this card by going to my online store. Just click on any of the images below.

 | ||||
 |  |  | ||
 |  |  |  | |
 |  |  |  |  |
 |  |
")
")

 Designer Series Paper")


