Hello and welcome back to another pair of Merry, Bold & Bright projects. I am so pleased to be able to share them with you.
Let’s start with a 3D project.
Have you ever been at a Christmas lunch or dinner and don’t know which glass is yours? I have a solution for you!

I made a set of wine glass charms.
When I saw the lightbulb dies in the Merry & Bright Dies set, I knew that I wanted to make some charms. Fortunately I already had some Sizzix shrink plastic in my craft drawer.
I cut six of the oval shaped bulbs using the Mini Stampin’ Cut & Emboss Machine.
Then I punched a small hole in the top of each bulb.
I used a coordinating variety of Stampin’ Blends to colour each of the die cut pieces.

After each of the bulbs were coloured, I used my heat tool to shrink them down. Isn’t it amazing – the difference in size – before and after! The colour actually intensifies.
I found these looped shapes in the jewellery making area of my local craft store. It took me a while to find coordinating glass beads to use in this project.

Then I created a gift box to hold six wine charms. I used Gold Foil 12″ x 12″ Specialty Paper and Gold Celebrations 12″ x 12″ Specialty Designer Series Paper to make the box and acetate slide on cover.
Now, I need to make a few more for my daughter – she has placed her order for Christmas stocking fillers.
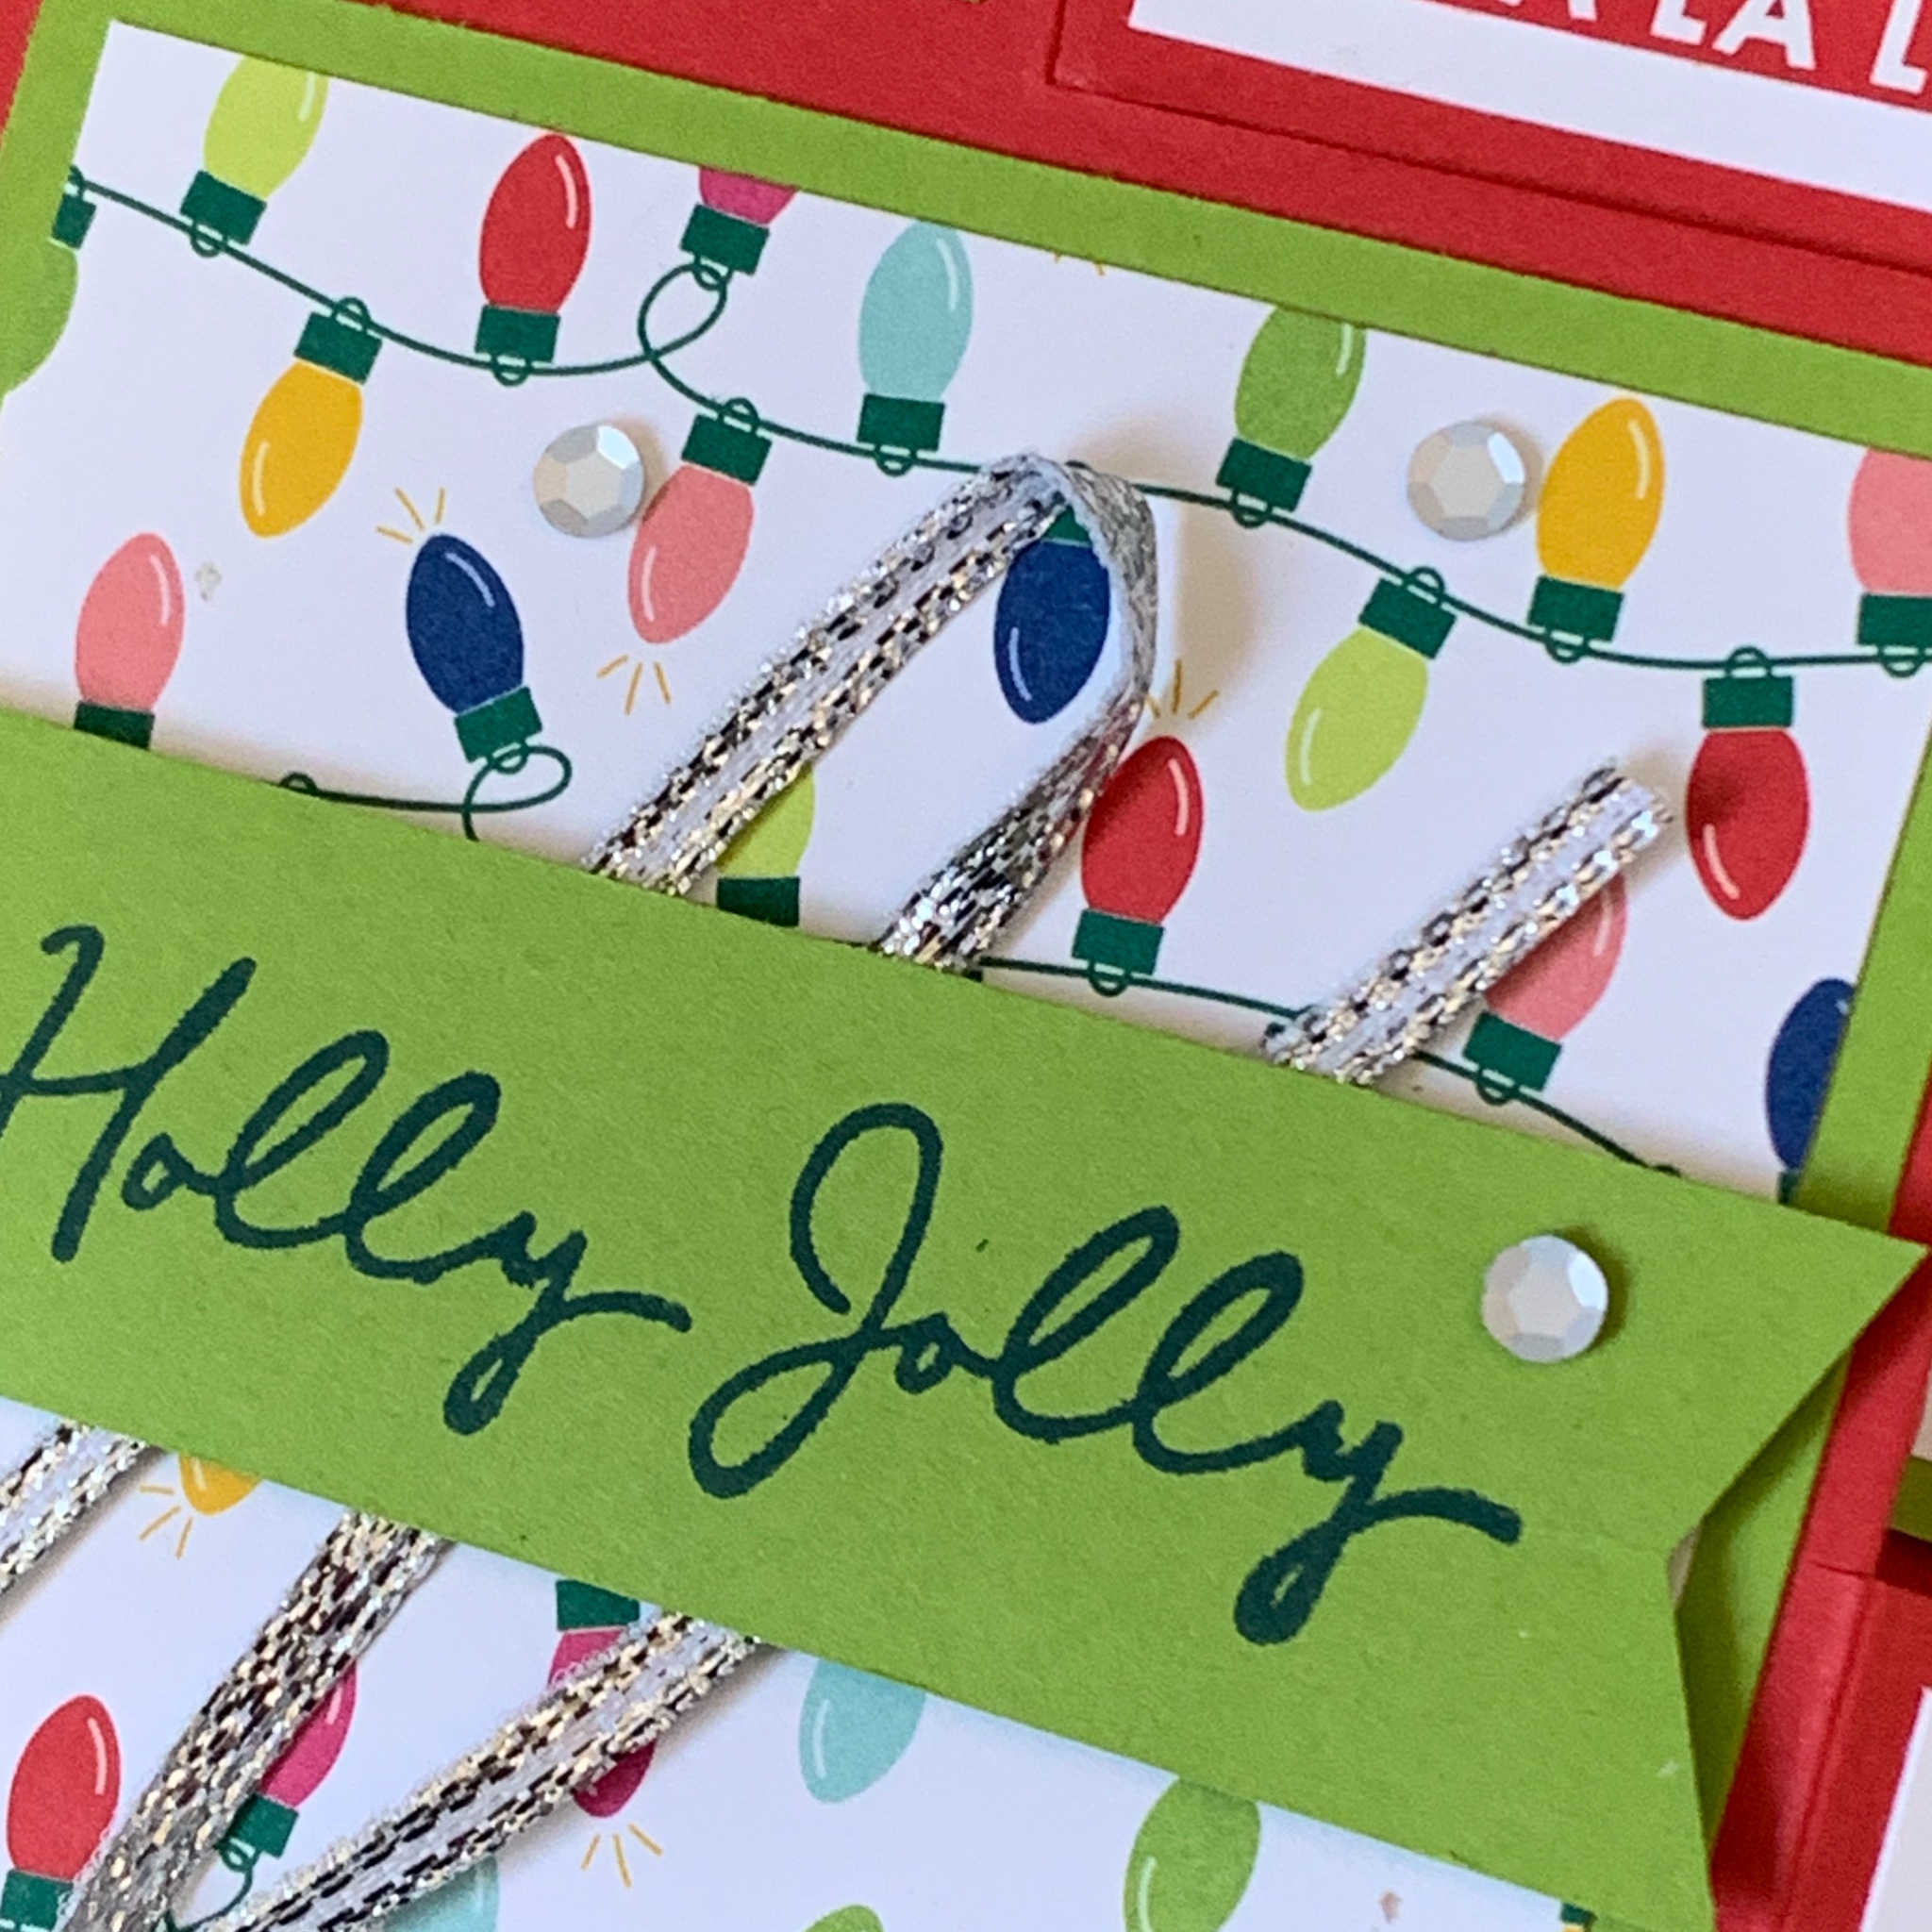
Now for a card inspired by Mary Knabe! It is a SQUARE TRI-FOLD FUN FOLD CARD. Here is a link to her creative process – https://www.stampinpeace.com/2023/08/square-tri-fold-fun-fold-card-meets-the-zoo-crew.html

The finished card measures 4″ x 4″ and has a specially folded envelope for it to go in.

This shows the card fully folded out, with all of the panels. I love the way each of the designs in this collection of Designer Series Paper coordinate so well.
After I stamped the Christmas greeting on the Granny Apple Green card, I used the Banners Pick a Punch to finish each end.

There is lift up panel so that you can write your Christmas message.

A special card needs a special envelope.

And, there is more writing space on the back of the card.
What do you think of these two projects?
More to come tomorrow. So until then, happy stamping.

If you live in Australia, you can order any of the products I used to make this card by going to my online store. Just click on any of the images below.

") |  | |||
 |  |  |  |  |
 |  |  | ||
 |  |  |  | |
 |  |  |  | |
 |  |  |  |
")
")
 Designer Series Paper")
 Specialty Designer Series Paper")


