Posted on Leave a comment

THURSDAY IS USUALLY THE DAY I SHARE A 3D PROJECT – HOWEVER TODAY I HAVE A HOME DECOR PROJECT TO SHARE WITH YOU.

Today I have a Home Decor project to share with you. It is very close to being a 3D project because I have used a great shadow box, from Ikea, to frame the project.

All my projects this week feature the Notes & Totes Bundle.

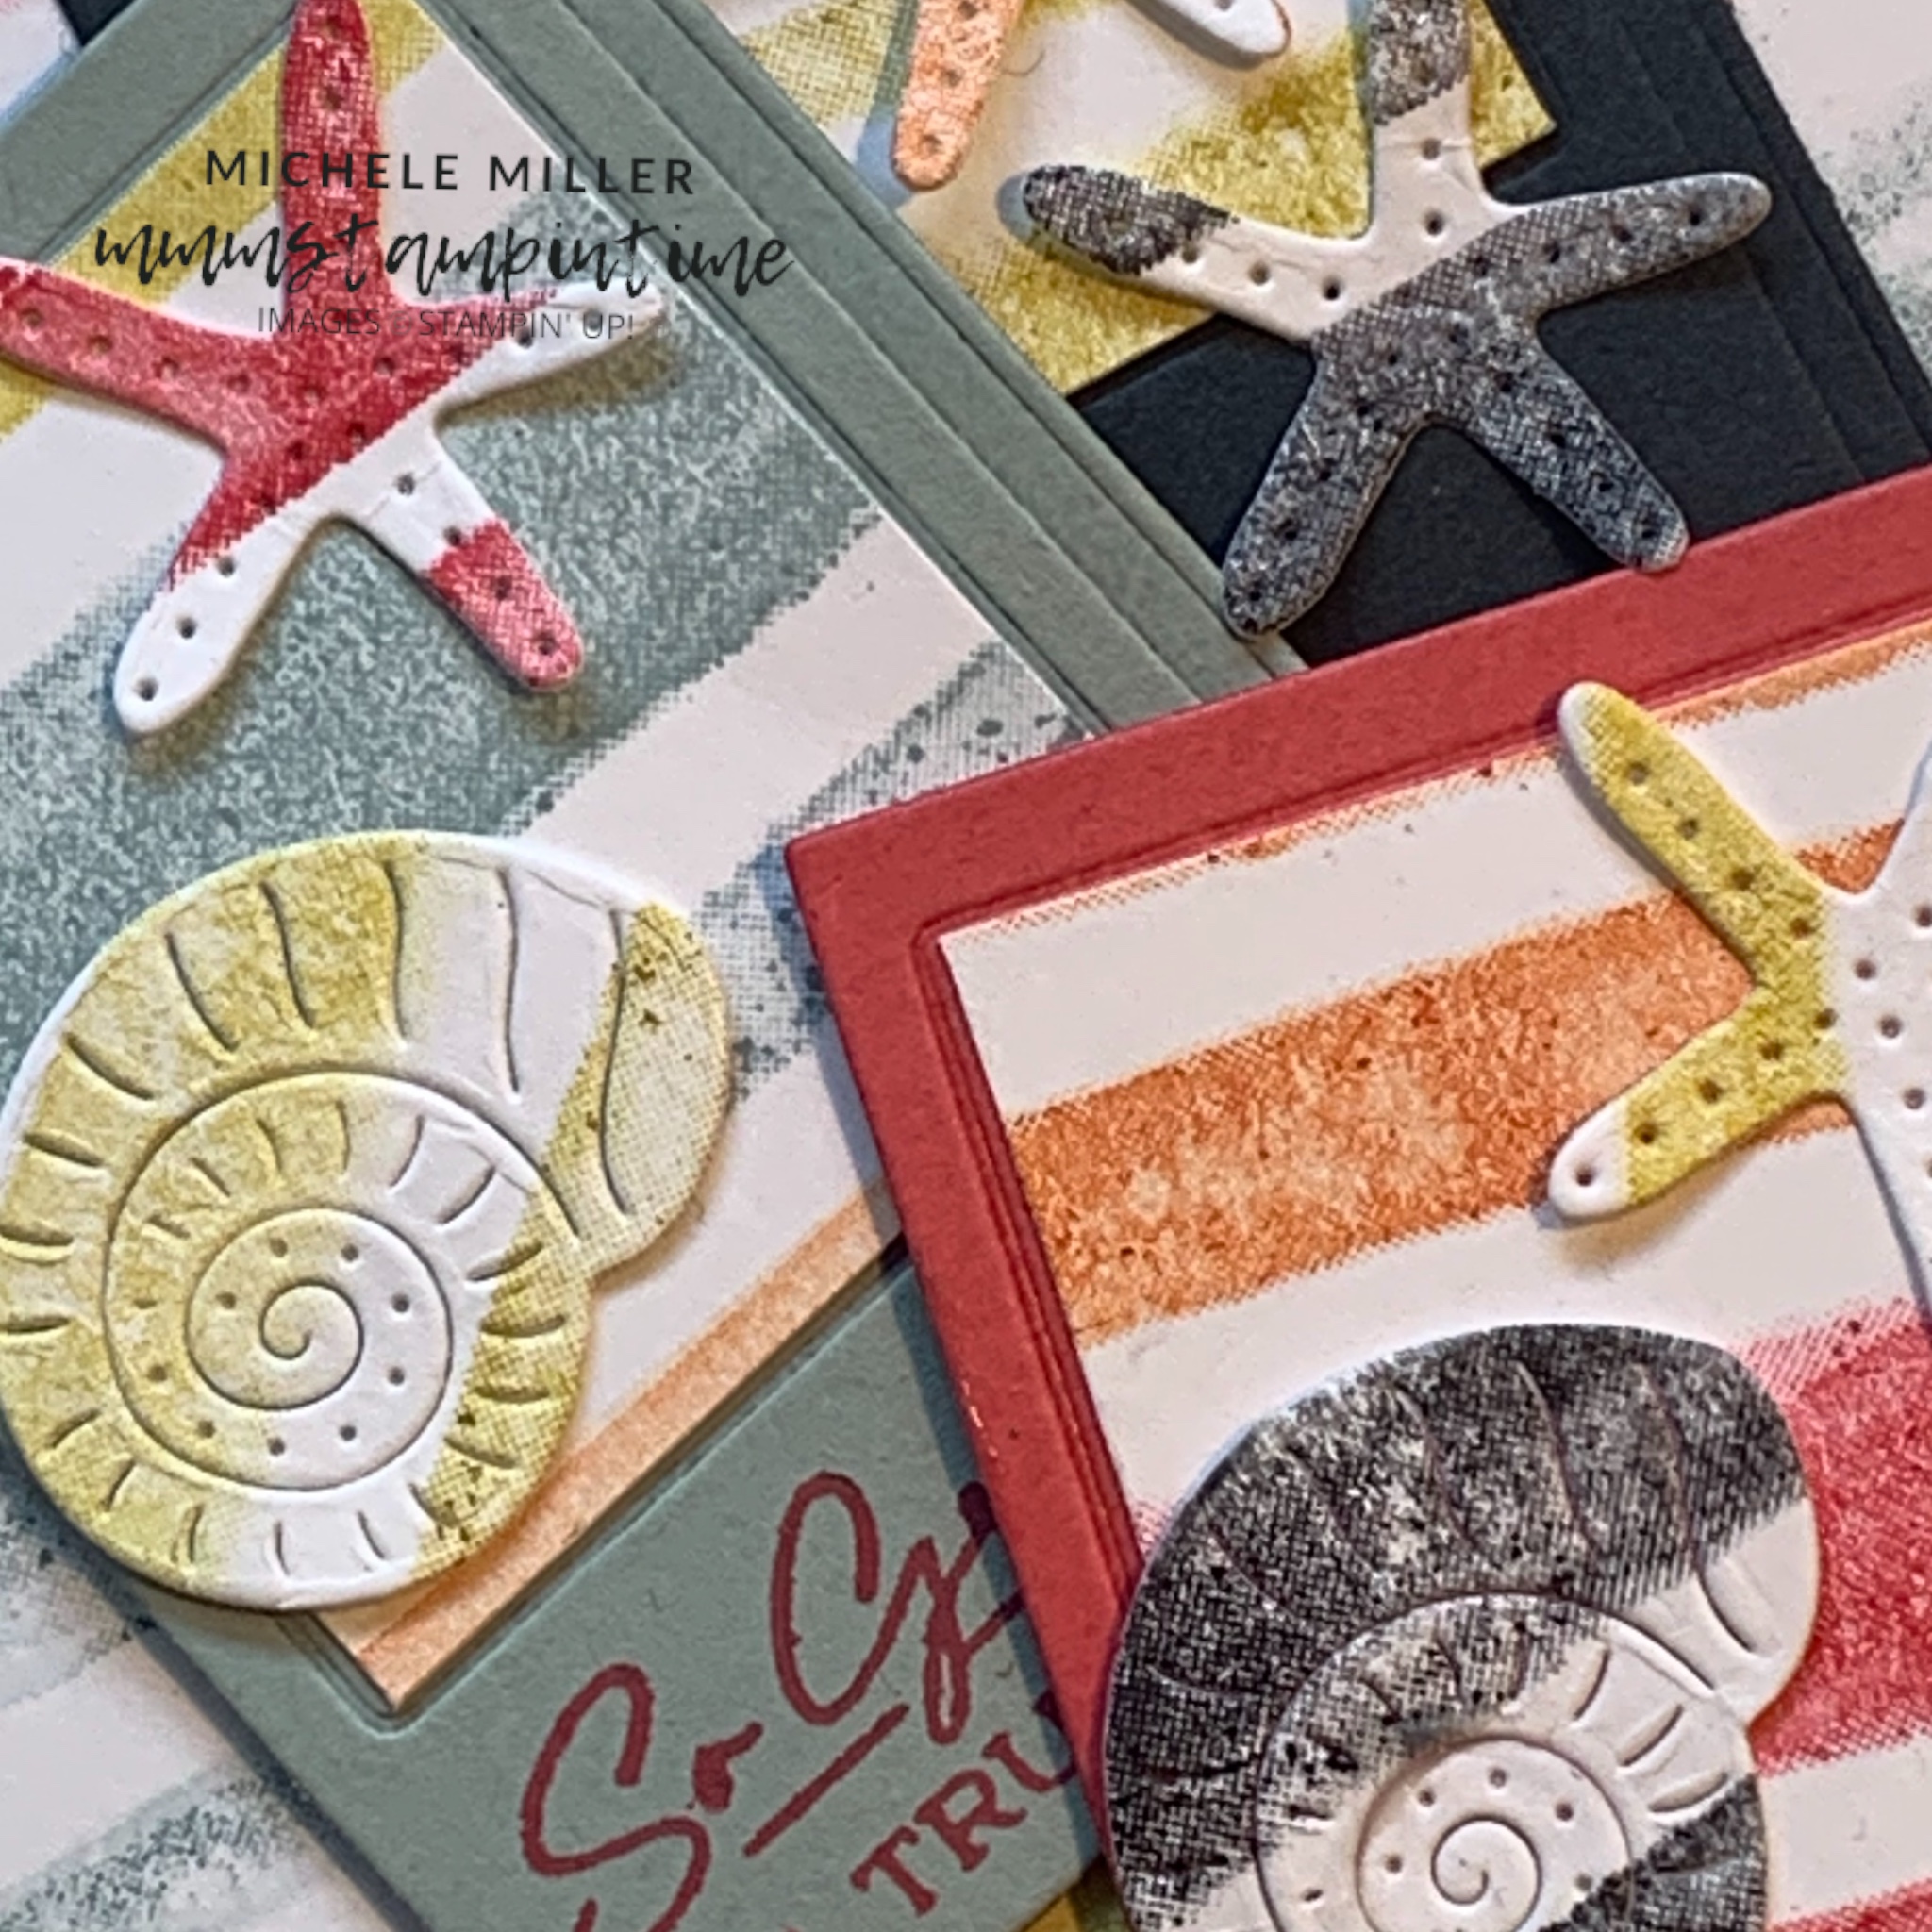
When I saw the elements in the Notes & Totes Bundle, I was immediately drawn too a beachside scene. So, I decided to integrate the Beach Day Bundle into this project.

For this project, I wanted to create a Home Decor item using these products.

My small collection of Ikea shadow frames makes it quick and easy to create projects like this.

I used Crumb Cake and Lost Lagoon 12″x 12″ Two-tone Cardstock for the beach, water and sky background for the beach scene.

The two-tone card stock has a white core, so when you carefully tear the card the white core is exposed.

After creating the beach scene, with the stamped seagulls, I was able to work on the elements in the foreground.

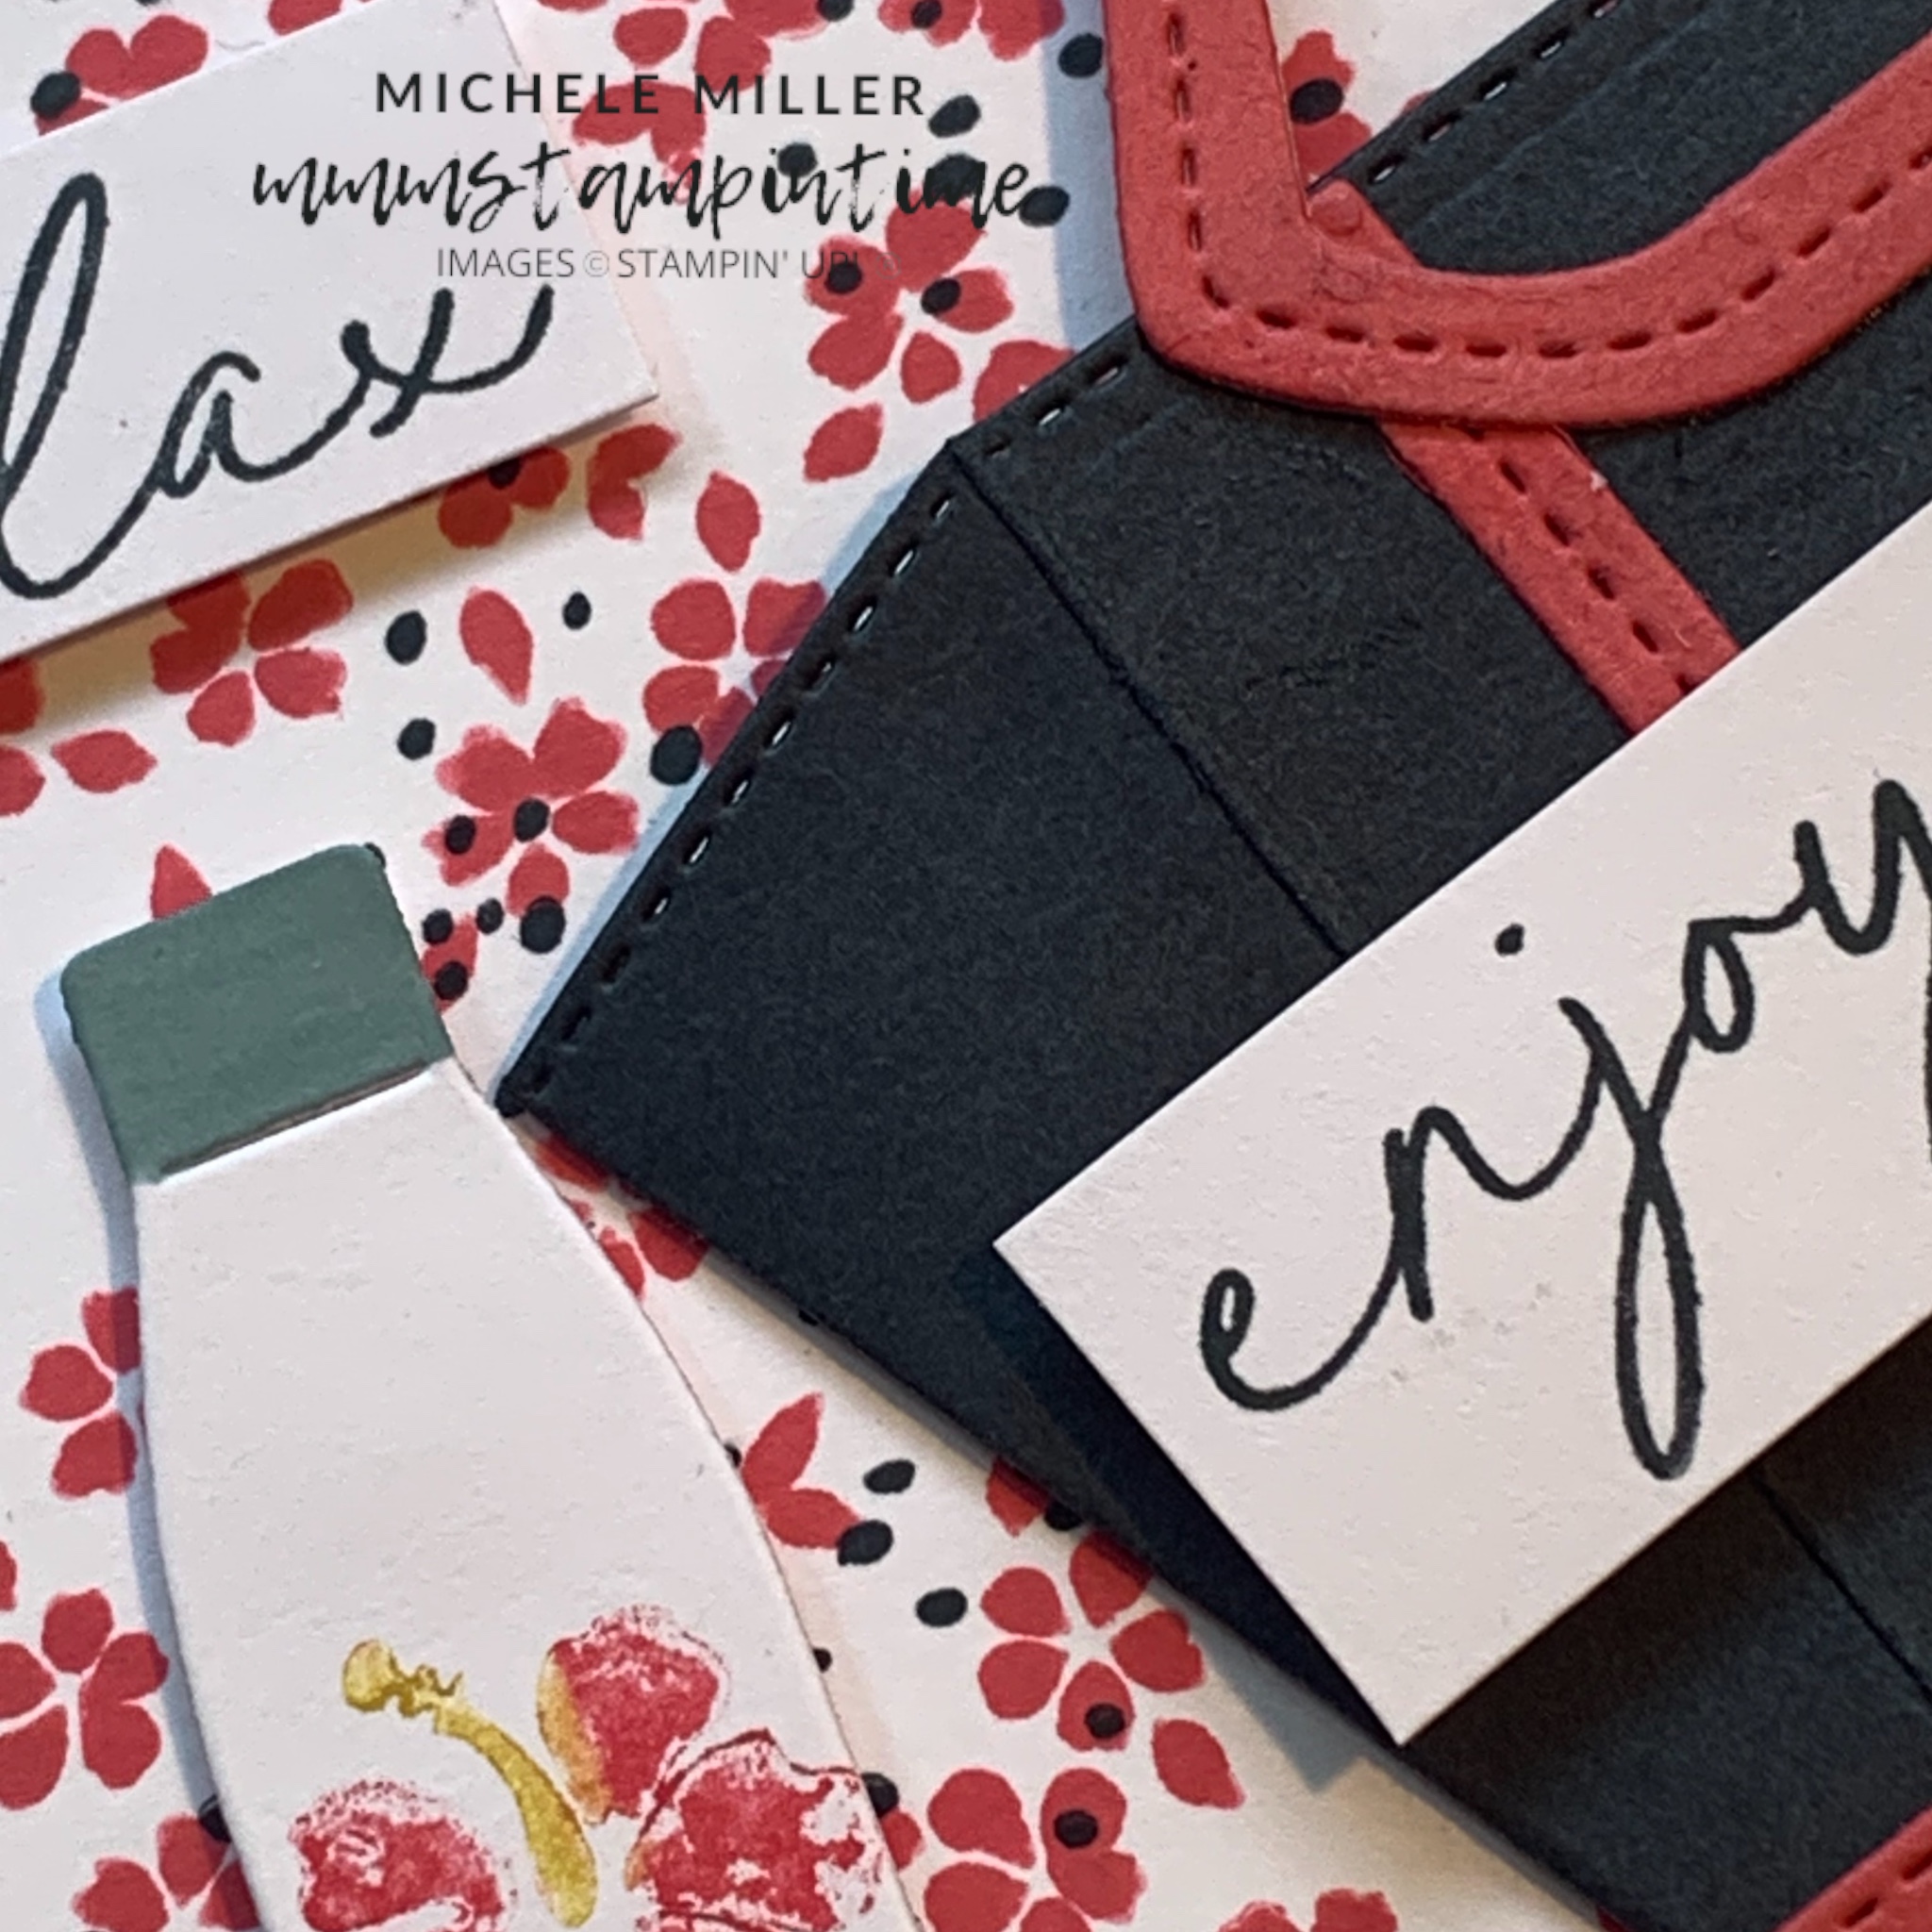
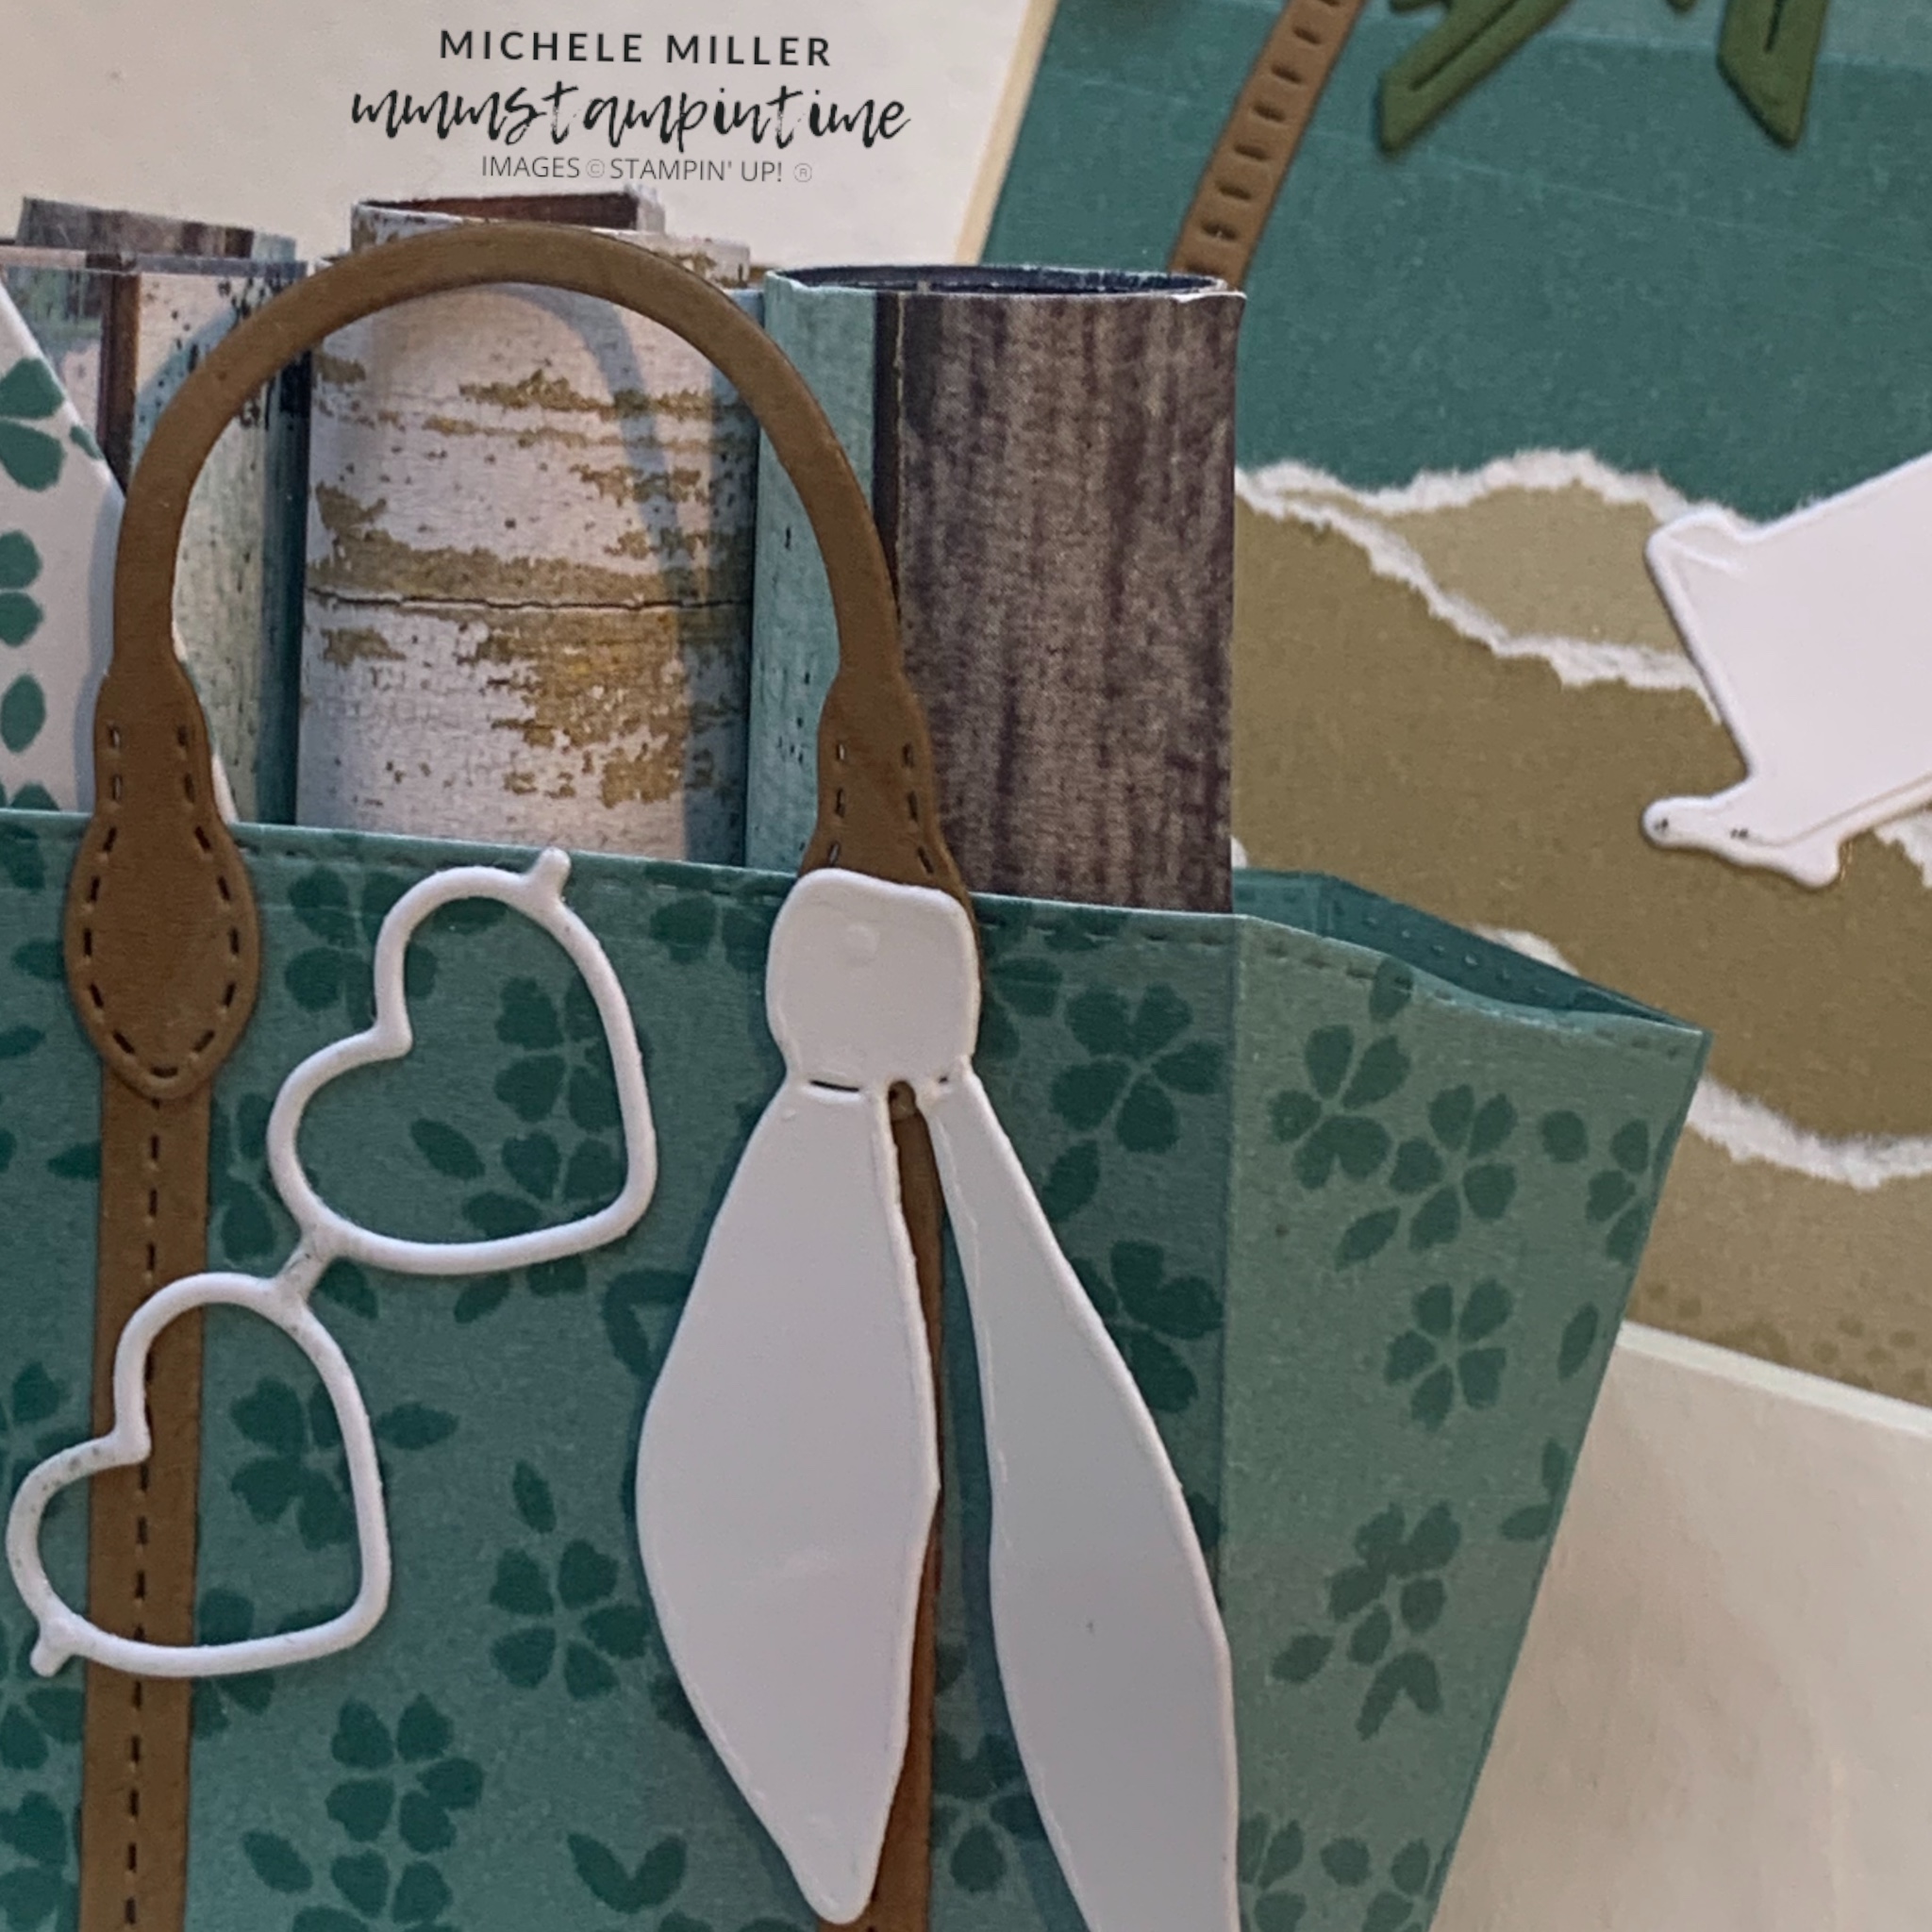
I stamped the small hibiscus image onto a piece of Lost Lagoon card and then, with Pecan Pie trims, created the beach tote for this project.

Then I added the white scarf and sunglasses, hibiscus water bottle and three rolled ‘beach towels’ to the tote.

The final touch was to add some Shades of Green Hexagon embellishments to the card front.

Tomorrrow I have a Fun Fold card to share with you.

Until then, happy stamping and scapbooking.

Posted on Leave a comment

A WONDERFUL WEDNESDAY PROJECT & SOME OF THE LATEST NEWS FROM STAMPIN’ UP!

Today’s project features a background ‘paper’ that I created using two of the images from the Notes & Totes Stamp Set.

I used the multiple hibiscus image and the splatters image to create the background panel for this card.

The card base is one of the new 2025-2027 In Colour – Secret Sea. I also used a slightly smaller Strawberry Slush panel.

The tote was made using the dies and Secret Sea and Strawberry Slush card.

I cut the water bottle using the coordinating dies and cut the lid from Cloud Cover card.

The small hibiscus image used the direct to stamp colouring technique, with Stampin’ Write Markers.

The same coloured hibiscus image was added to the card insert and back of the envelope.

The sentiments were stamped and cut down to place on the card front.

Finally, I added some 2025-2027 //in Colour Flat Pearls to the front of the card.

Tomorrow I have a Home Decor project to share with you, instead of a 3D project.

Until then, happy stamping and scrapbooking.

If you live in Australia, you can order any of the products I used to make this card by going to my online store. As you read through this post, you will see the products I used for this project. The new items are available from May 5th.

Posted on Leave a comment

TIME FOR A TECHNIQUE TIP THIS TUESDAY

So, I have just posted my belated ‘Monday’ post and now have my Technique Tuesday project to share with you.

Today’s technique is a colouring one – using Stampin’ Write Markers and applying colour directly to a stamp.

I am still featuring the Notes & Totes Bundle, as well as the Painted Stripes Background Stamp.

This card started with me colouring each of the stripes on the background stamp using the new 2025-2027 In Colours.

After colouring the background stamp and transferring the colour to the Basic White panel, I repeated the process to create another panel. I used this panel to cut the ‘notebook’ inserts and shells and starfish.

I die cut three ‘notebooks’ in Cloud Cover, Secret Sea and Strawberry Slush.

Two of these notebooks had the ‘So Grateful’ greeting stamped on them. Then I added striped panels and die cut seaside elements.

The card insert and back of the envelope each had a coloured and die cut shell added.

I have been enjoying using the 2025-2027 In Colours in these recent, and future, projects.

Tomorrow I will provide you with any Stampin’ Up! updates as well as another wonderful project.

Until then, happy stamping and scrapbooking.

If you live in Australia, you can order any of the products I used to make this card by going to my online store. As you read through this post, you will see the products I used for this project. The new items are available from May 5th.