Thanks for joining me for today’s 3D Thursday project. I will be making this on my Facebook Live today and will add a video tutorial to my Youtube channel soon.
Let me know what you think of this project.

The gift box is 6″ long and each side is 3″ wide. Here are some instructions that may help.

I used a 12″x 12″ piece of Mango Melody cardstock and cut and scored the box using the instructions above.
Then I cut some of the Sunshine & Rainbows DSP for the panels and triangular ends.
I used the Detailed Trio Punch to round off the corners of the front flap.

To assemble the triangle I used Stampin’ Seal + on the flaps that are on the triangles. Then I wrapped the sides up and pressed the edges together. A bone folder made it easier to secure the adhesive in place.

I used super strong magnets to help hold the box flap in place. Mini Glue dots were used to secure them in place.
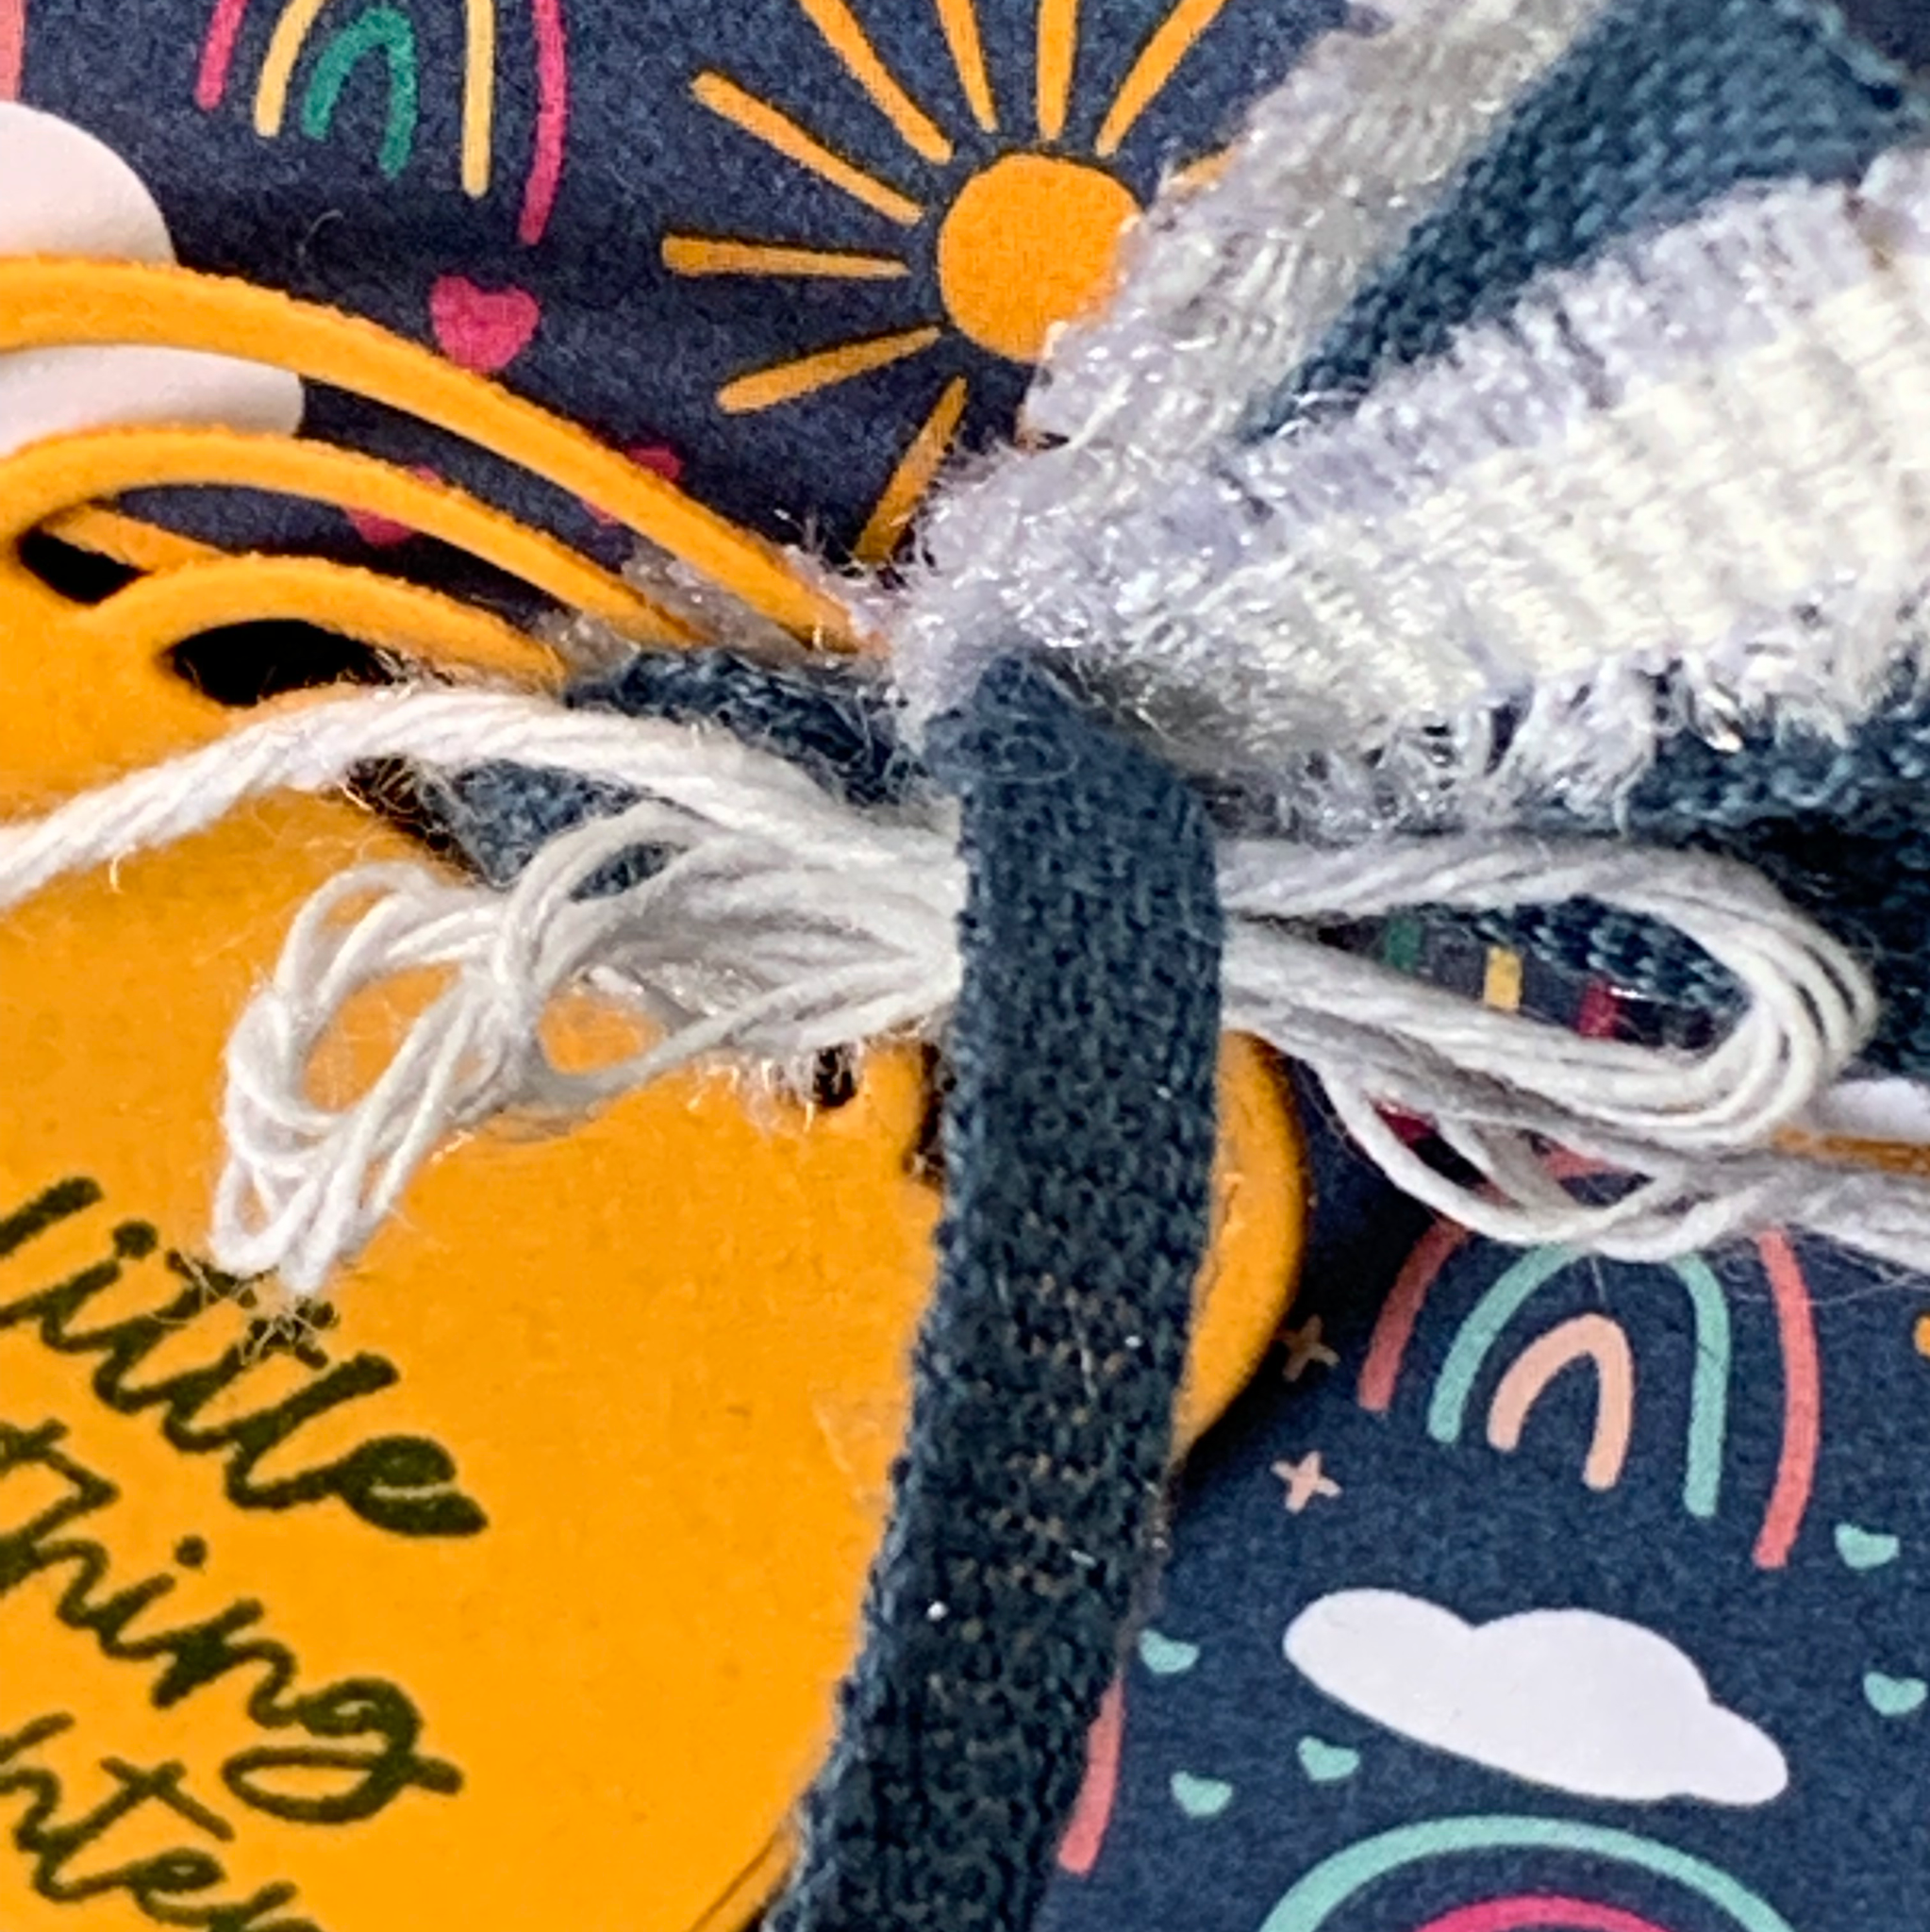
To finish the gift box I used one of the Brilliant Rainbow Dies to cut the gift tag. I stamped the greeting on this tag and then added some ribbons through the rainbow cut aways. They were gathered up and tied with a piece of white Baker’s Twine from the Essentials Pack. The tag was then attached to the front of the box using Stampin’ Dimensionals.

I’ll come back and add a link to the Youtube video tutorial once I have uploaded it.
Tomorrow is Fun Fold Friday and I have a card ready to share with you.
Until then, happy stamping.

If you live in Australia, you can order any of the products I used to make this card by going to my online store. Just click on any of the images below.

 |  | |||
 |  Frayed Ribbon") | |||
 |  |  |  |  |
")
")
 Designer Series Paper")
 Cotton Ribbon Combo Pack")
 Cardstock")


