Today I have a Pop and Twist card to share with you.

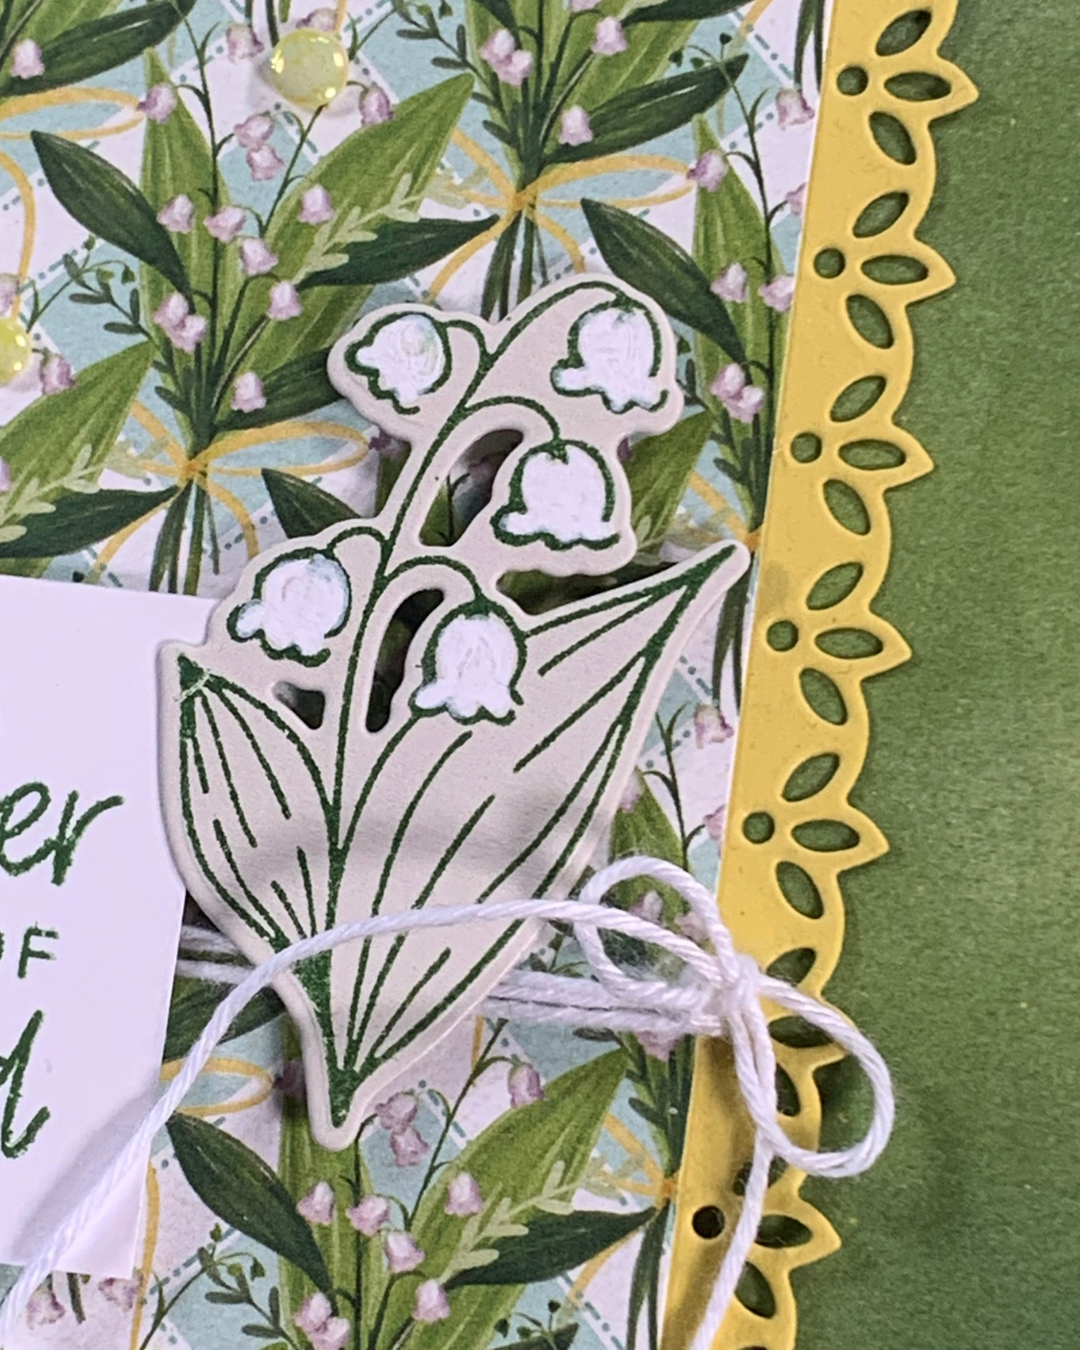
This card started with a Basic Beige base before I prepared three overlapping elements – mottled green DSP, a die cut strip of Darling Duckling card and a patterned piece of the paper.
Before attaching the paper layes, I wrapped and threaded some white twine and tied a bow.
I stamped one of the Lily of the Valley images onto a piece of Basic Beige, die cut the image and then used a White Gel Pen to colour the flowers.
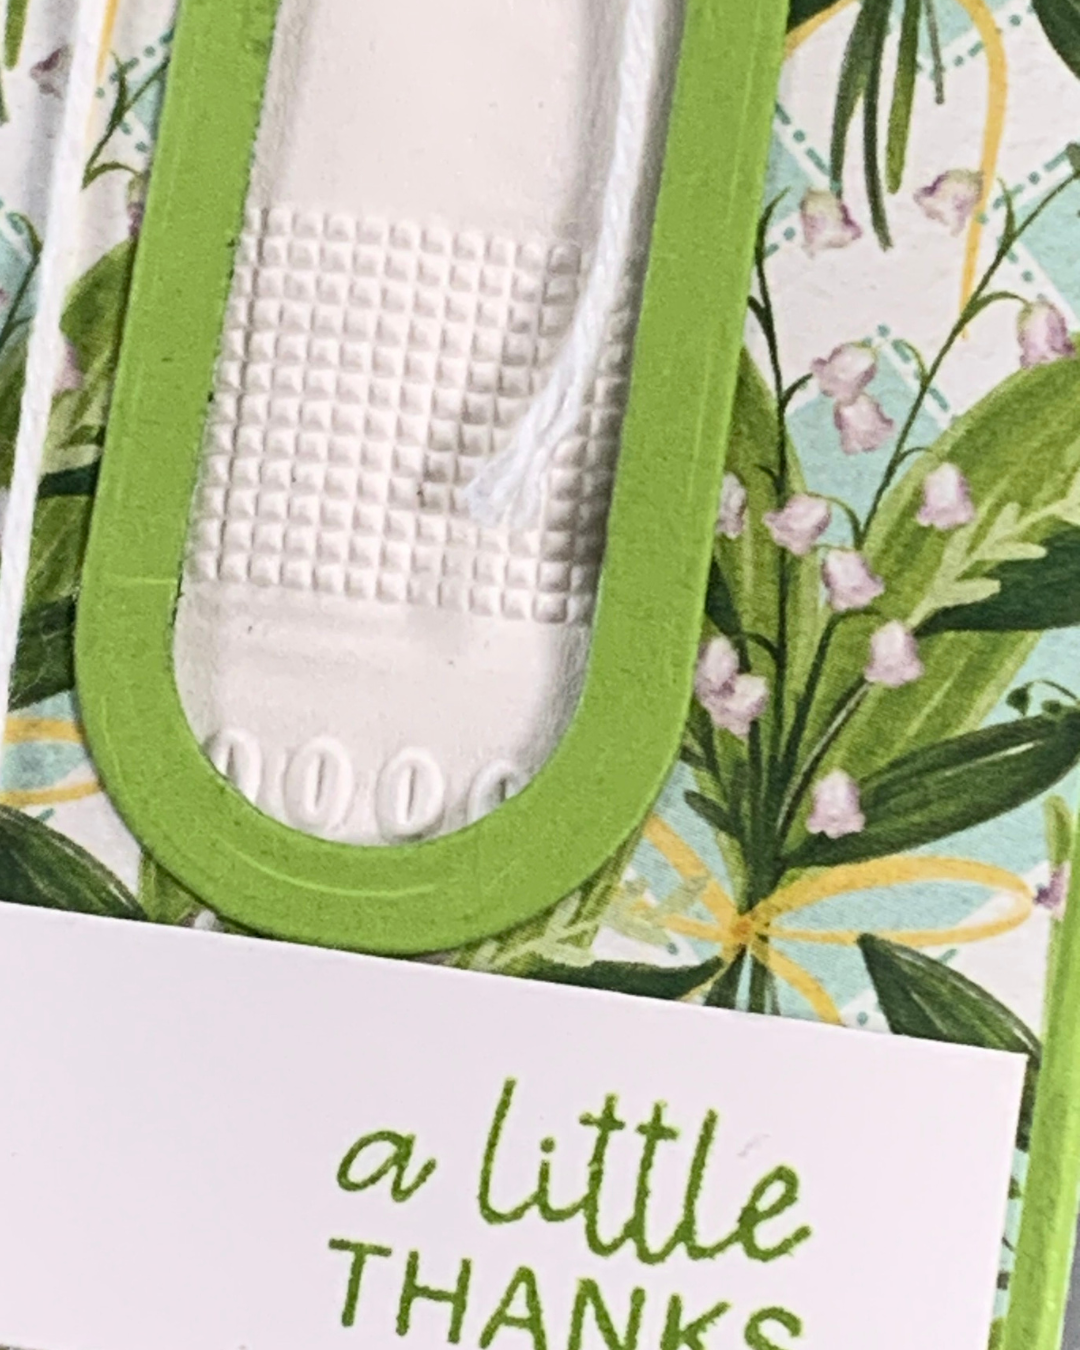
The sentiment was stamped, cut and attached to the front of the card. Then I coloured three Antique Pearls to use as embellishments.

For inside the card, I added some DSP and the pop and twist mechanism.
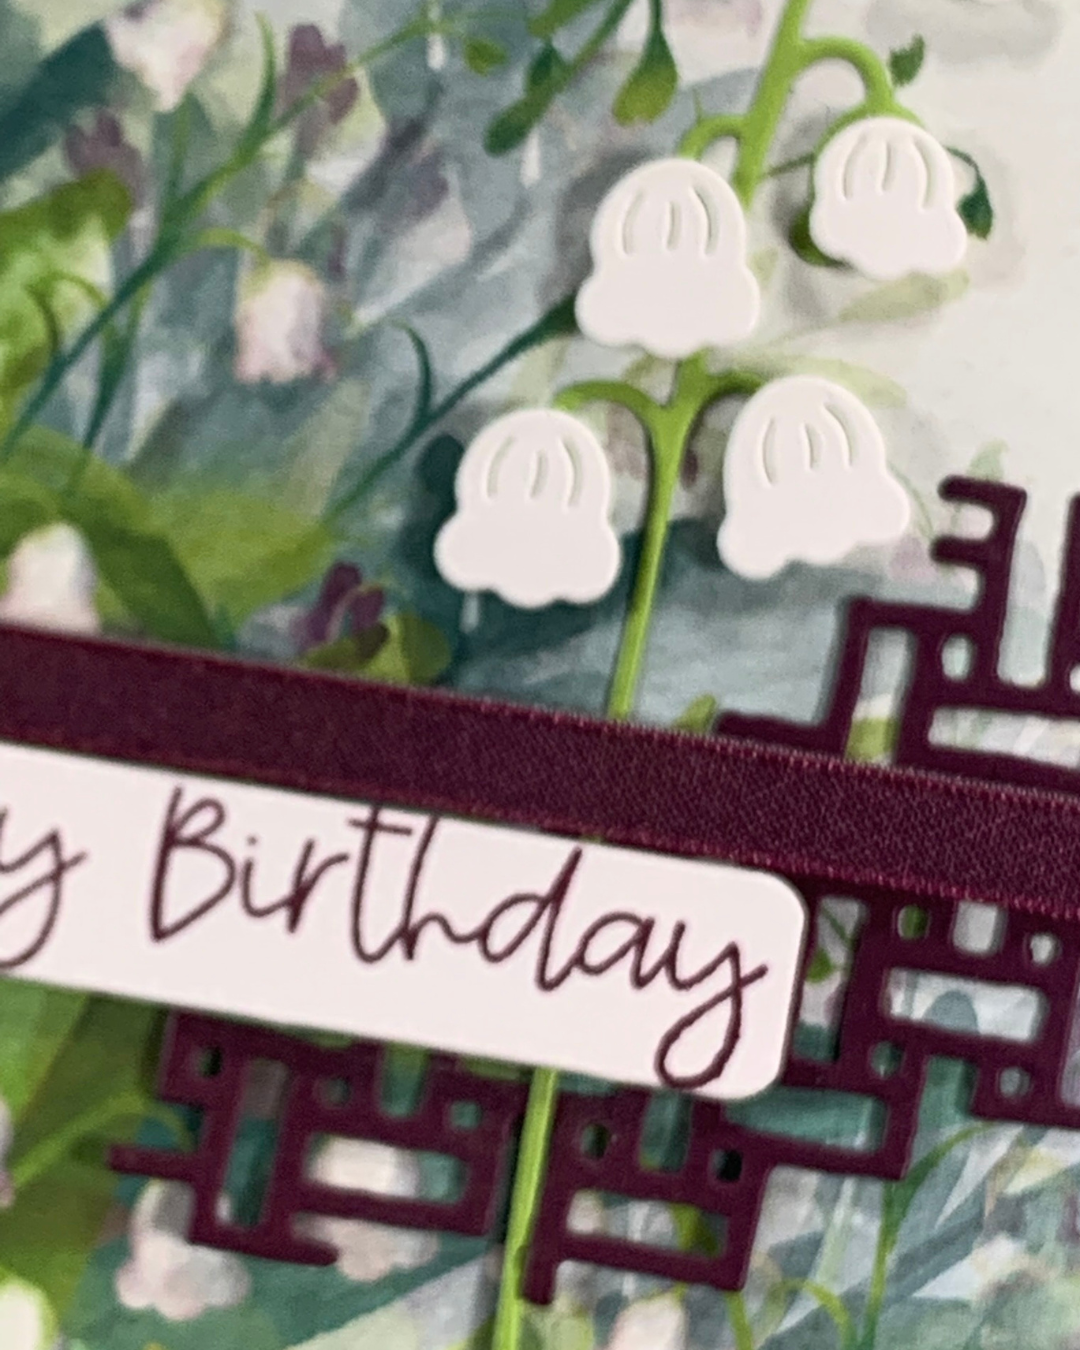
The four pop out panels were decorated with some of the Designer Series Paper and a stamped, die cut flower.
The card also had a white panel insert for a personalised message to be written.
I hope that you have enjoyed the projects I have shared this week using the Valley in Bloom Suite.
Next week I will feature the Velvet Meadow Suite.
Until then, happy stamping and memory keeping.

If you live in Australia, you can order any of the products I used to make this card by going to my online store. Just click on any of the images below.

![Lily Of The Valley Dies [ 167942 ]](https://i0.wp.com/assets1.tamsnetwork.com/images/EC042017NF/167942s.jpg?w=140&ssl=1 "Lily Of The Valley Dies [ 167942 ]") | ||||
![Bordered In Beauty Dies [ 167556 ]](https://i0.wp.com/assets1.tamsnetwork.com/images/EC042017NF/167556s.jpg?w=140&ssl=1 "Bordered In Beauty Dies [ 167556 ]") | ![Baker's Twine Essentials Pack [ 155475 ]](https://i0.wp.com/assets1.tamsnetwork.com/images/EC042017NF/155475s.jpg?w=140&ssl=1 "Baker's Twine Essentials Pack [ 155475 ]") | ![Antique Pearls [ 164679 ]](https://i0.wp.com/assets1.tamsnetwork.com/images/EC042017NF/164679s.jpg?w=140&ssl=1 "Antique Pearls [ 164679 ]") | ![White Gel Pens [ 166642 ]](https://i0.wp.com/assets1.tamsnetwork.com/images/EC042017NF/166642s.jpg?w=140&ssl=1 "White Gel Pens [ 166642 ]") | ![Basic Beige A4 Cardstock [ 164512 ]](https://i0.wp.com/assets1.tamsnetwork.com/images/EC042017NF/164512s.jpg?w=140&ssl=1 "Basic Beige A4 Cardstock [ 164512 ]") |
![Basic White A4 Thick Cardstock [ 159230 ]](https://i0.wp.com/assets1.tamsnetwork.com/images/EC042017NF/159230s.jpg?w=140&ssl=1 "Basic White A4 Thick Cardstock [ 159230 ]") | ![Darling Duckling A4 Cardstock [ 165294 ]](https://i0.wp.com/assets1.tamsnetwork.com/images/EC042017NF/165294s.jpg?w=140&ssl=1 "Darling Duckling A4 Cardstock [ 165294 ]") | ![Garden Green Classic Stampin' Pad [ 147089 ]](https://i0.wp.com/assets1.tamsnetwork.com/images/EC042017NF/147089s.jpg?w=140&ssl=1 "Garden Green Classic Stampin' Pad [ 147089 ]") | ![Multipurpose Liquid Glue [ 110755 ]](https://i0.wp.com/assets1.tamsnetwork.com/images/EC042017NF/110755s.jpg?w=140&ssl=1 "Multipurpose Liquid Glue [ 110755 ]") | |
![Adhesive Sheets [ 152334 ]](https://i0.wp.com/assets1.tamsnetwork.com/images/EC042017NF/152334s.jpg?w=140&ssl=1 "Adhesive Sheets [ 152334 ]") | ![Stampin' Dimensionals [ 104430 ]](https://i0.wp.com/assets1.tamsnetwork.com/images/EC042017NF/104430s.jpg?w=140&ssl=1 "Stampin' Dimensionals [ 104430 ]") | ![Paper Trimmer [ 152392 ]](https://i0.wp.com/assets1.tamsnetwork.com/images/EC042017NF/152392s.jpg?w=140&ssl=1 "Paper Trimmer [ 152392 ]") | ![Mini Stampin' Cut & Emboss Machine [ 150673 ]](https://i0.wp.com/assets1.tamsnetwork.com/images/EC042017NF/150673s.jpg?w=140&ssl=1 "Mini Stampin' Cut & Emboss Machine [ 150673 ]") |
![Valley In Bloom Suite Collection (English) [ 167951 ]](https://i0.wp.com/assets1.tamsnetwork.com/images/EC042017NF/167951s.jpg?w=140&ssl=1 "Valley In Bloom Suite Collection (English) [ 167951 ]")
![Valley In Bloom 12" X 12" (30.5 X 30.5 Cm) Designer Series Paper [ 167935 ]](https://i0.wp.com/assets1.tamsnetwork.com/images/EC042017NF/167935s.jpg?w=140&ssl=1 "Valley In Bloom 12\" X 12\" (30.5 X 30.5 Cm) Designer Series Paper [ 167935 ]")
![Lily Of The Valley Bundle (English) [ 167943 ]](https://i0.wp.com/assets1.tamsnetwork.com/images/EC042017NF/167943s.jpg?w=140&ssl=1 "Lily Of The Valley Bundle (English) [ 167943 ]")
![Lily Of The Valley Photopolymer Stamp Set (English) [ 167937 ]](https://i0.wp.com/assets1.tamsnetwork.com/images/EC042017NF/167937s.jpg?w=140&ssl=1 "Lily Of The Valley Photopolymer Stamp Set (English) [ 167937 ]")
![Lemon Lime Twist Stampin’ Blends Combo Pack [ 161682 ]](https://i0.wp.com/assets1.tamsnetwork.com/images/EC042017NF/161682s.jpg?w=140&ssl=1 "Lemon Lime Twist Stampin’ Blends Combo Pack [ 161682 ]")


![Ouch Dies [ 167886 ]](https://i0.wp.com/assets1.tamsnetwork.com/images/EC042017NF/167886s.jpg?w=140&ssl=1 "Ouch Dies [ 167886 ]")
![Granny Apple Green A4 Cardstock [ 147014 ]](https://i0.wp.com/assets1.tamsnetwork.com/images/EC042017NF/147014s.jpg?w=140&ssl=1 "Granny Apple Green A4 Cardstock [ 147014 ]")
![Granny Apple Green Stampin' Pad [ 147095 ]](https://i0.wp.com/assets1.tamsnetwork.com/images/EC042017NF/147095s.jpg?w=140&ssl=1 "Granny Apple Green Stampin' Pad [ 147095 ]")


![Berry Burst 1/4" (6.4 Mm) Shiny Ribbon [ 167126 ]](https://i0.wp.com/assets1.tamsnetwork.com/images/EC042017NF/167126s.jpg?w=140&ssl=1 "Berry Burst 1/4\" (6.4 Mm) Shiny Ribbon [ 167126 ]")
![Blackberry Bliss A4 Cardstock [ 133682 ]](https://i0.wp.com/assets1.tamsnetwork.com/images/EC042017NF/133682s.jpg?w=140&ssl=1 "Blackberry Bliss A4 Cardstock [ 133682 ]")
![Blackberry Bliss Classic Stampin' Pad [ 147092 ]](https://i0.wp.com/assets1.tamsnetwork.com/images/EC042017NF/147092s.jpg?w=140&ssl=1 "Blackberry Bliss Classic Stampin' Pad [ 147092 ]")
![Stampin' Cut & Emboss Machine [ 149653 ]](https://i0.wp.com/assets1.tamsnetwork.com/images/EC042017NF/149653s.jpg?w=140&ssl=1 "Stampin' Cut & Emboss Machine [ 149653 ]")


